Sep 07, 2016
Today I Learned: Tips for Coloring Flowers with Zig Markers
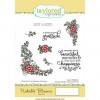
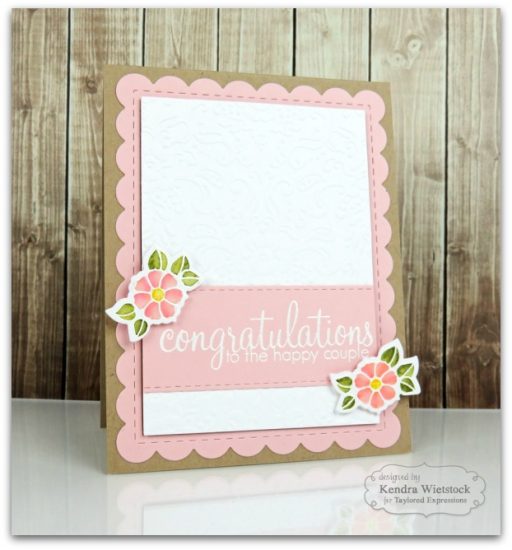
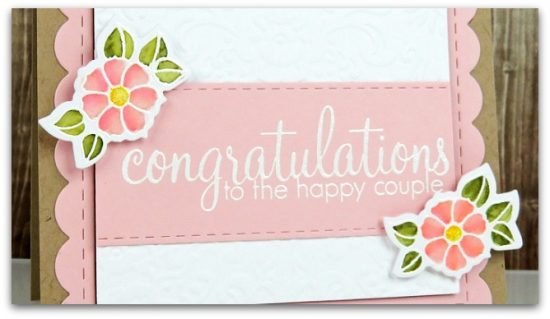
Hey there, crafty friends! It’s Wednesday and we’ve got a fun tutorial to share with you from Creative Team Member, Kendra Wietstock. Today she is sharing some easy tips on how to color flowers with Zig Clean Color Markers. Kendra used our Notable Blooms to create this lovely wedding card. Check out how she created the flowers that make it so special!

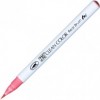
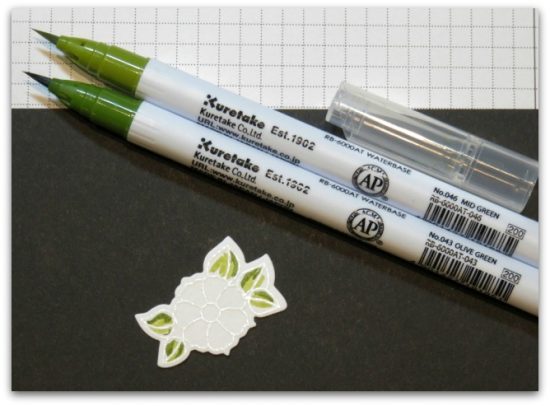
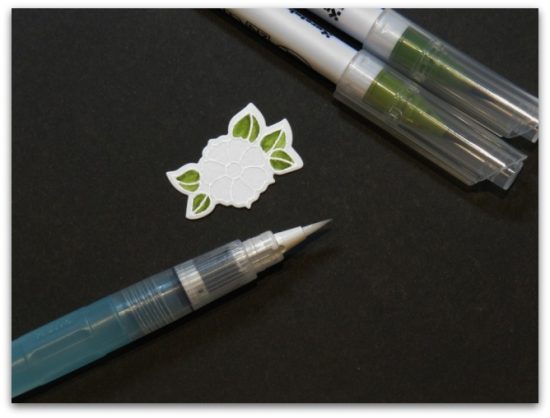
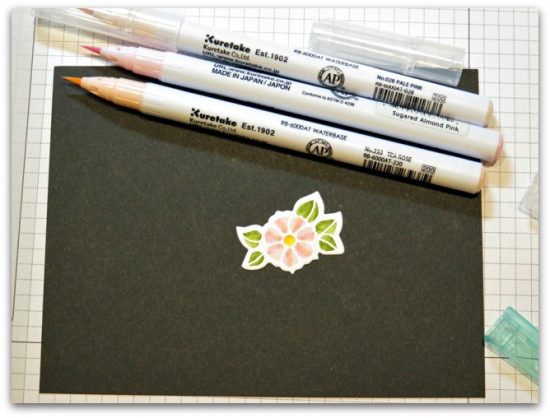
Step 1: Stamp and heat emboss the bloom on watercolor cardstock. You may die-cut or trim out the image if you’d like. Using the Zig Clean Color Real Brush Markers, add Mid Green and Olive Green ink to the leaves. Leave some white space for blending. (NOTE: If I have multiple flowers to color, I usually like to color one complete flower first to make sure it turns out the way I like it.)
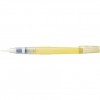
Step 2: Next I use a waterbrush to blend the two shades of green together. (NOTE: You won’t need much water to do this because the area is very small. If you get too much water, dab it with a paper towel, let it dry for a few minutes and add more color to the area.)
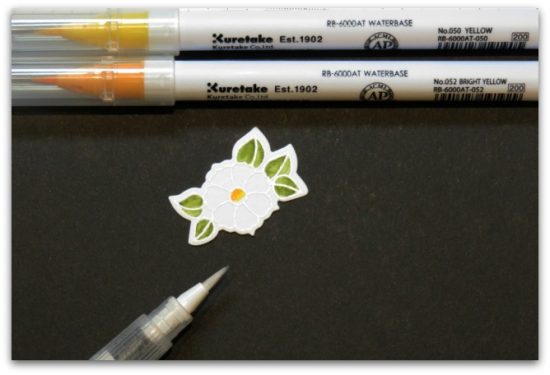
Step 3: Add Yellow & Bright Yellow to the center of the flower and blend with the waterbrush.
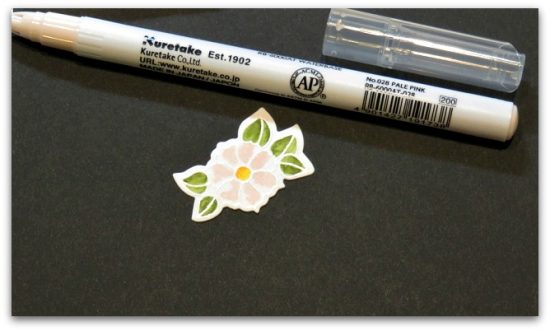
Step 4: Add Light Pink to each flower petal – make sure to leave some white space.
Step 5: Next add Sugared Almond Pink to each flower petal.
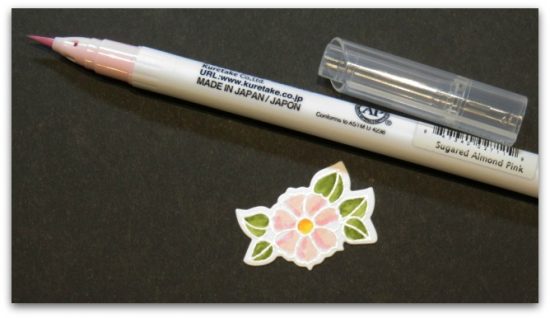
Step 6: Finally, add Tea Rose Pink to each flower petal and then blend with a water brush. (NOTE: If you want more of one color, just add it from the marker and blend again with the water brush. I find it helpful to have a paper towel handy to dab excess water off my water brush.)
Below is the result. Kendra added some glitter to the center of each flower and then attached them to the corners of the sentiment.
Thanks so much, Kendra, for sharing such terrific tips on how to color with these fun markers! You can find more of Kendra’s work on her blog, Kendra’s Card Company.


