Nov 15, 2016
Coloring with Copics Week: How to Add Depth
Hey there, crafty friends! We hope you are having a creative week. Our amazing designers have been busy creating some magic behind the scenes and this week, we’re sharing some of their best tips and tricks for coloring with Copics! Many of you own these versatile and useful markers and know the basics, but there are many wonderful things you can do with them. We thought we’d share a few of these with you this week!

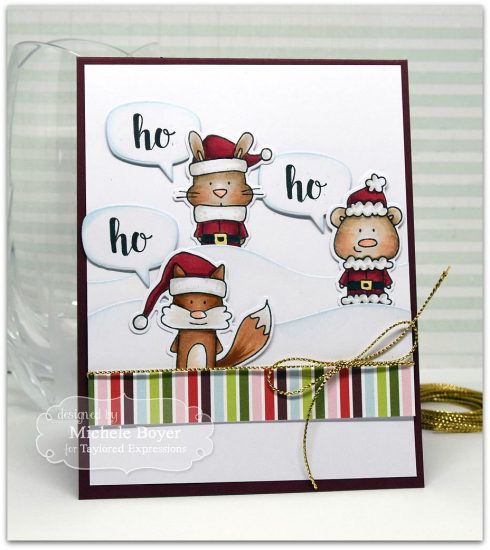
Today, we’re sharing a terrific step-by-step tutorial from Creative Team member, Michele Boyer. She crafted this darling Christmas card using our Santa’s Helpers stamps and coordinating dies. These little sweeties are the perfect thing for her to demonstrate how to add depth to colored images to really bring them to life. Let’s get started!
To get a perfectly even stamped image, Michele used a Misti tool. However, you can also stamp directly onto your cardstock.
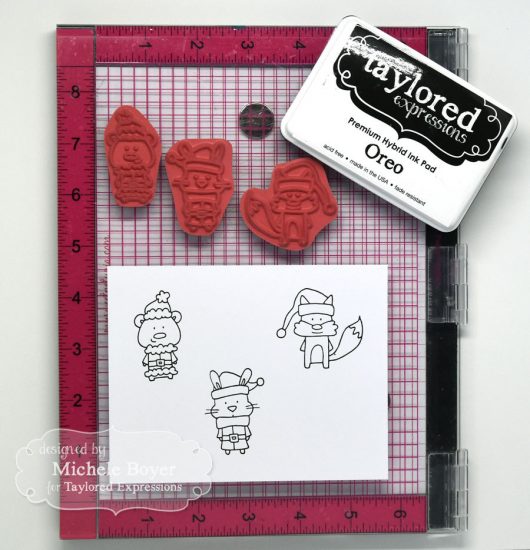
Step 1: Stamp images in Oreo ink onto Sugar Cube card stock.
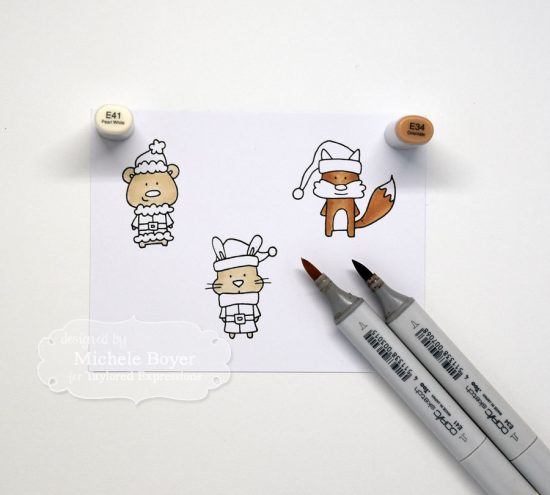
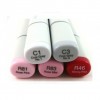
Step 2: Smoothly color the bear and bunny with a base of E41. Color the fox with a base of E34.
Once the base color is applied, use the same marker to apply additional color from the outside edges, in toward the center. Tip: Use long strokes that move almost, but not quite, to the center. Doing so will leave the very center of the image a bit lighter than the rest.
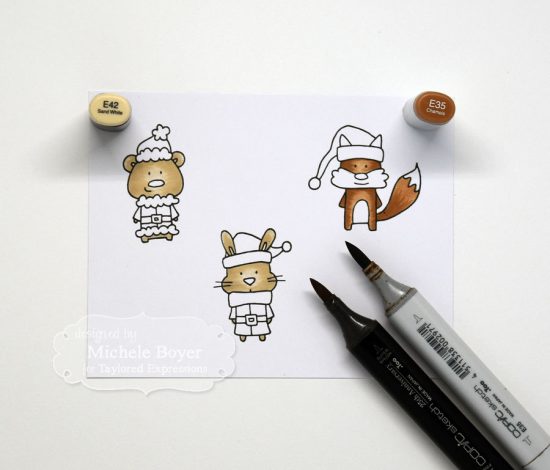
Step 3: Beginning at the outside edges of the bear, feather short, light strokes of E42 toward the center, lifting marker lightly away from the paper at the end of each stroke. Use shorter strokes than those applied in Step 2. Repeat the process using E42 on the bunny. Using E35, repeat process on fox.
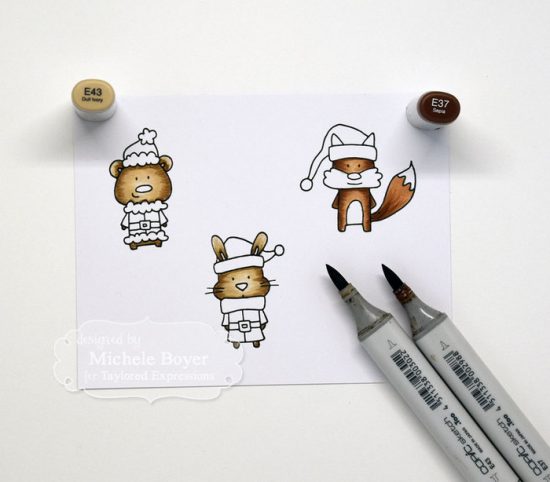
Step 4: To add the deepest shadows on the bodies, repeat the above process, using even shorter strokes of E43 on the bear and bunny. Use E37 on the fox.
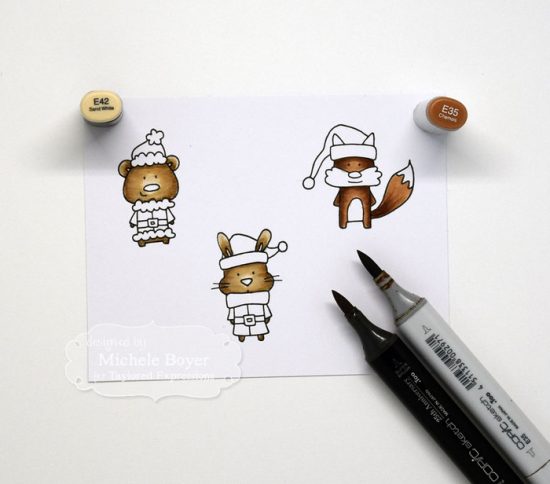
Step 5: To blend the darker edges into the lighter edges, use E42 on the bear and bunny and E35 on the fox. Place marker at edge of image and move in toward the center, going over the edges of the darker marker but not into the very center of the image. (You’ll notice that Michele went back to the ‘medium’ colors from the last step to blend.)
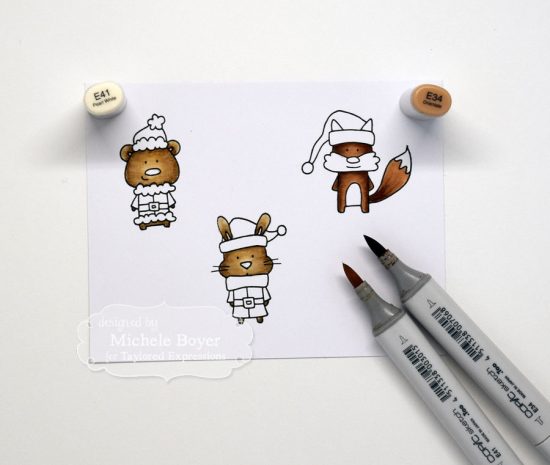
Step 6: Using E41 on bunny and bear, blend any E42 edges remaining. Repeat using E34 on the fox. (Again, Michele stepped back to the first, and lightest, colors, for blending.)
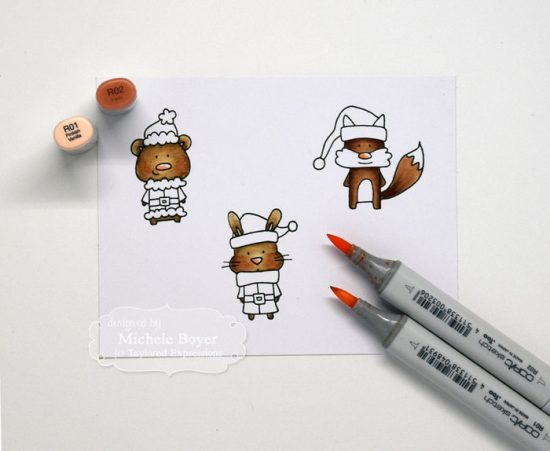
Step 7: Using R01 on bunny and bear, apply cheek color. Begin strokes at left and right edges of each, moving marker in toward the nose with each stroke. Tip: If desired, deepen color in the center using R02. If necessary, blend innermost cheek edges using E41.
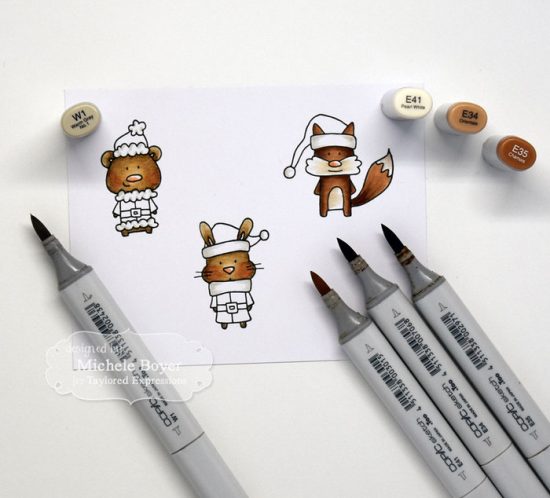
Step 8: Using W1, lightly apply color to edges of hat and coat trim on bunny and fox. As above, move marker from left and right edges in toward the center, lifting marker lightly away from the paper with each stroke. To shade the fluffier trim on the bear, apply a bit of W1 to the left edges of each “fluff” area.
(At this point Michele also added color to the fox’s belly, whiskers and tail, which she forgot to add earlier — remember, Copics are forgiving and you can often go back and fix or mask mistakes!)
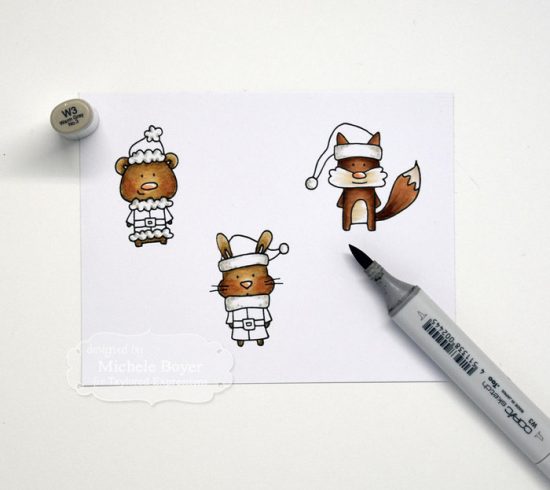
Step 9: Lightly add dots of W3 to outside edges of trim on bunny and fox.
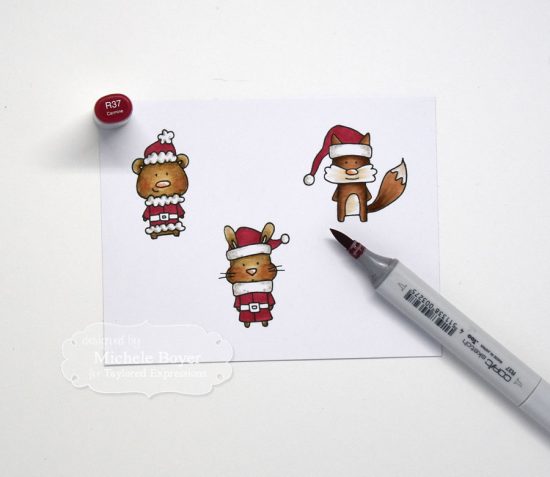
Step 10: Smoothly apply base of R37 to hats and coats.
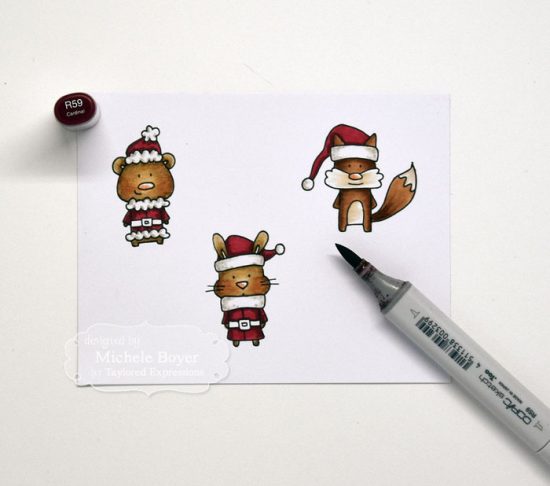
Step 11: Add deeper shadow to edges of hats and coats using R59.
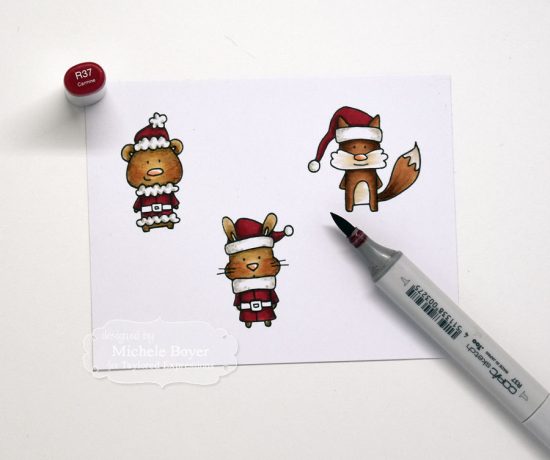
Step 12: Blend edges of R59 with R37.
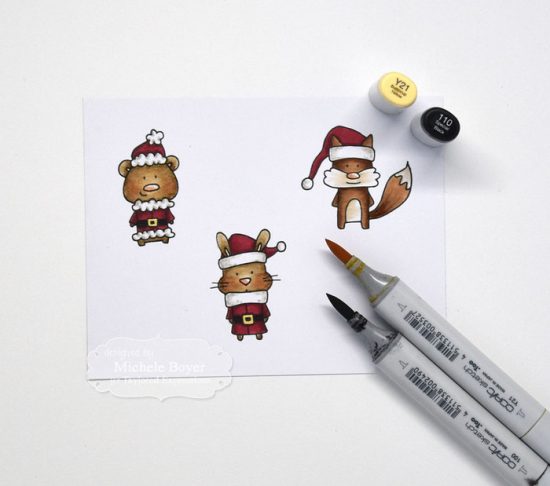
Step 13: Apply Y21 to buckles and 110 to belts.
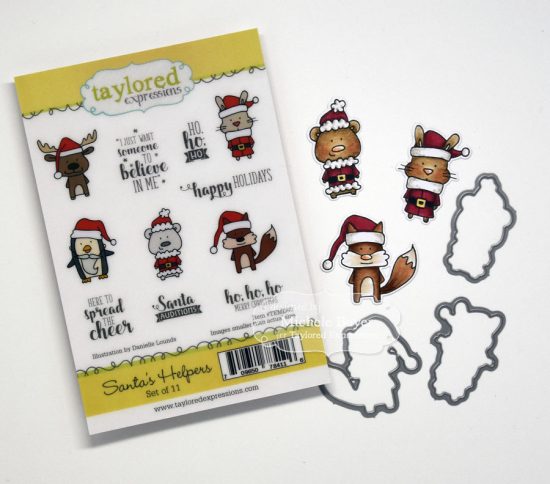
To finish card: Die-cut images with coordinating dies. Die-cut hills and speech bubbles from Sugar Cube card stock; lightly sponge edges with Salt Water Taffy ink. Stamp “ho” into each Speech Bubble using Oreo ink. Adhere strip of striped paper across Sugar Cube panel. Adhere hills, tucking bottom edge beneath striped strip. Insert/adhere critters. Adhere speech bubbles using foam squares. Tie gold cord and adhere panel to Mulled Wine card base.

Thank you so much, Michele, for putting together this incredibly helpful tutorial! Are you ready to try adding depth to your next Copic colored project? Be sure to visit Michele’s blog, Paper Cuts, for more of her work! Tune in tomorrow as we continue Coloring With Copics Week as Gayatri Murali drops in with a how-to on coloring on kraft cardstock!


