
Jan 17, 2017
Embossing Folder Week: Faux Brick Façade.
Happy Tuesday, crafty friends! Thanks so much for tuning in last week for our January Release of new products! We are so lucky to have such amazing designers working with us and, each month, we ask a few of them to share some of their tips and tricks with us. This week, we are sharing some awesome techniques using our Embossing Folders that you won’t want to miss! Embossing folders are a wonderful way to add visual interest to your paper craft projects. However, it is easy to fall into a typical creative routine with embossing folders, such as simple dry embossing. Do not be fooled! Embossing folders have the potential to elevate your crafting to the next visual level with faux letterpress, foiling or in the case of Keia’s project featured below: textured embossing. Check it out…

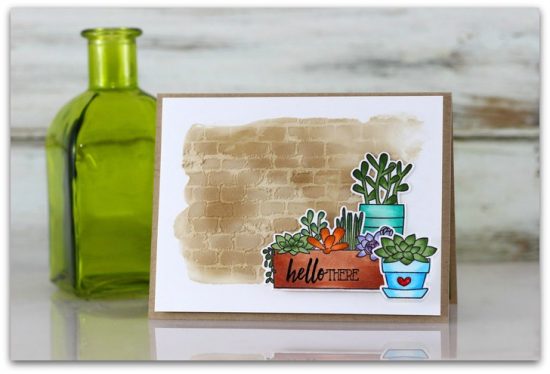
Keia shares some step-by-step tips on how to create a fabulous textured background to create a Faux brick façade.
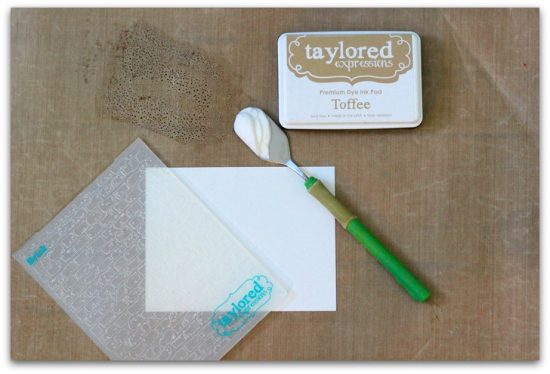
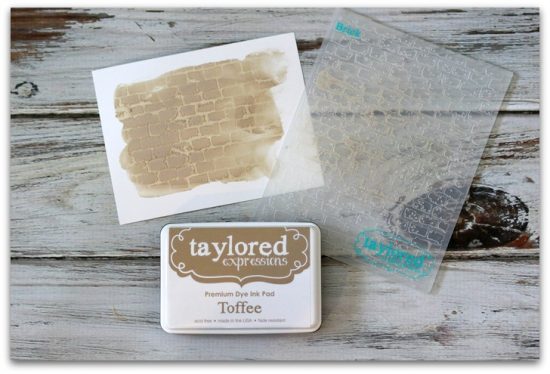
Step 1: To try this technique you will need: embossing paste (clear or white), palette knife, ink (of your choice), Sugar Cube cardstock (4 x 5 ¼), Taylored Expressions Brick Embossing Folder and craft mat.
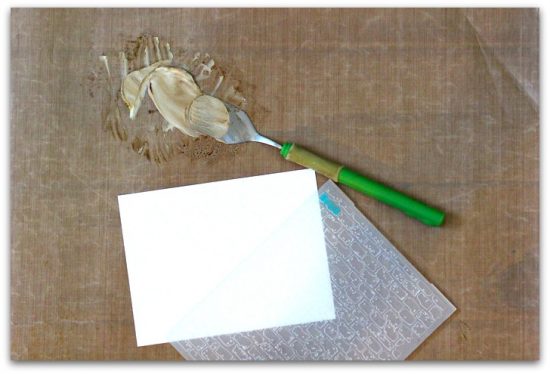
Step 2: Use chosen inkpad color to apply ink onto the craft mat. Take a quarter-sized amount of embossing paste, using palette knife, and mix with the ink on the craft mat.
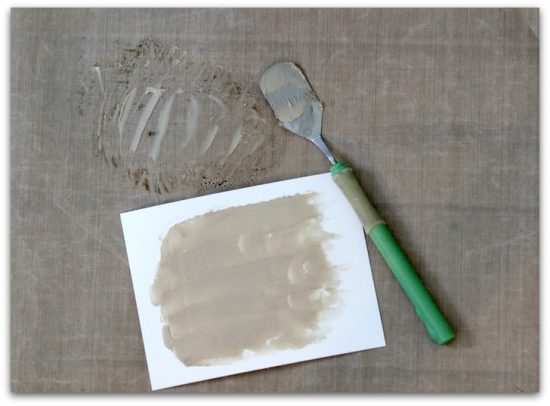
Step 3: Apply a thin layer of colored paste to Sugar Cube cardstock, being mindful to cover the desired area, but not too thick in any given area.
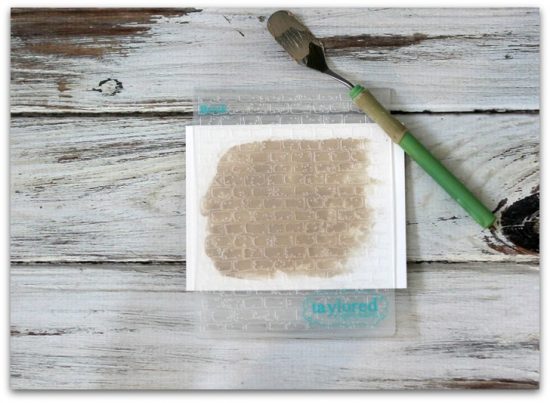
Step 4: The best result is achieved when the paste is allowed to slightly dry (less than a minute). The paste will feel spongy, but not wet. Next, place paste-covered cardstock into the embossing folder. Carefully close the embossing folder and press the embossing folder brick design into the paste. Be mindful not to apply too much pressure.
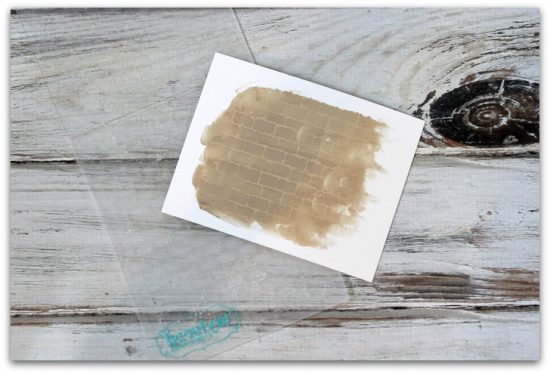
Step 5: It might take several attempts to achieve the desired look. If this happens, and the paste is still pliable, smooth paste with palette knife and redo steps in Step 4.
Step 6: Be sure to clean embossing folder with warm soapy water and bristle brush to clean crevices. Dry.
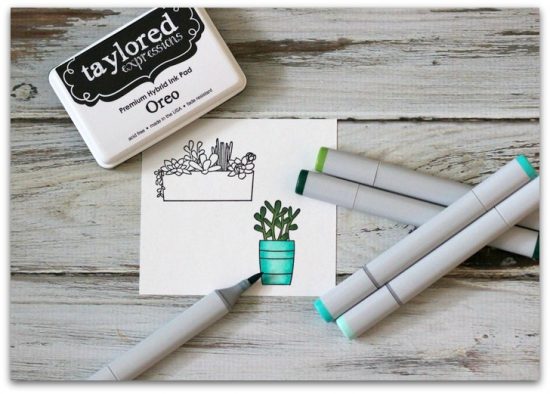
Step 7: Use Copic markers to color stamped images from the Simply Succulents stamp and die set. Create a horizontal A2 card base from Toffee cardstock. Extra distressing can be applied to brick façade to create worn bricks by using finger dauber to gently and randomly apply ink. Use foam adhesive to adhere faux brick cardstock. Heat emboss the sentiment “Hello There” onto Copic-colored succulent planter by using Versamark and black embossing powder. Use tape runner adhesive to adhere planters to brick façade. Add Glossy Accents to the heart on planter.
Thanks so much, Keia, for sharing your wonderful tips with us! You can find more of her wonderful work on her blog, Confessions of a Paperholic. Tune in tomorrow as Kerri Michaud shares another fun way to use Embossing Folders!


Keia also used: Copic Markers: B000, B00, B01, B02; BG11, BG13, BG15; G21, G24, G28; YG 17, YG67; YR02, YR23, YR24, YR27; R29, BV0000, BV01, B02; V000, V12; E11, E13, E15; Accessories: Ranger (embossing paste), palette knife, craft mat, Ranger (super fine black embossing powder), finger daubers.
