Feb 21, 2017
Build a Scene Week: Easter Wishes on Your Front Door!
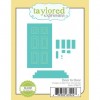
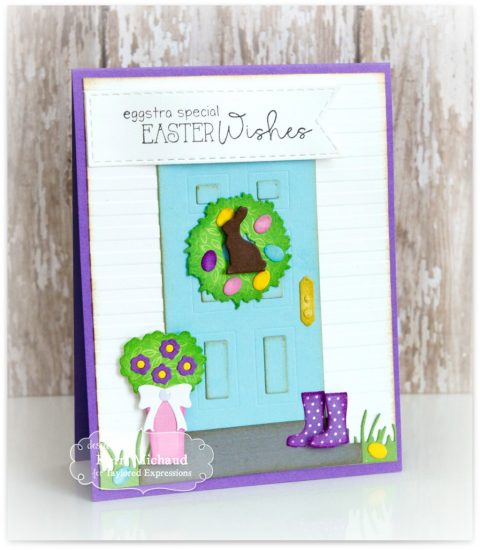
Happy, happy day, crafty friends! This week, we’re building scene cards and we’ve got a few fabulous projects to share with you from our awesome Creative Team. Today, designer Kerri Michaud gives us a step-by-step tutorial on how to create a fun Easter scene using our Door to Door dies, stamps, and tools! Check it out…

Notes from Kerri…
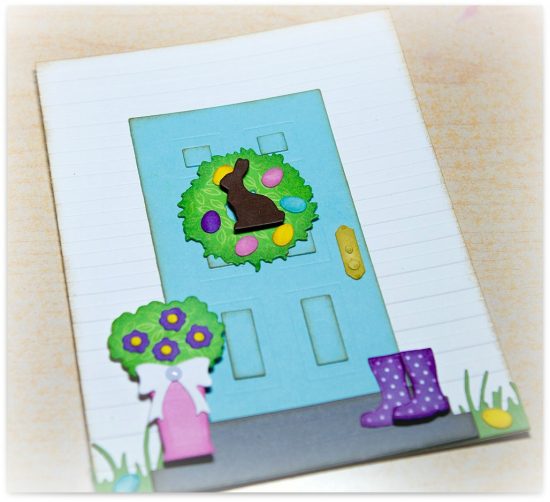
Hello! Usually when I make scene cards, I just play around a lot until I like how it looks — it’s part of the fun! I chose to use the Door to Door dies along with Door to Door Spring Décor dies to make a card just perfect for Easter.
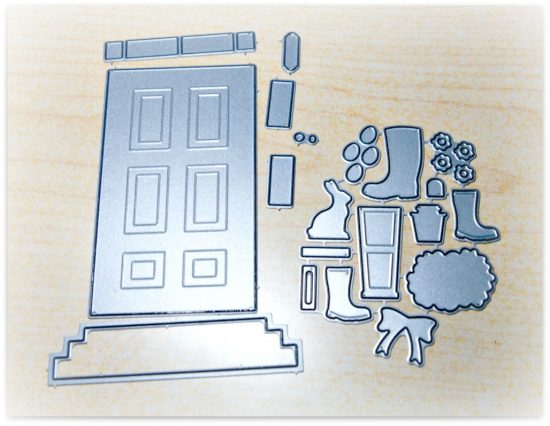
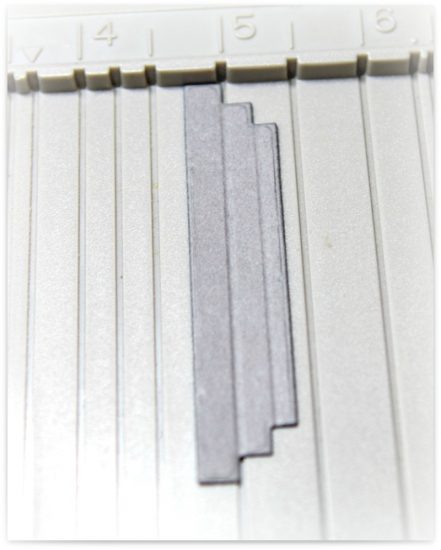
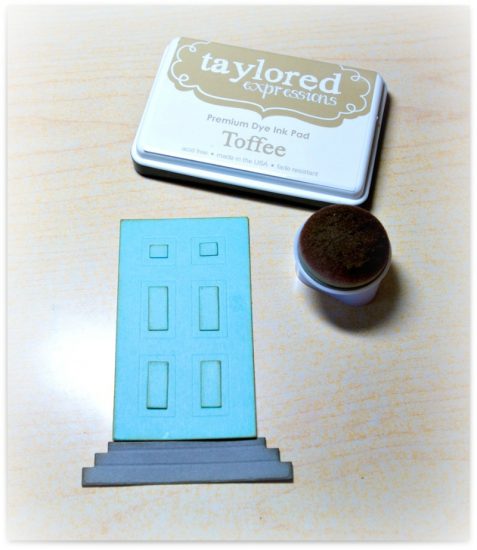
I started by cutting the door and door panels out of Sprinkles cardstock and the front steps out of Earl Grey cardstock. I then scored the steps using my Scor-Pal.
I sponged around the door and steps using Toffee Ink. I like to sponge around my pieces to add depth. It’s easy to do and really makes things pop!
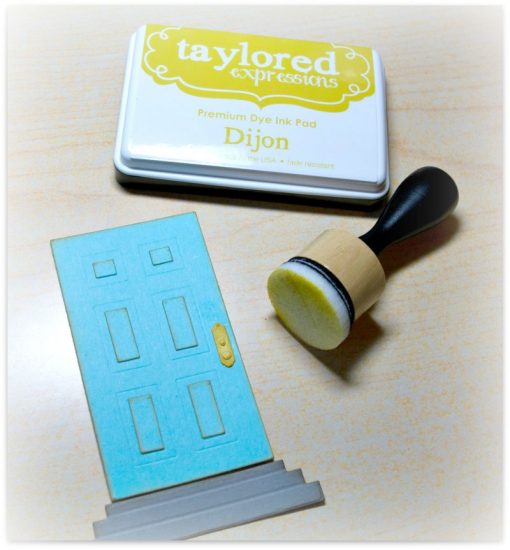
I then cut out the door handle using Potato Chip cardstock and then sponged around with Dijon Ink.
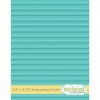
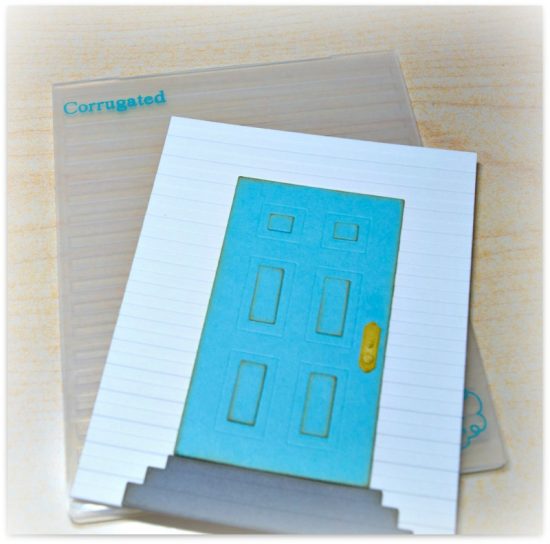
I cut a piece of Sugar Cube cardstock for the background and embossed it using the Corrugated Embossing Folder. I think this looks like siding on a house!
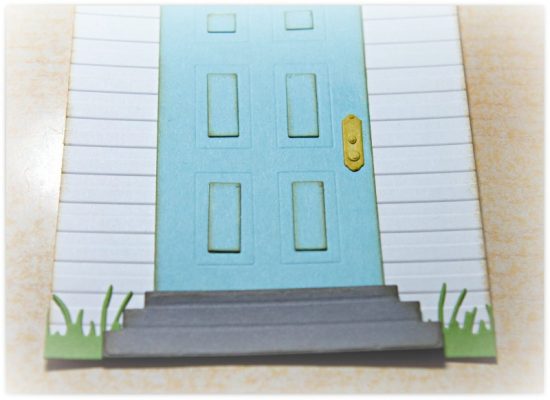
I then decided to add some grass using the Wispy Grass Border Die and some Peapod cardstock.
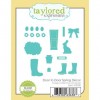
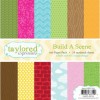
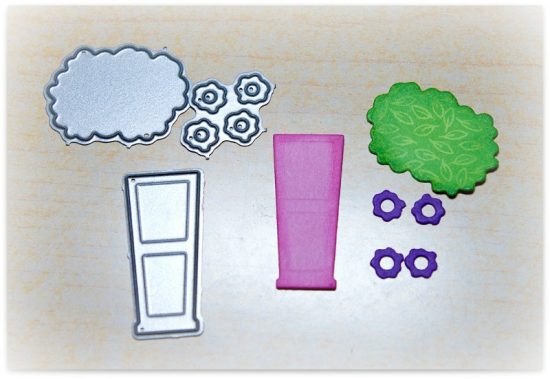
I wanted to add a planter so I used the Door to Door Spring Décor dies to cut my planter out of Strawberry Milkshake cardstock and the flowers out of Jelly Donut cardstock. I sponged around the planter with Strawberry Milkshake Ink. I cut the greenery out of some Build a Scene Patterned Paper Pack.
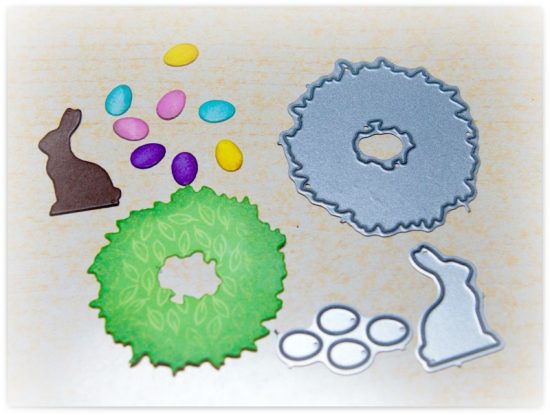
I then cut a wreath out of more Build a Scene Patterned Paper using a Door to Door Décor die. I used the Door to Door Spring Décor dies to cut the eggs out of Strawberry Milkshake, Jelly Donut, Sprinkles, and Lemon Meringue cardstock and the bunny out of Chocolate Truffle cardstock. I sponged around the eggs with the coordinating Inks.
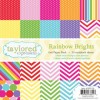
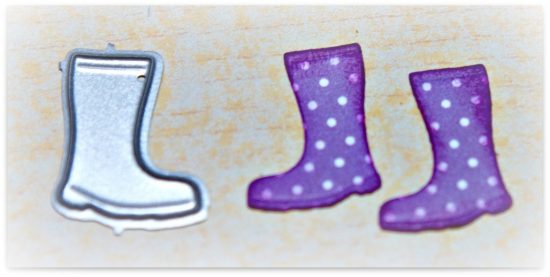
I then cut a pair of boots out of Rainbow Brights Patterned Paper and sponged around them with Jelly Donut Ink.
I added all the pieces to my scene. I also decided to add a bow to my planter that I cut out of Sugar Cube cardstock and placed a Sugar Cube Enamel Shape in the center.
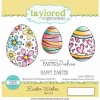
Finally, I stamped a sentiment from the Easter Wishes stamp set using Oreo Ink and Sugar Cube cardstock and cut it out with a Stitched Banner Stacklets die.
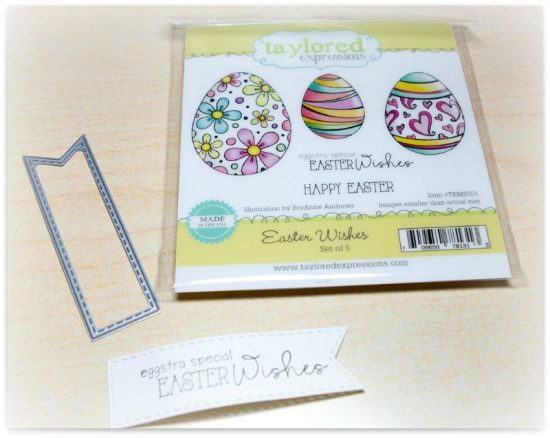
I adhered the sentiment banner to the card and the card front to a Jelly Donut base and it was complete!

I hope you enjoyed my tutorial! Happy crafting!
Thank you so much, Kerri, for this wonderful tutorial! Join us tomorrow for another terrific tutorial from our team. For more of Kerri’s work, visit her blog, Cards by Kerri. Have a joyful day!


