Apr 11, 2017
Watercoloring Week – Zig + Panels!
Hello, friends! This week, we’re exploring the wonderful world of watercolor! Today we are kicking things off with a fun and easy card project from Michele Boyer. If you are intimidated at all by the watercolor technique, Michele has the project just for you. With a few tools and easy-to-master tips, you can create a project that looks like you are a watercolor pro! Check it out…

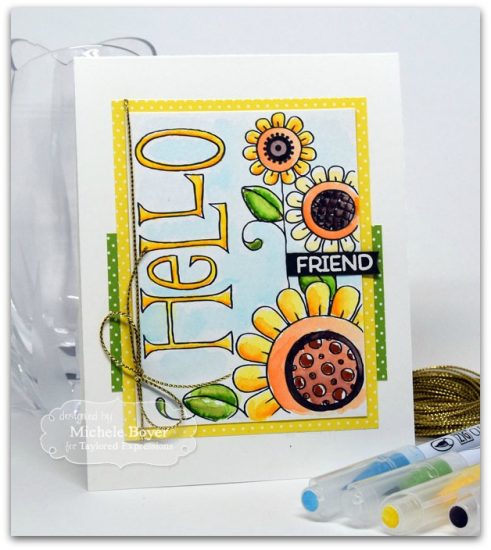
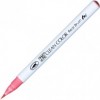
Michele used one of our pre-printed Watercolor Panels — these darling designs are already printed on high-quality watercolor paper, just waiting to be colored! She used Zig Clean Color Real Brush Markers to color this sweet panel and created a step-by-step tutorial for us:
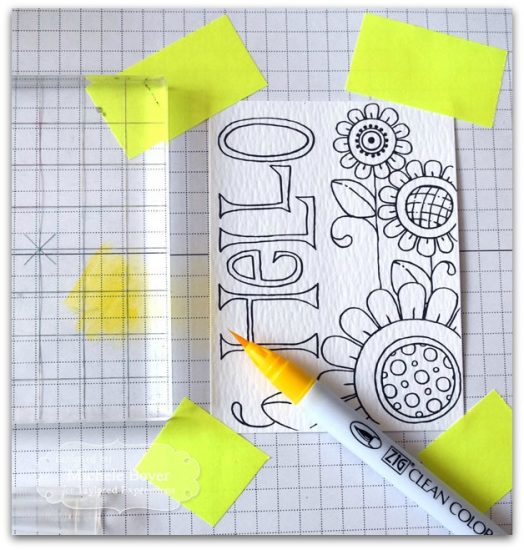
After securing watercolor panel to work surface using removable tape, scribble yellow ink onto acrylic block.
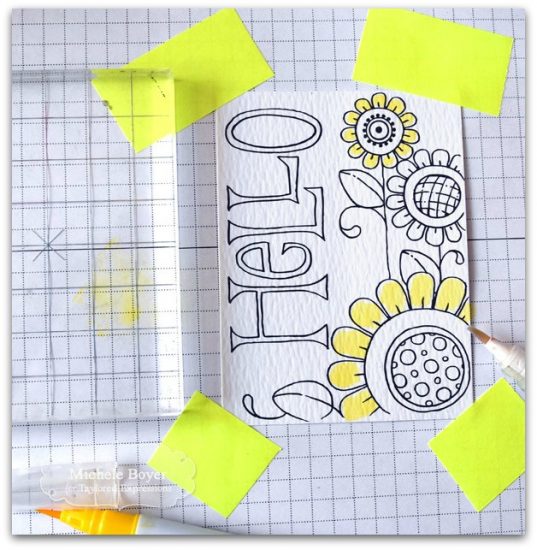
Using dampened water brush, pick up color from acrylic block and apply to flower petals.
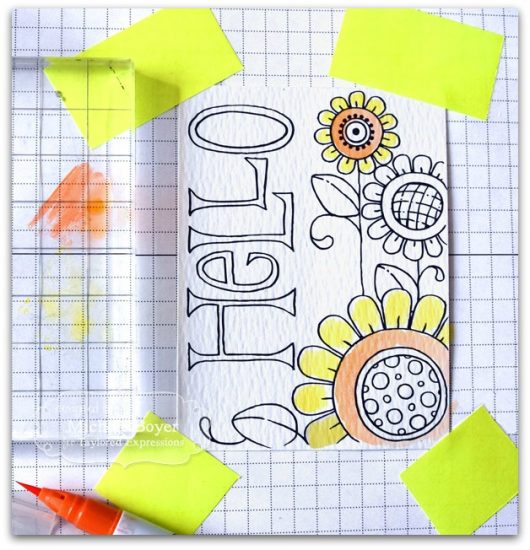
Scribble orange ink onto block, pick up with water brush and apply to flower centers.
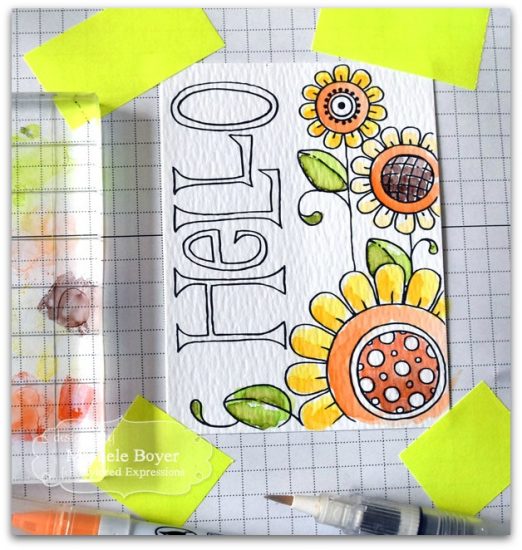
Continue to scribble ink onto acrylic block, pick up with water brush and apply to image, cleaning brush in between colors.
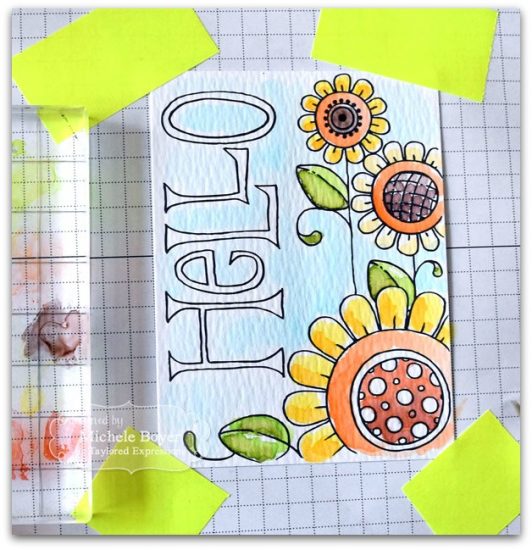
Once panel is dry, scribble blue marker onto acrylic block, pick up color with water brush and lightly apply to background, leaving some white space around flowers and letters.
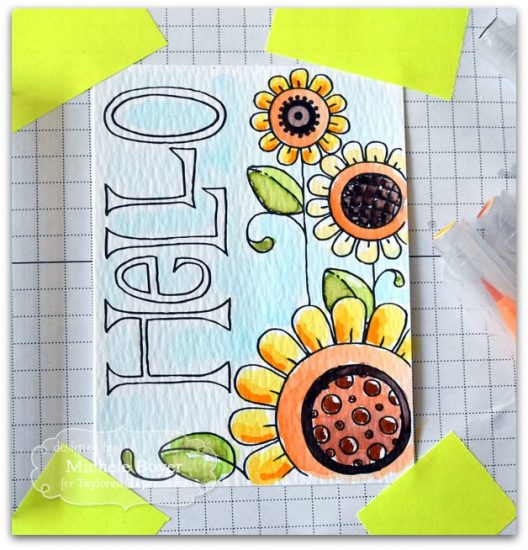
Once background is dry, apply orange marker directly onto flower petals to add depth and shadow. Use brown and dark brown markers in flower centers.
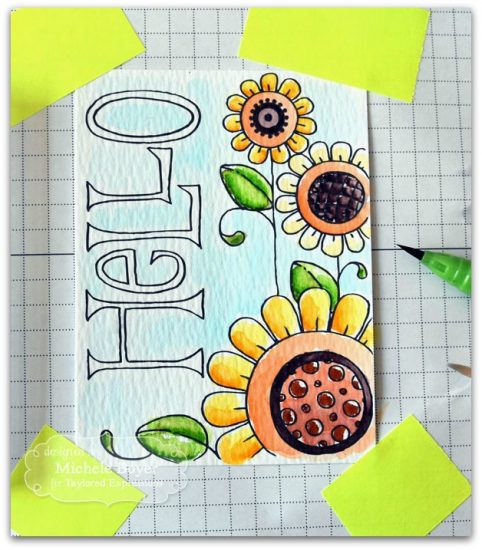
Along bottom edges of leaves, reapply green ink directly from marker to add depth to leaves.
Lightly wet water brush and gently blend the darker inks into the lighter inks on flowers and leaves.
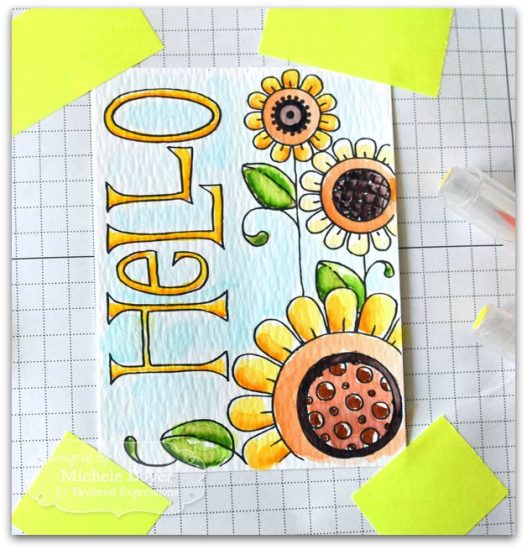
Apply yellow ink directly onto letters using marker. Add orange ink directly from marker along bottom edges of letters; lightly blend.
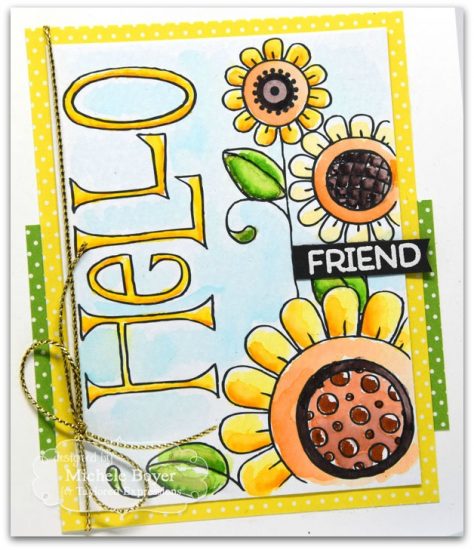
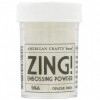
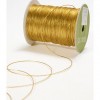
To finish card, adhere water color panel to block of yellow dotted paper. Adhere green dotted panel horizontally behind yellow dotted paper. Tie gold cord and adhere to card front. Stamp “friend” onto brown card stock using white ink. White emboss, trim right edge to fishtail flag shape and adhere to flower stem.

Thank you so much, Michele, for sharing this technique with us! For more of her wonderful work, visit her blog, Paper Cuts.
Tune back into the blog for more watercolor fun this week!


