Aug 29, 2017
Catching Up With Kim: Lucky Stars!
Happy Tuesday, crafty friends! I have got a fun-filled week for you (here’s a little secret…next month is TE’s Ninth Birthday and it’s gonna be huge! Be sure to tune in this Thursday for a sneak peek and a big chance at an incredible opportunity and prizes!) But before we get there, I’ve got this darling project to share with you from one of our incredibly talented designers, Kim Singdahlsen. Recently, we caught up with Kim to see how she spent her summer and to check out what she’s been working on!


I asked Kim how her summer has been and she told me she spent much of it with her family watching Colorado Rockies baseball games, cooking favorite meals, organizing photos, and playing family games — TIP: don’t ever try to beat Kim at the board game Sorry! as she plays to win! Maybe the best part of her summer was getting a hang out with her two boys who are going to be busy over the coming school year with one in college and the other just heading into his senior year. Kim shared that they each were given a terrific summer project:
Each boy was fully responsible for sprucing up a room in Kim’s house – organizing, painting, staining, changing light fixtures, and all the unexpected hurdles. They came out of this summer with pride in their work and confidence in their ability to get it done (or at least Google the answers!) And, Kim came out of the summer with a fresh new look in her kitchen and bathroom! Sounds like she’s got two handy and crafty guys (and they are handsome to boot!)…

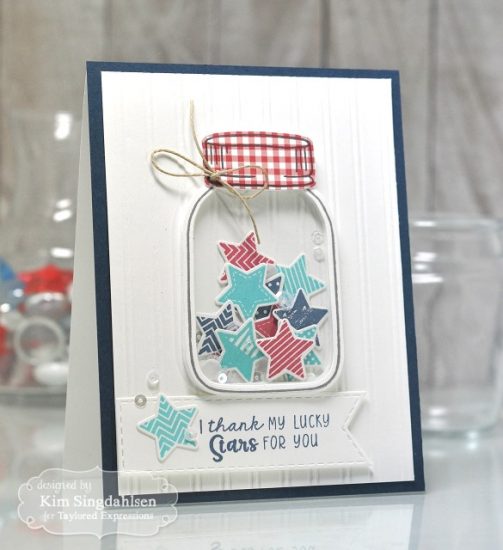
Kim told me that she also had them change out all the lighting in her craft area and she just loves being able to see so well when she creates. If today’s project is any indication of better lighting, her boys did a fabulous job as Kim’s shaker card is one of the cutest I’ve seen of late! Here’s a note from Kim about her project:
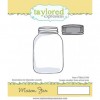
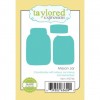
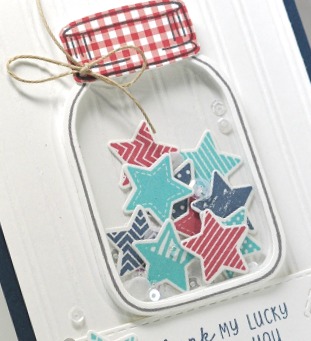
The Lucky Stars Stamp & Die Combo is a great stamp for shaker cards! The stamp includes 9 patterned stars and the die cuts them all at once, so it was very easy to fill up my Mason Jar! I’ve become a much bigger fan of shaker cards since I discovered foam adhesive sheets. I used to try to cut foam tape to fit the shape, but die-cutting from an adhesive foam sheet is so much more convenient and the Mason Jar coordinating dies includes a die that will cut out the center of the image — I cut a piece of acrylic using the outside die (solid, without the center). I stamped, then cut the paper and foam with the center of the die in place. Here’s a tip for this die: this is the one time that I didn’t try to trim down those pesky metal tabs on a die. You know what I’m talking about – the ones that stick out after you cut a die set apart that can draw blood because they are so darn sharp! If you cut the center piece from the die set and leave the tabs on both sides – you can easily line up the inside with the outside to cut them at the same time, which you want to do to get the paper and the foam exactly the same!
I love how Kim stamped the jar top on patterned gingham paper and the little bit of twine is the perfect detail. I can’t wait to try making this card in my craft space! Thanks so much, Kim for sharing this card with us. We thank our lucky stars every day that we have designers like you on our Creative Team!
Come back tomorrow, friends, to see what else Kim has been working on! In the meantime, have a joyful day!


