Jul 03, 2018
Frisket Frenzy Day 2: Painted Hollyhocks
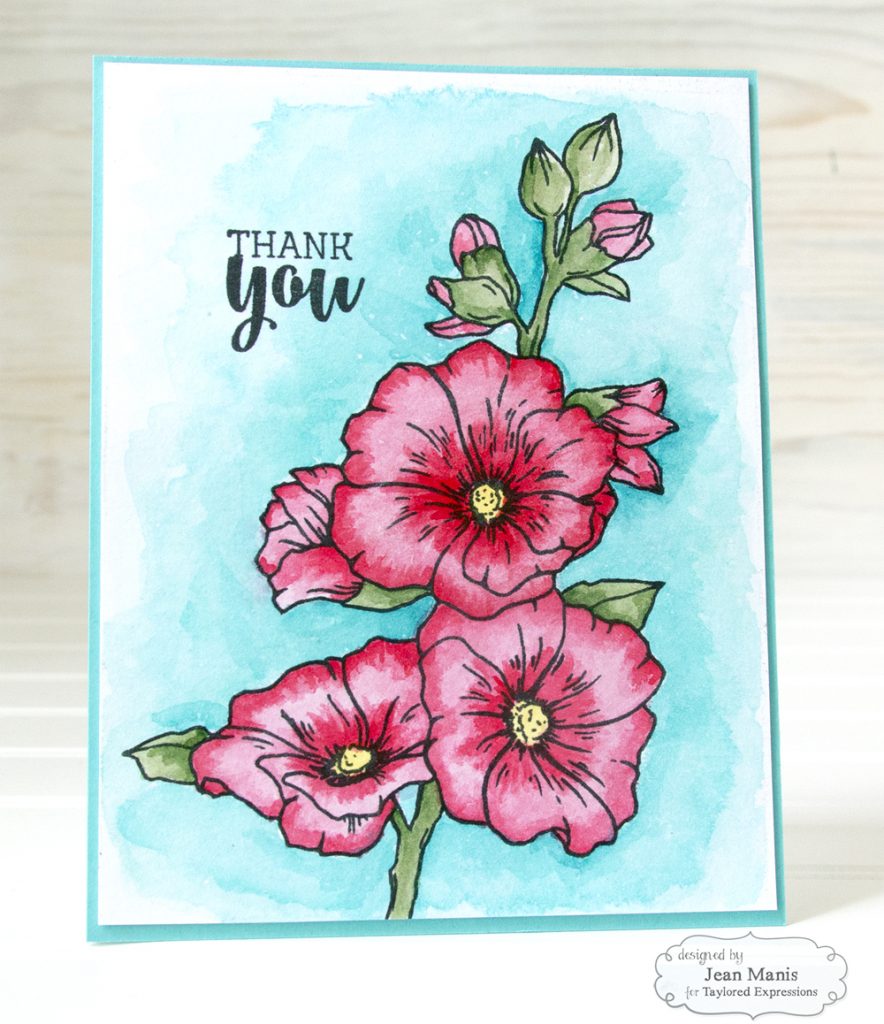
Hey there, crafty friends! I hope you learned something new with the launch of our Liquid Frisket Kit yesterday! There are many ways to use Liquid Frisket on your paper crafting projects and it’s been lots of fun to experiment with something a little different. Today, Jean Manis is going to take us through the process of masking a stamped image with Liquid Frisket in order to add a watercolor wash to the background. Jean admits to being a newcomer to Liquid Frisket, which will be a wonderful thing for all of us and she shares both the successes and challenges she encountered in creating this gorgeous card:
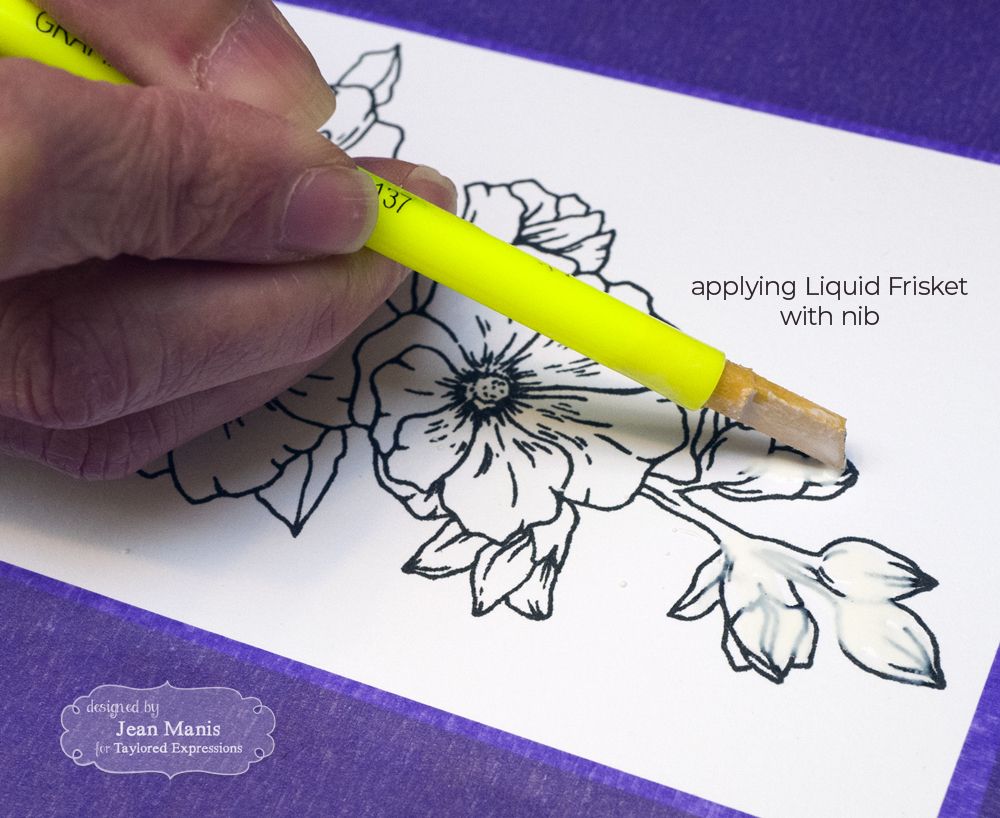
Start by stamping the Big Blooms – Hollyhocks image with Oreo ink (did you know TE’s Oreo ink is waterproof?) onto a TE Watercolor Cardstock panel, which is included in the Liquid Frisket Kit. Then tape the stamped panel to the hardboard with Purple Tape. This keeps your piece in place while water coloring and also keeps your paper from warping and bending with wet applications.
Tip: Before dipping the nib into the Frisket, dip it into water and blot off any drips with a paper towel. Frisket dries quickly, so it’s helpful that the nib is frequently dipped into the water to keep the Frisket from clumping onto your nib. Try dipping once into water for every two times that you dip into the Frisket and applied it to the image. It’s easy to tell when it’s time to dip into the water; the nib will begin pulling the dried Frisket away from the paper.
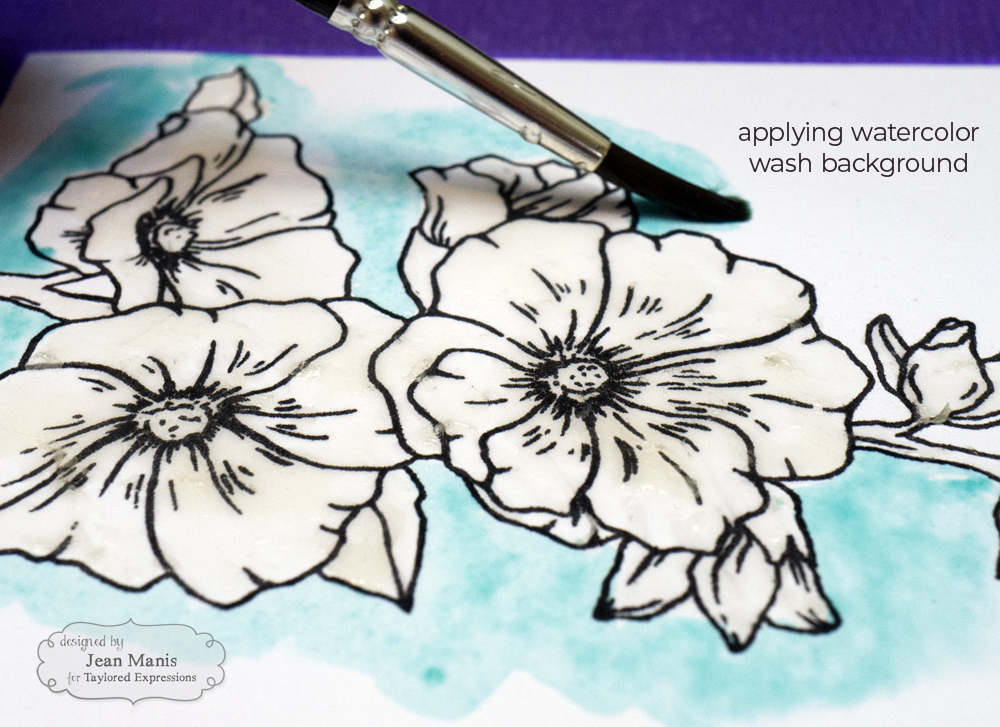
The angle of the nib can be used to apply the frisket against the stamped image outline and get into smaller parts of the image.
It takes several hours for the Frisket to dry completely. Jean left her project to dry overnight, however, if you want to speed up the drying process you can use a hairdryer or an embossing gun. Caution: If you choose to use an embossing gun, make sure you stay at least 6″ away from the frisket while you’re drying it. If you get too close, the Frisket will crackle and pop and you will not get the desired outcome when you add water to your project.
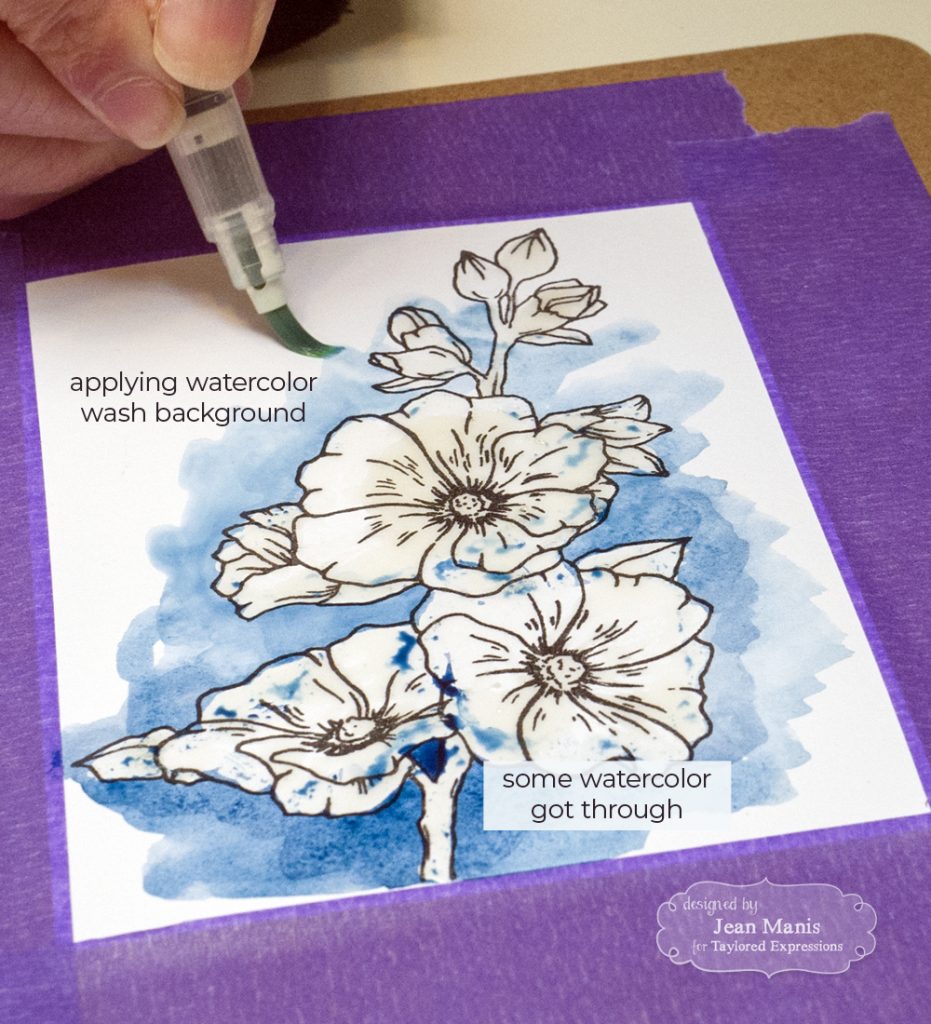
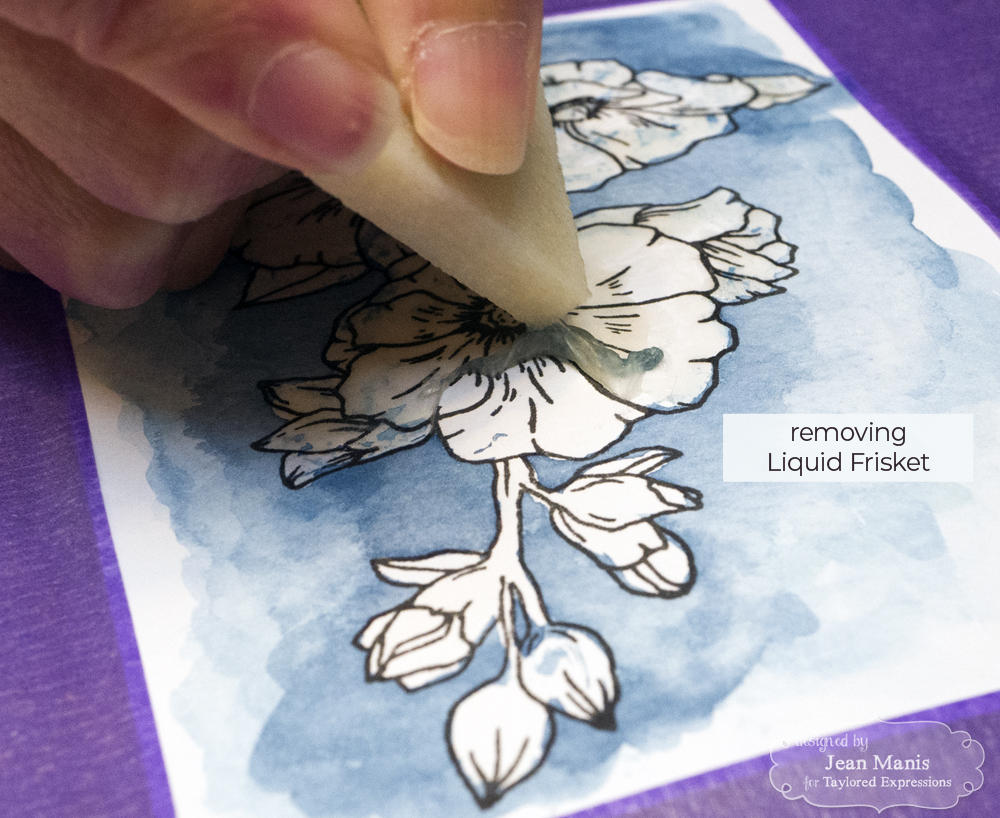
On the first background, Jean applied a Blue Corn Liquid Watercolor wash (five drops of water to one drop Liquid Watercolor). She brushed the wash across the masked image. The area covered with Liquid Frisket will resist the color application so there’s no reason to brush anywhere except along the edges of the image. There were places on the stamped image in which there was not full coverage of the Liquid Frisket, and you can see a few spots where the color seeped through onto the image.
With the second attempt, Jean applied a Cookie Monster Liquid Watercolor wash (five drops of water to one drop Liquid Watercolor). This time, she brushed water on the watercolor paper before applying the wash using the wet-on-wet technique.
Make sure your project is completely dry (which took an hour or so) before removing the dried Frisket with the remover square included in the kit. Again, you can speed up the drying process with a hairdryer or embossing gun (with caution).
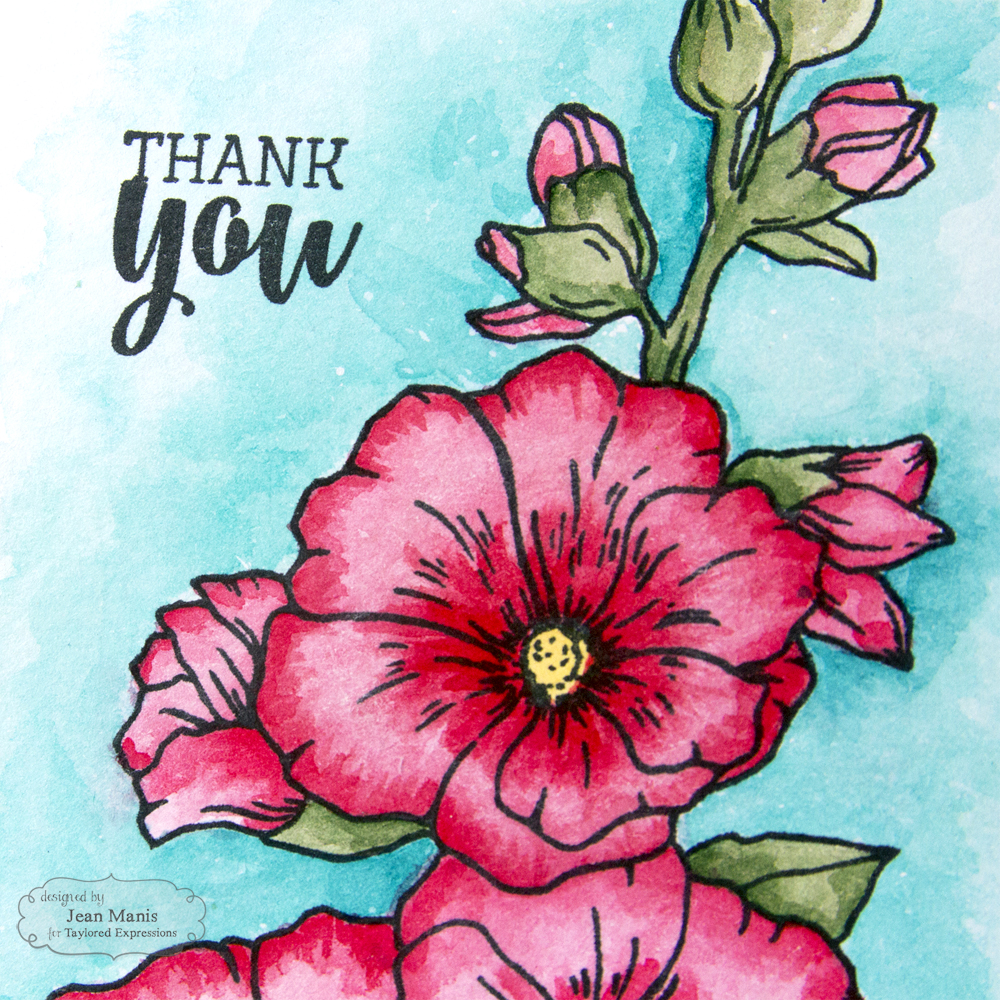
After removing the Frisket, you’re left with your stark white image to begin applying color. Jean used Peapod, Lemon Meringue, and Guava to watercolor the Big Blooms – Hollyhocks image. If there are areas where you’ve gone outside the stamped edge with the Liquid Frisket, you can carefully fill those in with the Cookie Monster wash after the Hollyhocks are dry.
Thanks so much for tuning in today! I hope you’ve enjoyed this tutorial for using Liquid Frisket to mask an image and create a watercolor wash in the background! Have a great day!


