Oct 31, 2019
Create a Fall Wreath With Liquid Watercolors + A Bonus Holiday Version!
Hey, crafty friends! Happy Halloween to those of you who are celebrating, dressing up, trick or treating, or maybe just staying in and treating yourself to your favorite candy. I am in that last category for sure and will be indulging in a few of my favorites!
I have a fall project to share with you today and I created a bonus holiday option in case you are over fall crafting and ready to keep going with your holiday projects. But first, you need to know about the one day Halloween sale going on at the Taylored Expressions webstore:
Select Halloween items are 31% off today only! Head on over to check out the sale and stock up on your Halloween favorites that you can use for next year’s projects.
Alright, let’s get on to the video for today’s projects!
In the video, I show you how to stamp with liquid watercolors using the Foliage Background stamp. I am sharing a fall version similar to a card I created for the August release and then changed up a few colors and details for a holiday version. I share a few tips and tricks in the video to help you be successful with this technique!
Stamping with liquid watercolor results in a beautiful effect. It’s obviously not something you would choose for any stamp design, but it’s perfect to do with a rustic image like this one.
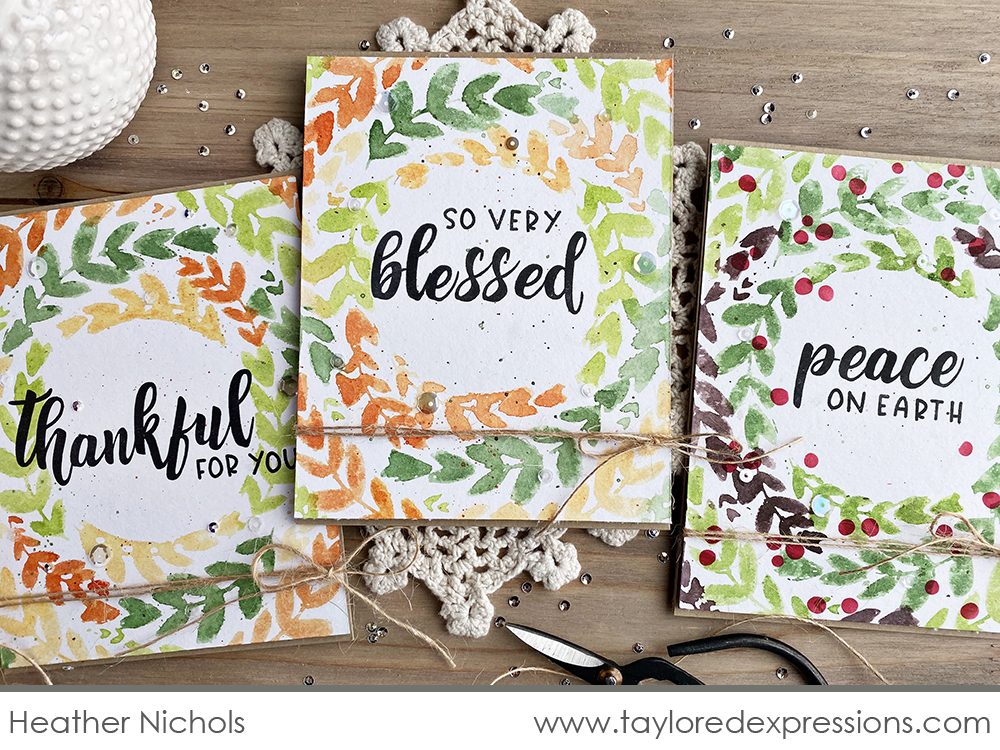
Here’s a closer look at both versions of the project:
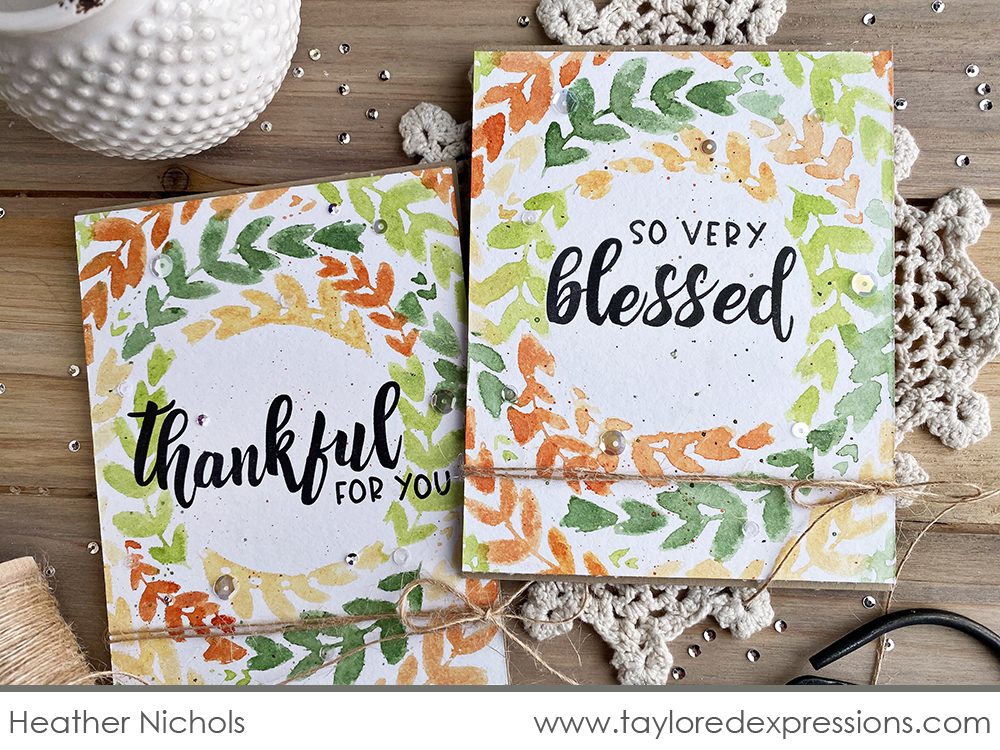
For the fall version, I stamped the wreath with Peapod, Lime Zest, Candy Corn, and Pineapple liquid watercolors. I created custom sentiments for each of the cards using the Handlettered Alpha clear stamp set. I stamped the larger words with the script letters and completed the sentiment using the small uppercase letters that are included in the set.
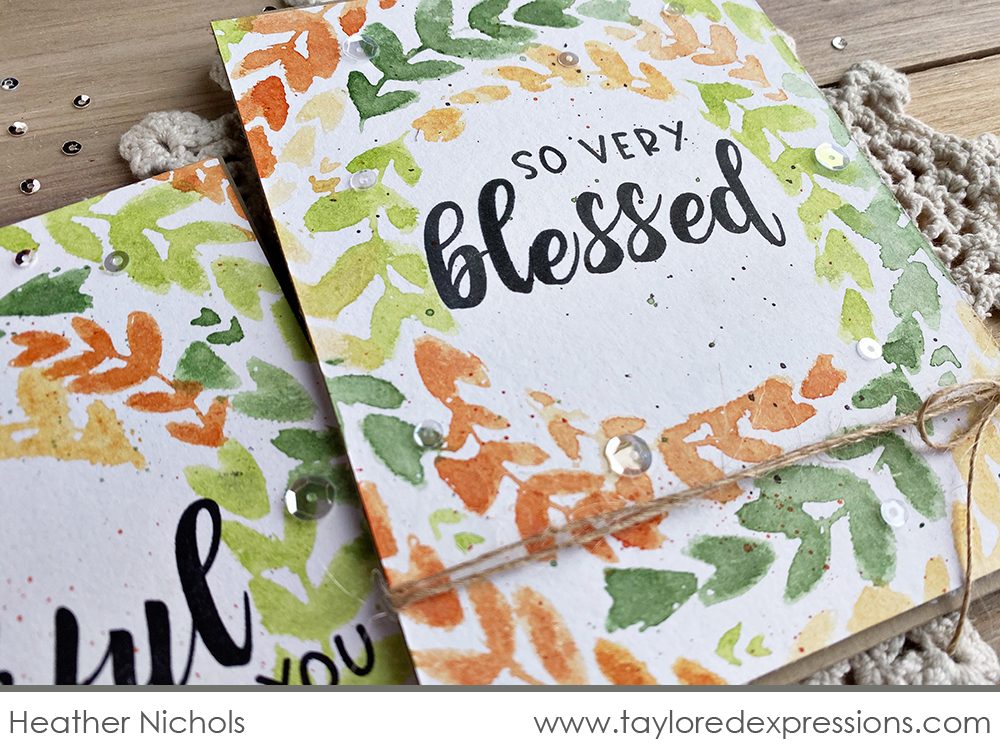
I finished the card off with some burlap twine tied around the card in a bow and a few sequins scattered around the wreath design.
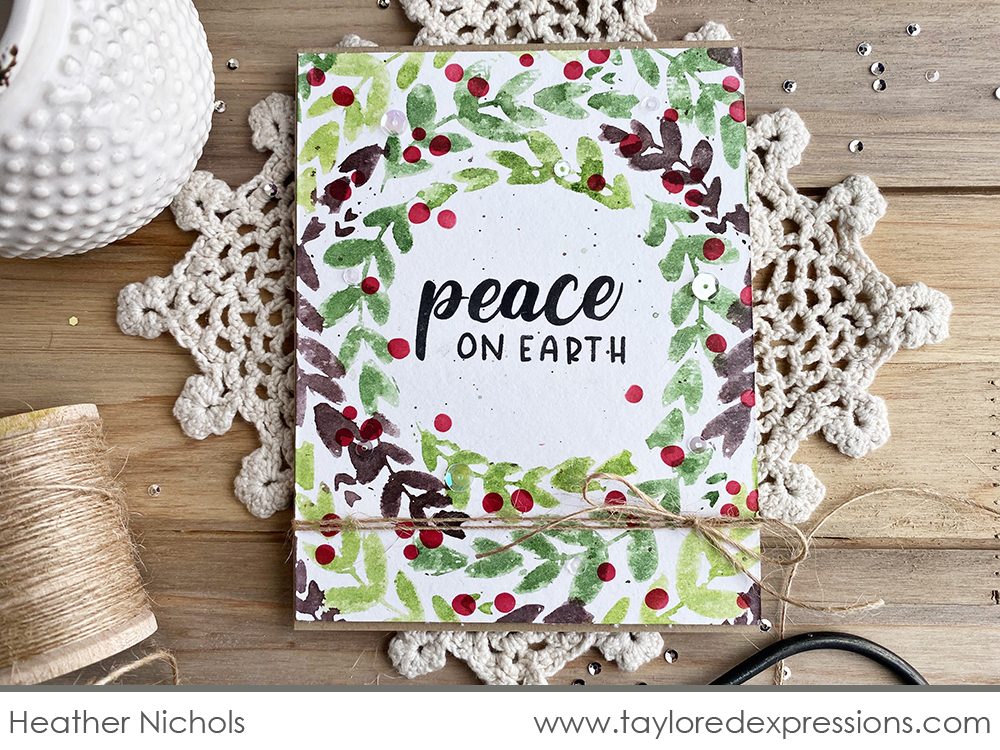
For the holiday version of this card, I stamped the wreath with Peapod, Lime Zest, and Chocolate Truffle liquid watercolors. I added berries to the wreath by applying Cherry Pop ink through the berry stencil from the Modern Holly Layered Stencil collection. The small circle from the Masking Stencil – Circle set was perfect to mask the center of the wreath to leave room for my custom sentiment.
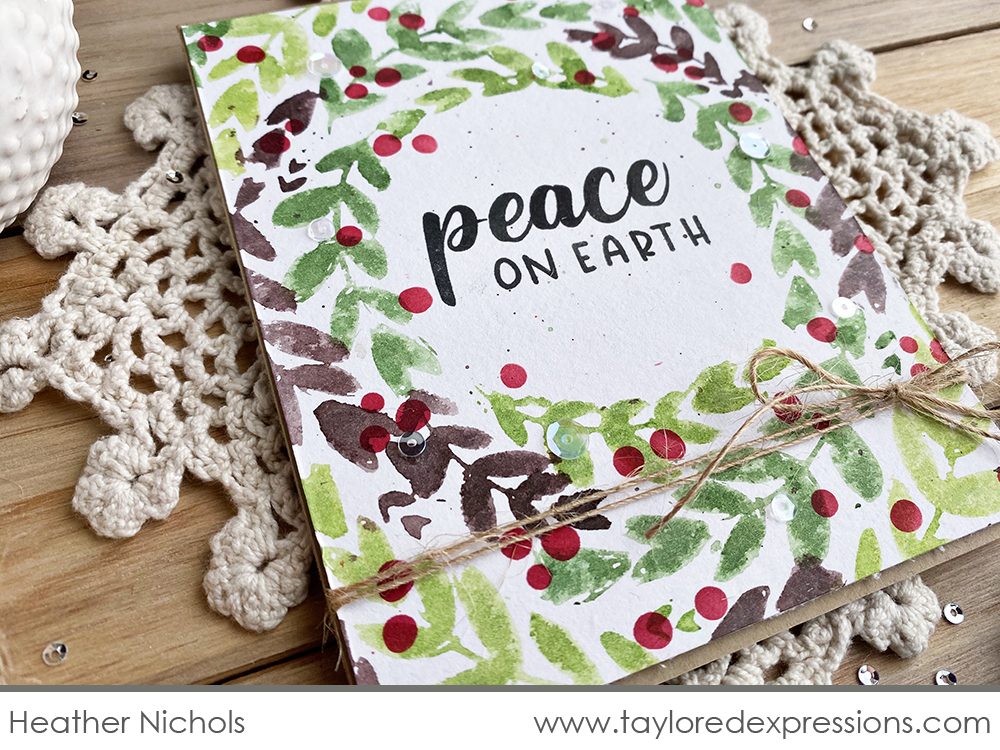
This card is finished off the in the same way at the fall version with some burlap twine and sequins.
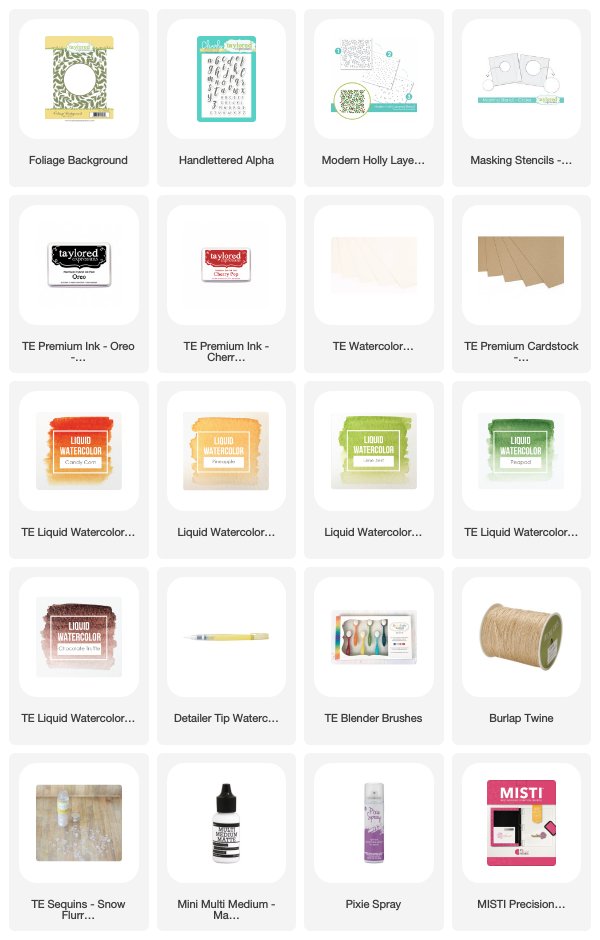
Check out the list below for the supplies that I used on these projects:

Don’t forget that today only, you can pick up select Halloween items for 31% off in the Taylored Expressions webstore! Thanks so much for stopping by today and make sure to check back again next week for more crafty inspiration – especially if you are looking for ideas and inspiration for easy to mass produce cards for Christmas!
Did you know that you can subscribe to our blog and get our posts right in your inbox? Just sign up right HERE – that’s all there is to it to make sure you don’t miss any of our crafty inspiration!


