Feb 17, 2020
Hop to It! It’s time for February Sneak Peeks
Hey, crafty friends! It’s Taylor here today – it’s hard to believe we’re halfway through February! The winter weather seems to be turning a corner as we enjoyed temps in the upper 40’s over the weekend. The warmer temperatures (and the beautiful florals in this month’s release) are putting me in the mood for spring! All of our new products will be available TOMORROW (because I hate waiting) – so grab a cuppa and settle in while I introduce you to all of the new goodies coming your way!
As you know by now, the Creative Team and I have been busy getting crafty and we’ve got lots to share! Here’s an ‘at-a-glance’ look at the February Release and what you can expect here on the TE Blog this week:
- This release includes over 30 new products – stamps, dies, a new layering stencil and new Masking Stencil designs, Bits & Pieces, plus a new product called Simple Strips Stacks to ease your stamping of Simple Strips backgrounds ! Everything will be available at the TE webstore on Tuesday, February 18th at 9am CST (Yep, that’s TOMORROW!).
- Each day (Monday – Thursday) will feature a new how-to tip, technique, or process video.
- Get a chance to win it before you can buy it by commenting with your answer to my Question of the Day today only (located at the bottom of today’s blog post)
- Last, but certainly not least – you won’t want to miss this month’s special offer (details below).
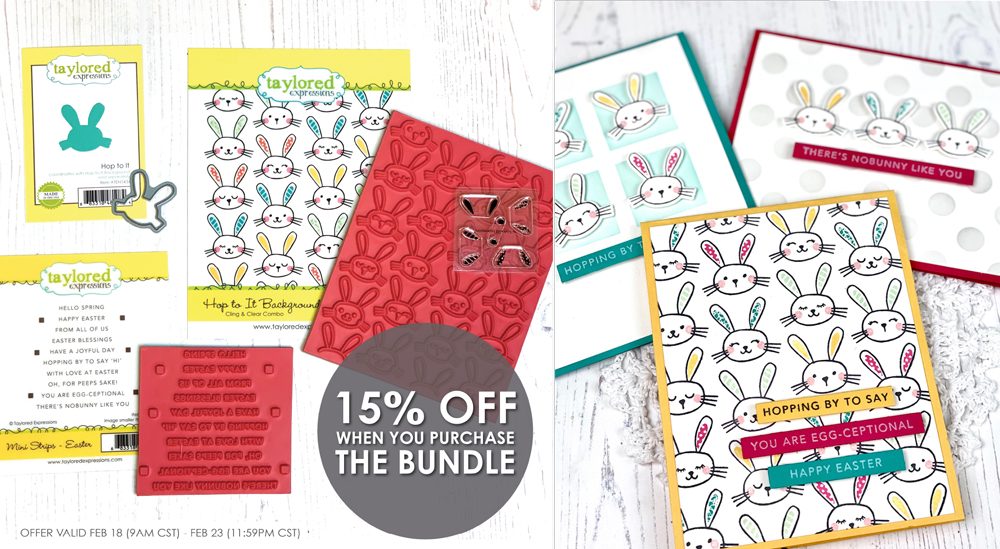
Purchase the Hop to It bundle and receive 15% off the three items included! The Hop to It collection includes the Hop to It Background stamp, the coordinating Hop to It die, and the Mini Strips – Easter stamp. This offer is valid Tuesday, February 18th – Sunday, February 23rd.
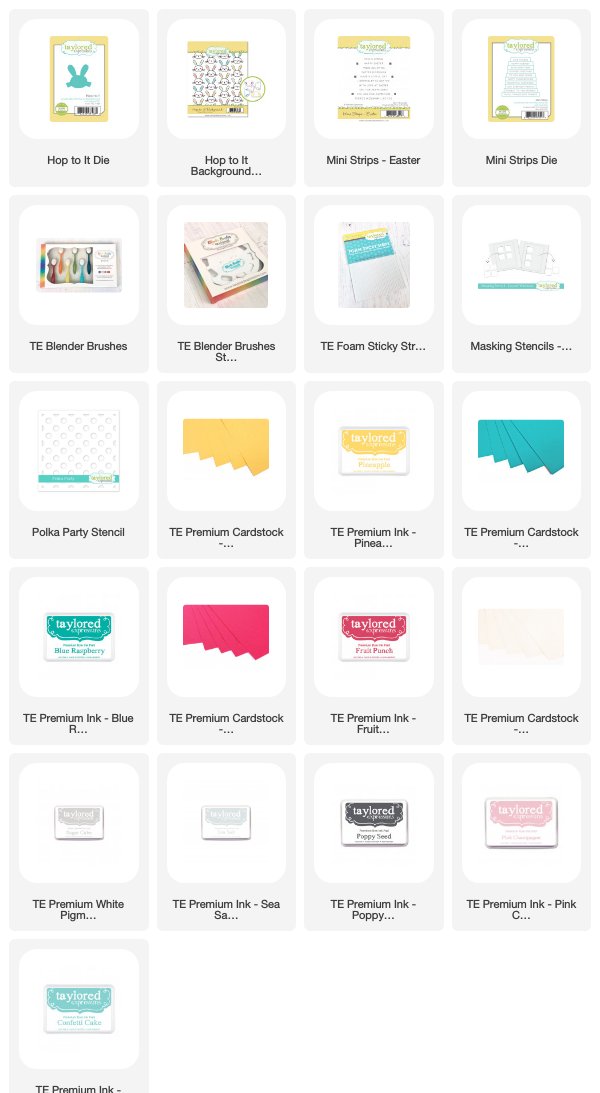
For my video today, I’m using all of the products in the Hop to It Bundle! And lemme tell you – after finishing these cards I texted Heather (who designed the Hop to It products) to tell her that I couldn’t remember having more fun stamping lately than I did with this adorable Cling & Clear Background stamp! I just smiled at these adorable bunnies the whole time – so simple, yet so many possibilities!
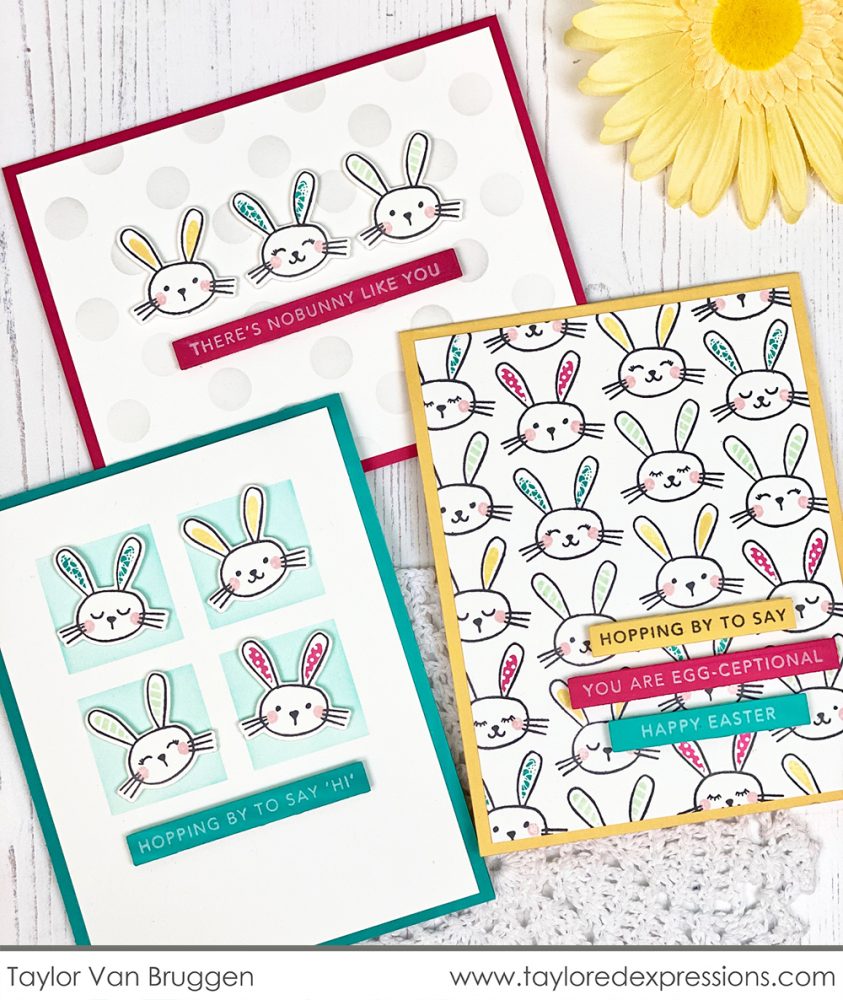
In the video below, I’ll show you how I used the rubber background stamp to stamp two full panels, filling the ears & cheeks with the included clear stamps and using the coordinating die to cut the bunnies out and arrange them individually to create two additional cards.
I added a few more products like the Polka Party Stencil and the new Square Window masking stencil along with the Mini Strips – Easter stamp for the sentiments.
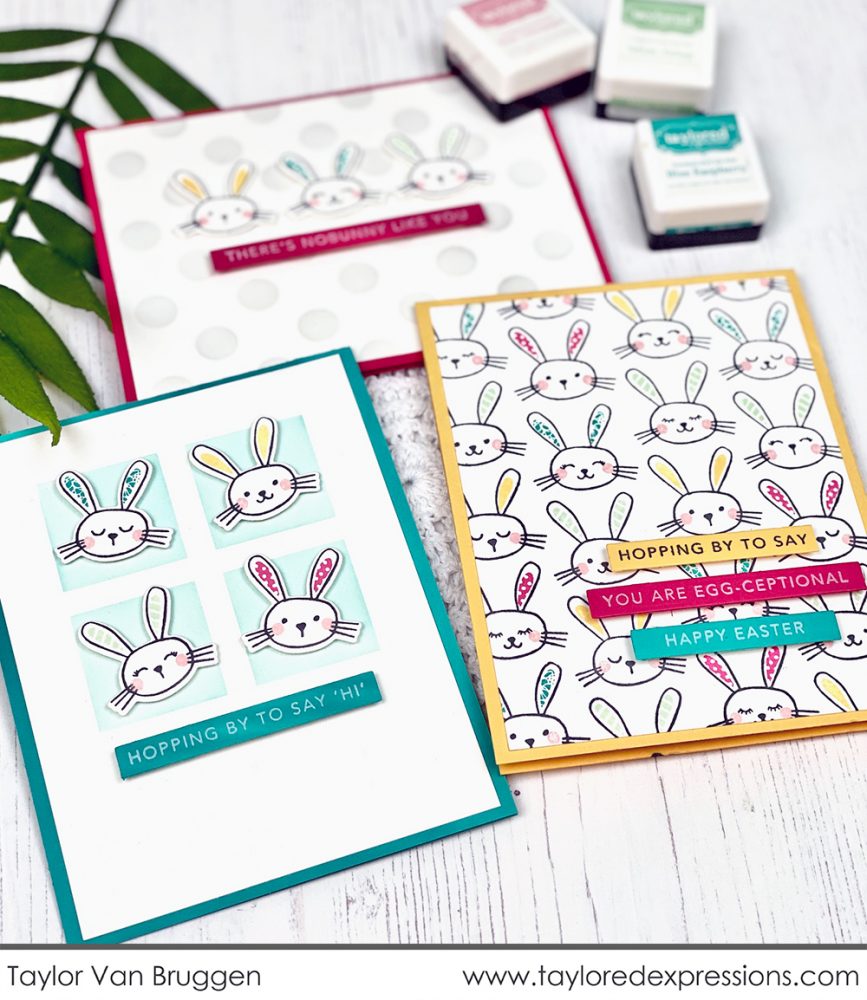
These bunnies can multiply quickly (hehe) which is a good thing when you’re using them on cards (but not such a good thing when they’re eating your garden… lol… I crack myself up).

Now that you’ve seen my project for today, here’s the rundown of the new February release products that will be live tomorrow, Tuesday, February 18th. There are so many great new products and I know that you’re going to love all of the inspiration from the Creative Team!

Here’s a look at the products included in the Hop to It Bundle. The Hop to It Background is a Cling & Clear combo set that features a whole crowd of bunnies to fill up your card front. Use the clear stamp ear patterns and cheeks to quickly and easily add color to the bunnies. Die cut one bunny or a bunch of bunnies using the coordinating Hop to It die.
The new Mini Strips – Easter stamp is the newest addition to our Mini Strips collection. The set includes 10 Easter themed sentiments that you can die cut with the original Mini Strips die or the Mini Strips – Asymmetrical die.

Stamp, stencil, and die cut quickly and easily as we continue adding to this innovative line with the Eggceptional collection. Simply stamp the full background, use the coordinating stencil to add color to the eggs using your blender brushes, and then you have the option to cut out all of the eggs in one pass using the Eggceptional Cutting Plate die.
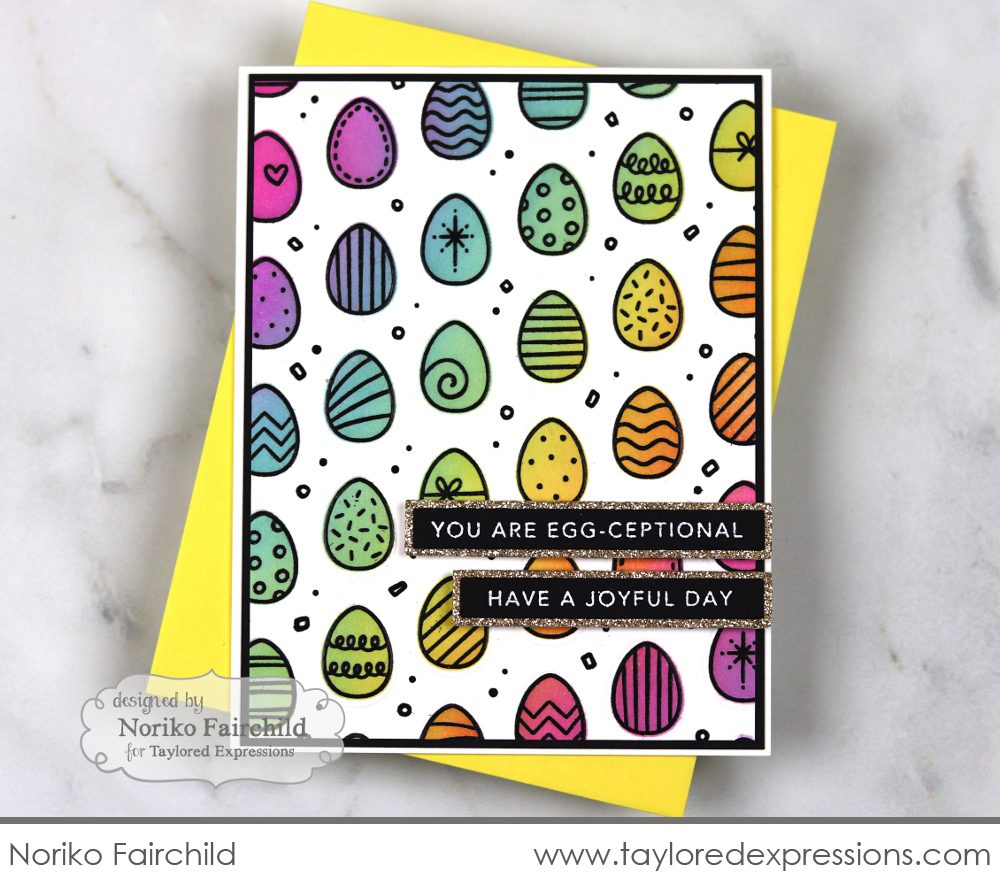
I just love this colorful Easter egg card by Noriko Fairchild! She stamped the background with Oreo ink and then used the stencil to mask the white space and add a rainbow of color to the eggs with her blender brushes. She also used our recently released Mini Strips Backer die to add glittery borders to the sentiments.

Lots of you loved the Tag Team – Christmas kit that was released year. You might remember that it sold out quickly leaving some of you disappointed you missed out! No worries though… we’ve got you covered and we’re excited to release the Tag Team dies from the kit along with Easter-themed stamps and an alpha set perfect for personalizing tags for Easter baskets and treats.
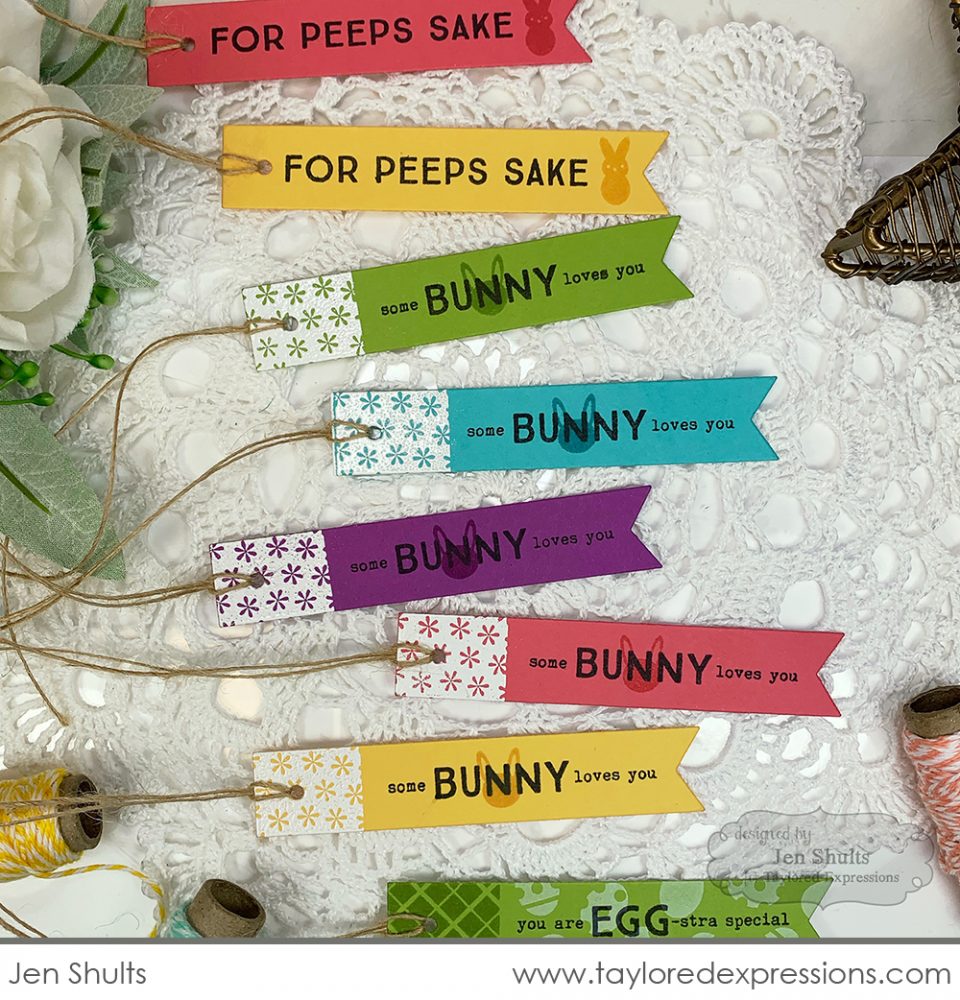
Jen Shults put together a whole rainbow of Easter tags using the stamp set and dies. I love how she embossed the flower design with white embossing powder!

Do you know who doesn’t like Easter with all the glittery eggs and pretty flowers? Big Grumpy, of course! Check out his Easter accessories in the new Big Grumpy – Easter stamp set. The set includes snarky spring sentiments that are sure to bring a smile to your face.
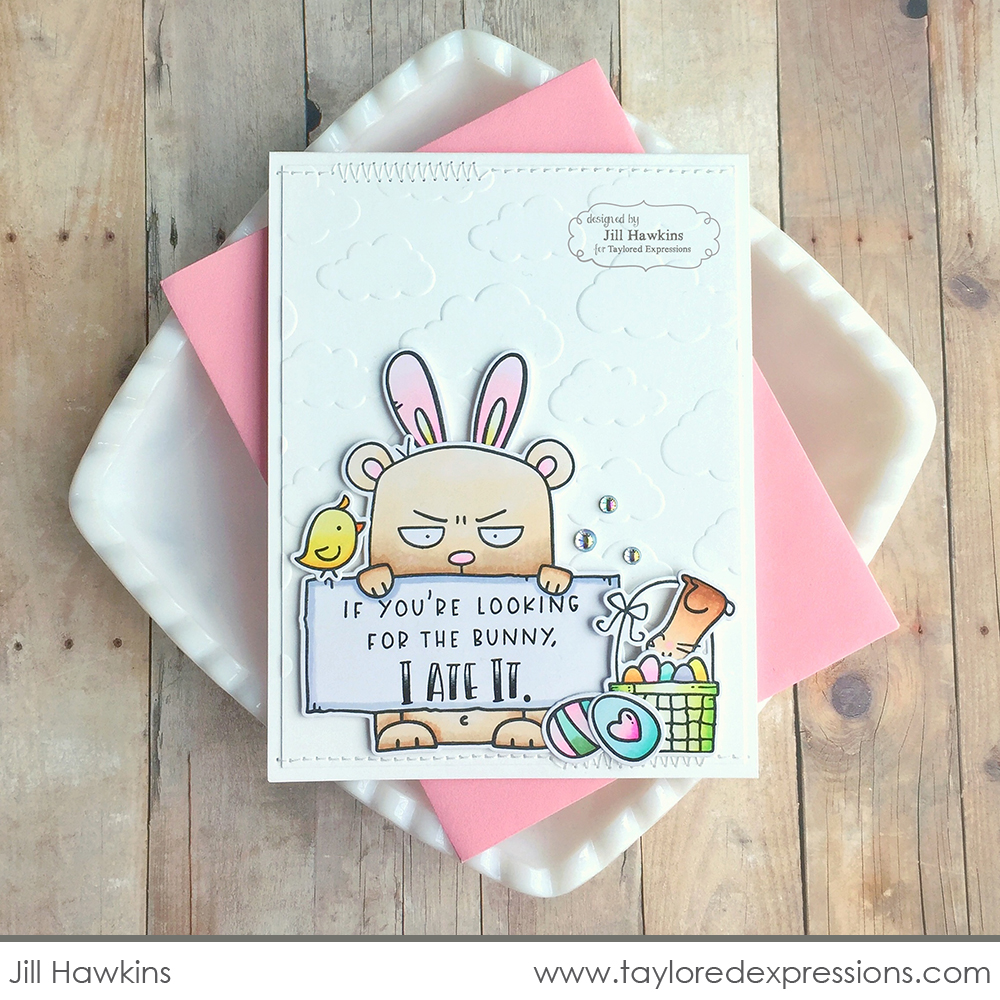
Jill Hawkins dressed up Big Grumpy in bunny ears and as you can see, he looks thrilled. An Easter basket, eggs, and a cute chick complete the scene and I can’t stop chuckling over the chocolate bunny stuffed upside down in the basket!
The opposite of Big Grumpy is the new Bunny Hugs set! The set includes a die to cut a cute bunny for tags and treats along with a small set of clear stamps with two different face options and a tiny nose to stamp in pink. The faces truly make the bunny come to life!
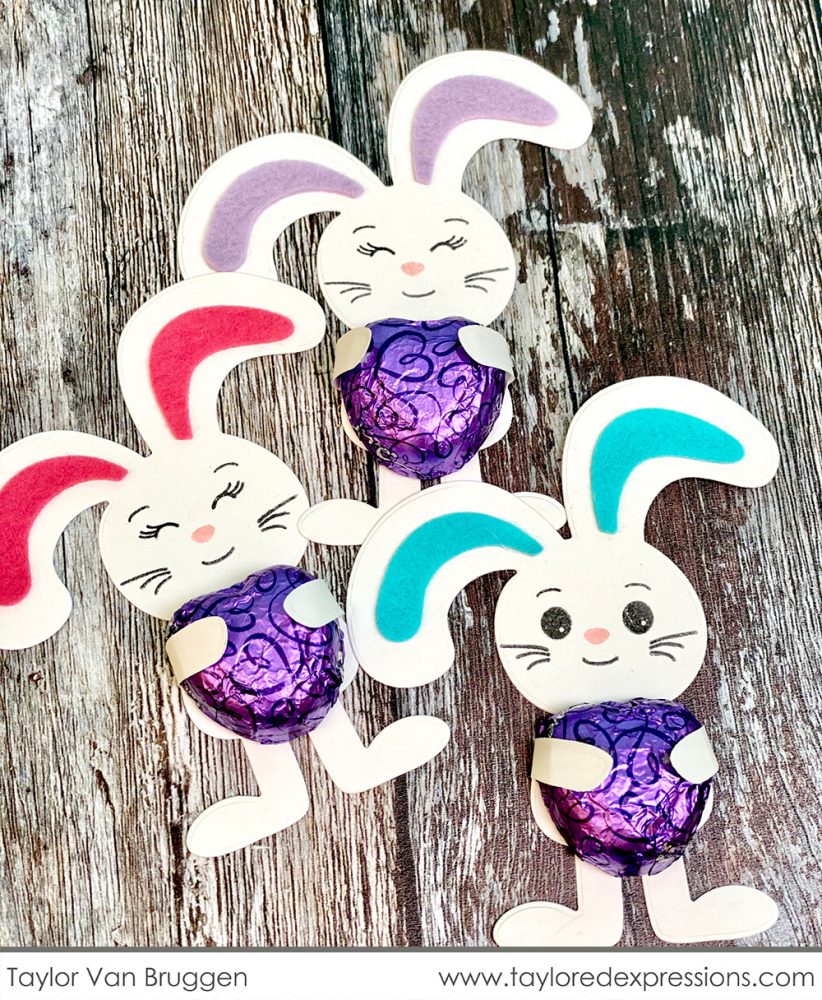
I wrapped tiny treats in the arms of these bunnies (note: Dove chocolates fit perfectly) and completed them with fuzzy ears cut from felt. Glue Dots also did the trick to hold the bunny arms around the candy.
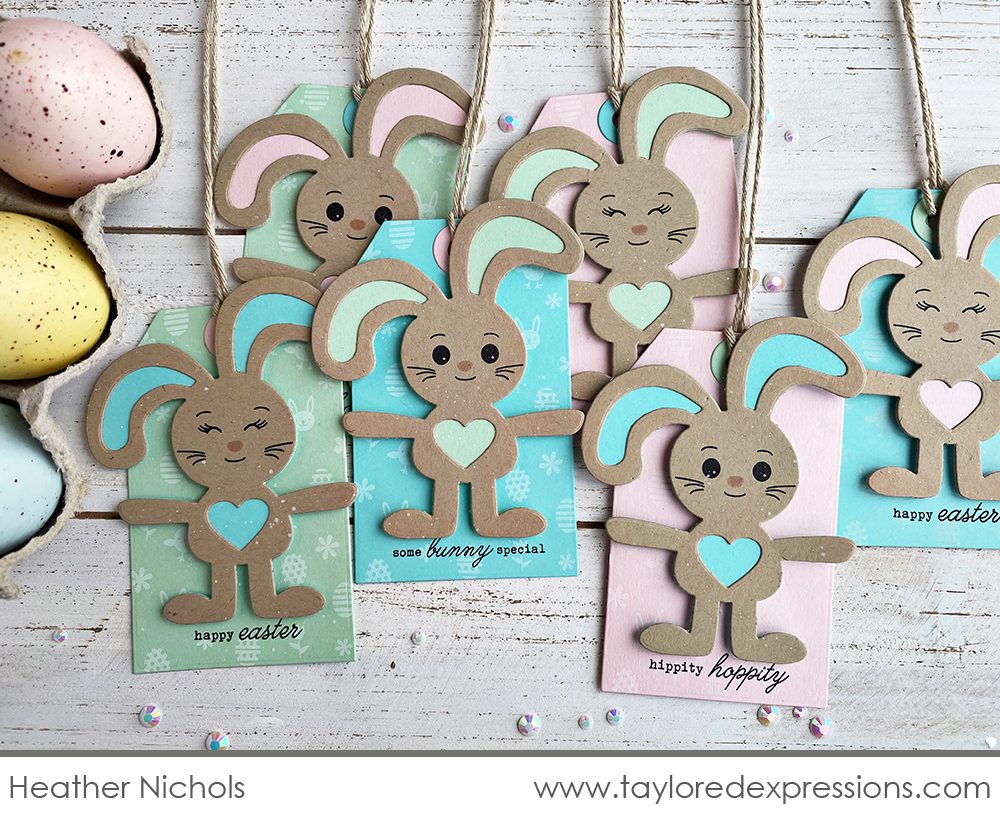
Heather Nichols put together this pile of tags, cutting the cute bunnies from her beloved stash of Toffee cardstock. She stamped the tag bases with images from the All Tucked In – Easter stamp set and added sentiments from the same set.
Speaking of All Tucked In – Easter, this set coordinates with the All Tucked In treat box die and the All Tucked In – Windows dies. You can create cute boxes to package up Easter treats or use the sentiments and images on other Easter-themed projects like Heather did on her tags above.
Every year I enjoy adding to our collection of religious Easter stamps and dies and I’m excited to share these with you for this Easter season.

The Big Cross stamp includes a gorgeously detailed cross that would be beautiful all colored in or simply embossed in a metallic color. You can die cut the cross using the coordinating Big Cross die – don’t miss the detail included in the die. It cuts around the Big Cross stamped image, but it also cuts an additional piece to frame the outside of the cross.
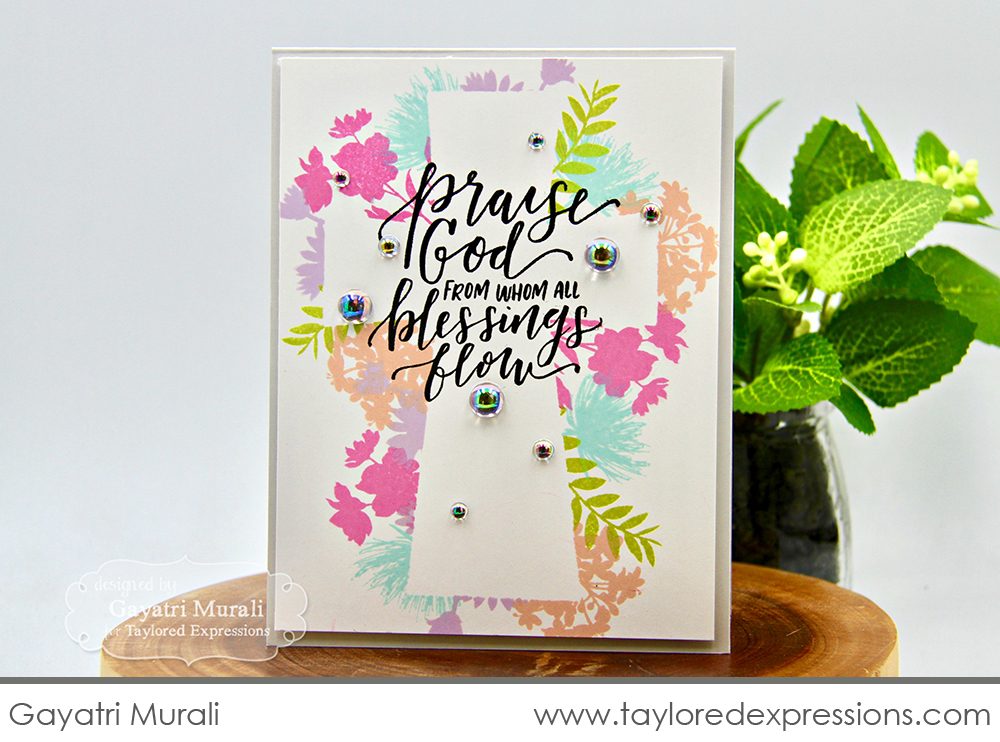
Gayatri Murali used the Big Cross die to create a mask for the pretty flowers on her card. The floral images are from the new Spring Stems set (we’ll talk about that one later). She also stamped one of the sentiments from the Handlettered Hymns set within the middle of the cross.
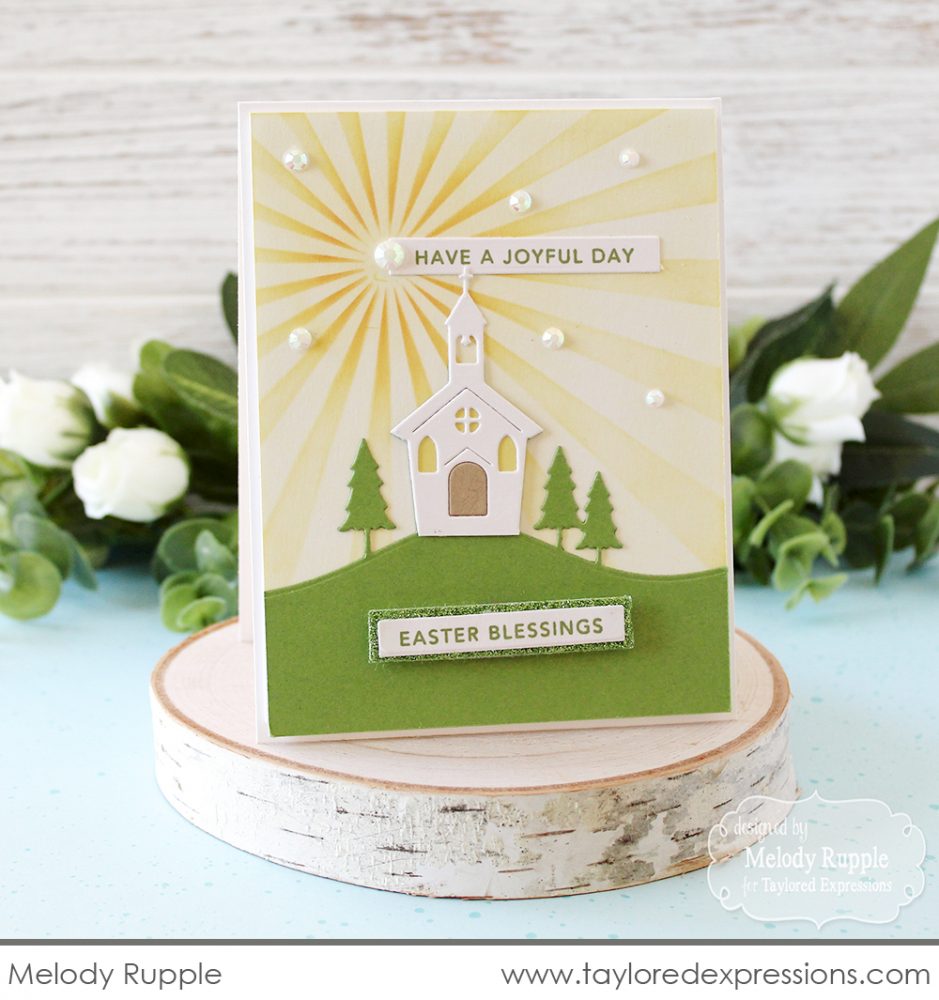
Melody Rupple featured the new Church on a Hill border die on this pretty Easter morning scene. She added a sunburst in the background using the Here Comes the Sun stencil and finished it off with a sentiment from the Mini Strips – Easter stamp.
This year’s religious Easter products are versatile, so keep them in mind for other occasions like baptism, first communion, confirmation, and sympathy!

Next up, the All is Bright Additions stamp & die combo is designed to coordinate with our previously released All is Bright set that featured a vintage style lantern with holiday-themed sentiments. Now you can dress the lantern for spring using the floral elements. And the new sentiments designed to fit in the lantern will expand its usefulness to more occasions.
Remember the Modern Holly Layered Stencil that we released last fall? So many of you told us how much you loved it so we’re excited to introduce another layering stencil for spring that features a pretty leafy floral pattern. Easily stencil the multi-colored design using three different layers that include alignment square guides to line everything up perfectly!
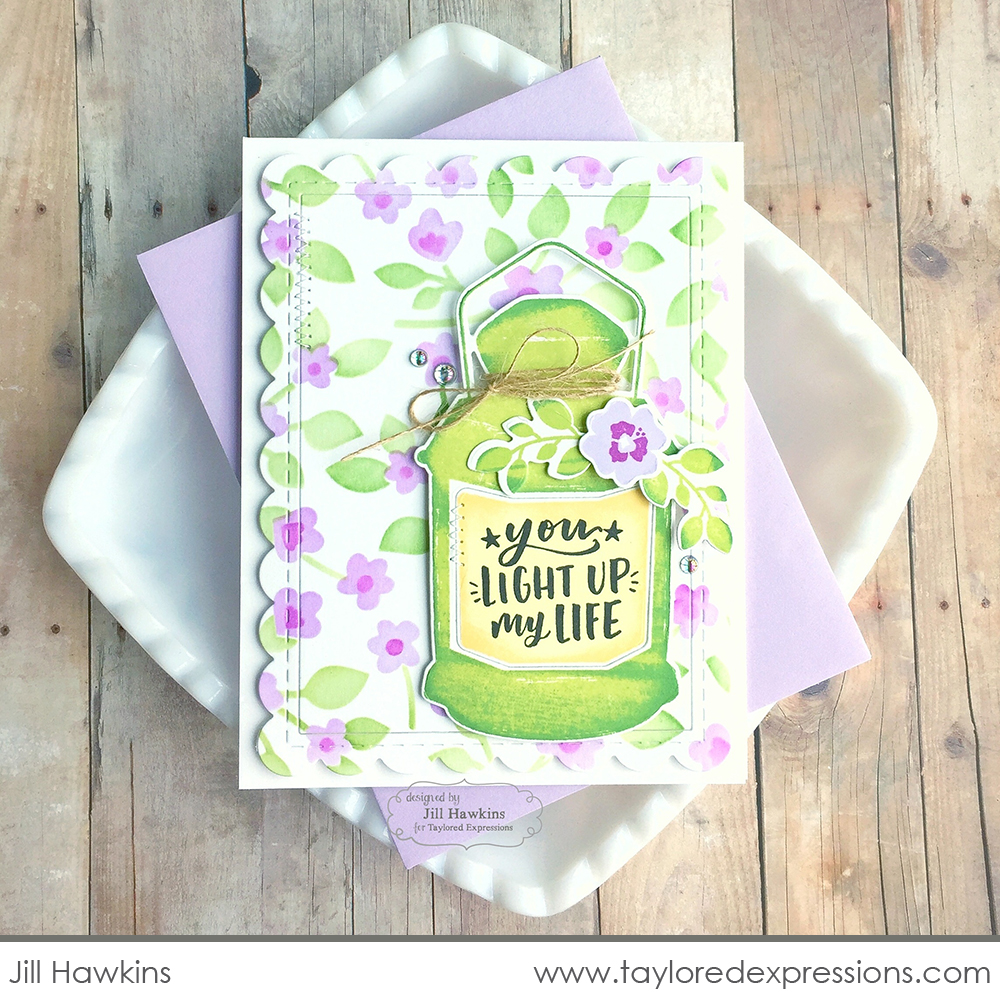
Jill Hawkins coordinated both of these new products perfectly on this pretty spring project! Complete with her signature stitching, this card is ready to send to someone special.
We have quite the line up of beautiful botanicals that are ready to bring some color into your crafty world!

First up is Big Blooms – Daffodils. Grab your watercolor, Copic markers, or colored pencils because these flowers are ready for any medium!
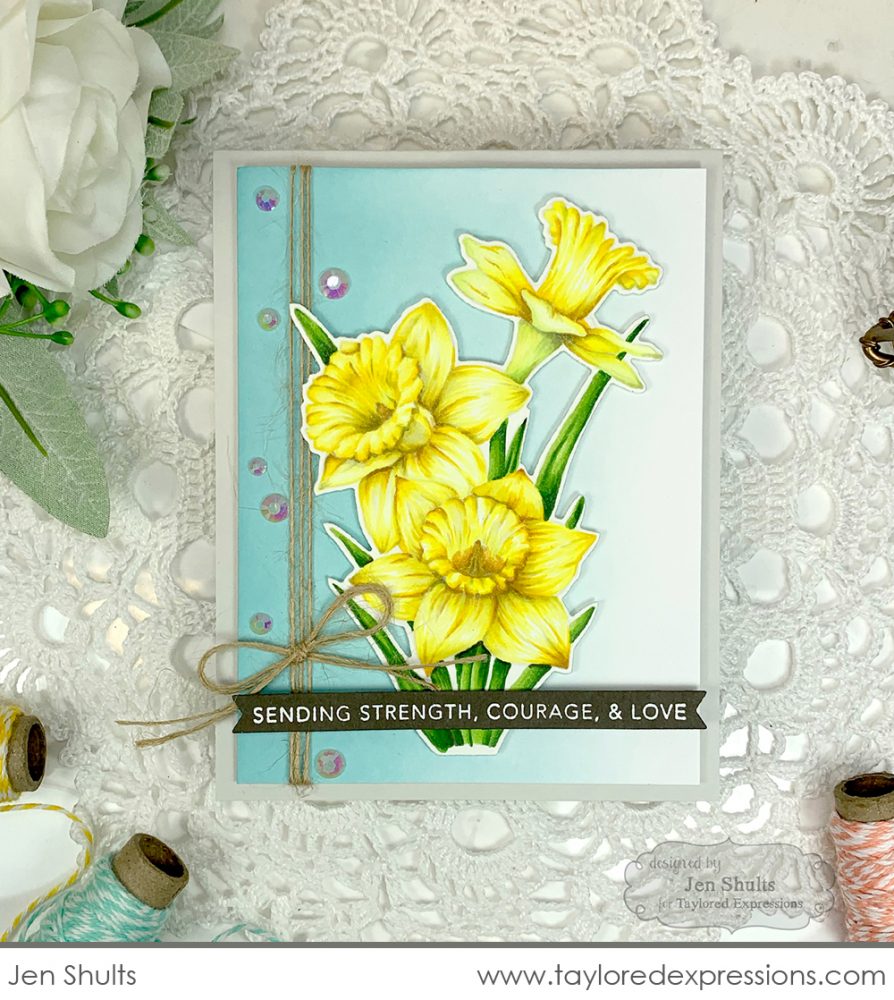
Jen Shults let her no-line coloring skills shine on this card featuring the daffodils. The blended background she created is just perfect for off-setting these bright yellow blooms!
Next, you can fill up your background with flowers using the Botanical Beauty Background stamp. Color it in as you see below or simply stamp in black over a blended background!
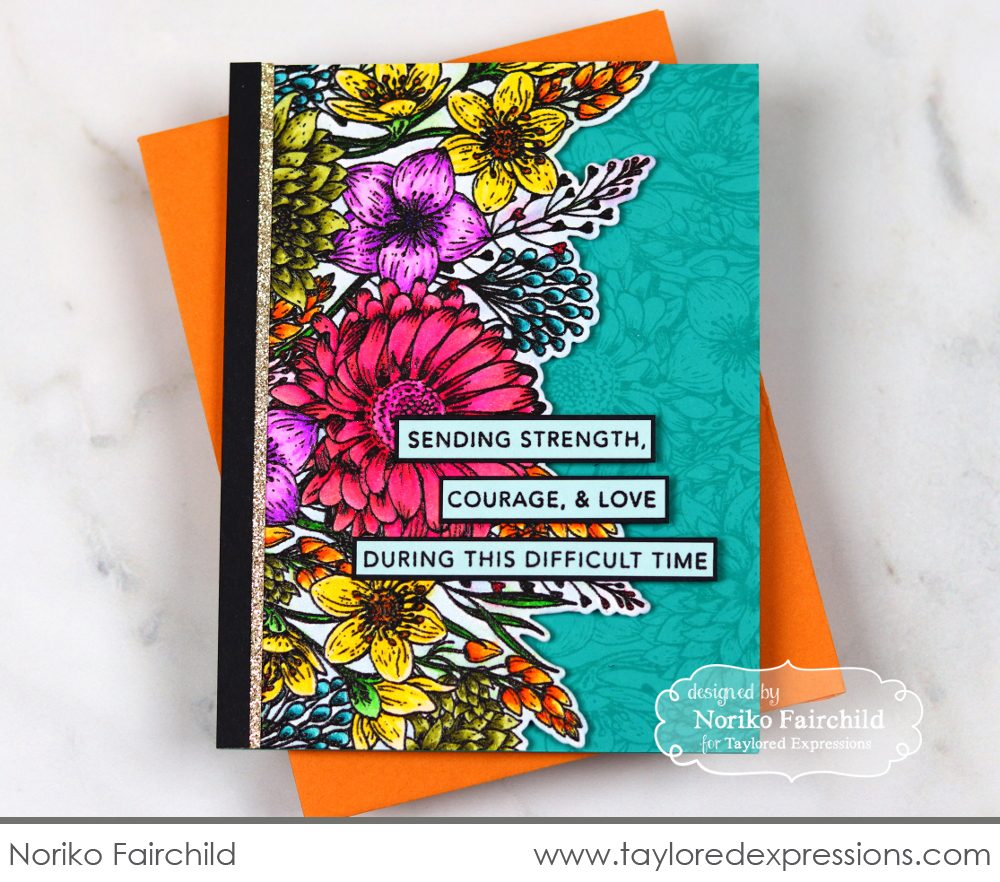
The explosion of color on this card by Noriko Fairchild sure is eye-catching! She colored the blossoms using Copic markers and used the coordinating edger die to trim along the edge. She also stamped the background for a tone on tone effect and even more depth and dimension.

The new Spring Stems clear stamp set includes a variety of botanical silhouettes and butterflies. The coordinating dies allow you to cut out the images to build a bouquet or create a scene of silhouettes.
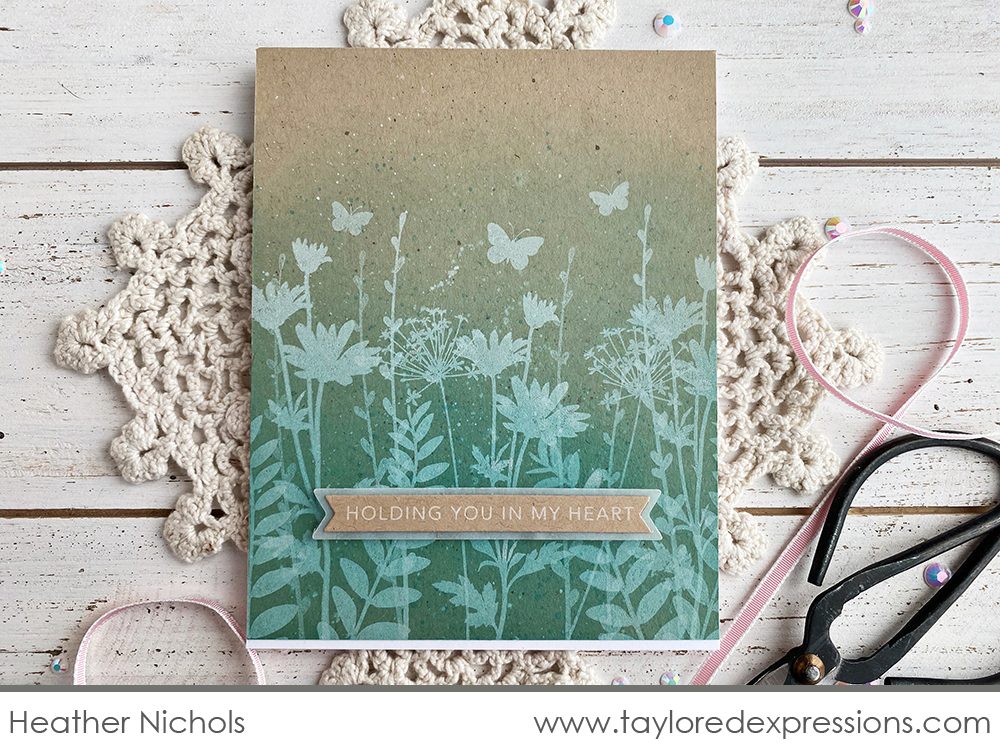
Heather Nichols used the Spring Stems to create a border of wildflowers across the bottom of her card using Sugar Cube ink over a blended background. The effect is so soft and pretty and perfect for a sympathy card.
The In the Meadow Background stamp puts all the pretty stems and flowers from the Spring Stems set together into a background design that you can stamp quickly with one impression.
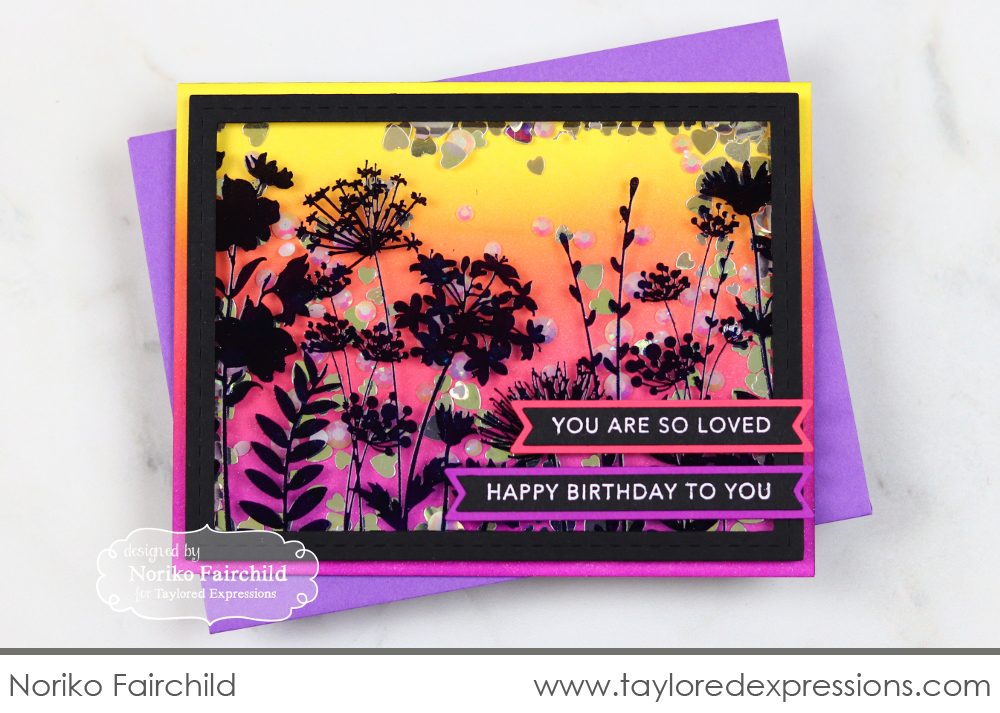
Noriko Fairchild achieved a completely different look from Heather by embossing the In the Meadow background stamp with black embossing powder onto heat resistant acetate to create this bright birthday card. The beautifully blended backdrop was achieved using blender brushes!
Next up, we have several products to help you create beautiful sympathy cards. They can be the hardest cards to make, but they’re often the ones that are most appreciated by the recipient.

The new Aflutter stamp set features a cluster of butterflies with four thoughtful sentiments. It’s the perfect image for sending prayers or sympathy to a loved one, but can also be used for many other occasions.
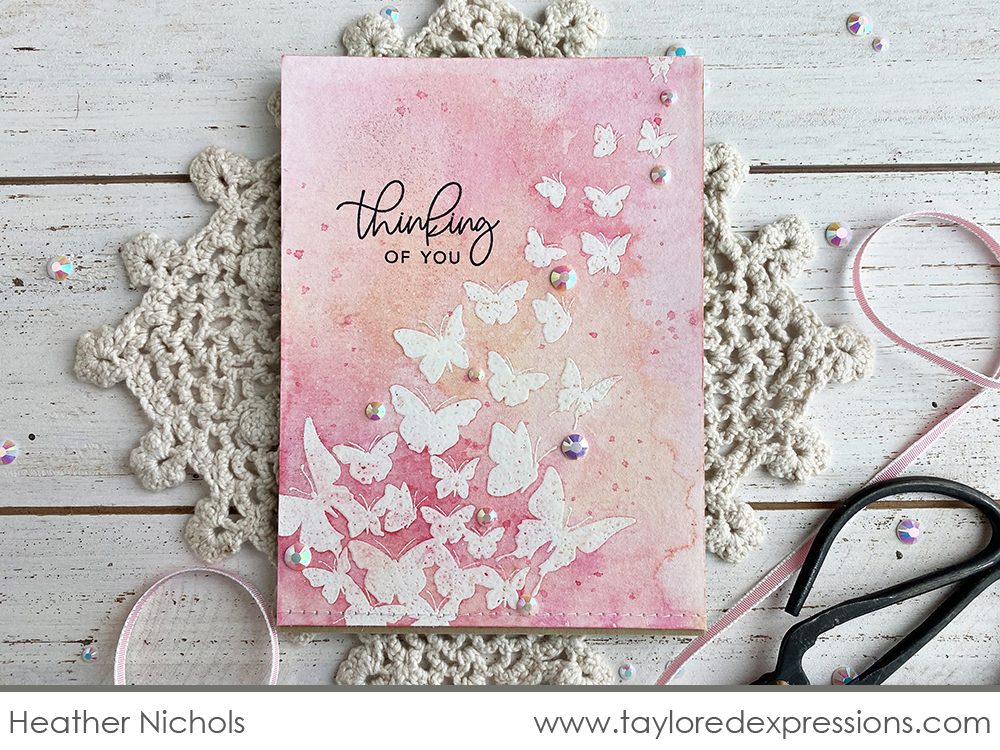
Heather Nichols embossed the butterflies with clear embossing powder onto watercolor cardstock and then added liquid watercolor around the embossed image to create this soft and pretty effect.
Handlettered Sympathy includes four sentiments in a pretty hand-lettered script that can be die cut with the coordinating die collection.
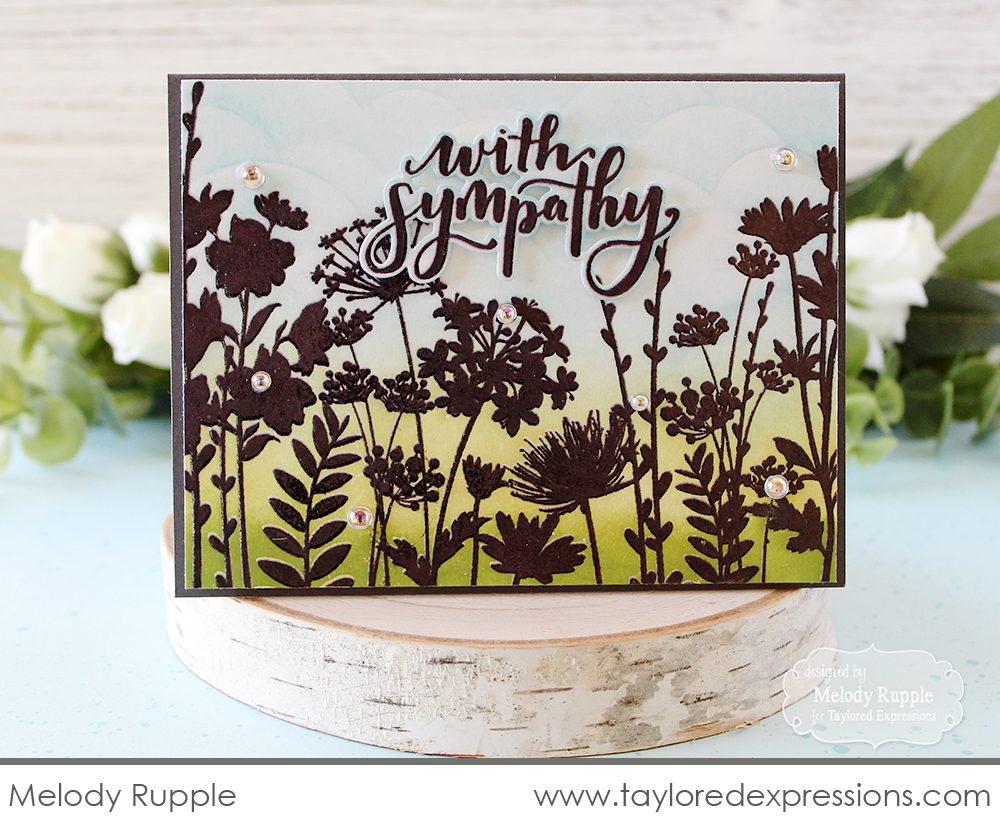
Melody Rupple paired the In the Meadow Background stamp with the Handlettered Sympathy set on this beautifully blended card. I just love the calming blue and green tones that she used.
And last, but CERTAINLY not least, we’re adding to our Simple Strips collection with the Simple Strips – Sympathy stamp. Featuring 18 sentiments to express condolences, love, and support during a difficult time. Keep an eye out for these sentiments sprinkled throughout the inspiration we share this week!
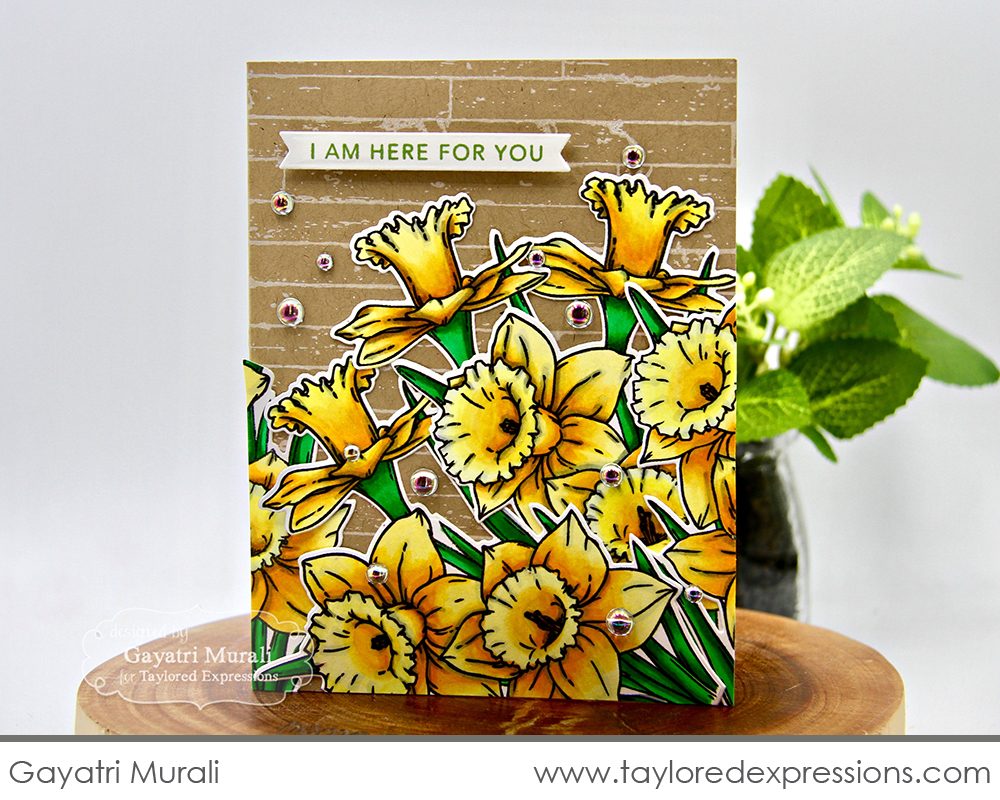
Gayatri Murali colored up a beautiful bouquet of daffodils using the Big Blooms – Daffodils stamp. You wouldn’t want to cover up these beautiful blooms so a small sentiment from the Simple Strips – Sympathy set finishes the card perfectly.

New masking stencils will be added to our line up this month! Masking Stencil: Square Windows includes 2 stencils: one with a four-pane arrangement and one with a three-pane arrangement. Plus, the negative squares are included for even more masking possibilities!
You’re also going to love our new Stripe Stencil Sets! We have three sets with stripes of varying widths: 1/2 inch, 3/4 inch, and one inch. Add multi-colored stripes vertically, horizontally, and diagonally with the easy-to-use etched alignment guides on each single stripe stencil.
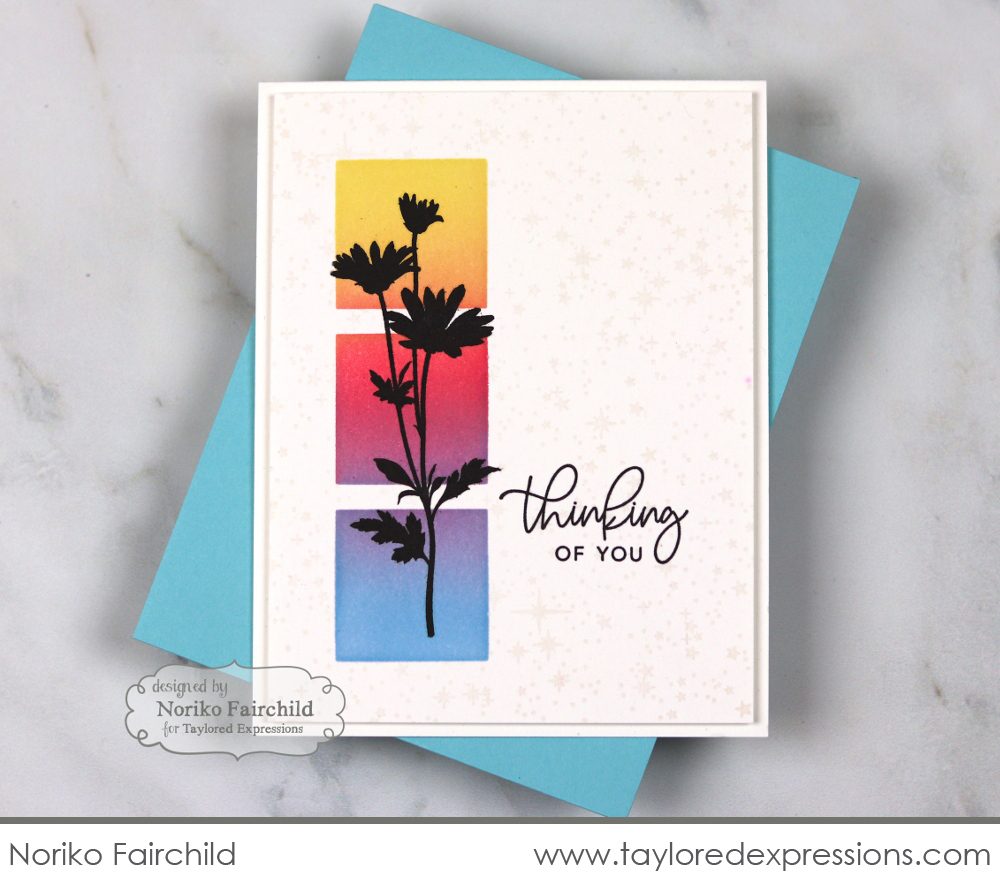
Noriko Fairchild added a colorfully blended border using the three-pane stencil. One of the silhouettes from the Spring Stems set perfectly finishes this simple ‘thinking of you’ card.

Jill Hawkins created a beautiful rainbow striped background using the 1/2″ Stripe Stencil Set. I love how she overlapped her stripes to create the perfect backdrop for the Eggceptional Background stamp.
We’re in the home stretch and I have just a few more products to share with you!

Don’t miss our Bits & Pieces – Rhinestones! You’ll find yourself wanting to add these iridescent white rhinestones to every project! Keep an eye out on the Creative Team inspiration as they’re sprinkled in everywhere!
And finally, we are excited to announce Simple Strip Stacks! These cardstock packs will make your Simple Strip stamping even easier! Have you noticed that the Simple Strips stamps are larger than an A2 card front? You’ve probably had to cut larger pieces of cardstock in order to stamp both sides of the rectangles for aligning the die. Well, now you can just pick up a Simple Strip Stack (in Toffee, Oreo, and Sugar Cube) where the cardstock is perfectly oversized for stamping the Simple Strips Background stamps. Now you can just grab and go!
My question of the day is: What are you most excited to see in this month’s release? Do you have a clear favorite? Or a few favorites?
I’ll choose three lucky winners to receive one of their favorites from the February Release!
Simply leave your comment by TONIGHT, Monday, February 17th at 10PM CST. One comment per person. Winners are chosen at random and will be announced on the TE blog on release day, tomorrow, February 18th!
Make sure you check out the rest of the Taylored Expressions Creative Team projects using today’s featured products! And then I’ll see you back here tomorrow with more inspiration as all of the products go live!


