Oct 01, 2020
Colorful Inspiration With the NEW Hey There Kit!
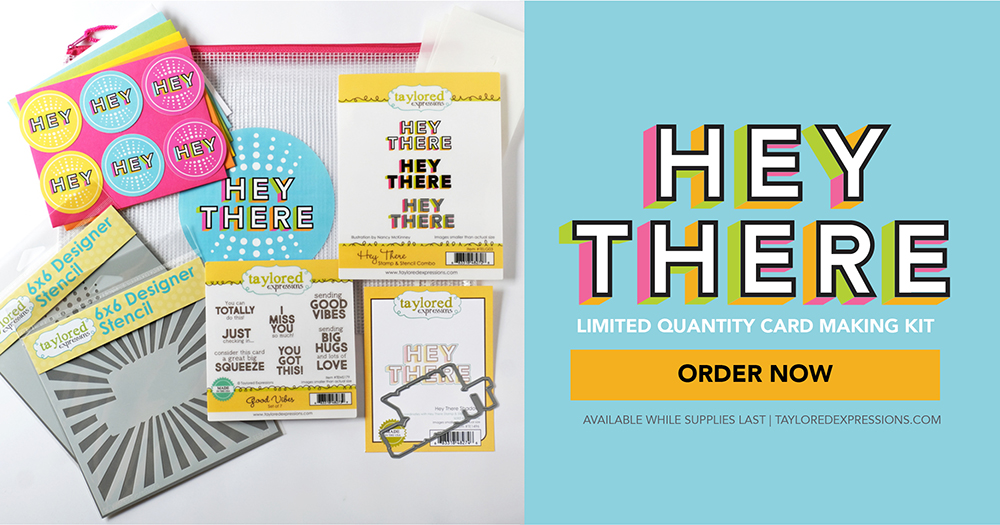
Hey, crafty friends! It’s Heather here with another day of inspiration to share with you using the new Hey There Kit! This kit is perfect to send a bright and colorful ‘hello’ and ‘hey there’ to the special people in your life – especially when we have had to spend so much time apart this year! Today, I have a new video from Emily that shares an off the edge die cut technique along with how to create a shaped tag with the kit. I also have a few more projects from our TE Creative Team to share that I know you are going to love!
If you haven’t gotten the new Hey There Kit for yourself, click the link below to shop and then keep scrolling for the projects and inspiration!
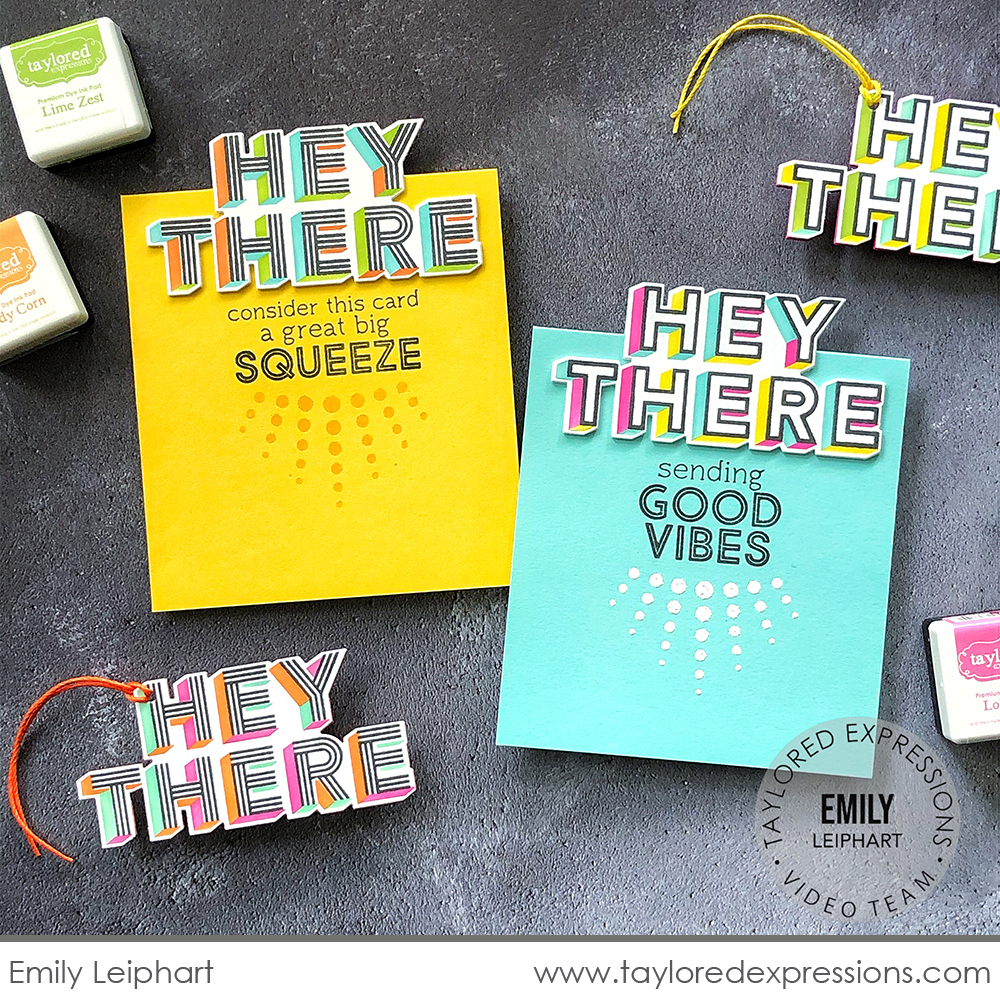
Today’s video is from Emily Leiphart and she shares how to create this pair of cards and tags using the Hey There Kit. Are you as excited as I am to see how she created that shaped look at the top of the cards? Watch the video below:
In the video, Emily used the Hey There Kit to create cards with an off the edge die cut technique. It’s easier than you think to create this look and I am already thinking about other dies in my personal collection that I could do this technique with. Emily also shares how she created the large shaped tags that open up so that you can write a message inside!
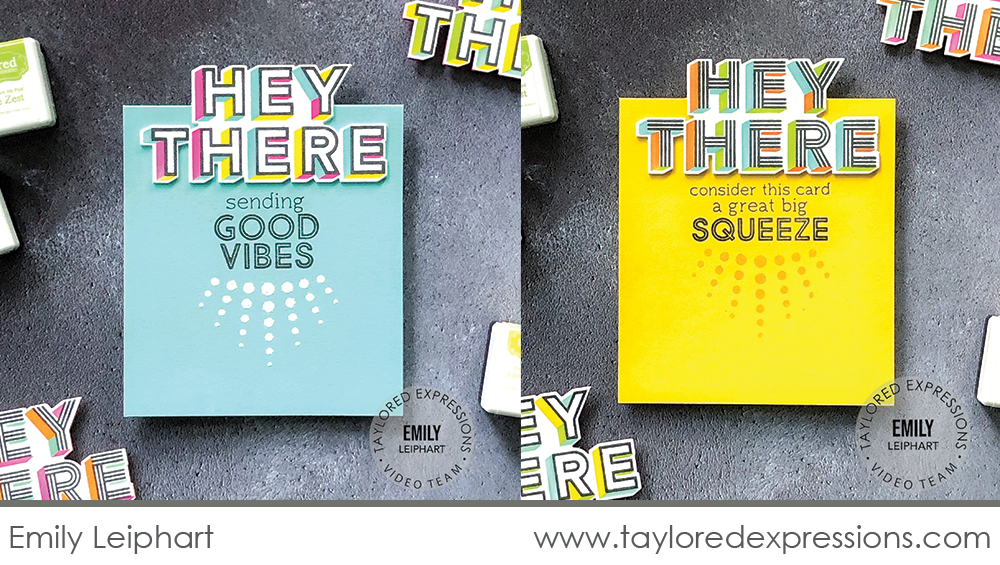
I really love how Emily played with color and texture on her cards. She shares a few color combinations in the video for the dimensional shadows on her projects. Emily used Lollipop, Lemon Meringue, and Confetti Cake for the card on the left and she used Candy Corn, Lime Zest, and Confetti Cake for the card on the right.
Emily stamped sentiments from the Good Vibes stamp set under the ‘hey there’ sentiments and then added just a portion of the design from the Dotty Ray stencil underneath. She added ink through the stencil and then Versamark ink on top so that she could emboss the dots to get a shiny effect.
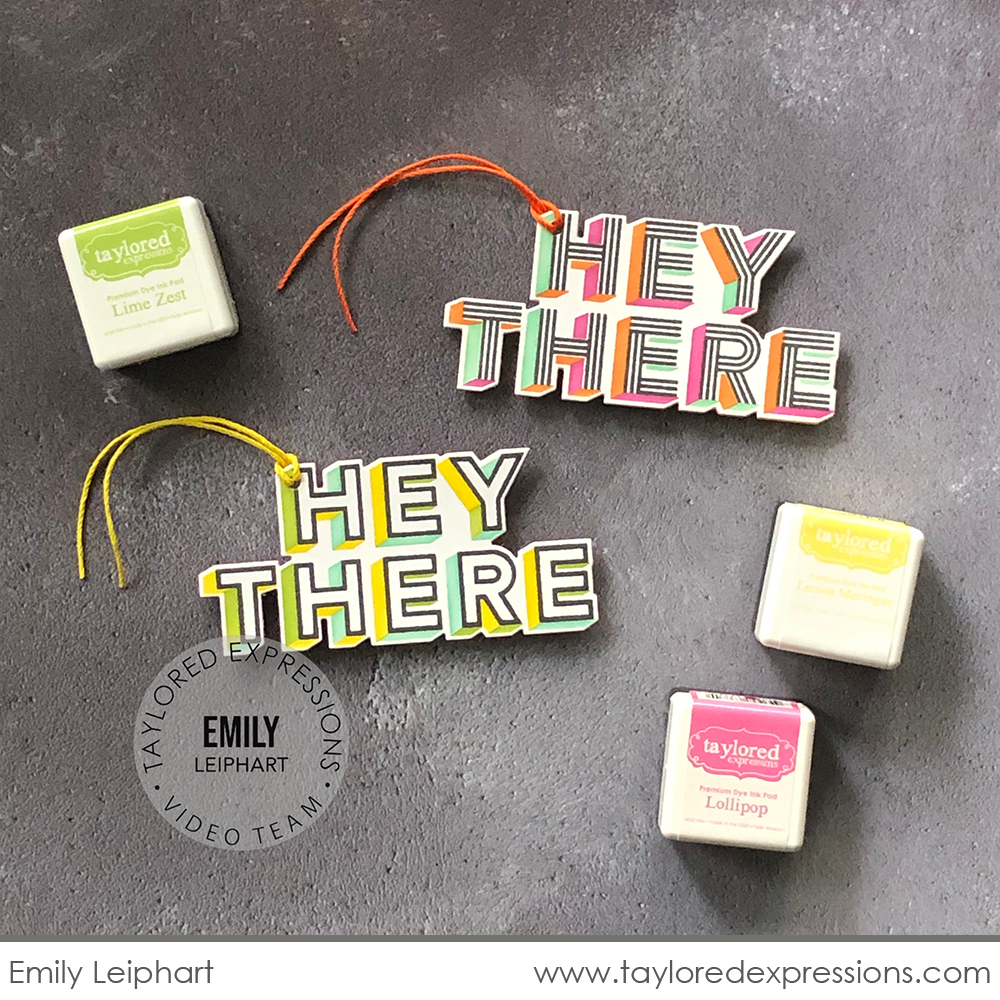
As she was creating her cards, Emily was inspired to create shaped tags with the die cut ‘hey there’ sentiments. She layered the sentiments up on die cuts in a coordinating cardstock color and scored the layer on the bottom across the top to create a fold. She adhered that bottom layer just at the top so that you can open up the tag to write a message inside!
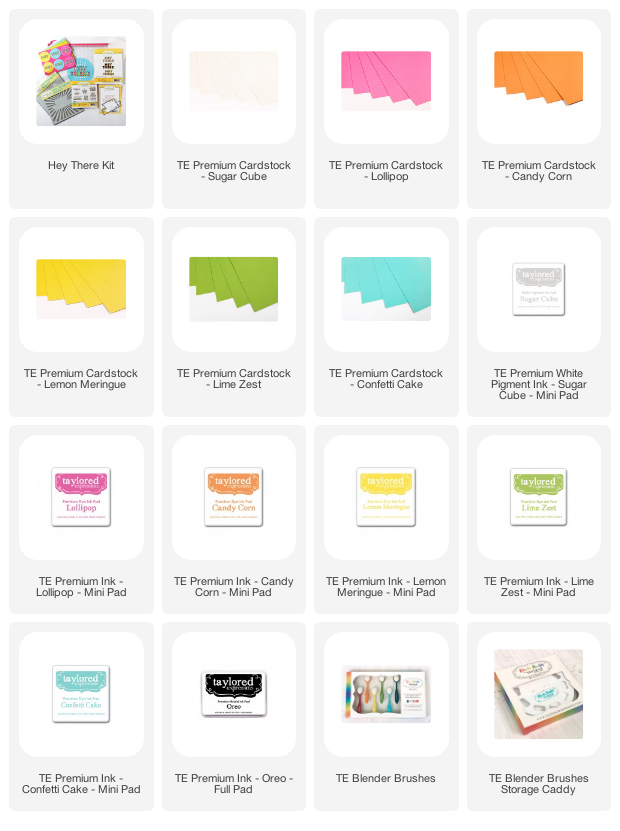
Check out the supply list below for the supplies that Emily used on her projects:

Here’s even more inspiration to share from the TE Creative Team with the Hey There Kit:

I feel like I need a pair of 3D glasses to look at this card that Gayatri Murali created with the Hey There Kit! She used the Dotty Ray stencil and stenciled it three times closely offset to each other in Lollipop, Lemon Meringue, and Sprinkles ink to create the cool effect. She used the same colors on the dimensional shadow on the ‘hey there’ sentiment. So awesome!
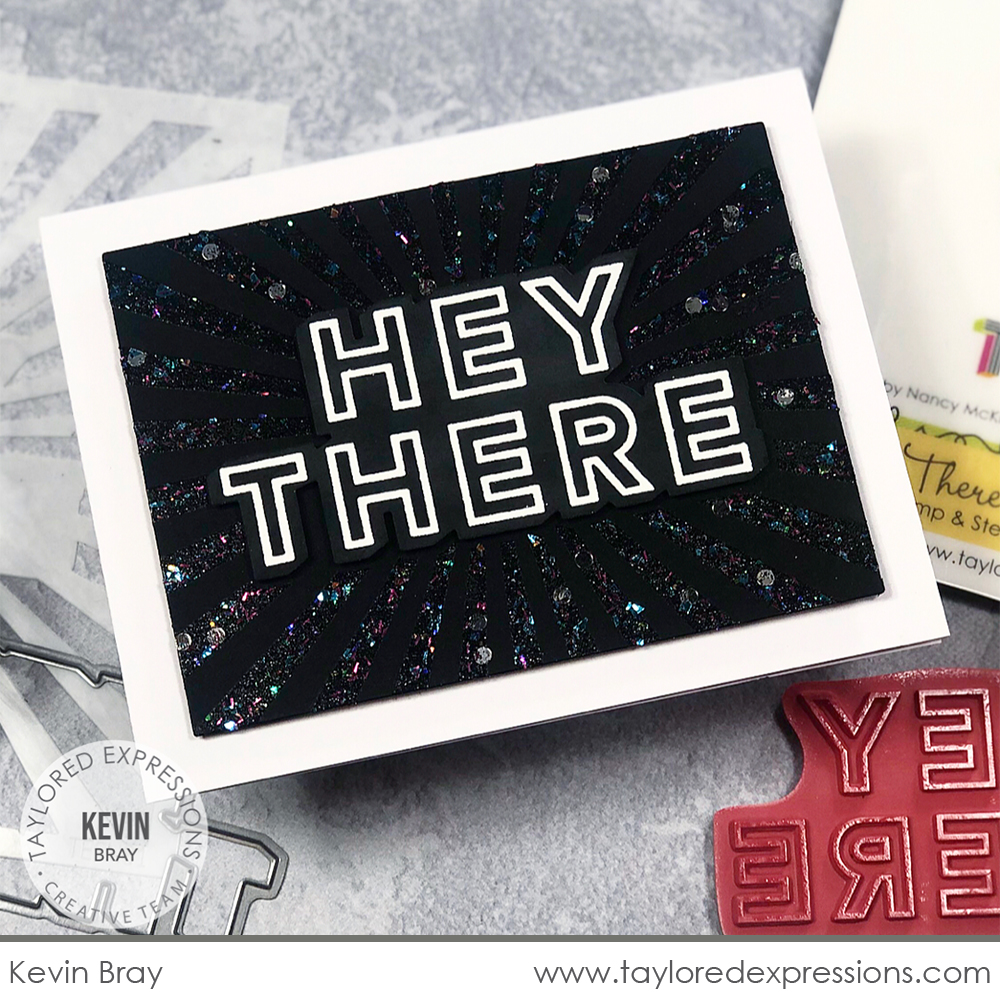
Kevin Bray created a striking effect on his card created with the Hey There Kit by embossing the outline ‘hey there’ sentiment in white on Oreo cardstock. To create the background on his card, he used the Hey There Sunshine stencil and applied Dark Matter Stickles Glitter Gel through it. I love the tone on tone texture, sparkle, and galaxy feel!
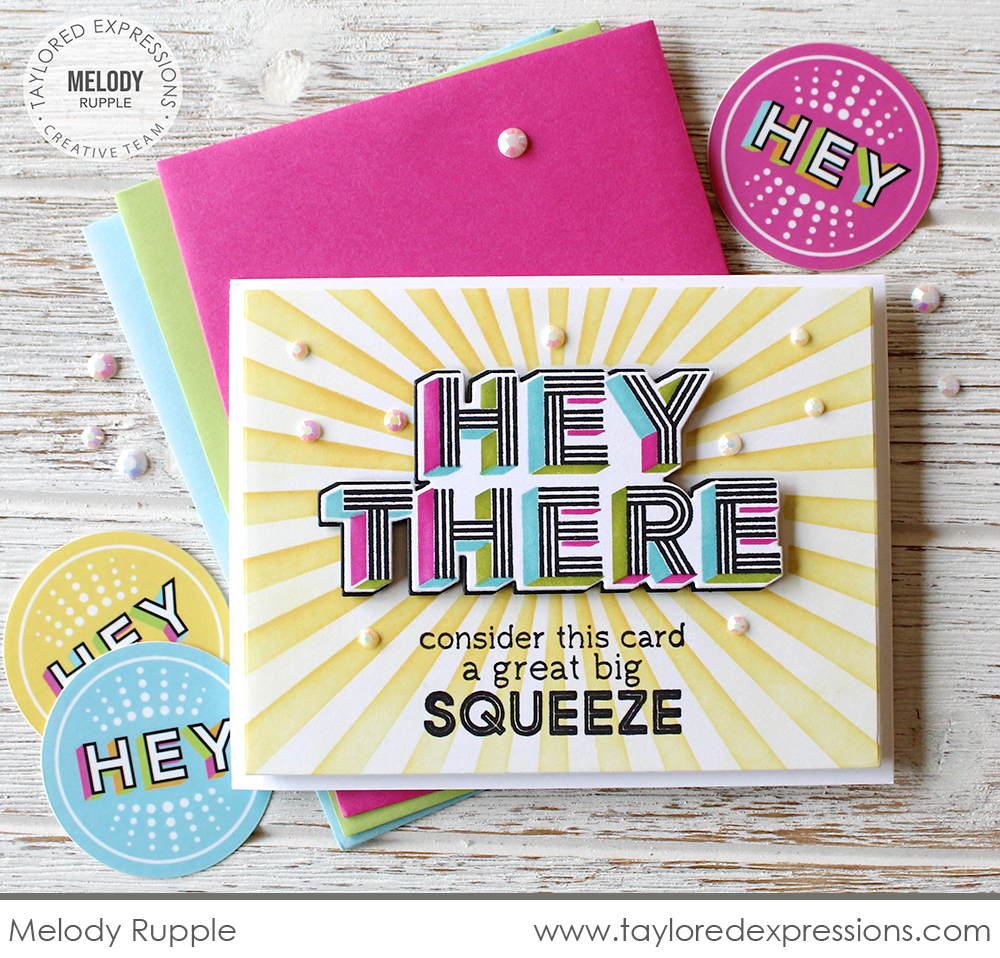
I love the fresh and happy colors that Melody Rupple used on this card created with the Hey There Kit! Her background is a combination of Potato Chip and Pineapple inks applied through the Hey There Sunshine stencil. Melody added the ‘hey there’ sentiment to the center of the card and I really like that peek of Oreo cardstock peeking out from behind the main die cut. It really makes the sentiment pop on the card! Underneath the ‘hey there’, Melody added the ‘…great big squeeze’ sentiment from the Good Vibes stamp set.

Kavya let the ‘sending good vibes’ sentiment take center stage on this card created with the Good Vibes stamp set from the Hey There Kit. She encircled the sentiment with the dotted rays that are created with the Dotty Ray stencil and I love that she used a color blend that she also repeated around the border of her card. The rest of the card background is stamped with the same ‘good vibes’ sentiment stamped repeatedly in Sea Salt ink.
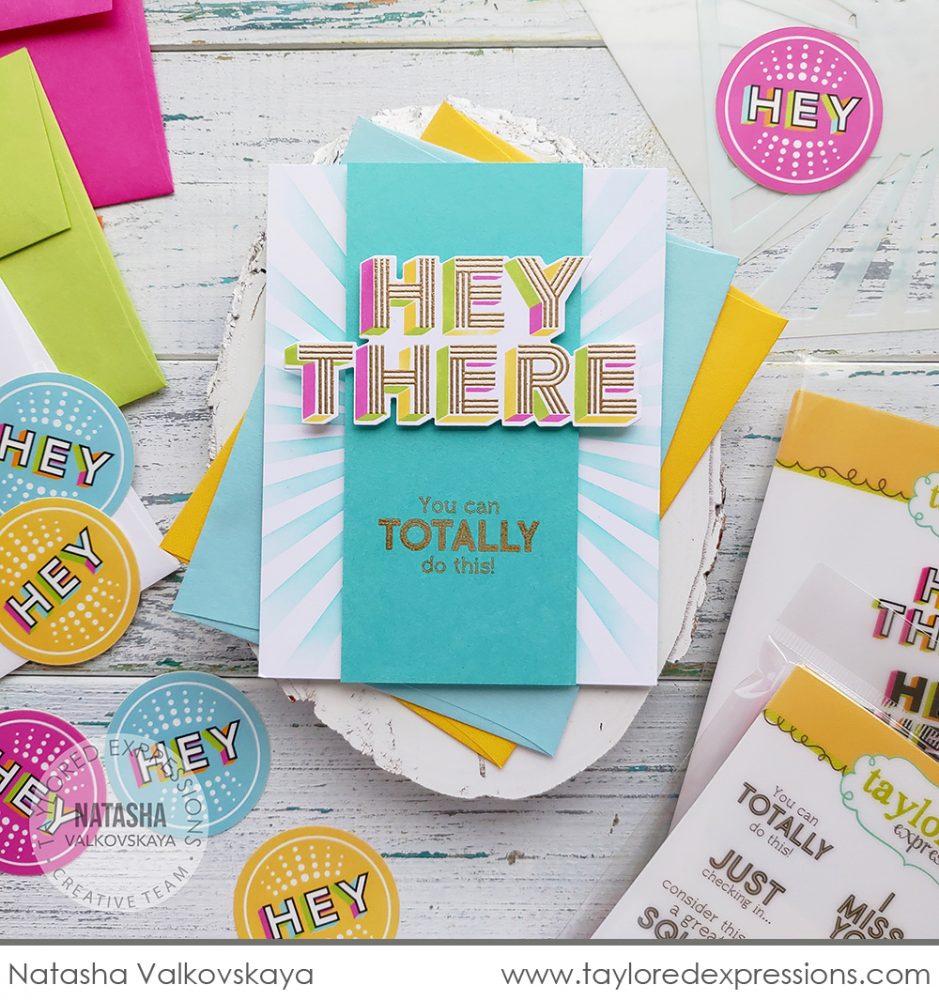
Natasha Valkovskaya added a metallic shine to her card created with the Hey There Kit by embossing the sentiments with gold embossing powder – both the main ‘hey there’ sentiment and the ‘you can totally do this!’ sentiment underneath. Her fresh and fun color combination on the dimensional shadow includes Lollipop, Pineapple, and Lime Zest inks. The background is created with the Hey There Sunshine stencil from the kit and she turned the stencil to its side so that the block in the middle is hidden by the Cookie Monster cardstock panel.
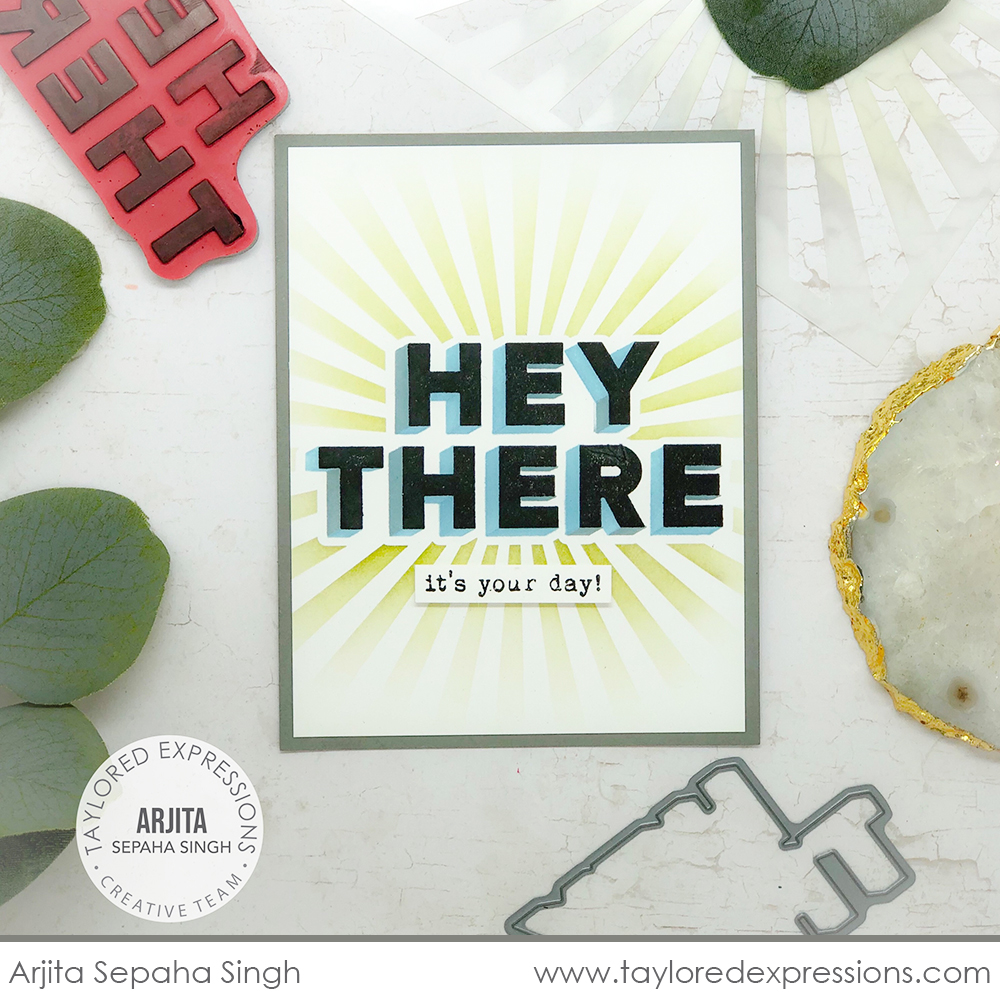
Arjita Sepaha Singh created a softer and more neutral look on her card created with the Hey There Kit. The dimensional shadow is created with just Confetti Cake ink instead of three different colors of ink. I love this option for another look with the stenciled shadow! Arjita added background on her card with the Hey There Sunshine stencil and Avocado ink. Arjita finished her card off with the ‘it’s your day!’ sentiment from the Counting Candles Add-Ons stamp set.
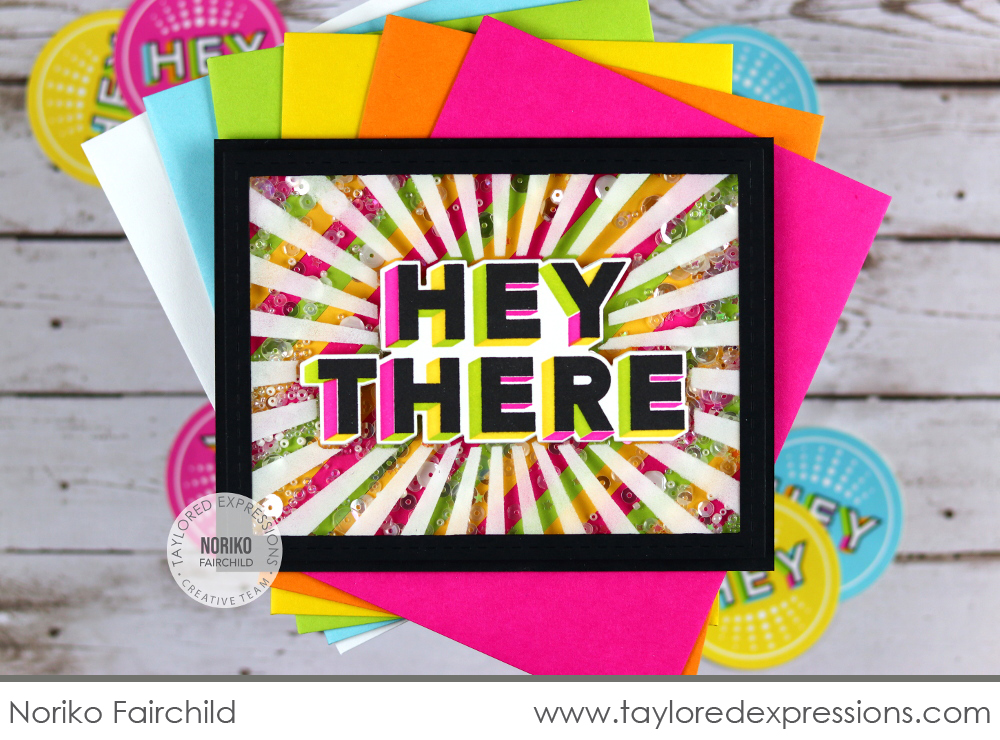
And finally with the Hey There Kit is this showstopper shaker card created by Noriko Fairchild. I love the colorful background that Noriko created with cardstock strips to match the ink colors that she used on the dimensional shadow. The clear acetate to enclose the shaker is stenciled using permanent white Stazon ink and the Hey There Sunshine stencil. There are so many colors, layers, and wonderful textures on this card!

Join Taylor today for “T Time” at 1pm Central on the Taylored Expressions Facebook Page. We would love to have you join us for some crafty chat! Hope to see you there!
Thank you so much for stopping by today and make plans to stop by again soon. Make sure to stop by the TE blog this Saturday because we have a release coming up next week that’s going to gear you up for your holiday crafting!
Did you know that you can subscribe to our blog and get our posts right in your inbox? Just sign up right HERE – that’s all there is to it to make sure you don’t miss any of our crafty inspiration!


