Oct 23, 2020
Creating a Whole Lot of Happy Using the NEW Pastel Blender Brushes & Stencils!
Hey, crafty friends! One of the things I love about crafting is how happy it makes me. I love shopping for supplies (a top favorite!), planning projects, crafting with friends… I could go on and on! Speaking of happy, I have a video to share from Emily Leiphart that is all things happy! She is sharing three happy card designs that include ideas for using the new Pastel Blender Brushes and stencils. I will also have more inspiration to share from the TE Creative Team.
Speaking of happy, make sure to check out the bundle promotion (sales always make me happy!) happening this week in the TE webstore:
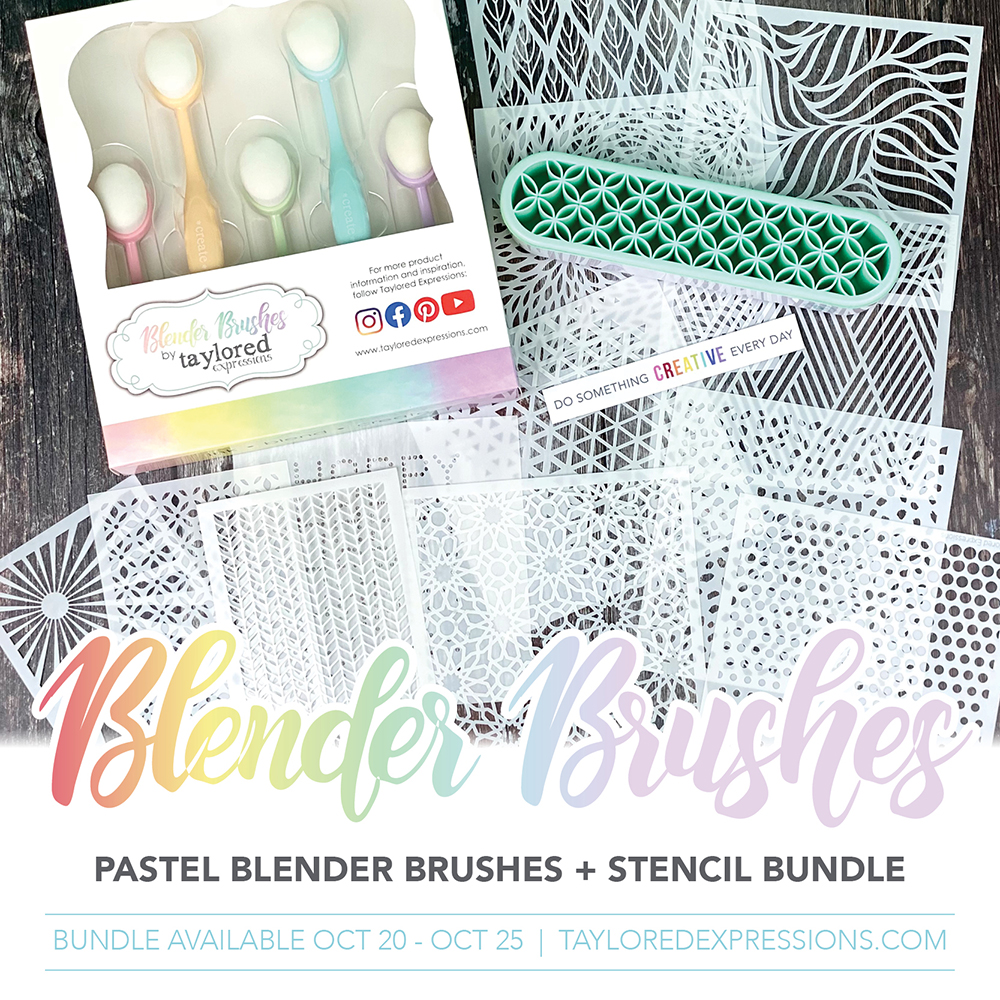
The I Want It All Bundle retails for $95 (that’s nearly 20% off the retail price of the items individually!) and includes the following:
- Pastel Blender Brushes (set of 5)
- Tool Tray
- All 12 new stencils including: 9 standard (6″ x 6″) stencils and 3 Mini Slim sized stencils.
- Exclusive ‘do something creative everyday’ sticker designed to fit on the Tool Tray. This sticker design is only available with the bundle and not sold separately.
The special introductory price on the I Want It All Bundle is available now through, Sunday, October 25th, or while supplies last.
Click below to shop all of the new products that are releasing today and then keep scrolling for inspiration!
- Tune into the blog this week! Our blog posts (Tuesday – Saturday) will feature a video showcasing the new release products.
- New products are available to purchase RIGHT NOW in the TE webstore!
- Receive FREE shipping on orders of $50 or more in the United States!
- Earn a free, exclusive stencil set with purchases of $100 or more. CLICK HERE for more information.
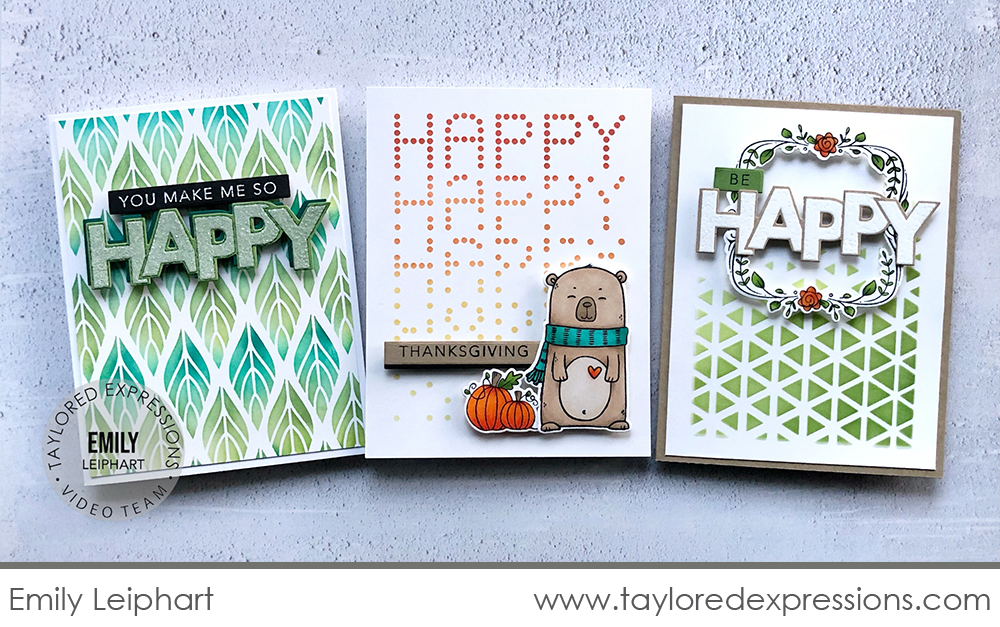
It’s time to get happy! Emily Leiphart walks you through these three very ‘happy’ cards using the Pastel Blender Brushes and a few of the new stencils from this week’s release – watch the video below:
In the video, Emily Leiphart shows how she used three of the stencils – Falling Happy, A New Leaf, and Play the Angle – to create blended backgrounds. She completes each card by adding different elements from the Simply Smitten stamp set (+ coordinating dies), On the Block – Happy (+ coordinating die), and Building Blocks – Happy Additions (+ coordinating Building Blocks die).
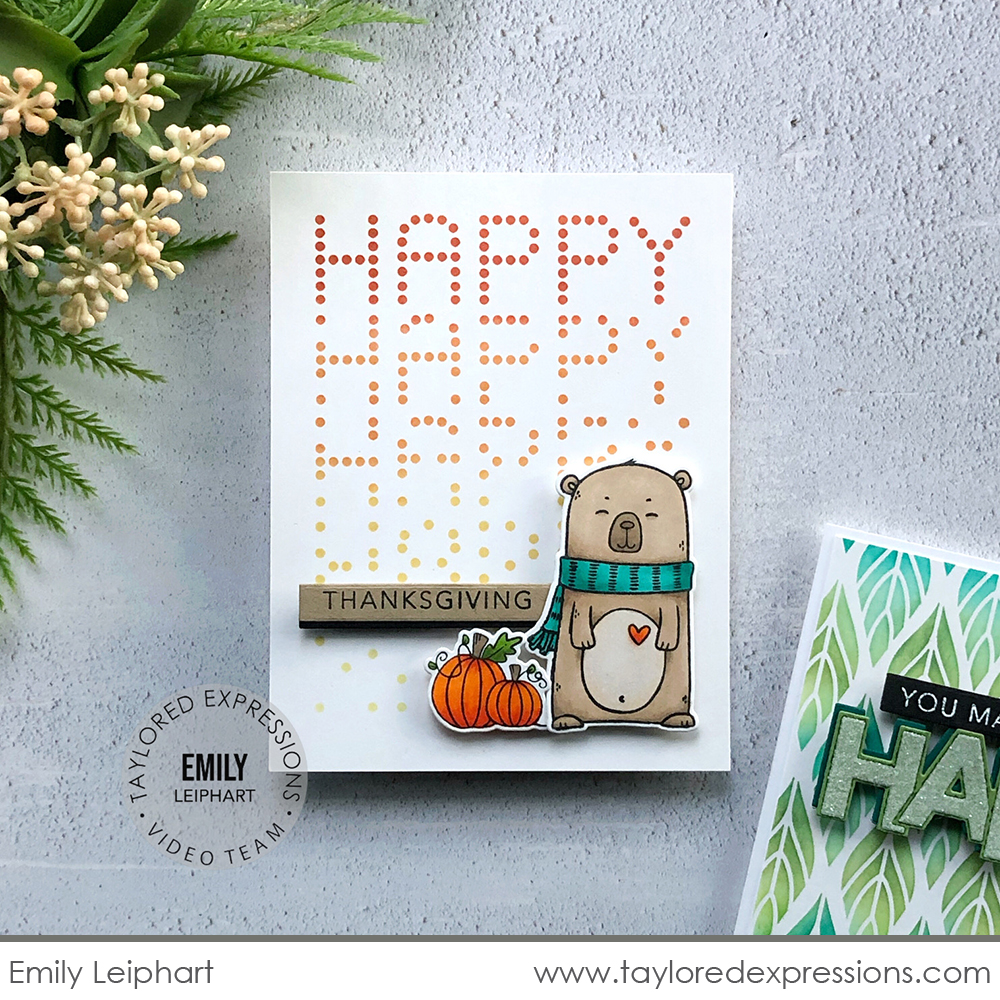
Emily created a Thanksgiving card using the Falling Happy stencil. The background is blended to create a fall look using Potato Chip, Pineapple, Candy Corn, and Pumpkin inks. She then added the bear & pumpkins from the Simple Smitten set to the bottom of the card along with the ‘Thanksgiving’ word from the Building Blocks – Happy Additions stamp to complete the ‘Happy Thanksgiving’ sentiment.
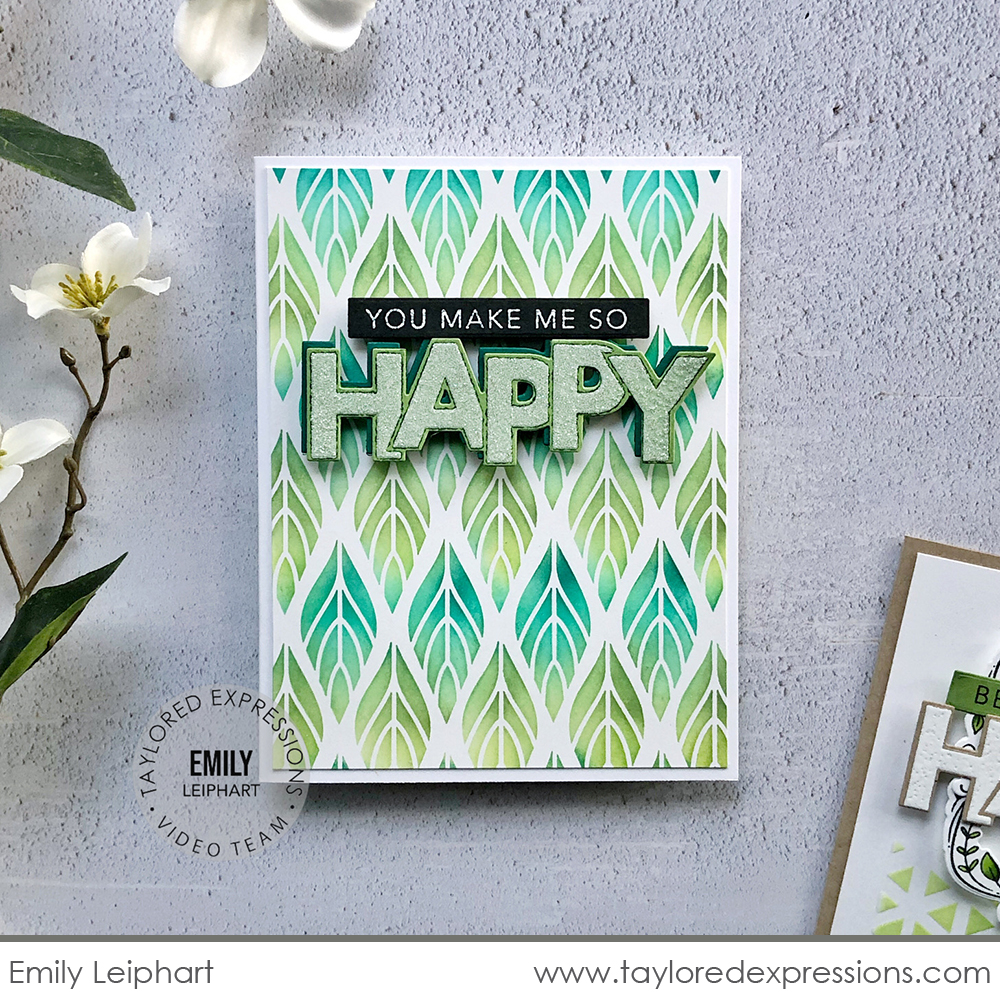
This next happy card features the A New Leaf stencil. Emily blended the leaves with green and blue ink tones, alternating the rows of color for her design. The super sparkly ‘happy’ word is stamped with the On the Block – Happy stamp with Sugar Cube ink and embossed with Diamond embossing powder. To finish off the sentiment, Emily added the ‘you make me so’ phrase from the Building Blocks – Happy Additions stamp embossed in white on Oreo cardstock.
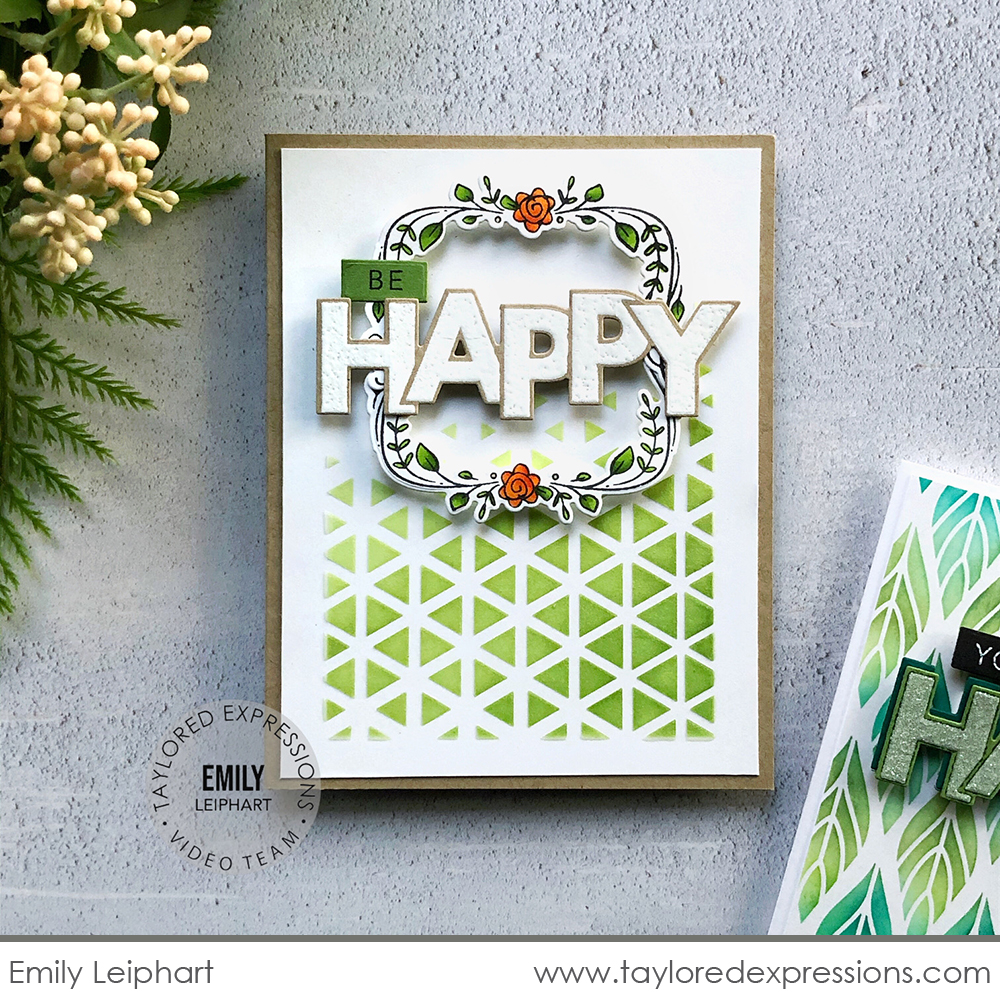
This final happy card has a background created with the Play the Angle stencil paired with the Masking Stencils – Rectangles set. Emily used different shades of green inks on the background and then added a frame created with the vine from the Simply Smitten stamp set. The frame is the perfect place for the card sentiment that is created with the On the Block – Happy and Building Blocks – Happy Additions stamps.
The list below includes all of the supplies that Emily used to create the three cards:

Here’s more inspiration from the TE Creative Team as well as a closer look at a few more of the new stencils that debuted this week:
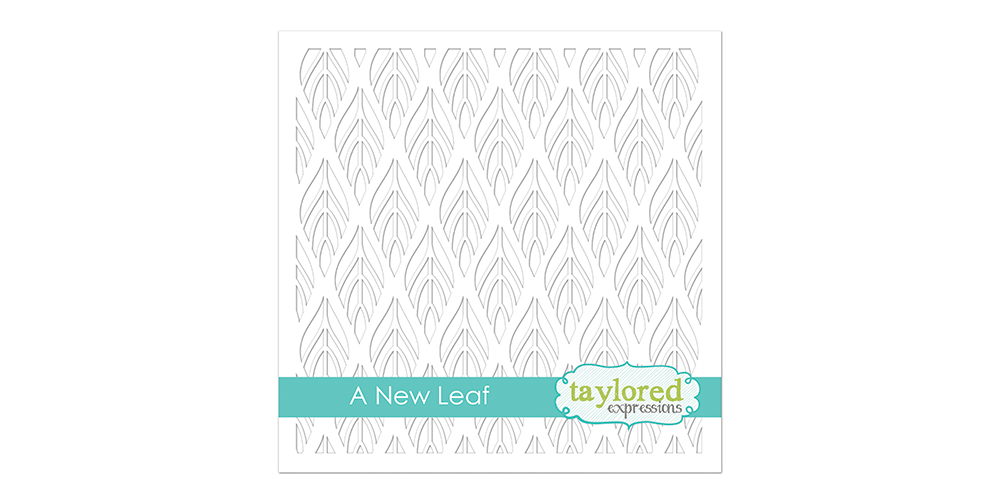
The A New Leaf stencil is the standard size (6″ x 6″) and features a repeating leaf design that is wonderful for autumn or nature inspired projects.
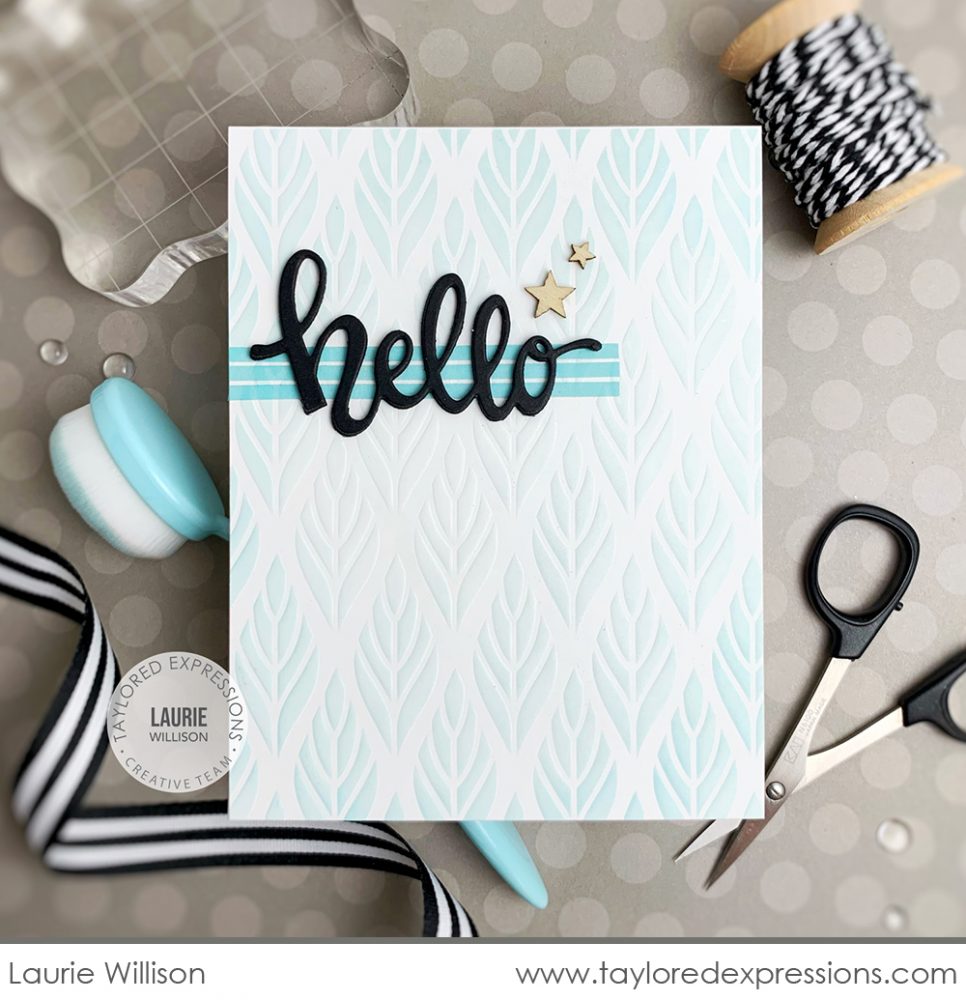
Laurie Willison created this soft and pretty card design with the A New Leaf stencil. She embossed the stencil onto Sugar Cube cardstock to add a subtle texture and then added a soft blue color. The card sentiment is created with the Hello Script die cut from Oreo cardstock.
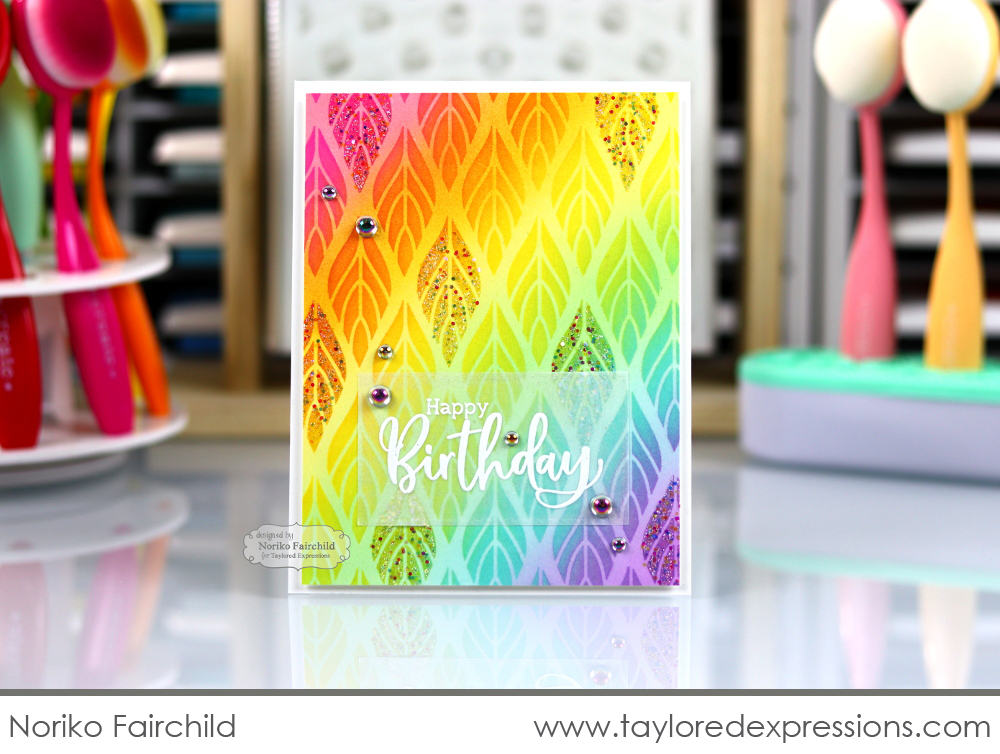
Here’s another jaw dropping card by Noriko Fairchild, this time with the A New Leaf stencil. Noriko created a rainbow blend in pastel tones on Sugar Cube cardstock and then stenciled the pattern over the top in a brighter rainbow color blend. She added sparkle to a few of the leaves with Stickles Glitter Gel and extra glitter from her stash. The effect is amazing and I am looking forward to trying out this technique!
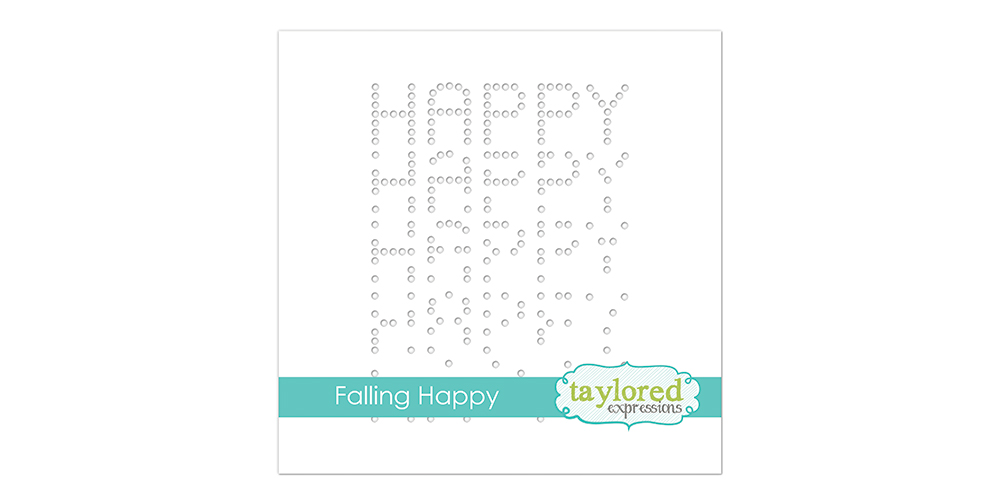
The Falling Happy stencil is the standard size (6″ x 6″) and features the word ‘happy’ in a dot pattern that falls apart as it repeats down the stencil. Use the stencil to create backgrounds for many different ‘happy’ occasions!
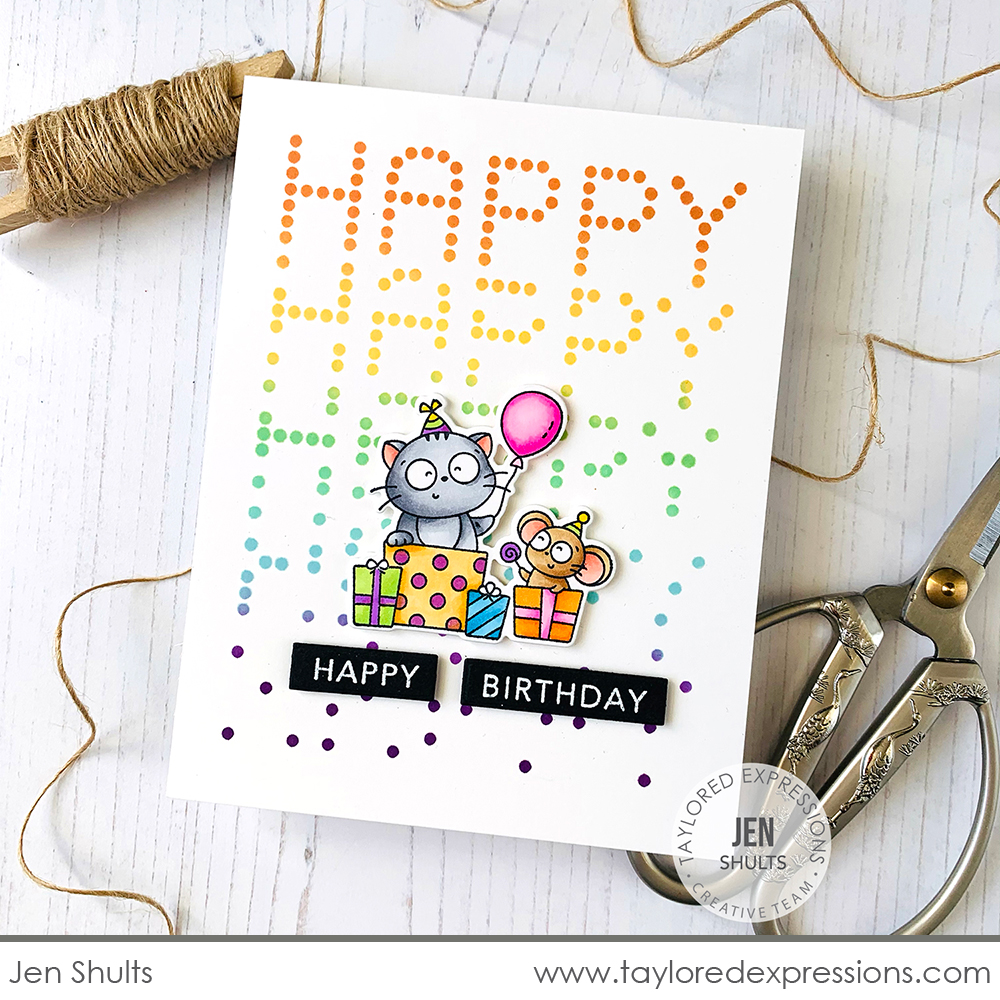
Jen Shults added the Falling Happy stenciled background to this card in a bright rainbow color blend. She let her coloring skills shine on the cute image from the Max & Millie stamp set and added the ‘happy birthday’ sentiment using the Building Blocks – Happy Additions stamp embossed in white on Oreo cardstock and cut out with the coordinating Building Blocks die.
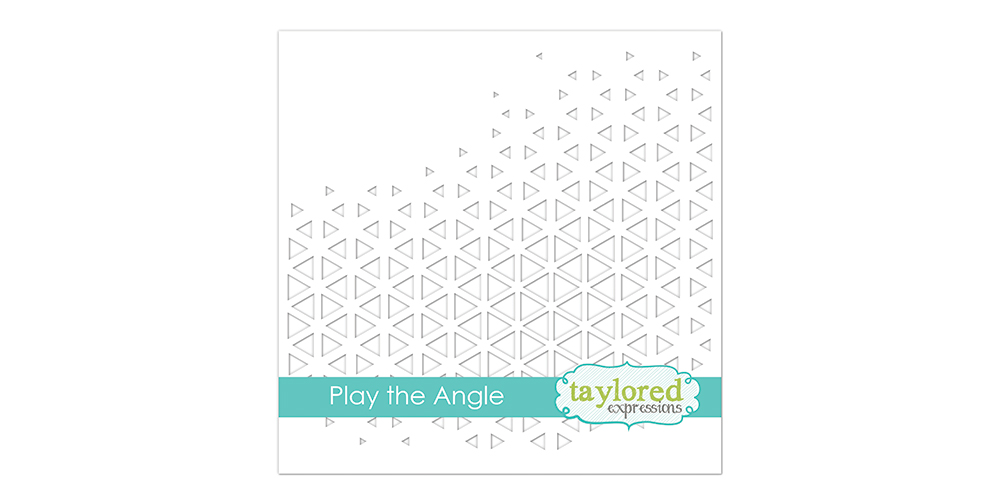
The Play the Angle stencil is the standard size (6″ x 6″) and features a geometric triangle pattern that is more defined in the middle and trickles off on the top and bottom edges. You’ll love incorporating this unique design into your projects!

Kavya used the Play the Angle stencil as the background on a Christmas card. She created the icy looking background by stenciling the design with Salt Water Taffy ink on Salt Water Taffy cardstock. I love the trees that Kavya created from triangles of cardstock that she decorated with a white gel pen. The star of this card is Santa, of course, from the Merry Millie stamp set.
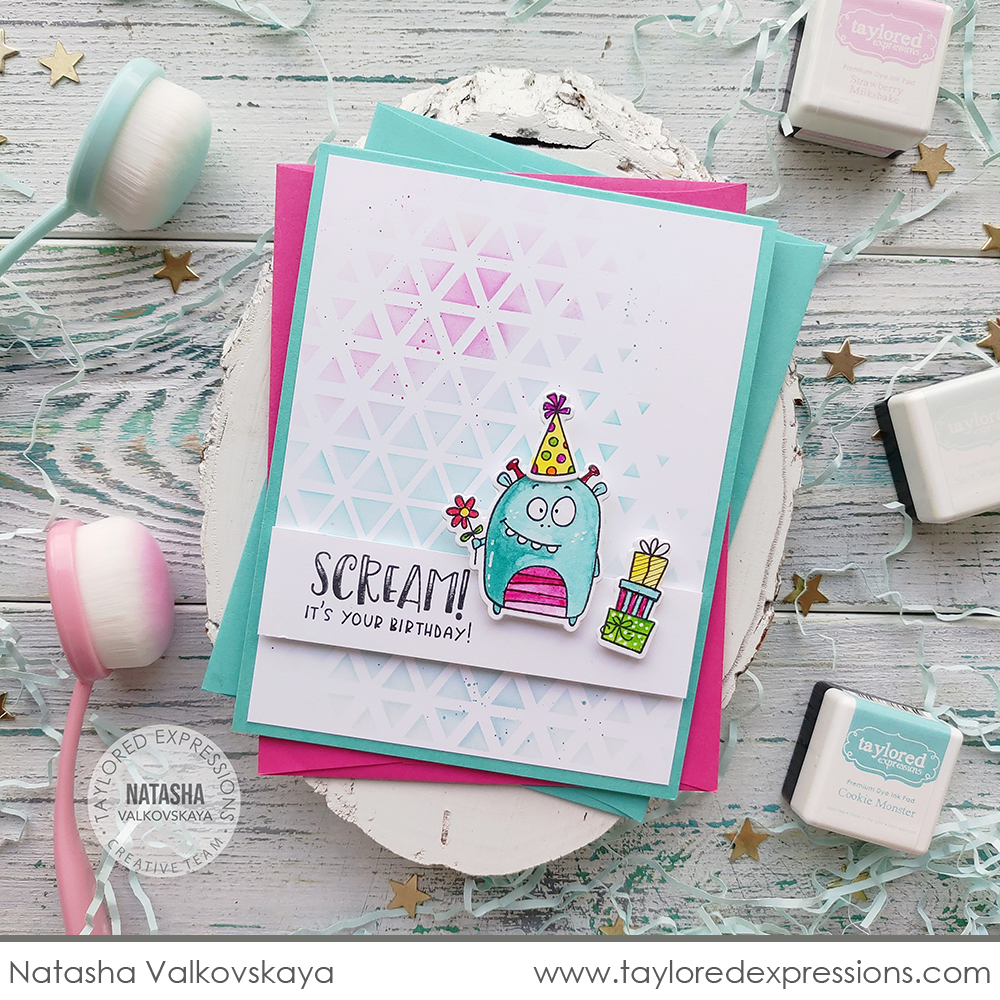
Natasha Valkovskaya did a colorful background on her card created with the Play the Angle stencil. She stenciled the design with pink and blue inks to create the perfect backdrop for that cute monster from the Little Monsters set. Natasha colored up the monster and a pile of presents for her card to send a birthday ‘scream’!
Have you filled up your inspiration notebook with all of the ideas that we have been sharing? Which projects have been favorites? Thank you for stopping by the TE Blog today and make plans to stop back again tomorrow for one more day of inspiration using the new products from this week’s release!
Did you know that you can subscribe to our blog and get our posts right in your inbox? Just sign up right HERE – that’s all there is to it to make sure you don’t miss any of our crafty inspiration!


