Mar 30, 2021
Happy Hex & Like Gnome Other Kits – Individual Products Available NOW!
Hey, crafty friends! It’s Heather here today after our fun filled virtual Stamp Joy Spring 2021 event this weekend! Were you one of our 1000 participants? So many great cards were made, lots of tips and tricks were shared, and I love that many of us were able to connect either virtually or in person with family and friends who share our crafty interests. It was so much fun to craft, chat, and laugh with everyone and I am already looking forward to next time!
We’ve got a fun and crafty week lined up for you with the release of the individual products from a few of our well loved craft kits: Happy Hex and Like Gnome Other. Today’s post includes fresh inspiration from the TE Creative Team and a video using products that were originally a part of the Happy Hex Kit from Emily Leiphart.
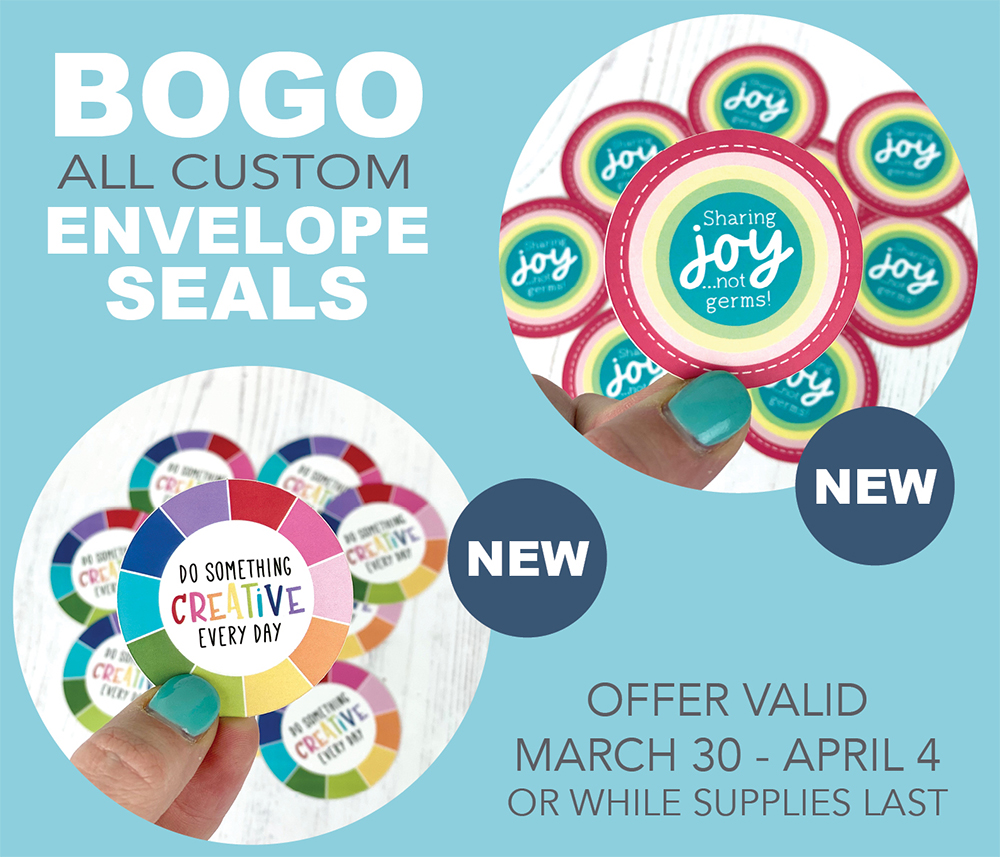
In addition to the individual kit product release, we are offering a BOGO special on all of our envelope seals. Now through Sunday, April 4th, buy one package of envelope seals and get one free! It’s a great time to stock up so hurry and get your favorite designs while they are available! Here is a list of the envelope seal designs that are available in the TE webstore – including two brand new designs that are pictured above:
- Rainbow Envelope Seals
- Farm Fresh Envelope Seals
- Frosty Envelope Seals
- Field Notes 2 Envelope Seals
- Hey There Envelope Seals
- Share Joy Envelope Seals
- Rainbow Share Joy Envelope Seals
- Like Gnome Other Envelope Seals
- Holiday Envelope Seals – Blessed Nativity
- Happy Hex Envelope Seals
- Do Something Creative Envelope Seals
- Sharing Joy… Not Germs Envelope Seals
Click above to shop the Happy Hex and Like Gnome Other kit products that are now available to purchase individually in the TE webstore. Keep the scroll going to check out the inspiration from the TE Creative Team!
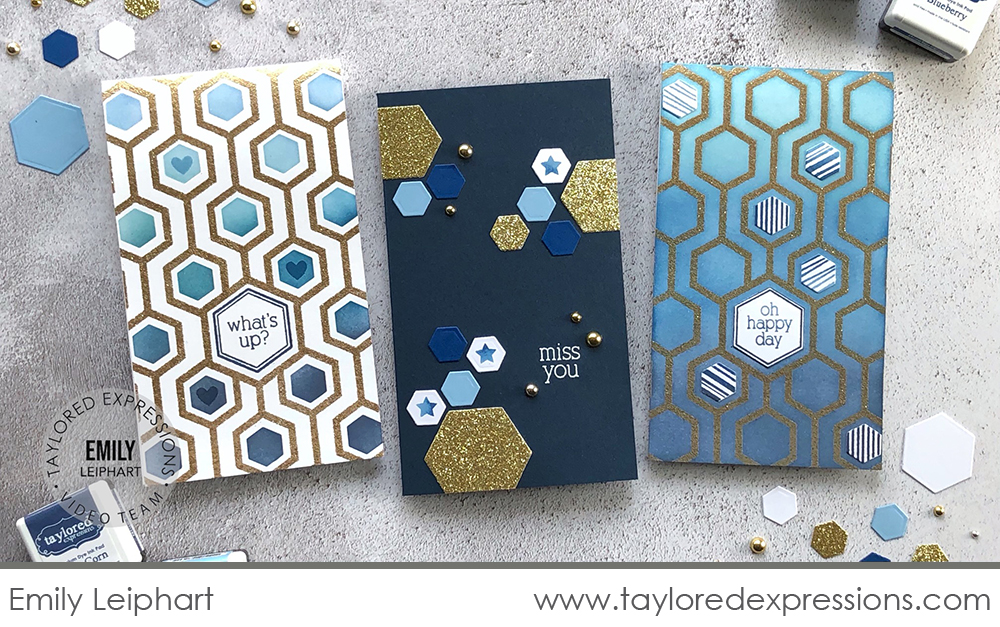
Emily Leiphart created a set of three Mini Slim cards using individual products from the Happy Hex kit. Watch the video below to see how these cards were created from start to finish:
In the video, Emily shares how she created three different Mini Slim cards using individual products from the Happy Hex Kit. She used a blue and gold color scheme that is perfect for a more masculine look. Emily used a combination of stamping, embossing, stenciling, blending, die cutting, and embellishing to complete her card designs. Let’s take a closer look at each of the cards that she created below:
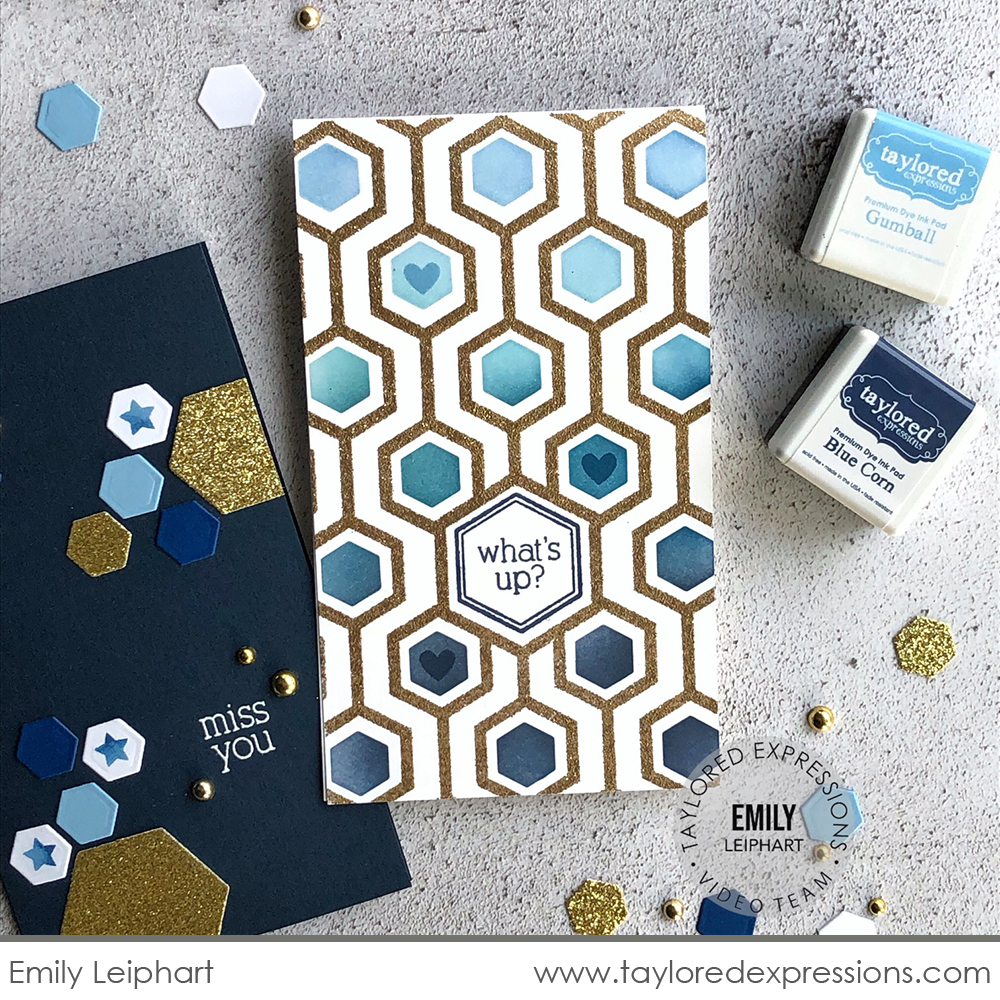
This first card is stamped and embossed using a gold tinsel embossing powder (from Emily’s own stash) with the Happy Hex Mini Slim Background stamp. Emily added the colored hexagons in a pretty ombre blue color blend with the Happy Hex Mini Slim stencil and her Blender Brushes using Gumball, Blueberry, and Blue Corn inks. The ‘what’s up?’ sentiment, hexagon frame, and hearts are stamped with the Happy Hex Add-ons stamp set.
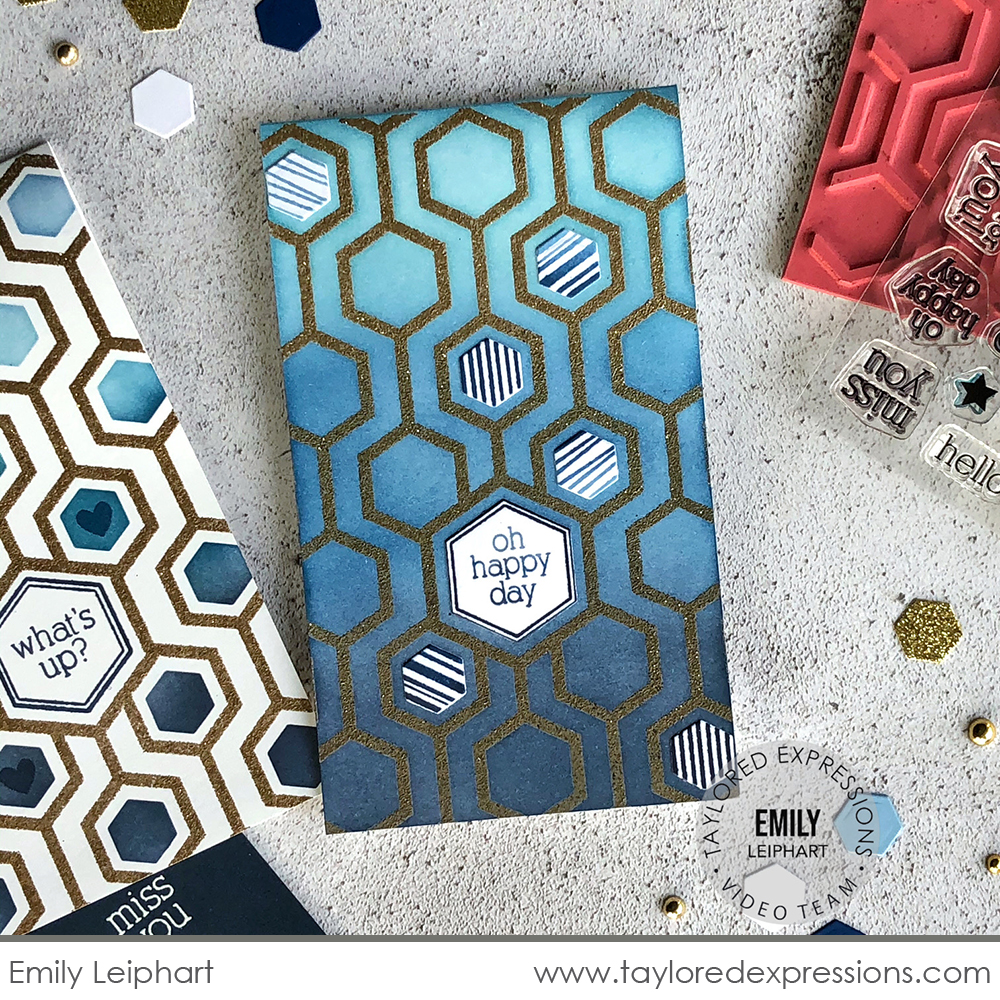
The next card was also stamped and embossed using the gold tinsel embossing powder with the Happy Hex Mini Slim Background stamp. After the design was embossed, Emily used her Blender Brushes to add the blue ombre color blend over the whole card front with her Blender Brushes and the same ink colors as above. Where the design is embossed, it resists the ink color. She die cut hexagons with the Happy Hex die collection and stamped them with different elements from the Happy Hex Add-ons stamp set.
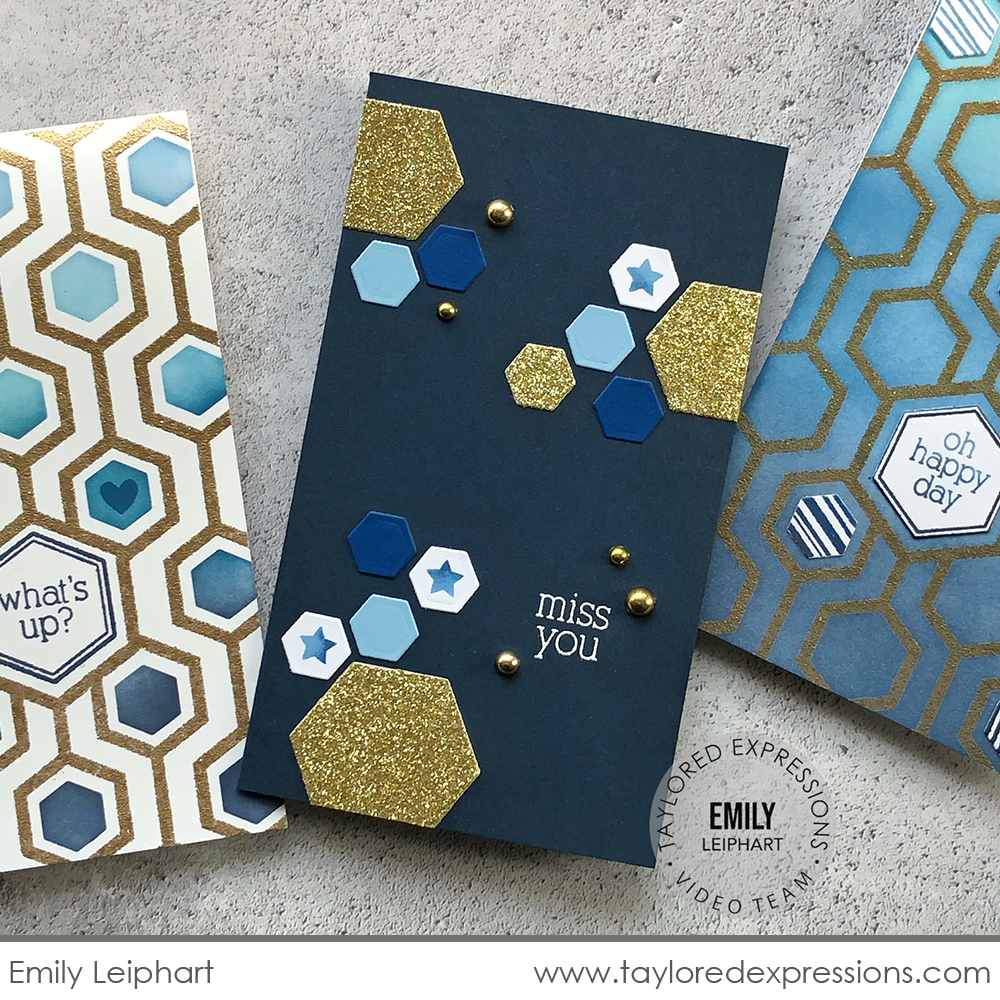
For this final card, Emily added hexagons die cut with the Happy Hex die collection and the Mini Slim Belly Band dies to a Mini Slim card base that is created from Blue Corn cardstock. She created three clusters of hexagons on the card front and then added stamped details using the Happy Hex Add-ons stamp set. The finishing touch is a few Bits & Pieces – Gold Drip Drops scattered across the card design.
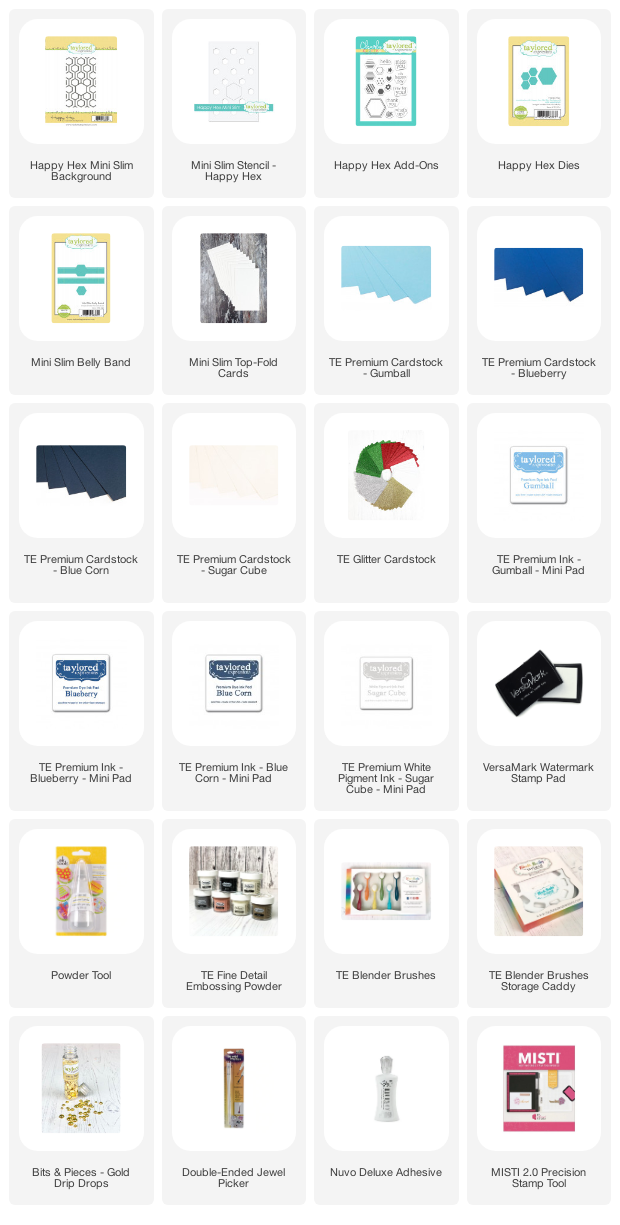
While Emily used blues for this card set, you could change up the color to customize the look. How perfect would these design be for creating graduation cards is the recipients school colors? Check out the list below for all of the supplies you will need for this project:

Let’s take a closer look at all of the kit products that are now available to purchase individually in the TE webstore along with inspiration from the TE Creative Team:
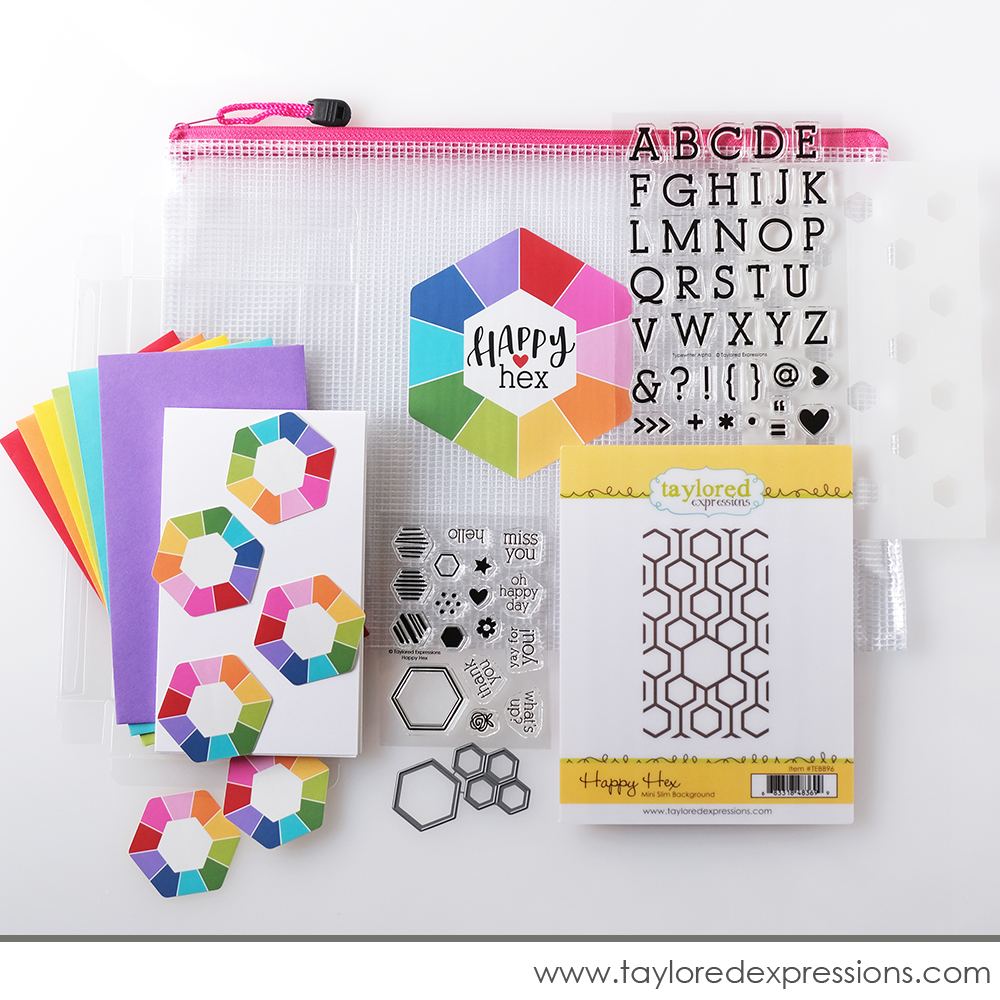
First up is the Happy Hex Kit that we released in January. To get an up close look at the products included in the Happy Hex Kit, CLICK HERE to see the release day post. Listed below are the items from the kit that are now available to purchase individually:
- Happy Hex Mini Slim Background stamp
- Happy Hex die collection
- Happy Hex Mini Slim stencil
- Clearly Crafty Happy Hex Add-ons stamp set
- Clearly Crafty Typewriter Alpha stamp set
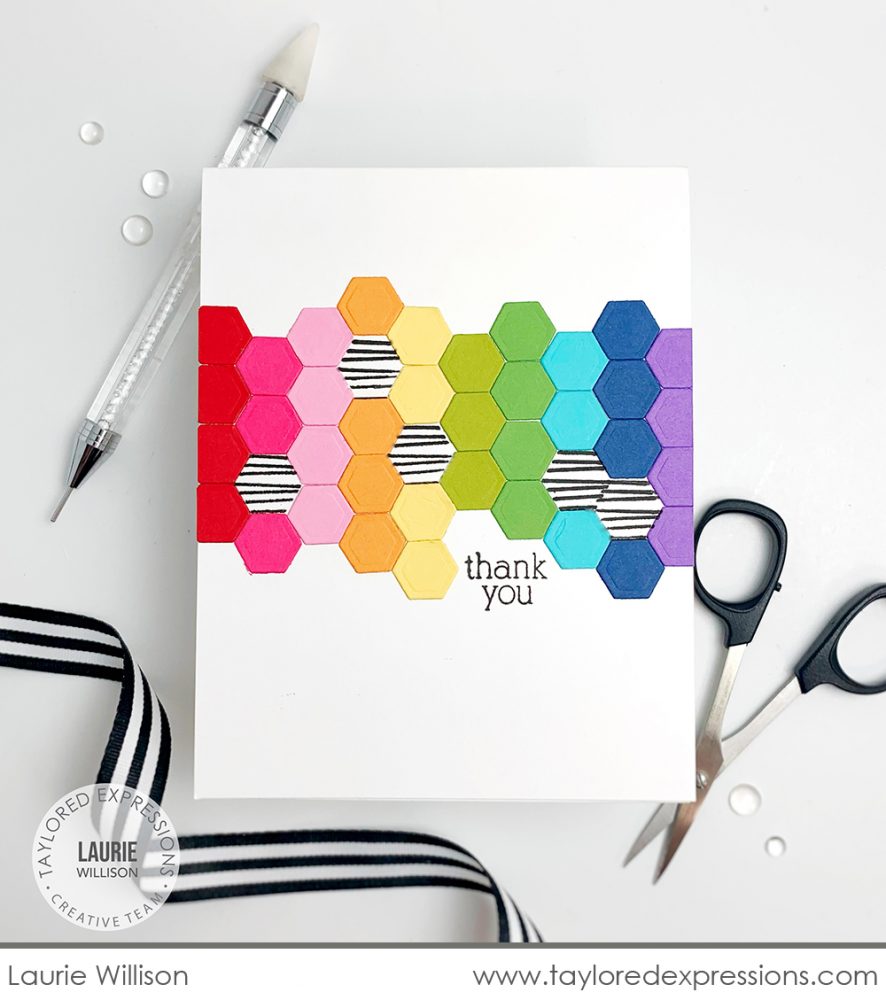
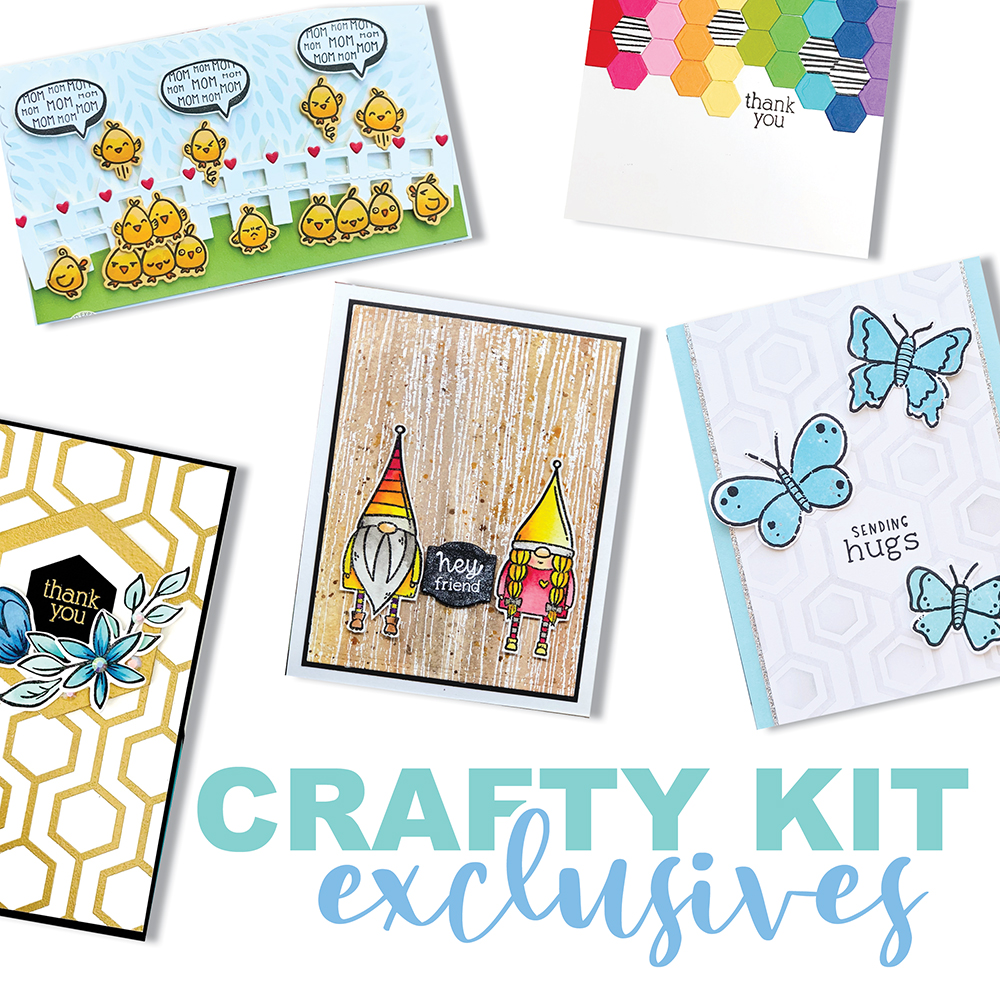
Laurie Willison cut a rainbow of cardstock colors using the smaller hexagons in the Happy Hex die collection to create this colorful thank you card. She used the hexagons to create strips of color across the card front, leaving a few gaps here and there that she filled in with a stamped hexagon pattern image from the Happy Hex Add-ons stamp set. The ‘thank you’ sentiment is tucked in perfectly at the bottom of the hexagon design. This card design is a perfect one for using up scrap cardstock pieces!
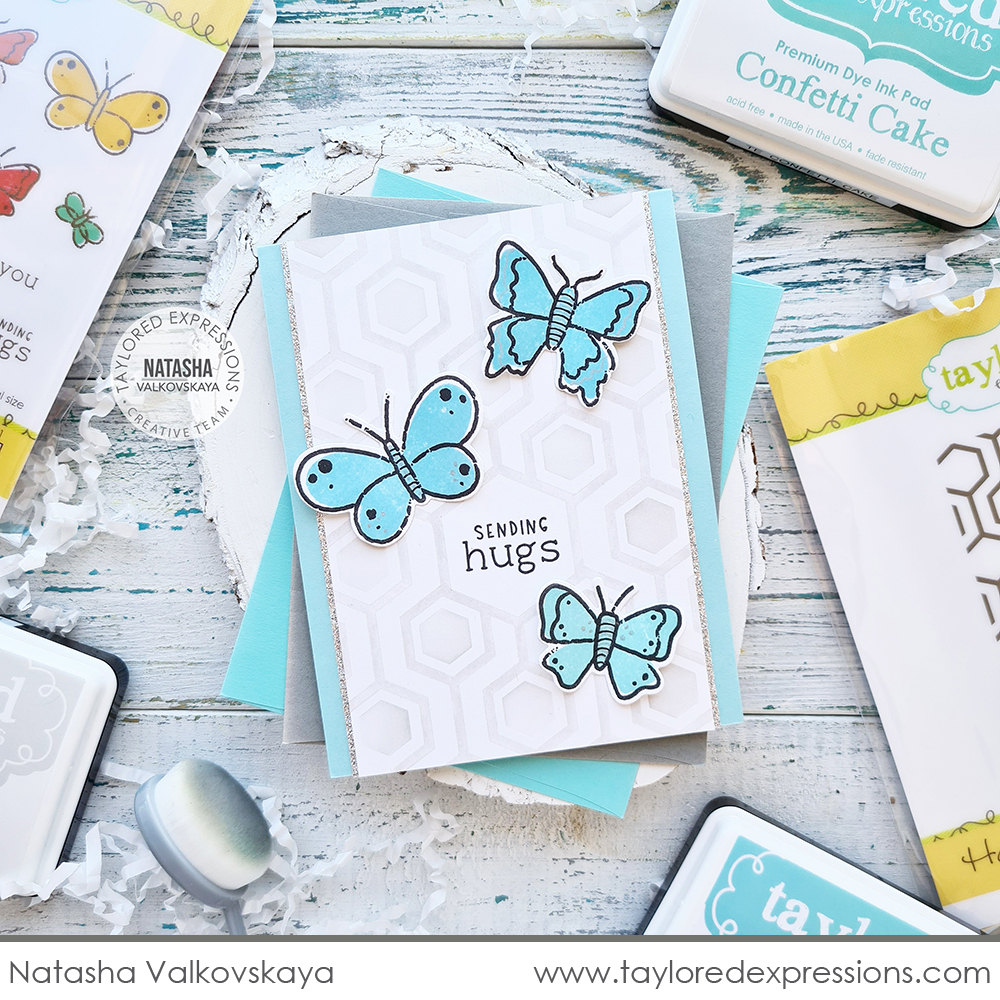
I love the subtle effect of the Happy Hex Mini Slim Background stamp and Happy Hex Mini Slim stencil added with Sea Salt ink on this card created by Natasha Valkovskaya. This card is an A2 size and Natasha adapted the Mini Slim background design to use on it by centering it on the card front and trimming off the excess at the top of the card – I love the peek of silver glitter cardstock on each side! The butterflies are from the Social Butterflies Cling & Clear Combo set (+ coordinating dies) and Natasha scattered them across the background. She stamped the ‘sending hugs’ sentiment into the larger hexagon on the background.
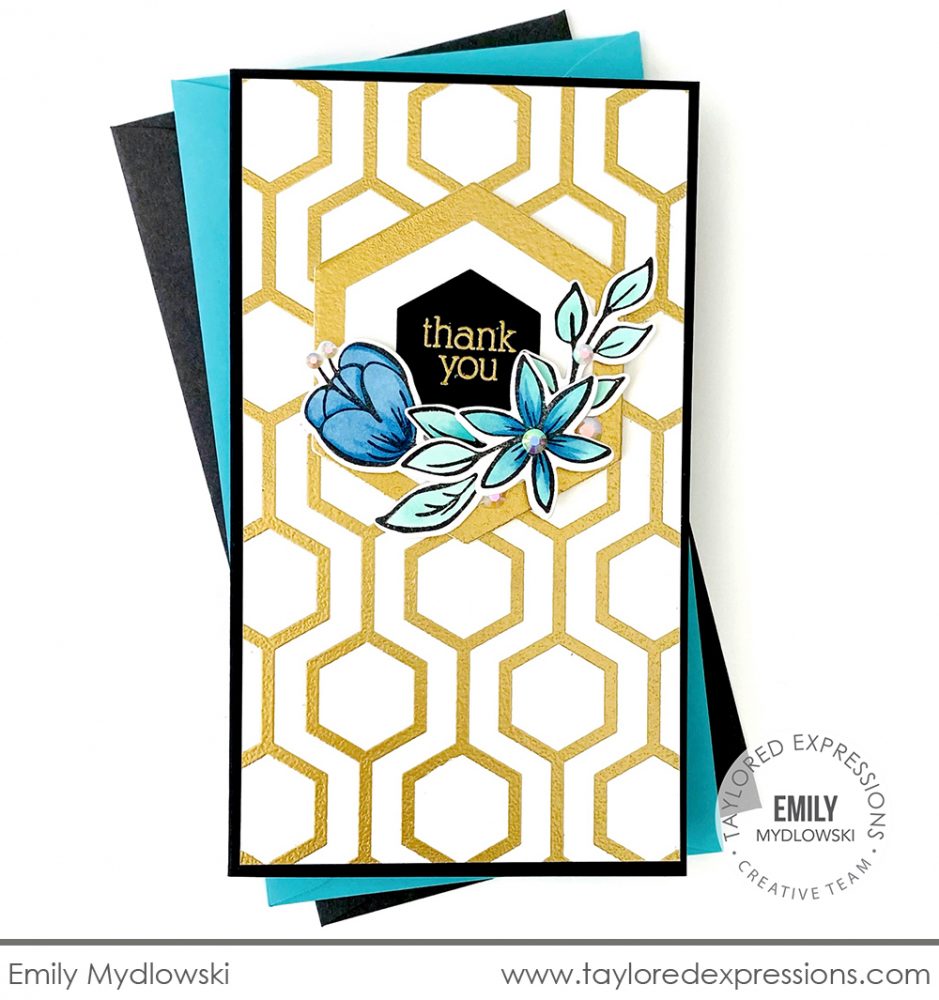
Emily Mydlowski embossed the Happy Hex Mini Slim Background stamp in gold for the background on this elegant Mini Slim thank you card. She added the ‘thank you’ sentiment embossed in gold on a larger hexagon cutout and surrounded it with pretty blue flowers stamped with the Full of Flowers – Singles stamp set (+ coordinating dies). The extra sparkle around the flowers is created with Bits & Pieces – White Rhinestones.
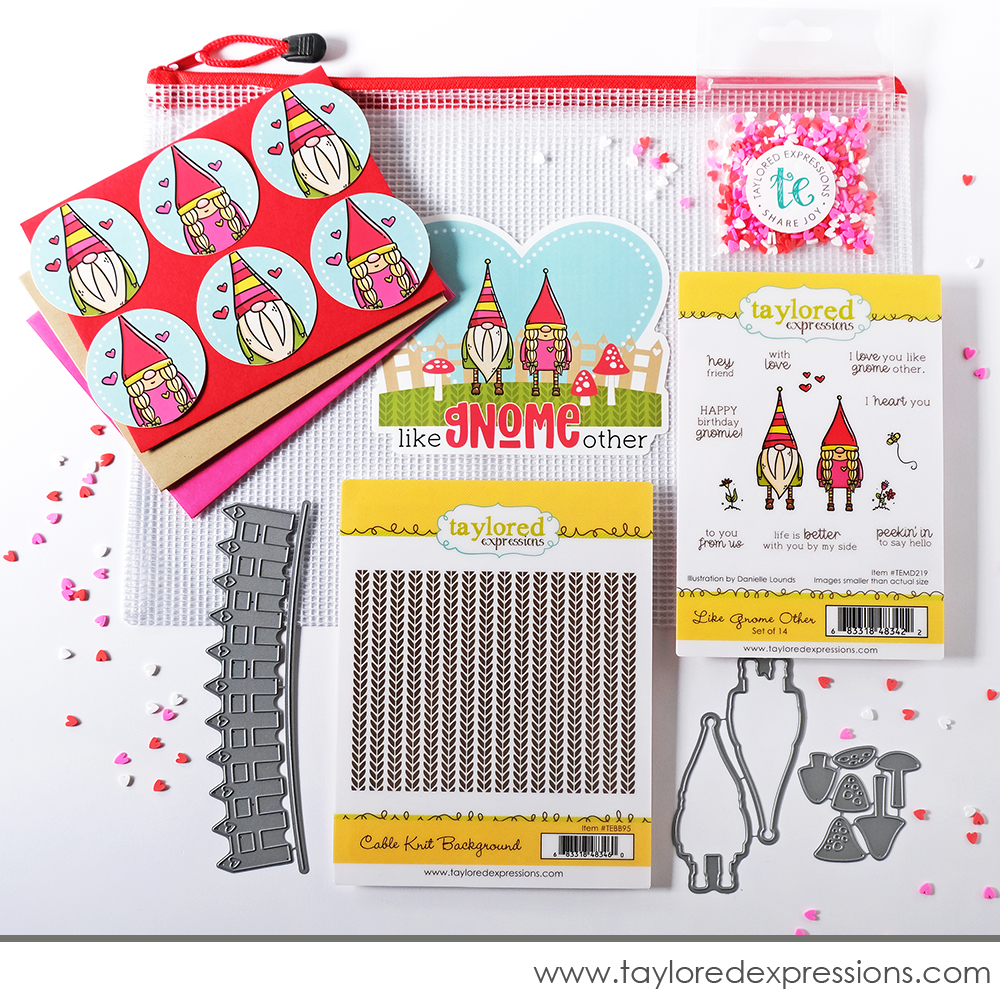
The Like Gnome Other Kit that was released in December. To get an up close look at the products included in the Like Gnome Other Kit, CLICK HERE to see the release day post. Listed below are the items from the kit that are now available to purchase individually:
- Like Gnome Other stamp set
- Like Gnome Other die collection
- Build a Scene – Heart Fence & Hill die collection
- Layer It- Toadstools die collection
- Cable Knit Background stamp
- 6 Colored A2 Envelopes pack: 2 Lollipop, 2 Cherry Pop, 2 Toffee
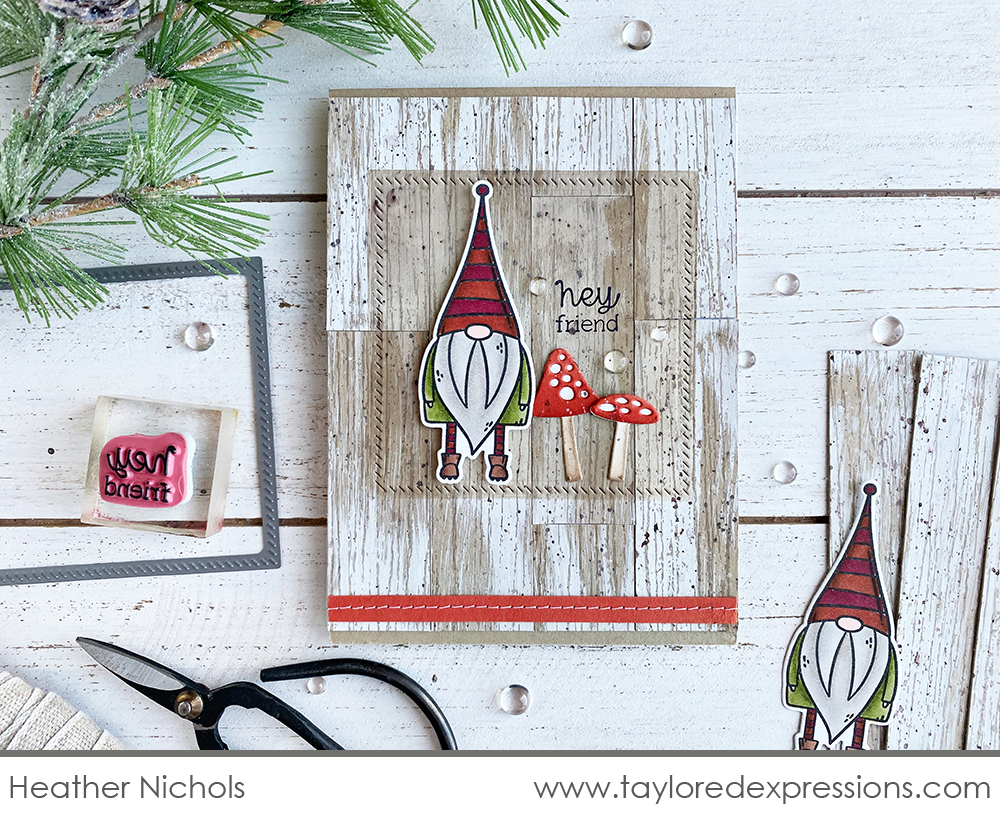
I created this card (Heather Nichols) using the Like Gnome Other stamp set (+ coordinating dies) and Layer It – Toadstools die collection. The Wood Plank Background stamp was calling to me to pair with the cute little gnome and I used it to create a rustic pieced wood plank background for my card. To create the look: I brushed white acrylic paint onto Toffee cardstock with a foam brush, stamped the Wood Plank Background stamp over the top with Toffee ink, splattered the piece with Sugar Cube ink and Chocolate Truffle liquid watercolor, cut the piece into strips, and assembled it to create the pieced plank background. I used the Masking Stencils – Squares set and a Diagonal Stitch Square Stacklets die to add a landing spot for the gnome, the toadstools, and stamped sentiment.
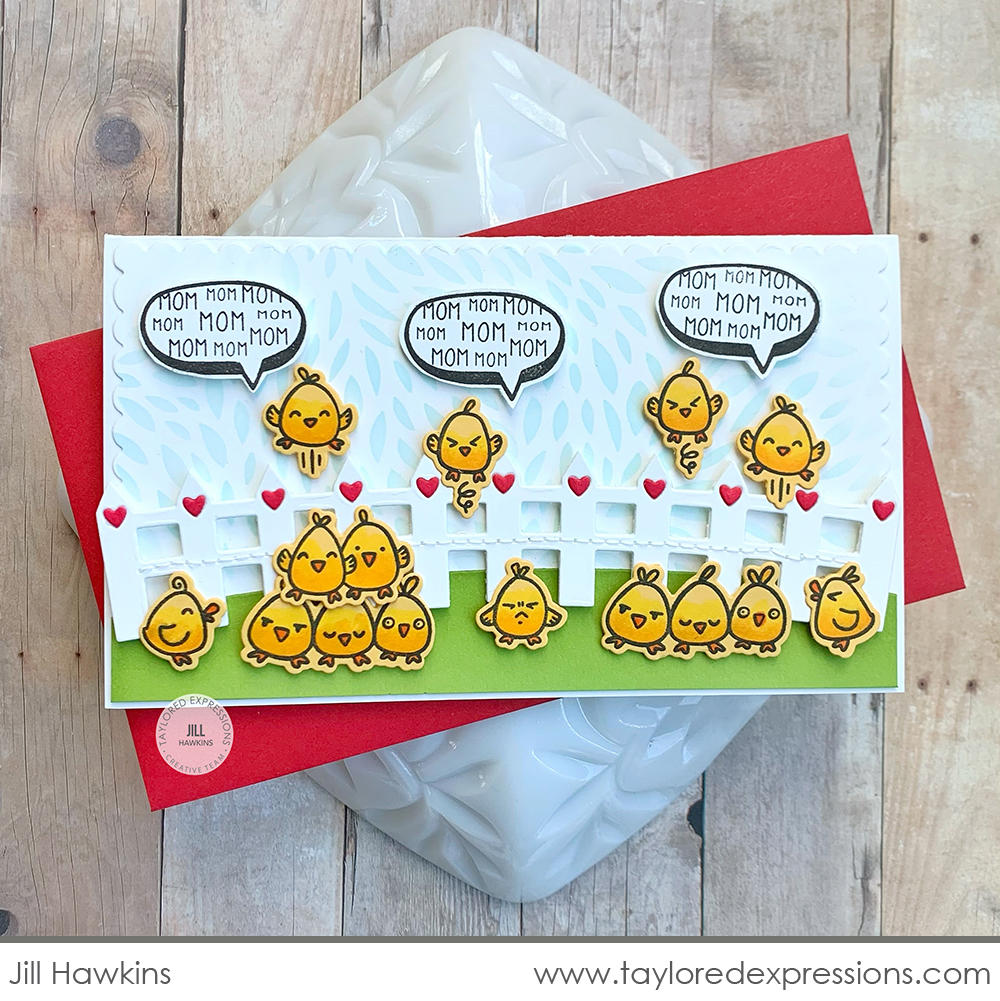
This card by Jill Hawkins just makes me laugh – I think all moms out there card definitely relate to this! She paired the Build a Scene – Heart Fence & Hill die collection with the Sarcasti-chicklets stamp set to create this hysterical Mini Slim card. Jill added piles of chicks all around the cute heart fence and added several ‘mom mom mom mom mom…’ sentiment speech clouds above them. I can pretty much ‘hear’ this card when I look at it…! What a great card to send to your mom-friends to bring a smile to their face and I think this card would be a great one for Mother’s Day too!
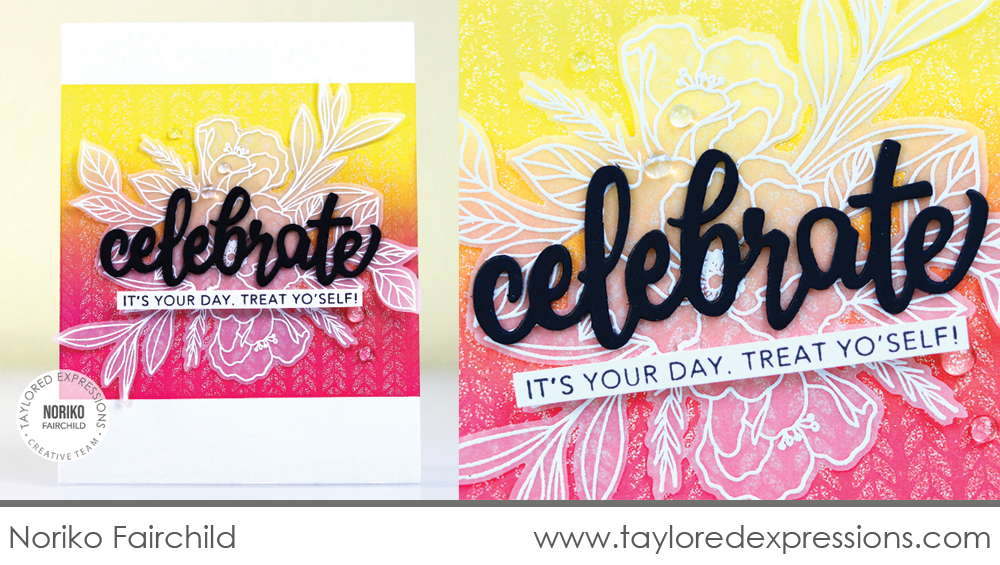
Noriko Fairchild used the Cable Knit Background stamp for the background on this pretty card. She embossed the background with diamond embossing powder over a blended background and I had to add an extra peek so you could see how pretty it is closer up! The Spring Spray image is embossed on a piece of vellum in white and layered over the background with the ‘celebrate’ word die cut with the Celebrate Script die and sentiment strip from the Simple Strips – Birthday stamp.

Join Taylor live for “T Time” at 1pm Central today on the Taylored Expressions Facebook Page. She’ll be sharing a closer look at the products from the Happy Hex and Like Gnome Other Kits that are now available to purchase individually. We hope to see you there – come join in the fun!
Thank you so much for stopping by today! You can check out the projects that the TE Creative Team made using the kit products that you can now purchase individually by clicking their faces below so you can hop to their blogs.


