May 04, 2021
Fresh Inspiration: Create A2 & Mini Slim Cards Using the Same Products!
Hey, crafty friends! It’s Heather here today! What size do you normally create your handmade cards? The A2 size (4.25″ x 5.5″) is probably the most popular in the paper crafting world, but there are other sizes that are gaining in popularity too! Here at Taylored Expressions, we have been pretty excited about the Mini Slim size (3.5″ x 6″) and we get so many requests for products specifically designed for this format since we debuted Mini Slim specific products last fall. While there are some basic products that are nice to have in the various formats, overall you can adapt almost anything to work for the different card sizes.
We put the TE Creative Team to the test to use the same products and color combination on both an A2 and Mini Slim sized card. We think they did an awesome job showing the versatility of our stamps, dies, and stencils that you might already own in your personal collection. We also hope that our projects today inspire you to take another look at the products that you have and how you can use them on the two different sizes.
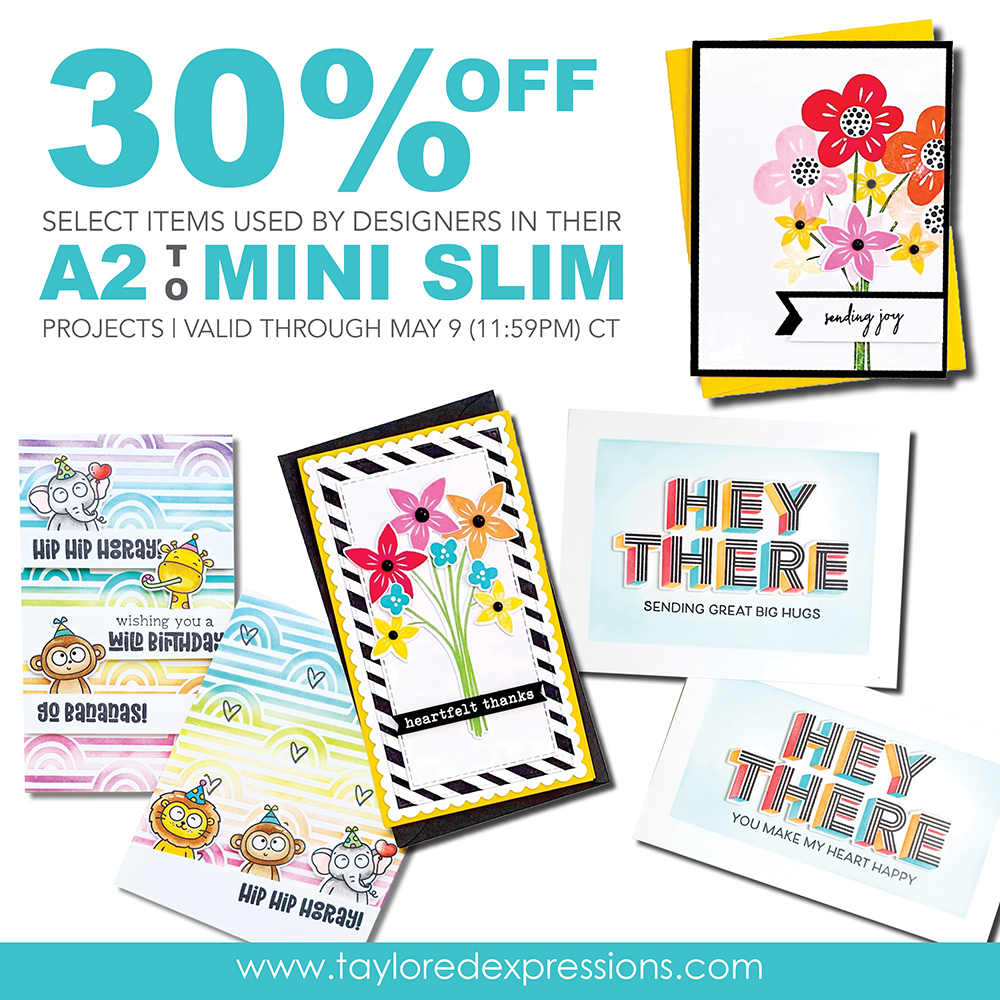
If any of the main products that the TE Creative Team used on their project has caught your eye, we are making a selection of them available to you for 30% off through this Sunday, May 9th or while supplies last. Here are the sets included in the sale:
- Candles Layering stencil
- Counting Candles stamp set
- Life of the Party stamp set
- Life of the Party die collection
- Bouquet Whimsy stamp set
- Bouquet Whimsy die collection
- Hey There Stamp & Stencil Combo set
- Hey There Shadow die collection
- Beautiful Baubles stencil
- Beautiful Baubles Add-ons stamp set
Now let’s get onto the A2 to Mini Slim inspiration for today, starting off with a video from Joy Baldwin:
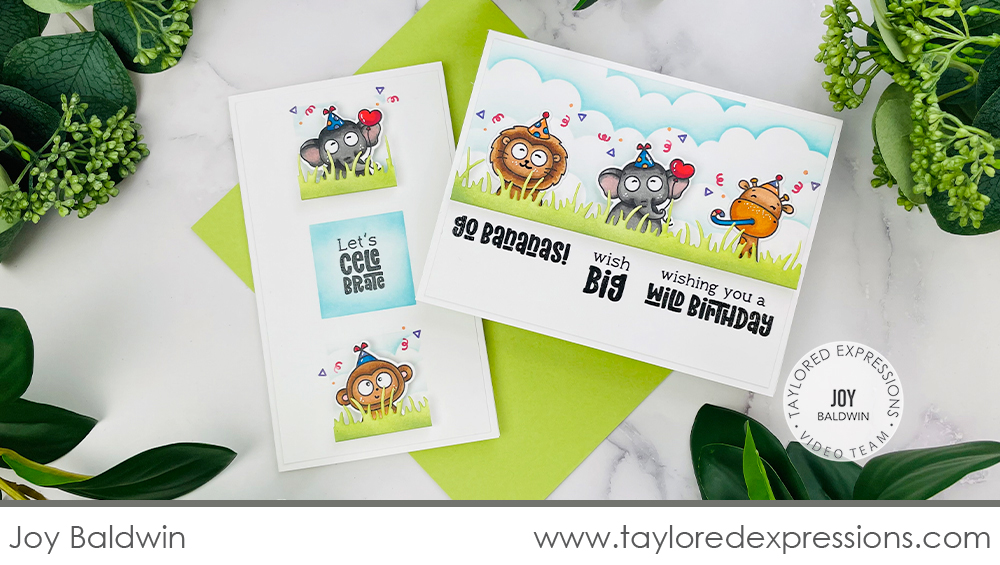
In today’s video, Joy Baldwin is sharing ideas for using the same products on both an A2 sized (4.25″ x 5.5″) card design and a Mini Slim (3.5″ x 6″) card design. Watch the video below to see how she created these adorable birthday cards:
In the video, Joy uses the Life of the Party stamp set (+ coordinating dies) to create two cards: one in an A2 size format and one in a Mini Slim format. Joy uses the same colors and techniques on each card, showing you the versatility of using the same products for the different card formats.
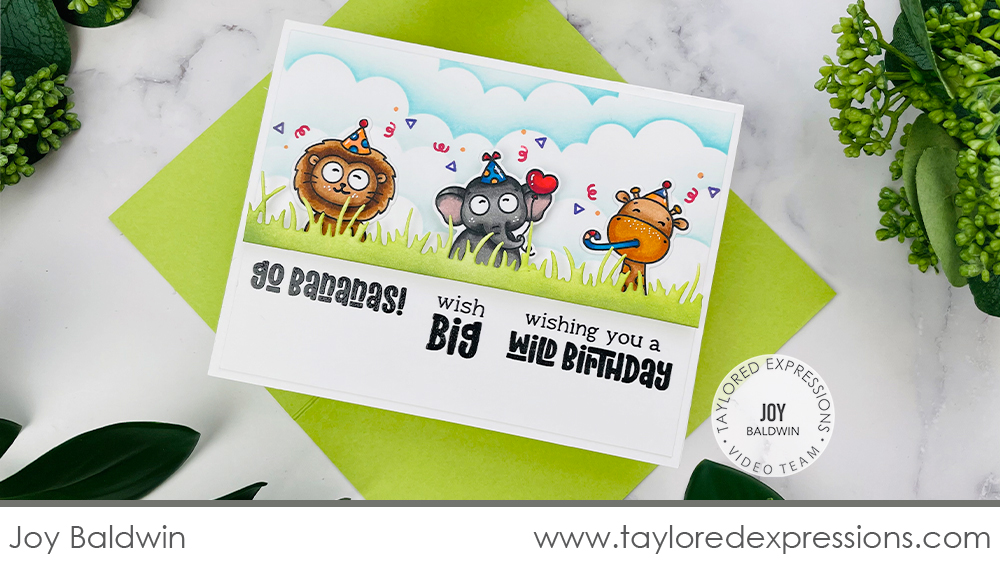
Joy spread the cute critters from the Life of the Party stamp set out across the A2 sized card, adding clouds in the background with the Set the Scene – Clouds Stencil Strips set and a strip of grass cut out with the Wispy Grass Border die. The width of the landscape A2 card gives you plenty of room to create a cute scene like this! I love the sprinkles of confetti that Joy added over the tops of the critters and how she added several of the sentiments from the Life of the Party stamp set underneath the scene.
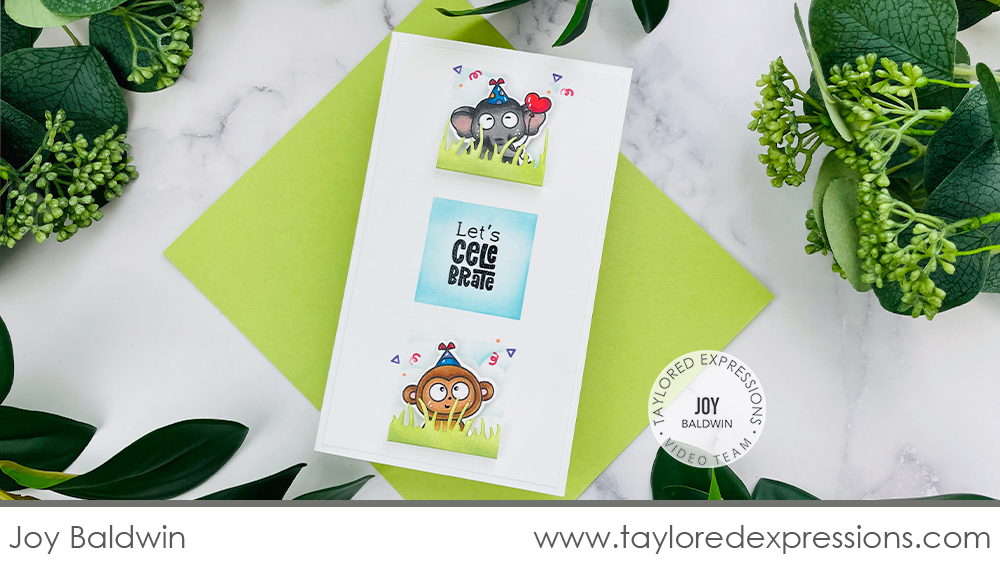
Joy turned her card orientation to portrait with the Mini Slim size and changed up how she added the same elements as she used on the A2 design. The Masking Stencils – Mini Slim Windows set was perfect to add landing spots for a few a few critters and the sentiment. Instead of three critters, Joy just used two of them, but still added the cloudy sky, strip of grass, and sprinkle of confetti to each one.
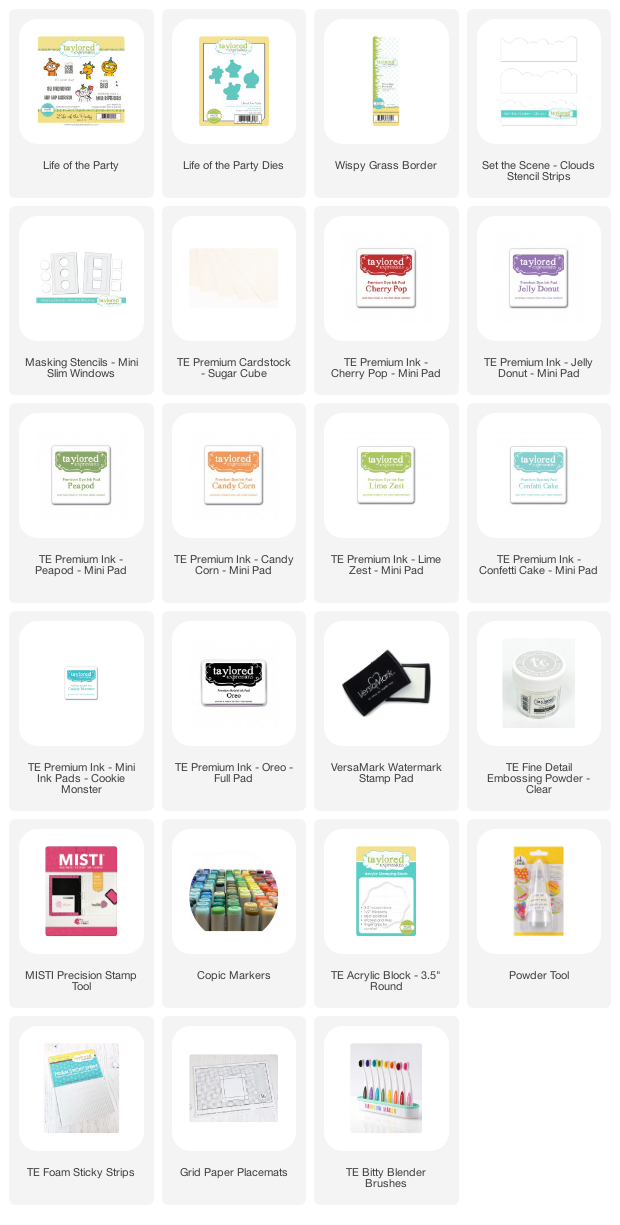
Check out the list below for the supplies that Joy used on both card versions:

Now, let’s check out a few of the A2 to Mini Slim card designs from the TE Creative Team:
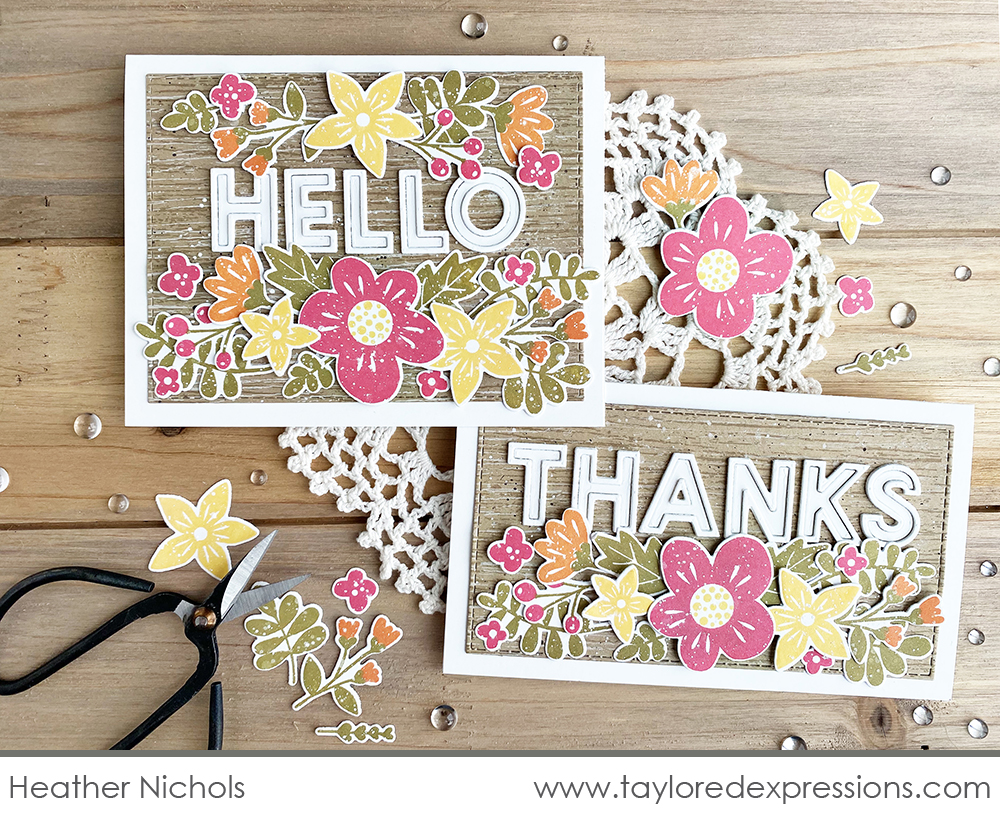
I created this first pair of cards (Heather Nichols) using the Bouquet Whimsy stamp set (+ coordinating dies). Both cards use almost exactly the same elements between the A2 and Mini Slim sizes. Since the A2 size is larger, I added additional blossoms across the top of the card and the floral border on the Mini Slim size is spread out just a touch more than the border on the A2 card. The Mini Slim card accommodates a longer sentiment well and I did that here by adding ‘thanks’ on the Mini Slim size and a shorter ‘hello’ on the A2 size using the Cap it Off Alpha dies.
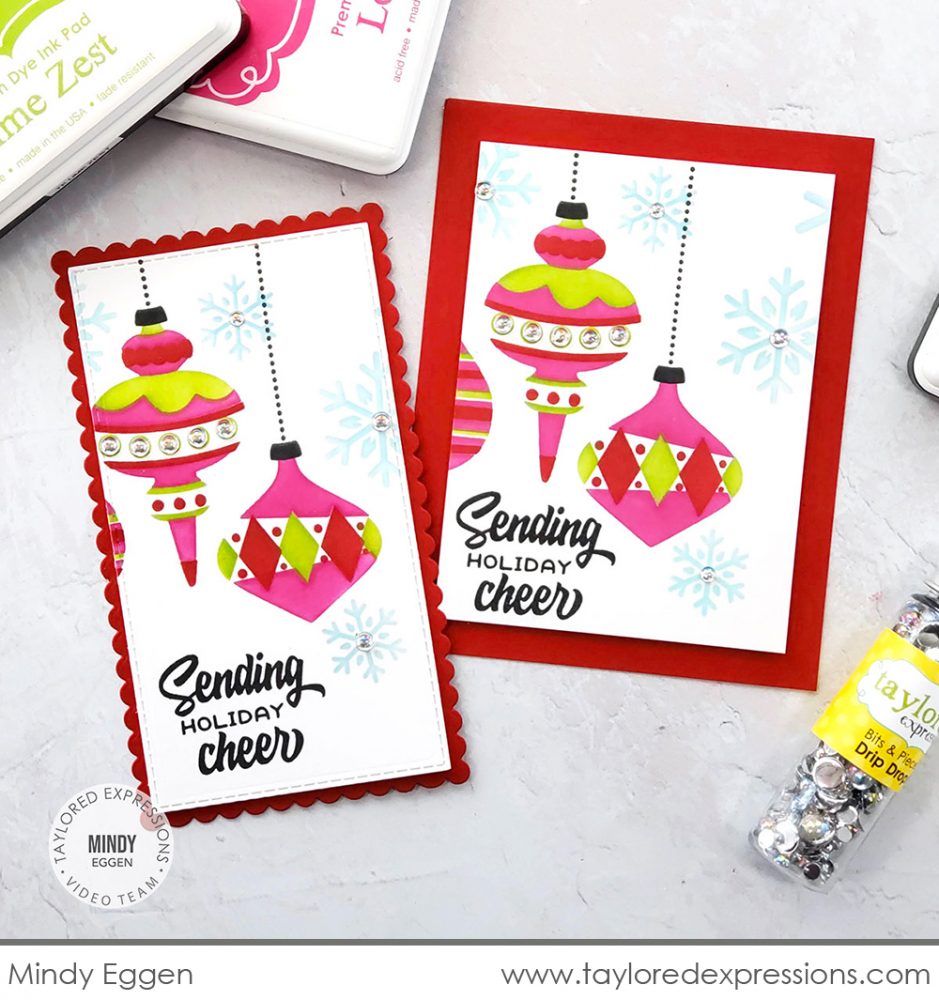
Mindy Eggen (we are excited to have Mindy join the TE Creative Team as well as continue on the video team for us!) shares two holiday cards featuring the Beautiful Baubles stencil and Beautiful Baubles Add-ons stamp set. On both cards, she has the ornaments coming in on the left side of the card. The A2 sized card (on the right) shows more of the ornament images while the Mini Slim sized card shows a smaller portion to work with the different card format widths. I love the added snowflakes that Mindy stenciled around the ornaments using the Let it Snow Layered Stencil set!
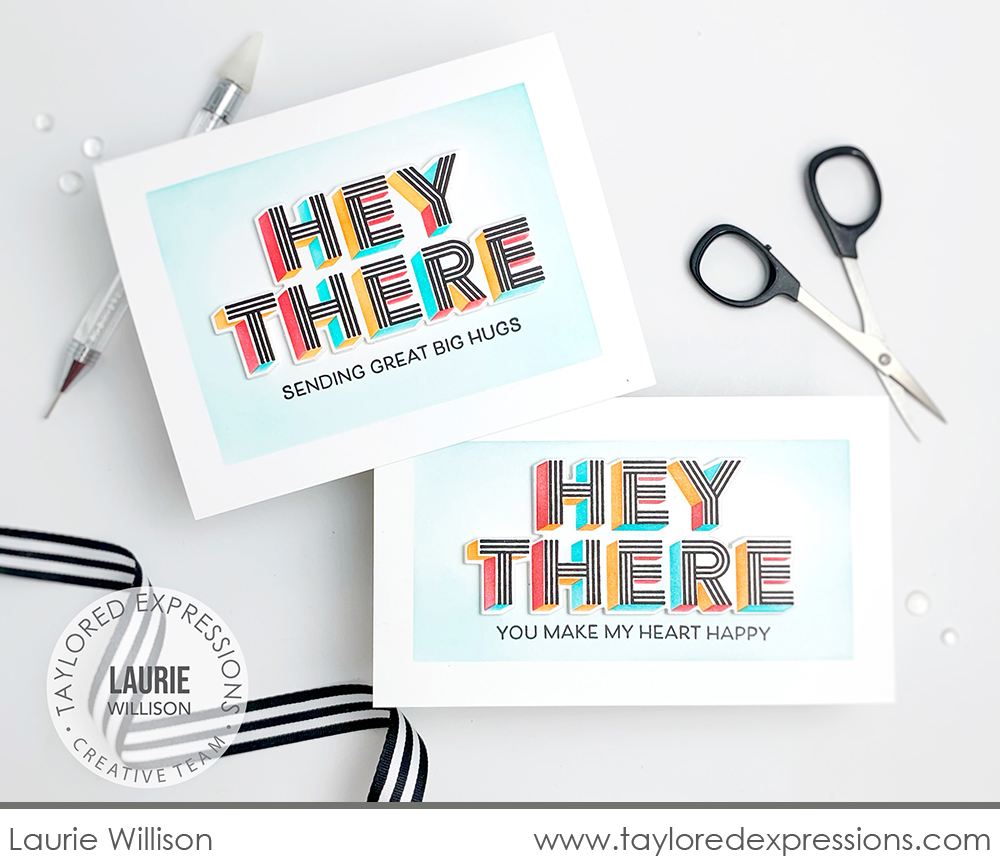
Laurie Willison shows us how well the Hey There Stamp & Stencil Combo set works on both A2 size and Mini Slim size cards! She kept the card design pretty much the same for each size, using the Masking Stencils – Rectangles set to stencil the background on the A2 size and the Masking Stencil – Mini Slim Rectangle set on the Mini Slim card. The sentiments that Laurie added under the ‘hey there’ sentiments are from the Just Saying stamp set.
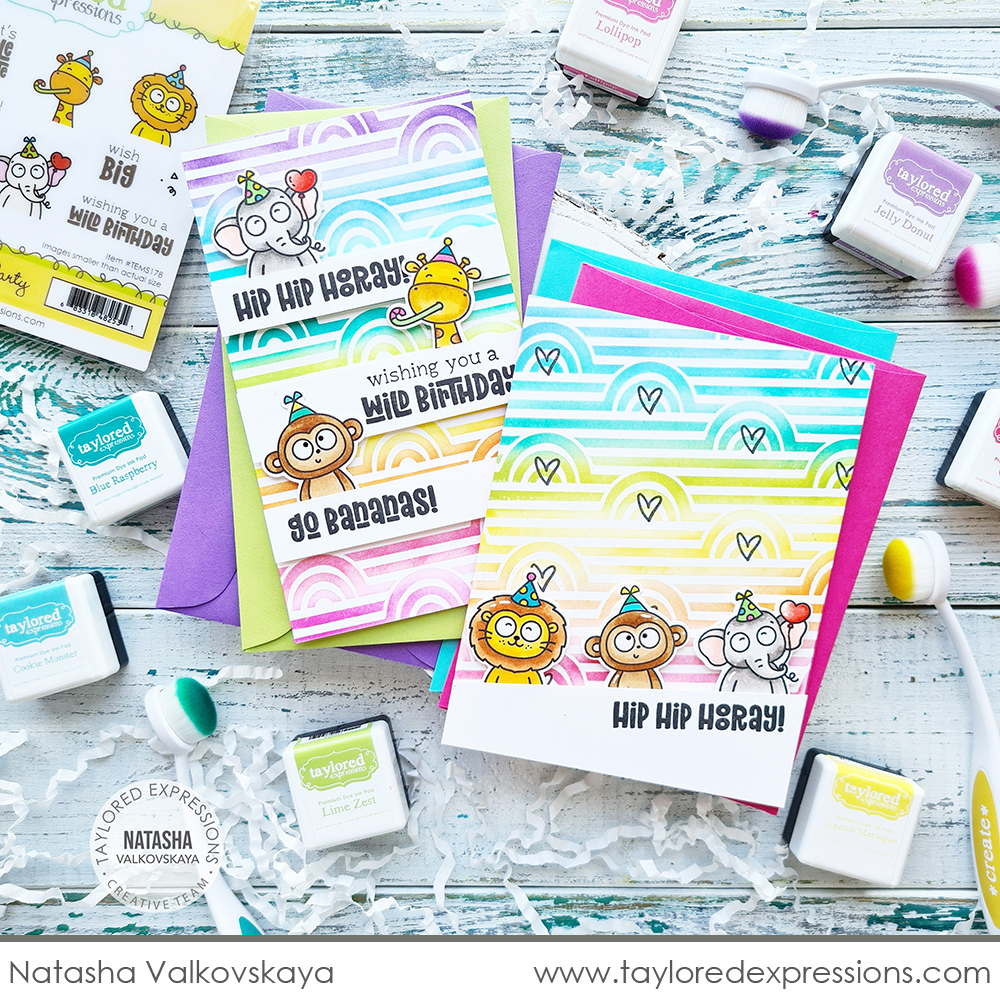
This cute birthday card pair was created by Natasha Valkovskaya. She used the Life of the Party stamp set (+ coordinating dies) paired with the Rainbow Repeat stencil for both cards, but did a few variations in her designs between the Mini Slim and A2 sized cards. Natasha lined up three cute critters across the A2 sized card front, but staggered the critters down the front of the Mini Slim card since it is a bit narrower size. I like how she added the sentiments under each critter on the Mini Slim card to highlight each one, but then on the A2 size she only needed one sentiment under the critter line up.
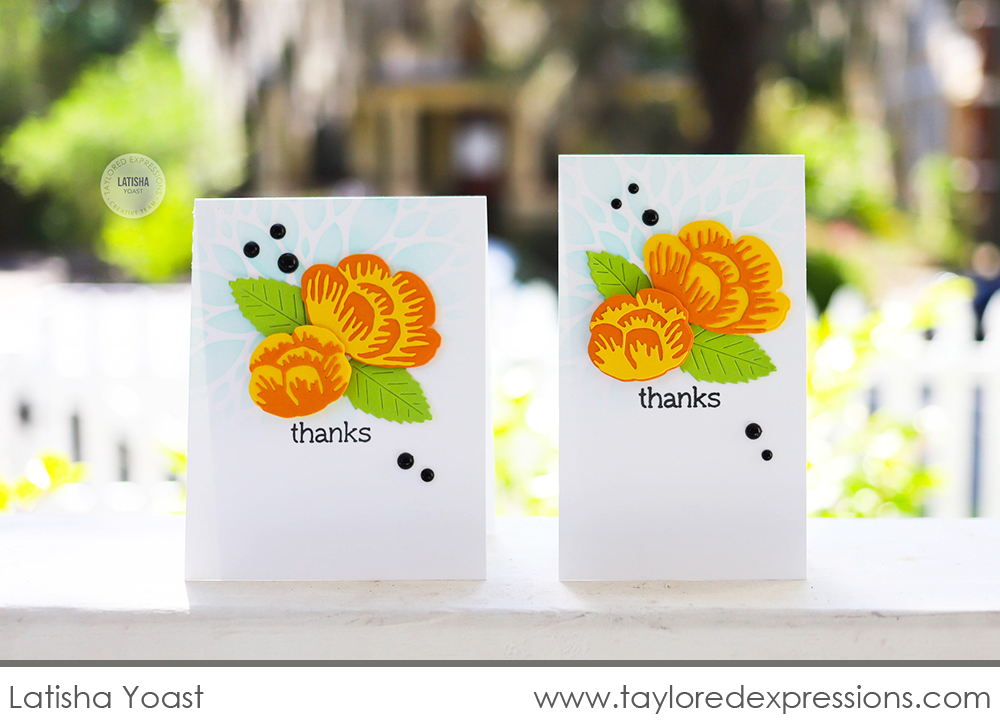
Latisha Yoast kept her card designs identical between the A2 and Mini Slim sizes, but I love how the card formats each give the layout a different look! Do you have a favorite between the two? Her cards feature the Layer It – Rustic Floral die collection layered over a background stenciled with the Dahlia stencil. The ‘thanks’ sentiment is from the Social Butterflies Cling & Clear Combo set and she finished off the card designs with Bits & Pieces – Black Drip Drops.
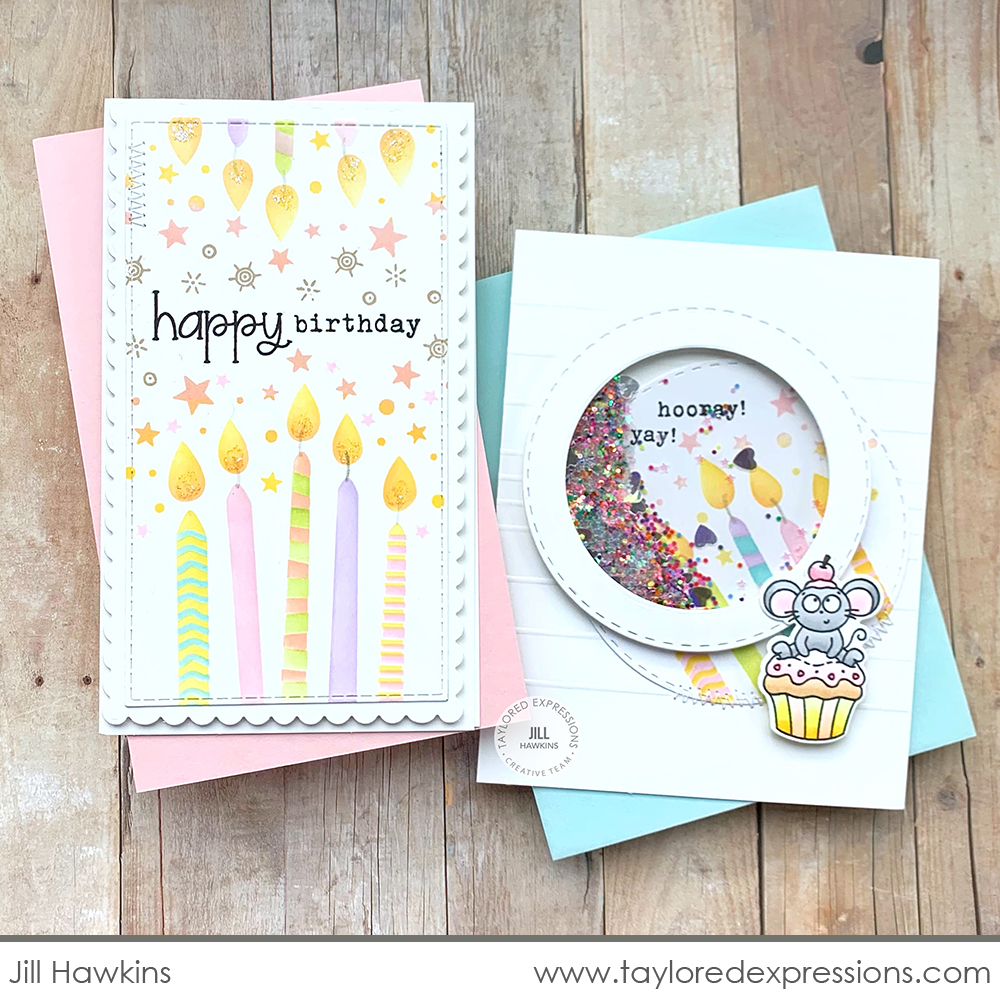
Jill Hawkins used the Candles Layered Stencil set to create two great birthday cards in the A2 and Mini Slim sizes. While Jill used the same stencils and colors on both cards, she made two very different looks! On the Mini Slim size, Jill played up the taller length of the card and stenciled the candles coming up from the bottom and also down from the top. She added the sentiment from the Counting Candles Add-ons stamp set between the images along with extra confetti. For the A2 card, Jill cut out the stenciled candles using a Stitched Circle Stacklets die and used it as a backdrop for a shaker element filled with lots of glitter and confetti. She finished the A2 design with that cute mouse we all love from the Millie’s Birthday Bash stamp set.

Join Taylor live for “T Time” at 1pm Central today on the Taylored Expressions Facebook Page. She’ll be sharing a closer look at creating card designs in both the A2 and Mini Slim sizes. We hope to see you there – come join in the fun!
Thank you so much for stopping by today! Make sure you check out the rest of the TE Creative Team projects to see their A2 and Mini Slim card creations. Click on the faces below to visit their blogs. Stop back later this week for more A2 to Mini Slim card design inspiration!


