Jan 25, 2016
Taylor’s Expressions: Make ‘n Take How-to, Booth Tour, & Giveaway!
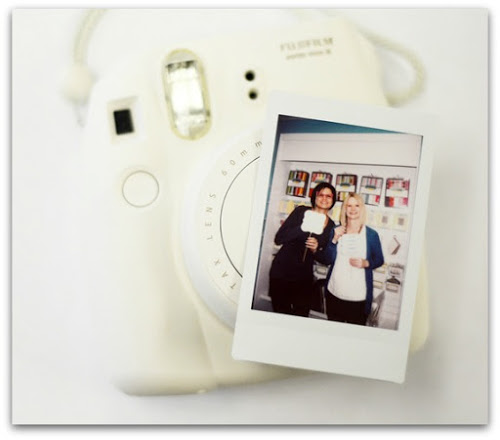
Step 1: Take an instant photo and allow to develop. If you don’t own an instant camera, you can print out a photo and trim it to the size of the die.
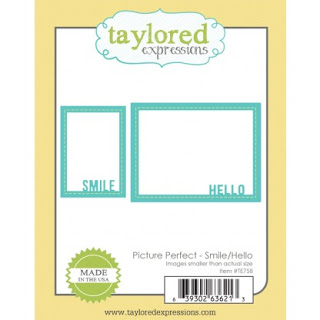
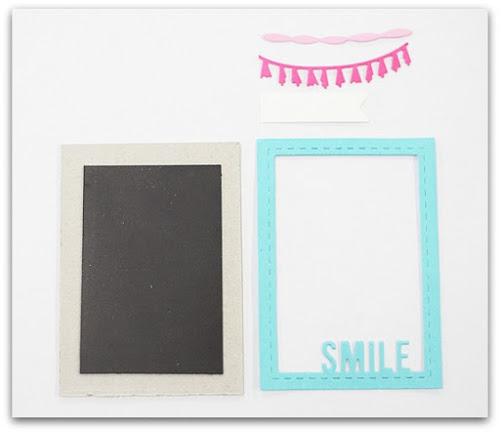
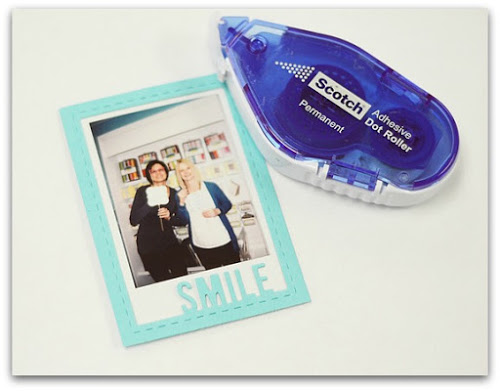
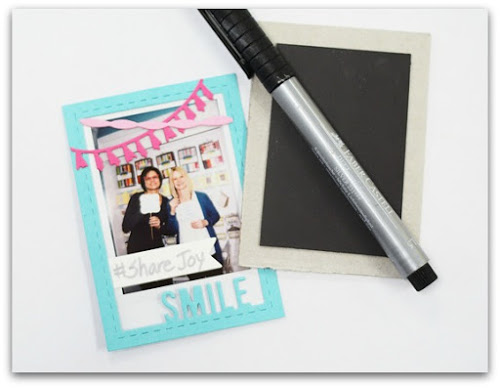
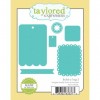
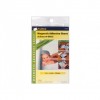
Step 2: Gather your materials. Die-cut the frame from Picture Perfect – Smile/Hello. Trim a piece of chipboard and adhere a piece of magnetic sheet to one side. Die-cut and trim borders from Skinny Mini Borders to fit. Die-cut and trim a banner from Build a Tag 3. Set these aside.
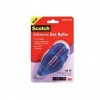
Step 3: Using an adhesive roller, apply adhesive to the back of the “Smile” frame. Adhere it on top of your picture. (This is a great way to apply materials to photos as liquid glue can be a bit messy!)
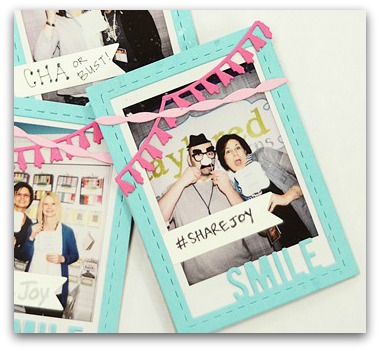
Step 4-6: Write a short message on the small white banner with a fine-tipped pen and adhere to front of photo. Adhere the mini borders with small amounts of glue. Adhere chipboard backing to framed photo with adhesive tape.
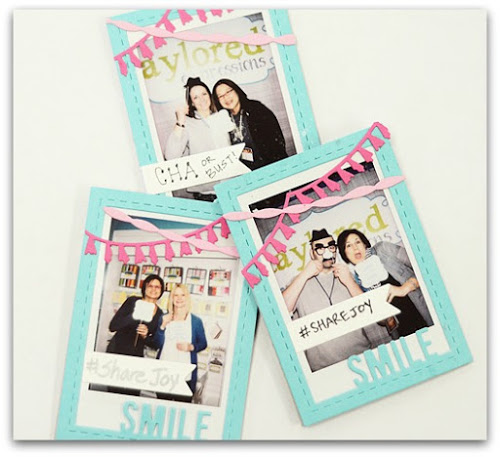
And there you have it! (Jon and I got a little silly in the TE photobooth, as you can see in the photo above.) These little magnets would make a terrific party favor for guests and you could even have them create them on the spot if you have an instant camera. I hope you’ll give it a try!
During the show, I made a short video tour of our booth. Our booth featured several of our fan-favorite lines of products along with samples from our wonderfully-talented design team. Take a peek…
Now that we are back from CHA, we are so excited for the coming year. We have so many new products planned and we can’t wait to share them with you every month. Thanks for stopping by today and happy stamping!


