
Apr 29, 2014
TE Blog Design Team: Love and Laughter
April really is in full swing! We know some of you still have snow, but we promise that the flowers will eventually bloom and you will get some lovely weather. While you’re waiting for it, we’ve got a project today from Blog Design Team member Caryn Davies that will be sure to give you a burst of sunshine. Plus, she’s got a helpful tutorial on how you can create a very cool sparkly effect using our Ray of Sunshine Cutting Plate!

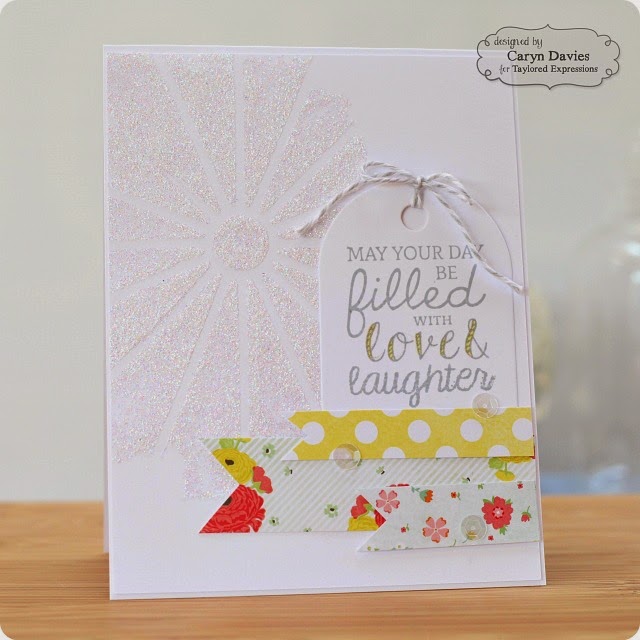
Caryn’s Notes: Caryn here today sharing a cheery little card I created using the fabulous Ray of Sunshine Cutting Plate and the Big Bold Birthday stamp set. I adore the current trend for mixing different style fonts together.

Caryn’s Notes: For this card I used the cutting plate to create a stencil rather than use the actual die cut itself. I just used some scrap card (it does need to be quite thick – paper won’t work for this technique) and die cut it with the cutting plate.

Caryn’s Notes: I then cut a panel for my card front just a touch smaller than the base (standard A2 card) and positioned the stencil I created where I wanted my design to be. Once I was happy with that I taped it in place with some washi tape.
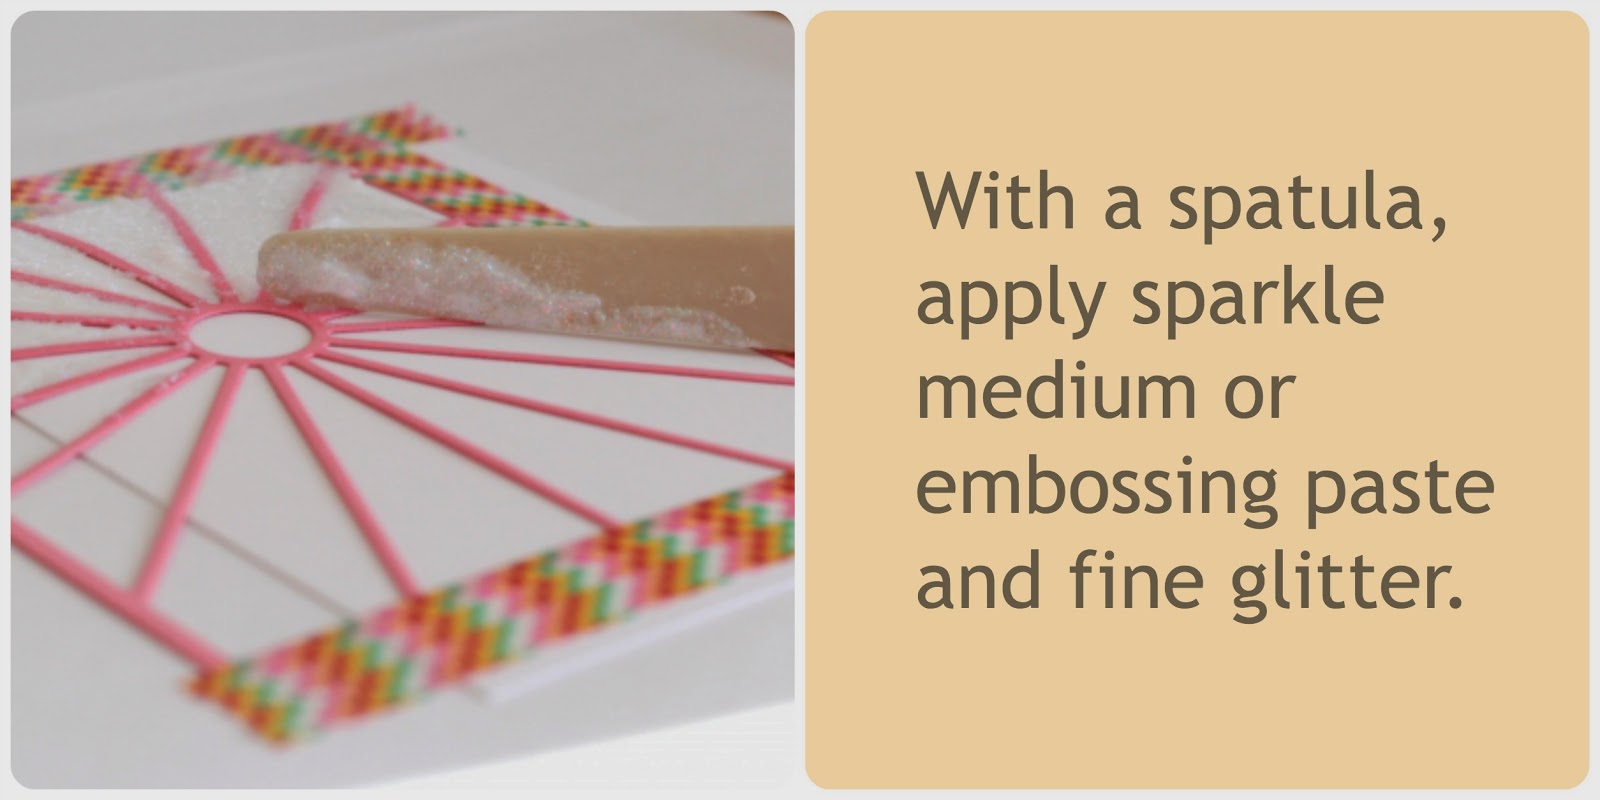
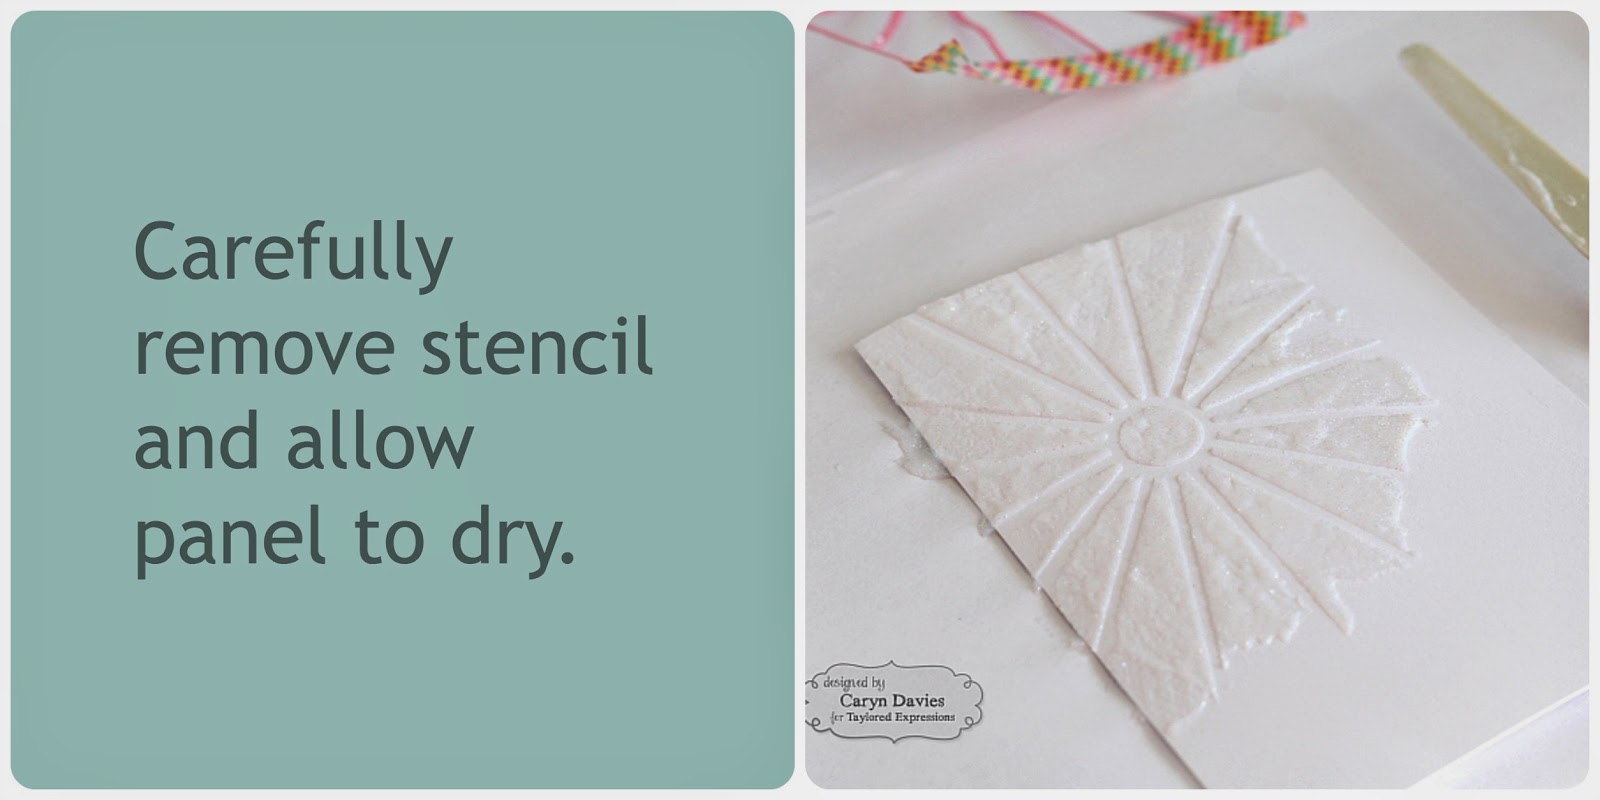
Caryn’s Notes: Now comes the fun bit! Here I’ve used Sparkle Medium (which is a gel-like paste with glitter through it) but the same effect could be achieved with standard embossing paste and fine glitter. I have a little spatula which I use as a spreader but an old credit card or even a sturdy piece of card will work. Smooth the paste over the area where you want it, carefully remove the stencil and discard. Then set it aside to dry.
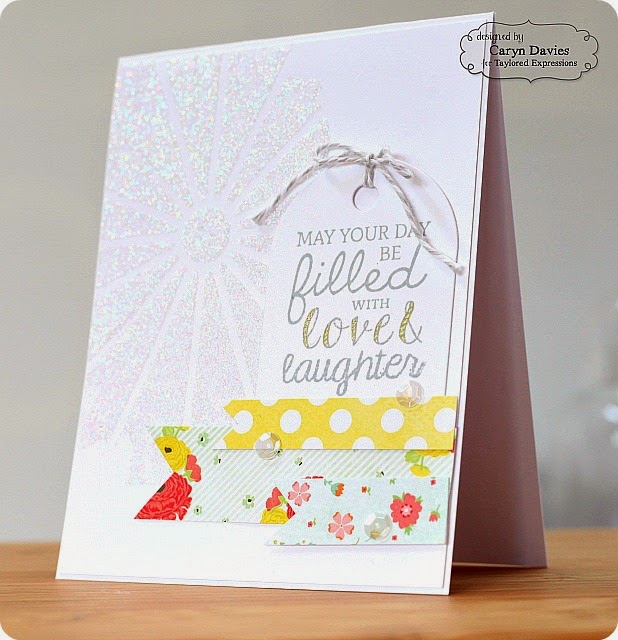
Caryn’s Notes: Meanwhile, I die-cut a tag from white cardstock and stamped the sentiment. I wanted to bring in some fresh color, so I picked three patterned papers and cut three small strips. The tag was partially placed behind the strips with the sentiment sitting above them and then everything was glued into place. I added a wee bit more detail to the sentiment with a Copic marker to highlight the words “love &”. Add in a few little sequins (because there is no such thing as too much sparkle) and some twine for the tag and the card is done!


Tune in tomorrow for more Blog Design Team inspiration!
