Jul 21, 2015
Blog Design Team: Watercolor Inlay
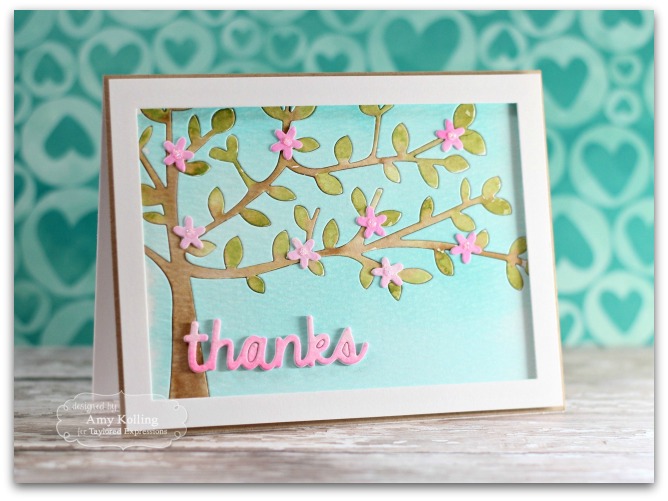
Today Blog Design Team member Amy Kolling is sharing a beautiful, watercolored inlaid card with us today. Check it out below…

Now, let’s hear from Amy about her project…
Hello friends! Amy Kolling here today with more watercolor; I just
can’t stop. There is really no right or wrong as every
watercolored project is one of a kind! For my card, I did a 2-step watercolor
technique.
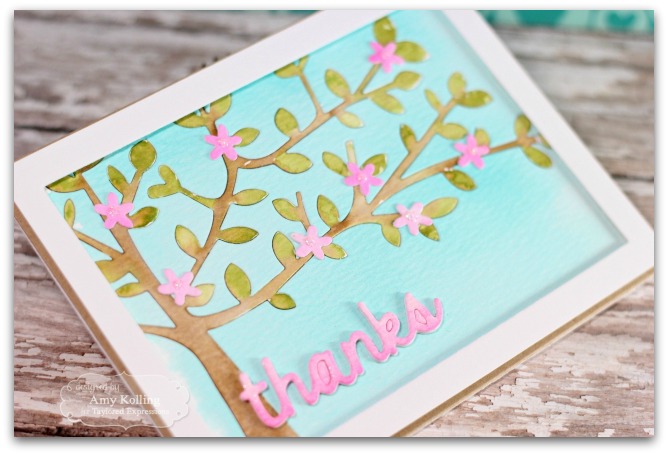
I started with 2 separate panels of watercolor paper. With one panel, I loosely watercolored Tumbled Glass
Distress Ink, let it dry, and then die-cut with the Shade Tree Cutting Plate and popped out all the pieces of the tree. For the other panel, I began by die-cutting it with the Shade Tree Cutting Plate and
leaving that piece totally intact. (By diecutting this panel first, the
tree outline is there so you know right where to place the watercolor
for the tree!) After watercoloring the tree, let it dry, and pop out the
tree.
The fun part comes next! I used these 2 panels to
piece them together like a puzzle. I first applied adhesive to an
entire scrap piece of typing paper. This was the base to piece my tree
and sky back together. (By doing it this way, the card remains
relatively flat for mailing.) I added a white frame
and adhered it with foam adhesive.

To embellish the tree, I watercolored some tiny flowers from Flowers & Stems and adhered. My sentiment was watercolored and diecut using the thanks die from Shades of Thanks Die. This whole panel was added to a Toffee Cardstock panel and adhered to a Sugar Cube Cardstock base. The very last thing I added was some Crystal Stickles to the centers of the flowers!
Thanks so much for sharing a part of your day with me!


Thanks so much, Amy, for sharing this lovely card with us today! You can catch more of Amy’s design work on her blog, Stamp-n-Paradise. Have a joyful day!