Jan 11, 2016
Creative Team: You’re So Foxy!
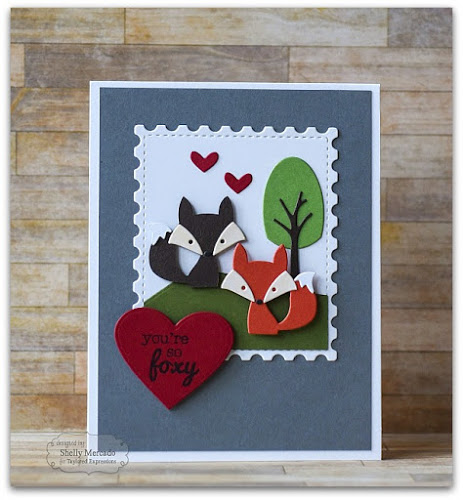
Happy Monday, crafty friends! We had such a blast last week for Petite-a-Palooza and thank you to all of you for helping us party with our new products. Now that we are in 2016, our next fun creative holiday is Valentine’s Day, and we asked our Creative Team to put their best V-Day feet forward. Today, we’re sharing a darling die-cut card by Shelly Mercado to help inspire you to make your own love notes!
Here are step-by-step instructions for how to create Shelly’s foxy card:
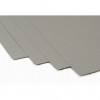
Step 1: Cut card base to 4.25”x5.5” from Sugar Cube Cardstock. Cut layering piece to 4”x5.25” from Earl Grey Cardstock.
Step 2: Die-cut the following pieces:
- Postage stamp from Postage Stamp Stacklets from Sugar Cube Cardstock
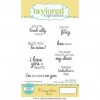
- Stamp the sentiment on Red Pepper Cardstock and diecut the heart from Heart Stacklets by centering the sentiment inside of the die before cutting (tip: use a piece of removable tape to secure the die)
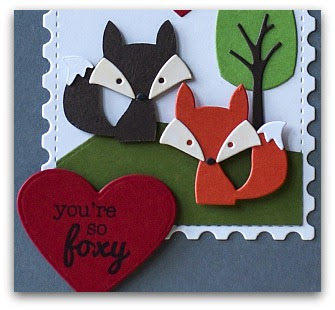
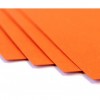
- Die-cut Little Bits Fox from Pumpkin and Chocolate Truffle Cardstock and the accent pieces (tail and face pieces) from Sugar Cube Cardstock (Note – the fox cut from Chocolate Truffle will be turned over so it “sits” opposite of the fox on the right)
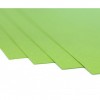
- Tree from Build a Scene Trees from Peapod and Chocolate Truffle Cardstock
- Mini hearts from Little Bits Stamp of Approval from Red Pepper Cardstock
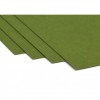
- “Grass” from Build a Scene Rolling Hills from Sweet Basil Cardstock and trim to fit within the postage stamp background piece
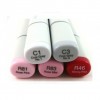
Step 3: Using Copic marker E50, color the tail and face pieces for the foxes. Attach using liquid adhesive.
Step 4: Adhere the foxes and large heart with foam tape.
Step 5: Assemble as shown using double sided adhesive and liquid adhesive for the smaller hearts.
We hope you enjoyed Shelly’s V-Day card today! What little critters would you put on yours? Visit Shelly’s blog, Popsicle Toes, for more of her wonderful work.


