May 12, 2016
Today I Learned: How to Create a Background with Faux Dorsing
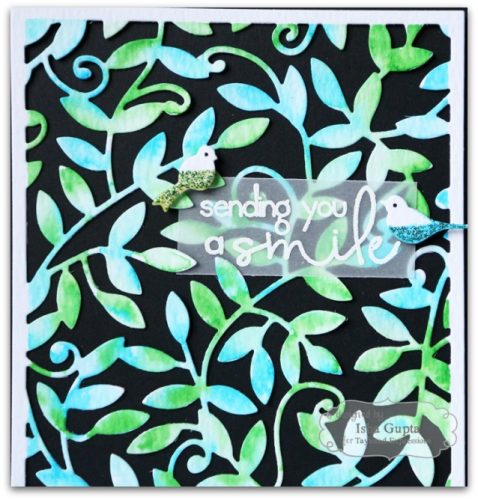
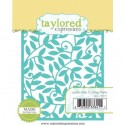
Happy Thursday, crafty friends! It’s time for another installment of “Today I Learned…”! Today we have a very cool tutorial from Blog Team designer Isha Gupta, who is sharing how to create a beautiful, die-cut background using a faux dorsing technique! If you are not familiar with “dorsing,” it is a coloring technique for parchment paper that is done using oil pastels and a blending medium. The results are very pretty, but the process is slow and time consuming. Lucky for us, Isha has taken our Leafy Vines Cutting Plate, distress ink, and vellum to create a much simpler version of this lovely technique!
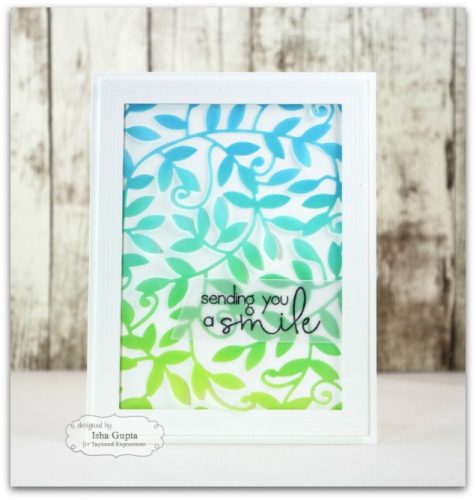
Would you like to know how Isha created this beautiful card? You’re in luck because her tutorial is in this week’s TE Newsletter! Check it out here:
Today I Learned: How to Create a Background with Faux Dorsing
Be sure to subscribe to the Taylored Expressions e-Newsletter for new product information, inspiration, and more!
Get the latest TE news delivered to your Inbox by clicking the button below:
We are also in for a treat today because Isha has created two Bonus Projects using our Leafy Vine Cutting Plate! Check them out…
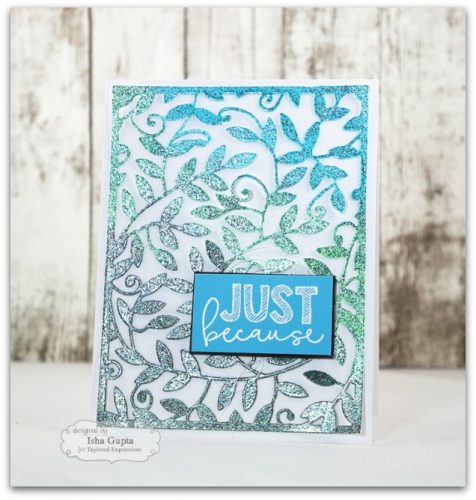
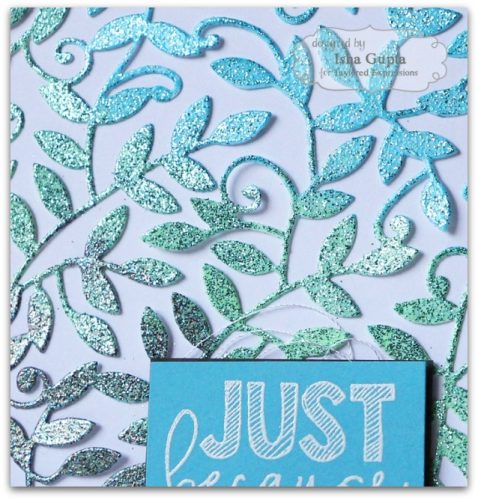
Notes from Isha: Since I love this die so much, I decide to give it a different look all together by using some glitter embossing powders. I used 3 colors of embossing powders for this card for a multi-colored look.
I simply die-cut a piece of white cardstock for this using the cutting plate, then I applied VersaMark ink to the whole die-cut piece and covered it using WOW! Embossing Glitter (Vintage Peacock, Calypso and Spring Breeze). I then heat set it using a heat gun. For the sentiment, I simply stamped and embossed it using white embossing powder onto a blue scrap piece matted in black.
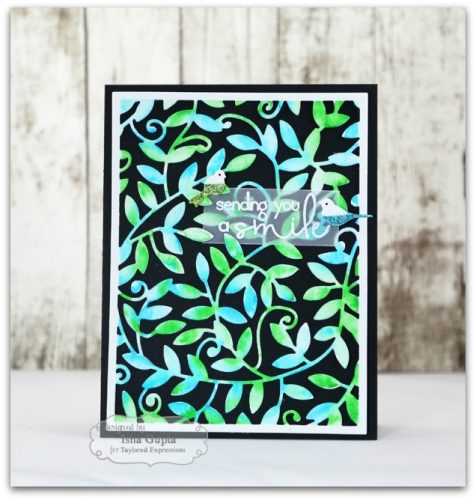
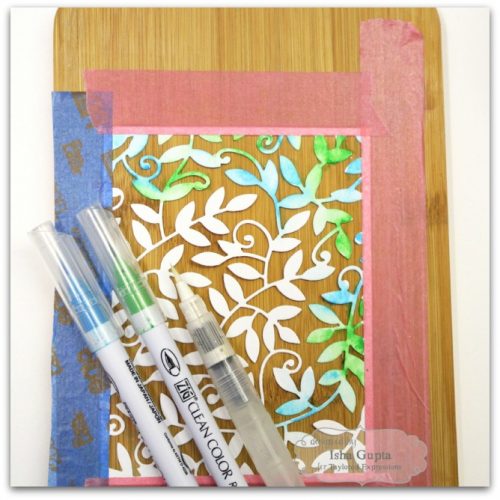
Notes from Isha: Here I die-cut the Leafy Vine Cutting Plate using watercolor paper.
I put the die-cut piece onto a wooden board (this helps with less warping), masked the edges using painter’s tape and colored in the die-cut piece using Zig Clean Color real brush markers.
I stamped and embossed the sentiment onto a piece of vellum and adhered it to the card. To finish, I die-cut a couple cute Little Bits – Birds, masked and embossed them partially for a fun, trendy look!
Thank you so much, Isha, for creating your wonderful tutorial and bonus projects! We hope you are inspired to try creating using Isha’s techniques. Have a joyful day!


