Aug 08, 2017
Card Photography Week: Avoid the Shakes
Happy Tuesday, crafty friends! I know that many of you have long-admired the amazing projects our talented Creative Team make for us. For designers, the work of crafting and sharing a beautiful card doesn’t stop once the glue dries. Our designers want to share their work with the world and they do that with photography. With the popularity of email and social media, sharing projects is quick, easy, and fun, but our designers also take great pride in the quality of their photos in the hope that they will inspire their fans to create and get crafty. This week, I asked a few of our designers to share tips, tricks, and advice on how to take card photos and I can’t wait to share them with you!
Today, Jean Manis shares how to avoid camera shake so you can focus on the right things! Check it out…

Notes from Jean…
Does this scenario sound familiar? You’ve worked on a handmade card for hours, but the photograph of the card just doesn’t do it justice? My process has changed considerably since I first started making cards! At that time, I placed the card on our dining room table and took a hand-held photo with the brick wall as the background. Often, I’d be left with a blurry card. While you can do a lot nowadays in photo-editing programs, fixing a out-of-focus or blurry photo is still difficult.
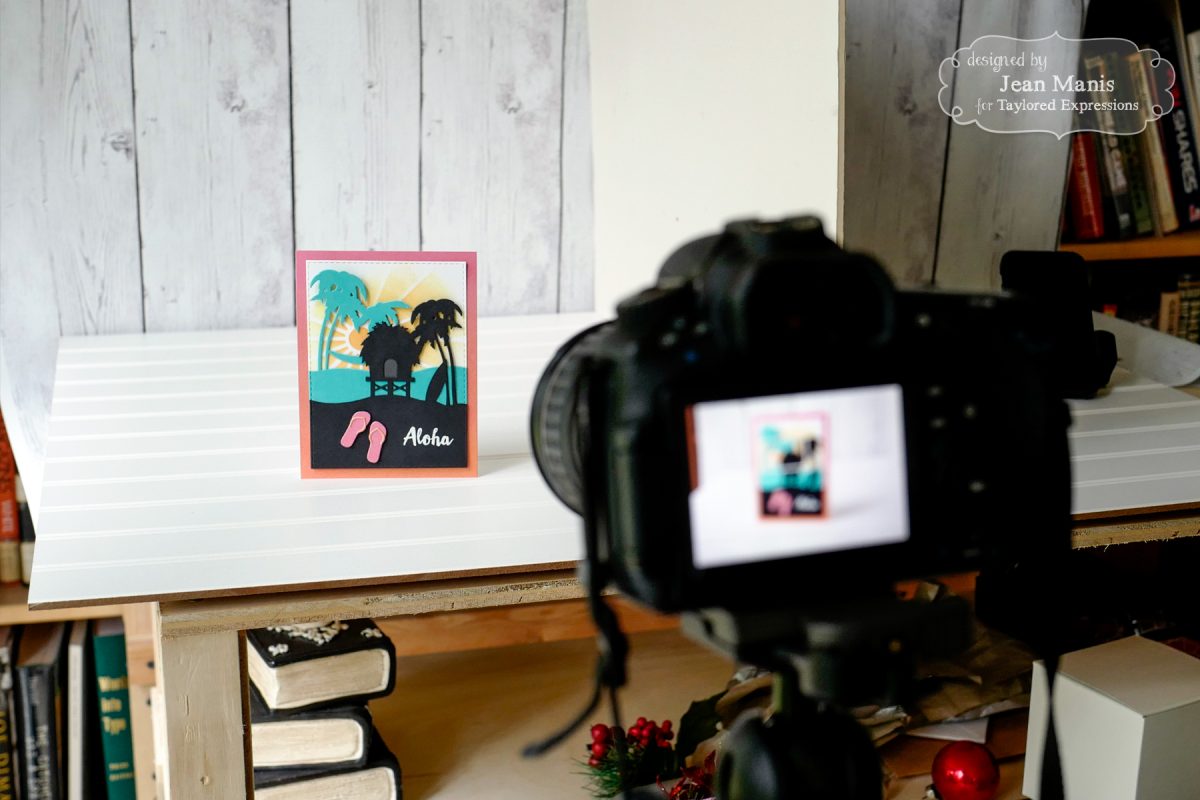
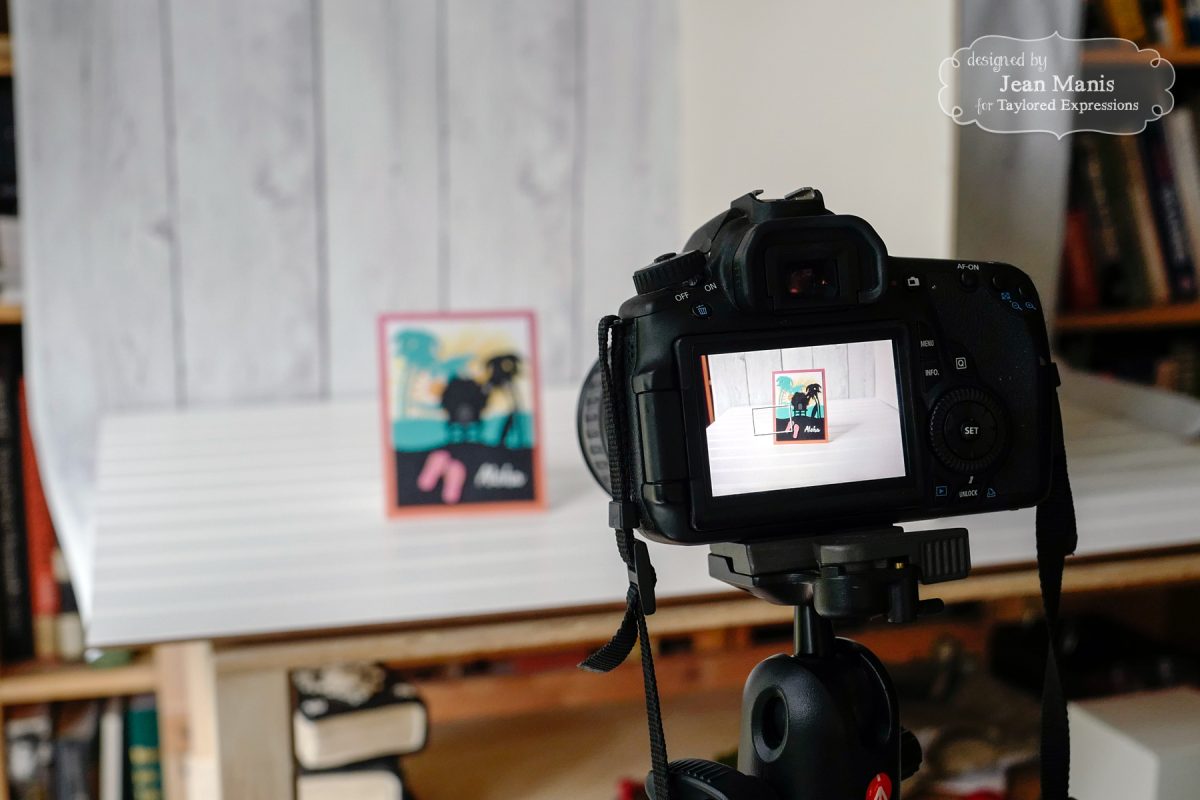
Equipment: I use a Canon EOS 60D camera with a Canon EF 28-135mm f/3.5-5.6 lens on a tripod. I use a tripod to eliminate camera motion, given I am likely to be taking the photo at a low shutter speed (more on that topic in a bit). In this tutorial, I also show a setup for using an iPhone to take photos.
Set-up: I take my photos in the room above our garage on a tall, wood stand, situated close a window, to which I’ve attached a 3’x4′ vinyl background. I wanted to be able to stand comfortably when taking photos, which is why the stand is tall. I have a white beadboard panel, purchased at a DIY store, on the stand’s top. My husband crafted the stand, which was inexpensive to make, and added shelves below on which I store props. I also position a piece of white foam core upright, to the right of the card, to reflect light from the window back on to the project.
Light: I take my photos with natural light. I don’t turn on the overhead lights in the room, and I don’t use my camera flash. Here in the Pacific Northwest, our natural light is unpredictable; the sun is low on the horizon in the winter, and in general, we have many overcast and/or rainy days. During the winter, I take photographs from 10am to 2pm, as any earlier or later in the day, there isn’t enough natural light. In the summer months, I take photos before noon, because otherwise the sun will cast strong shadows on the cards.
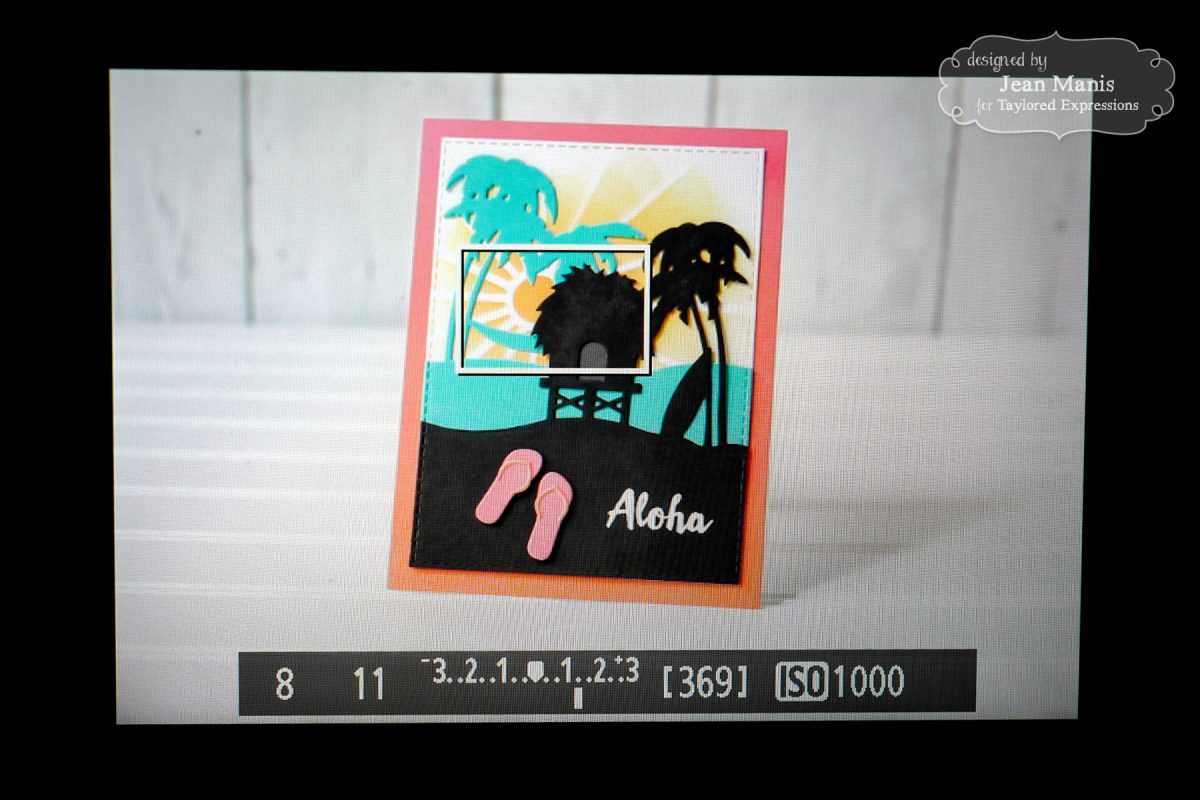
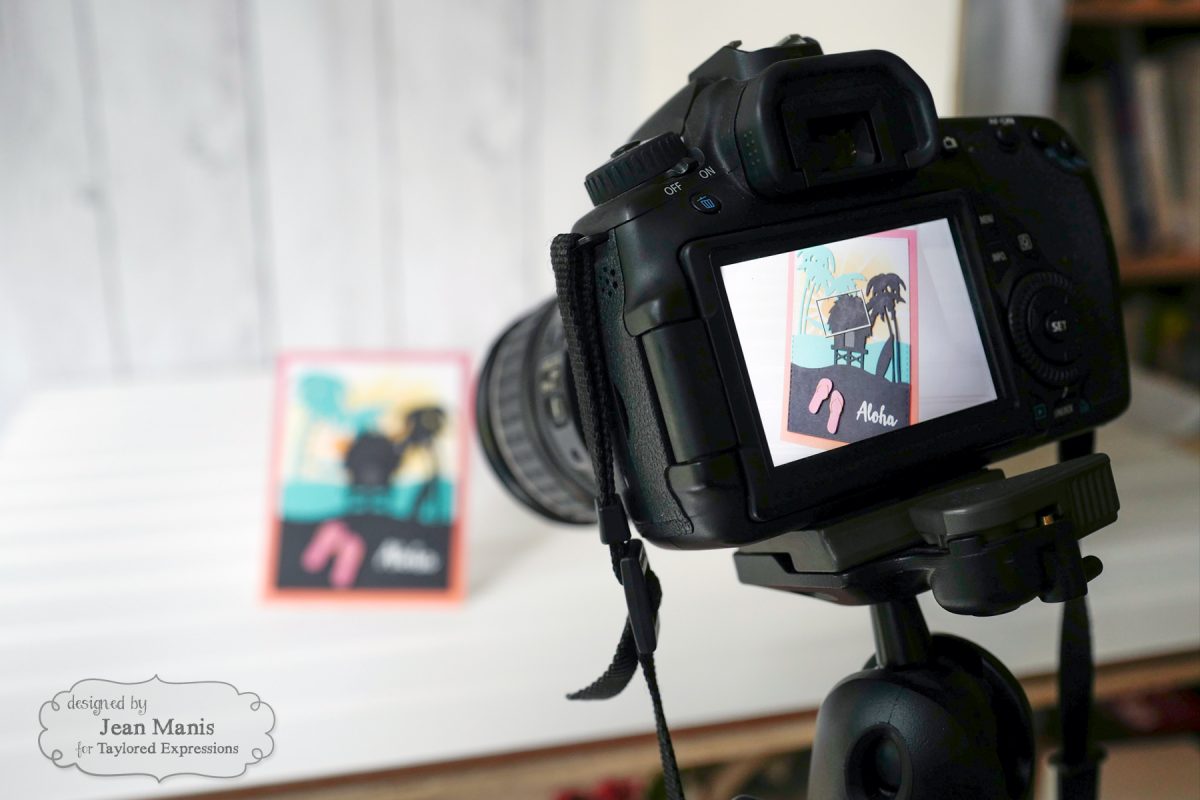
I use manual focus. I also view the image with the camera’s screen rather than take the photo through the view finder. The tripod is great for this kind of viewing.
In general, I set the camera ISO to 1000; ISO is the level of sensitivity of the camera to available light, the higher the number, the more sensitive. I set the ISO higher in the winter months, given the lack of light, but the downside is that the photos are grainier. I have my camera set to Aperture Priority, meaning that I set the aperture and the camera adjust the Shutter Speed, which is why I use a tripod. In order to get a well-lit photo that is in focus, the Shutter Speed is often too slow for me to take the photo without motion. A Shutter Speed below 1/60 is likely to show camera motion if hand-held. I set the Aperture minimally at f/11 in order for the entire card to be in focus.
For this photo, the settings were as follows:
Shutter Speed 1/8″; Aperture f/11; ISO 1000; Overexposed 1 ⅓ stops
I overexposed 1 ⅓ stops to compensate for the lightness of the image. (The image includes the card and the background, and the background is light.) It’s best to bracket exposure by taking images at several different exposures.
When I want a different view of the card, I reposition the card and adjust the camera on the tripod. I may also zoom in with the lens.
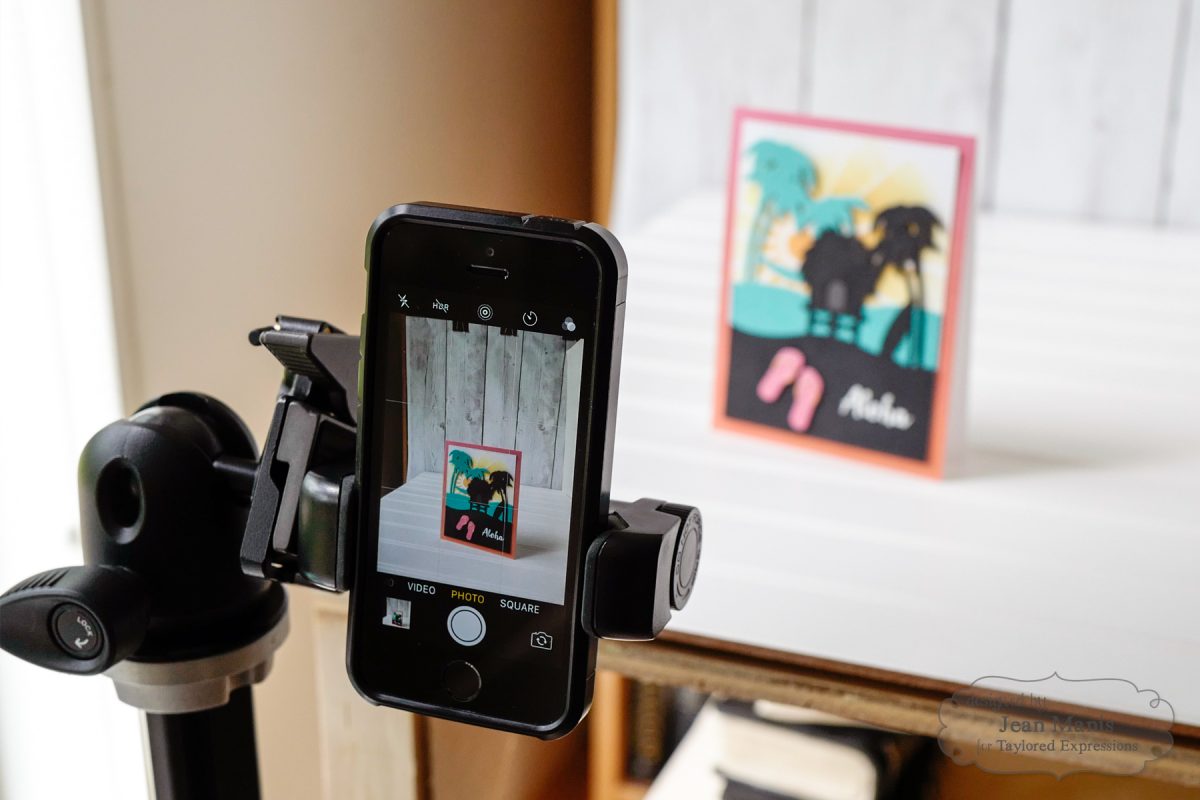
With a tripod attachment for my iPhone, I use the same setup as I do with the Canon. Something to bear in mind, different camera sensors possess different color characteristics, which is one reason that the colors appear different between the Canon and the iPhone photos. To edit the iPhone photos, I first duplicate the photo on my camera roll. On the duplicate image, I make adjustments using the iPhone photo editing tools.
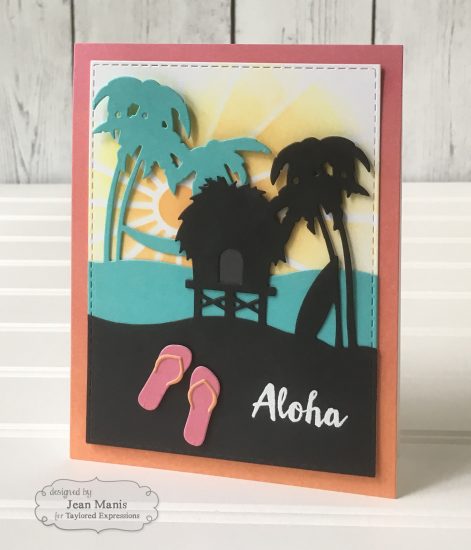
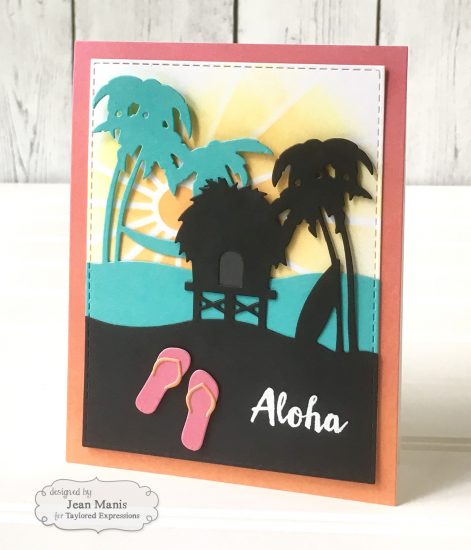
Below, the first photo is taken with my iPhone before processing. The second is after.
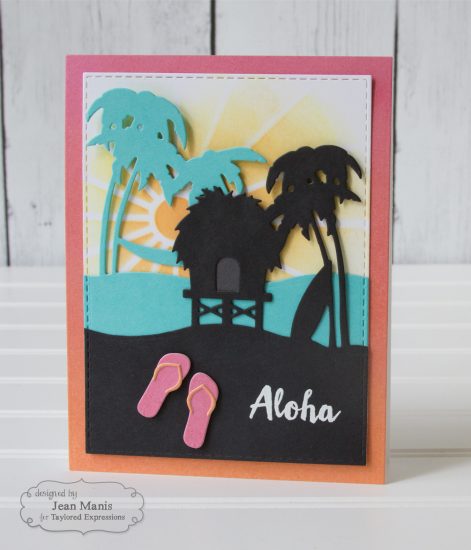
After transferring the photos from my Canon to my computer, I make adjustments, if necessary, in Photoshop. One of my often used adjustments is Levels. I may also straighten the horizon. Here are before and after photos of the card using the Canon:
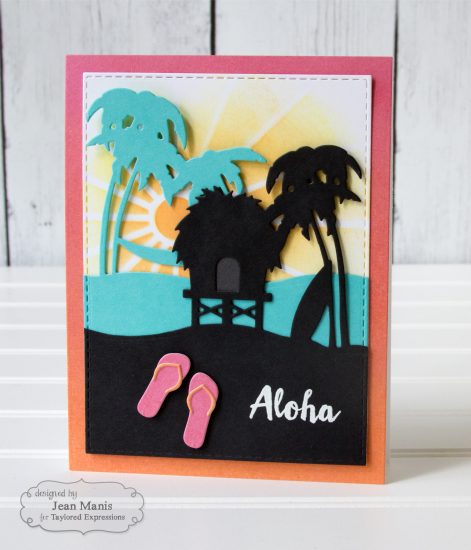
Thanks so much, Jean, for sharing this terrific tutorial! If you’d like to know how to create Jean’s fun, summertime card, check out this blog post HERE. Come back tomorrow as I continue Card Photography Week with a tutorial from Jen Shults who will take the fear out of equipment and editing! Have a joyful day!


