Sep 06, 2019
Blender Brush Ideas from the Creative Team + Blender Brush Pre-order Info!
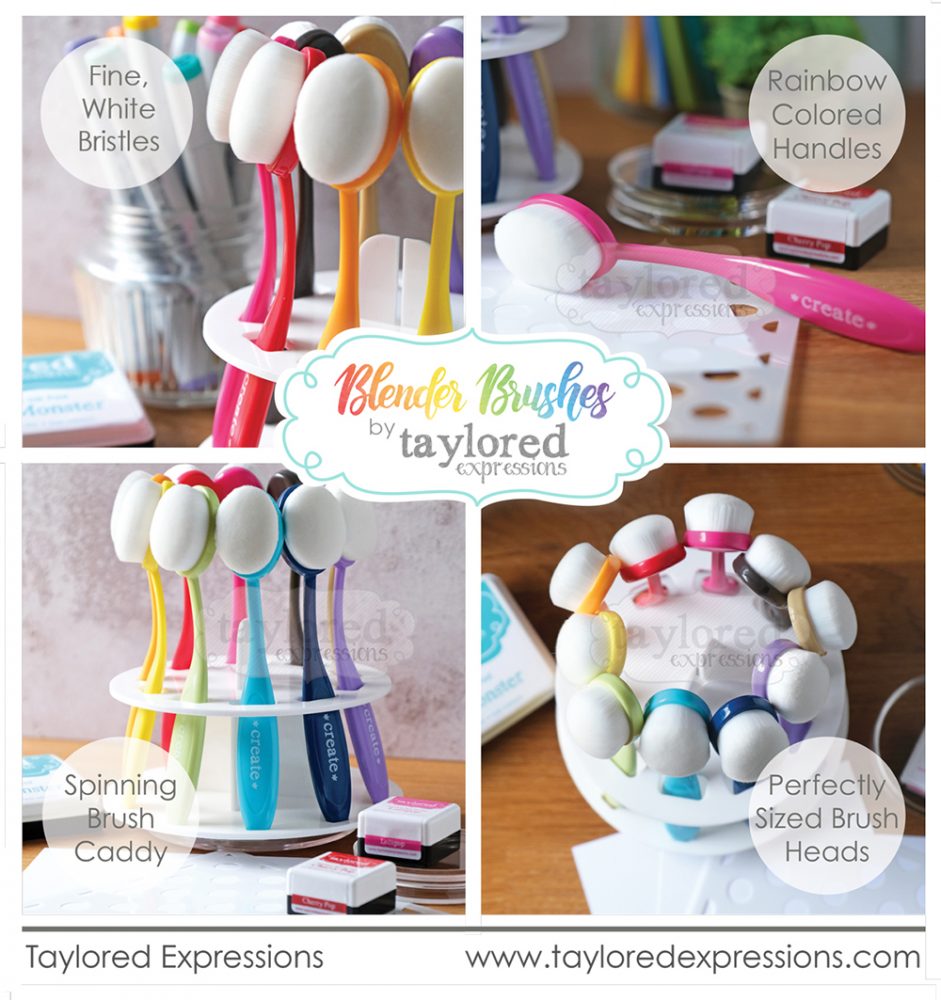
Hey, crafty friends! It’s been a busy week here at Taylored Expressions as we launched our brand new website. I hope you’ll head over and take a peek! If you’re still seeing our old website (yellow across the top) then you may want to try clearing your browser cache and/or restarting your computer to make sure you’re seeing the new and improved site (white across the top). With the website comes some exciting news that I know many of you have been waiting to hear! We will begin accepting pre-orders for the blender brushes starting September 12th! Here’s what you need to know:
- Blender brushes will be arriving in waves over the next several months & it is important that you note the estimated shipping date in the description on the product page when you place your pre-order.
- Please include only the blender brushes and caddy in your order. If you have additional items to order, we ask that you place a separate order for those items.
- When you purchase the blender brushes and caddy together, you will receive the cleaning tool FREE through September 16th or while supplies last.
So while we’re waiting for the preorder, let’s “brush up” on some of the amazing techniques you can try with blender brushes! The Taylored Expressions Creative Team has several amazing projects to inspire you:
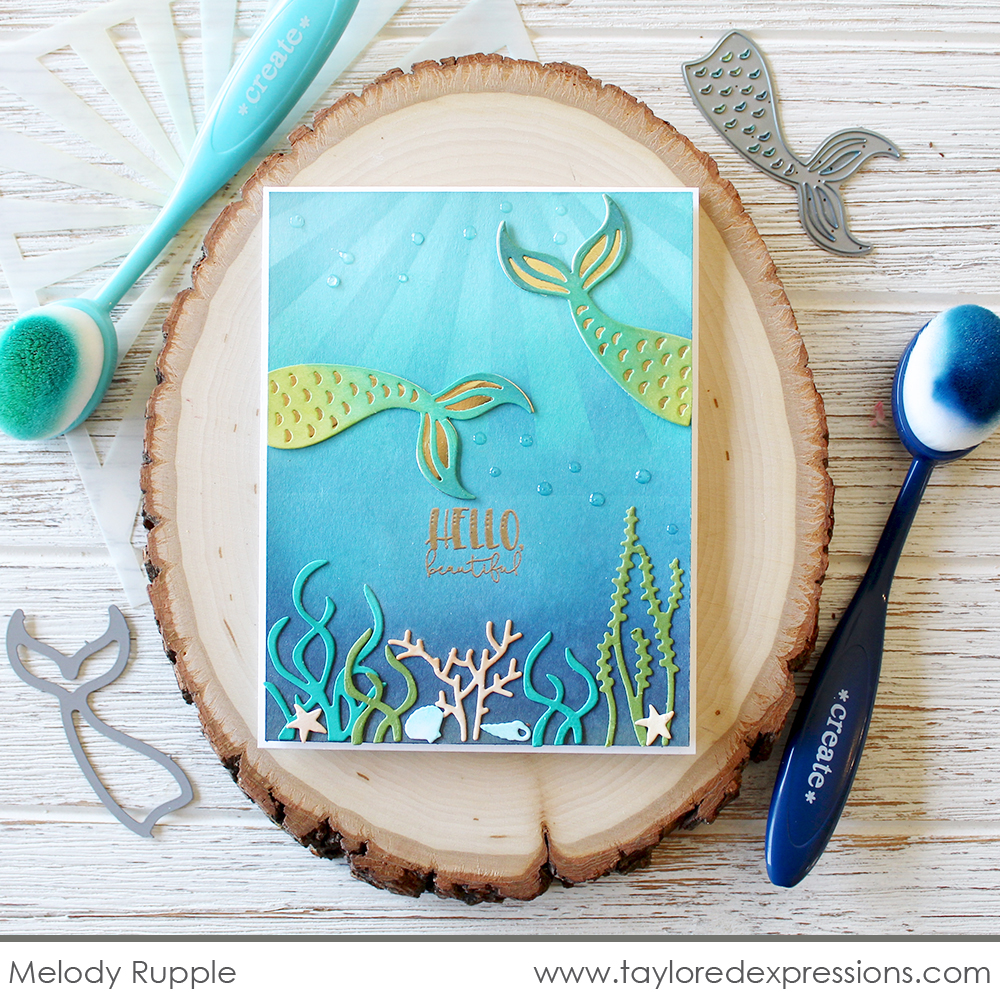
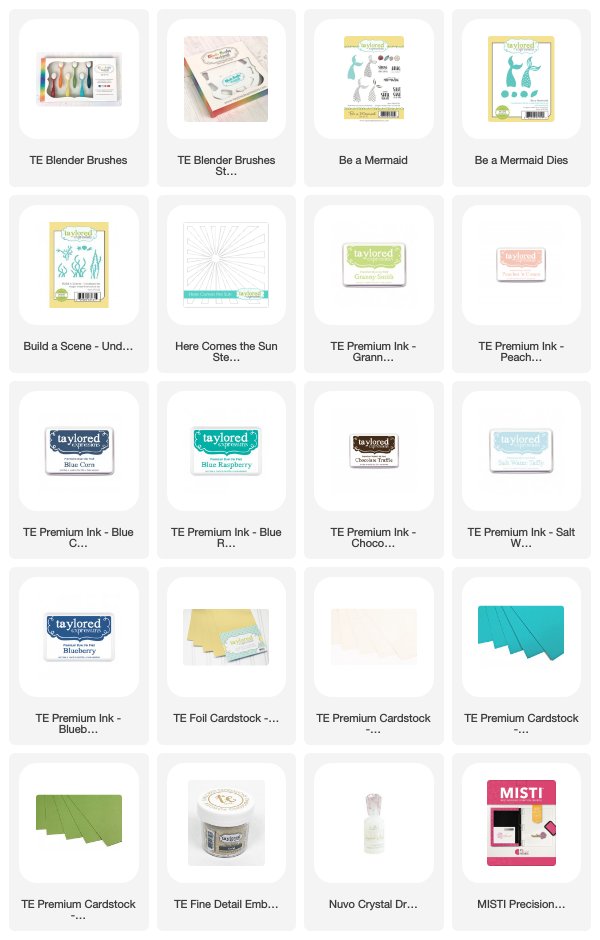
First up, I have this gorgeous mermaid card by Melody Rupple. She used the blender brushes to create the perfect under the sea background and even added some stenciling using the Here Comes the Sun stencil to create sun rays shining through the water. Melody die cut mermaid tails using the Be a Mermaid die collection and added beautifully blended color to them using her blender brushes.

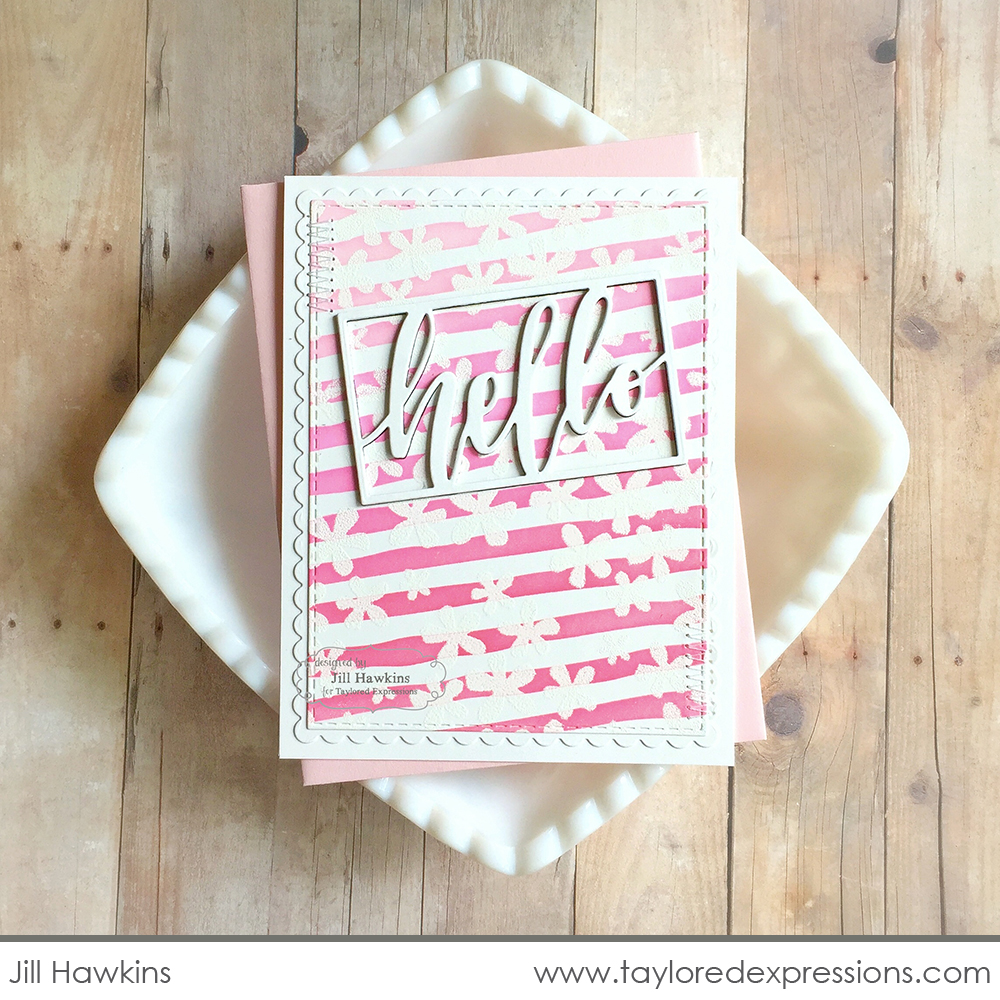
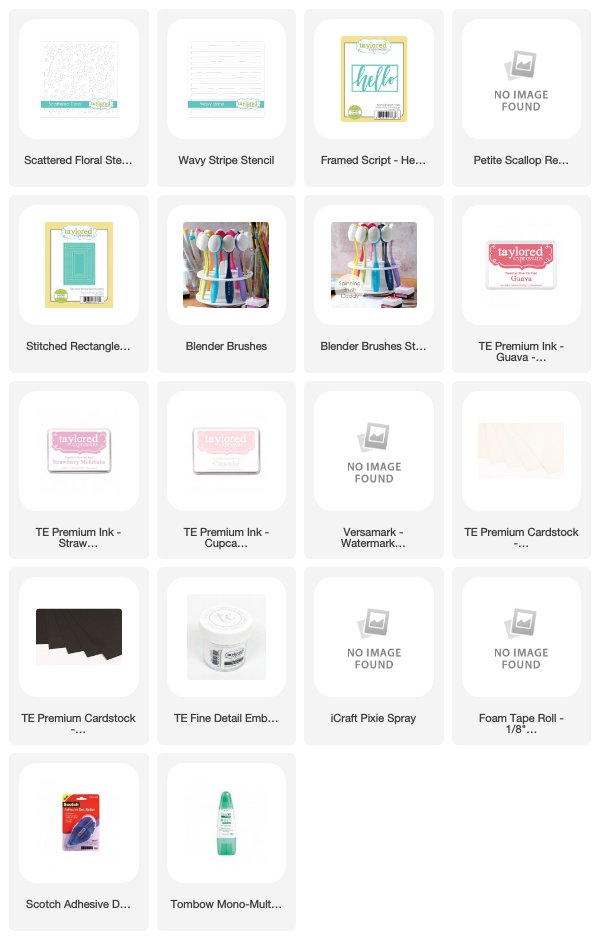
This sweet hello card was created by Jill Hawkins. She blended ink through the Wavy Stripe stencil using a trio of pink inks and then embossed flowers over the top of the blended background by applying Versamark ink through the Scattered Floral stencil and then embossing the flowers with white embossing powder. I really love how Jill tipped the stripes in the background at an angle and then added the pretty Framed Script – Hello die cut over the top!

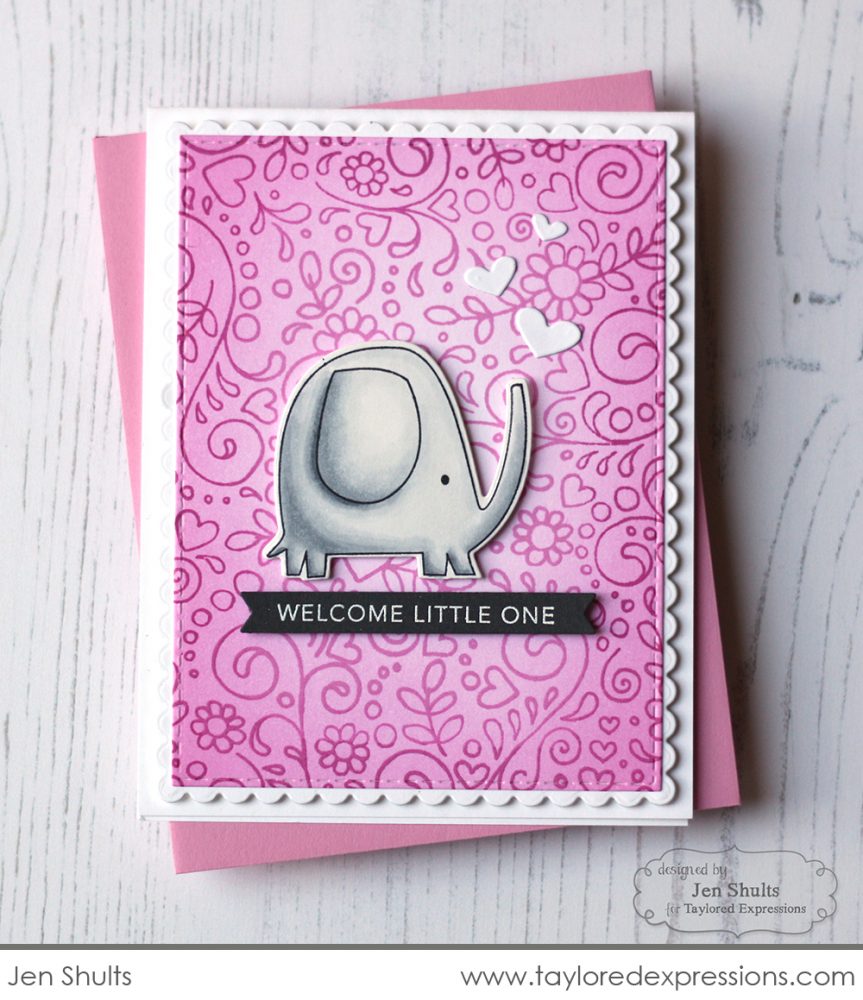
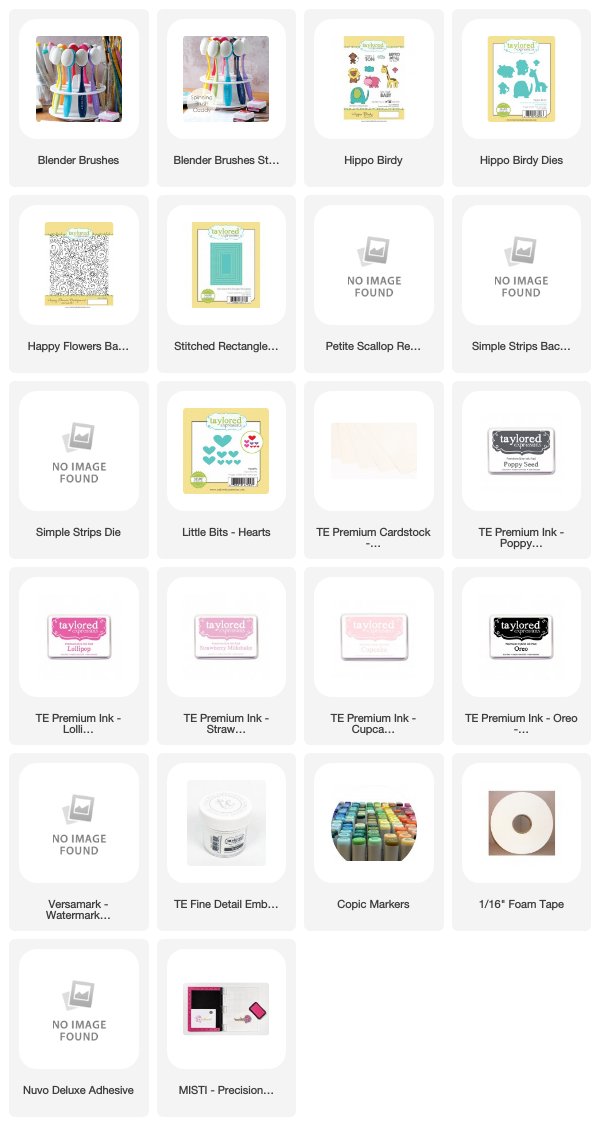
How cute is this elephant card to welcome a new baby that was created by Jen Shults? Jen blended a background that is light in the middle and dark at the edges using three different pink inks. The lightest color in the middle really highlights the focal point image on the card – that cute elephant! She stamped the Happy Flowers Background over the top of the blended background using the darkest color pink that she used for blending. This is such a pretty look and I am already thinking of how I am going to use this background idea on my next project!

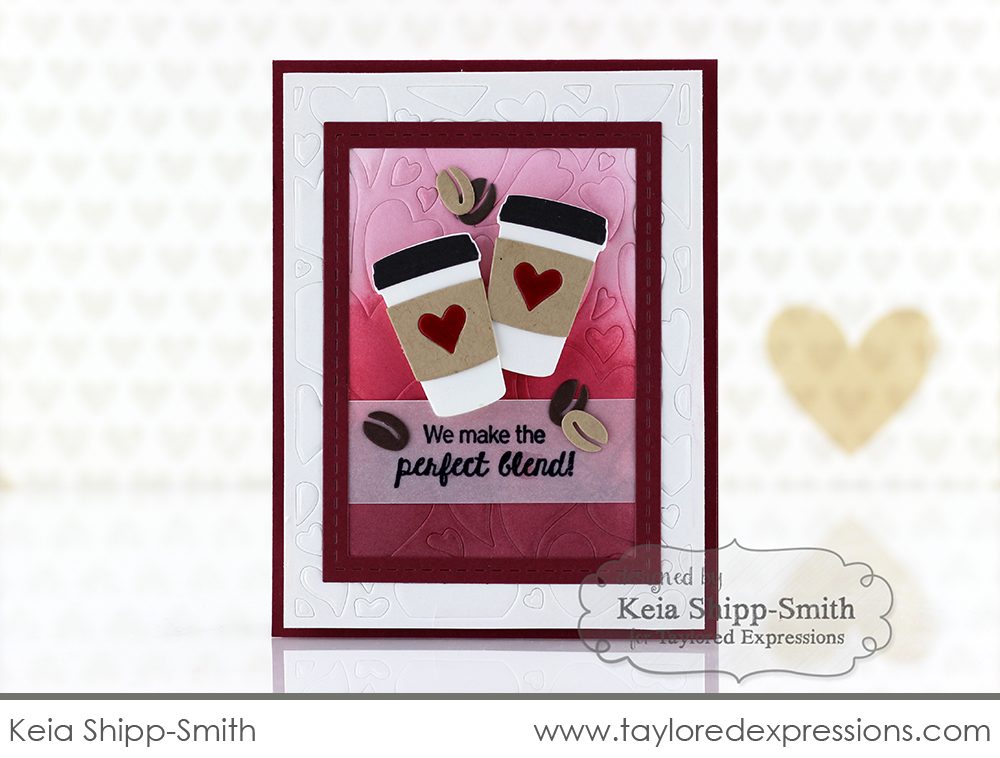
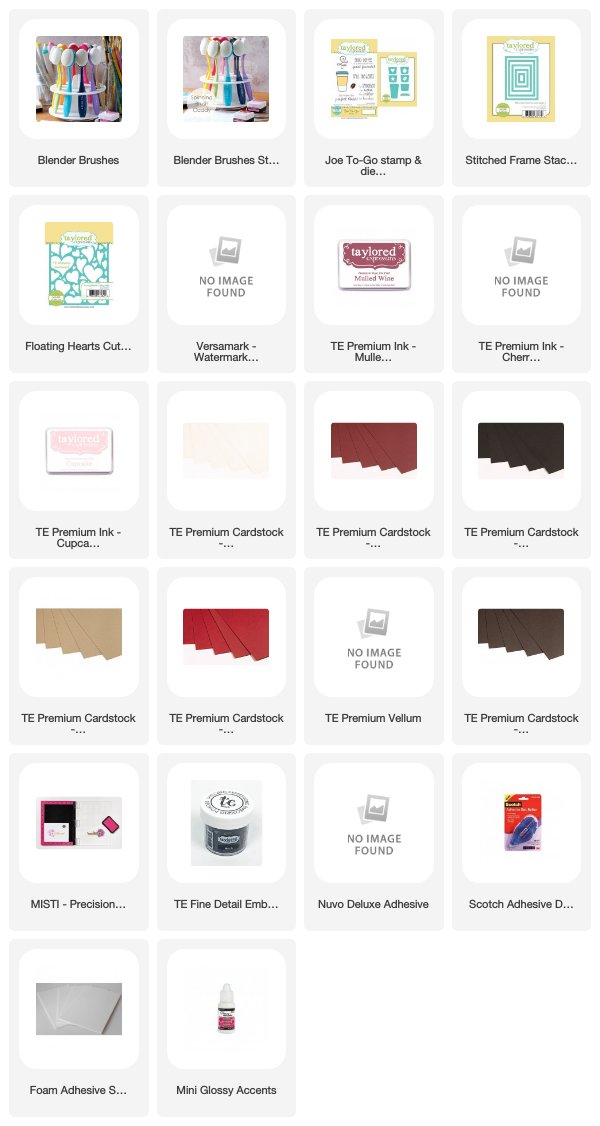
Finally, for today is this “perfect blend” card by Keia Shipp-Smith. First of all, can we talk about how perfect the theme of this card is to pair with blender brushes? Perfect blend… get it?!
Keia blended her background design onto Sugar Cube cardstock, doing some masking so that the blended area would fall into the frame opening on her project. Then, she impress the blended cardstock with the Floating Hearts Cutting Plate die into it. Have you ever impressed a die into your cardstock instead of cutting it completely out? Just send the die through your die cut machine using an embossing sandwich rather than the sandwich to die cut completely through. It’s a whole other way to use your dies!

Are you inspired to start blending? Here’s a run down of ideas from the projects today on how you can use blender brushes on your projects:
- Stenciling over part of a blended background
- Adding blended color to die cut shapes
- Blending with a trio of colors from the same color family through a stencil
- Add an embossed design over the top of a background blended through a stencil
- Blend a radial design with the lightest color in the center and the darkest color on the edges of your cardstock
- Stamp a background stamp over a blended background using the darkest color that you blended with
- Mask off your cardstock to contain your blending to one area
- Impress blended cardstock with a die cut using an embossing sandwich in your die cut machine
I have even more blender brush inspiration to share with you from the TE Creative Team tomorrow. Make sure you stop by to check it out and thank you so much for stopping by today!
Did you know that you can subscribe to our blog and get our posts right in your inbox? Just sign up right HERE – that’s all there is to it to make sure you don’t miss any of our crafty inspiration!


