Sep 10, 2019
It’s Our 11th Birthday! Come celebrate with us!
Hey, crafty friends! Can you believe it!? This month marks TE’s 11th birthday and I have to say it’s been one of our most amazing years yet! In looking back over the year, I’m so proud of the innovative products we’ve introduced like Simple Strips & Blender Brushes. Plus, we took our signature event, Stamp Joy, on the road to California, interacted with so many friends and fans through social media, and offered a ton of crafty inspiration with the help of our outstanding Creative Team! To top it all off, we launched a new website last week that we hope will greatly improve your shopping experience!
| But our biggest cause for celebration is the continued support of our loyal TE Fans! We couldn’t have done any of the things we did last year without you! With our usual ‘every other month’ release schedule, September would be an off-month, but it just wouldn’t be a proper birthday celebration without a few new products! So today (as in, RIGHT NOW) we’re launching our birthday mini release of 18 new products designed to create fabulous birthday cards! |
And while we’re celebrating our birthday, we’ve got some special gifts for you! Here’s how you can jump in on the celebration:
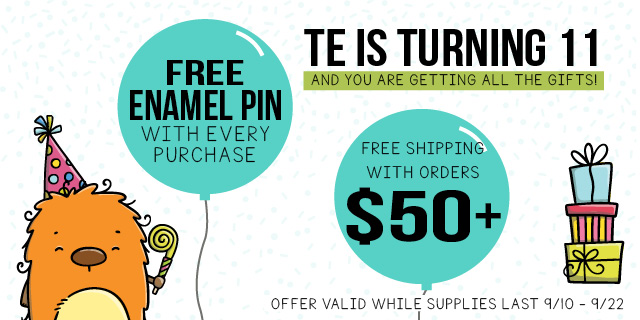
- Receive a free Share Joy enamel pin with every purchase of new release products (while supplies last)
- Free U.S. shipping on orders of $50 or more!
- Orders of $75 or more will be entered to win 1 of 11 gift certificates to the TE webstore: ten $50 gift certificates, one $100 gift certificate!
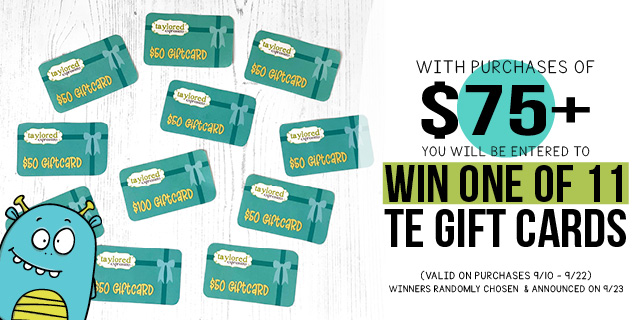
Offers valid 9/10 – 9/22 and while supplies last. Gift certificate winners will be announced on the TE blog on 9/23.
You’ll also want to check out the TE Blog this week as we share the stories of TE friends and fans who are sharing joy through their handmade cards! During our birthday celebration, we will donate 5% of new release product sales to support one customer’s mission to provide a backpack filled with love and hope to children being placed in foster care. Read Louise’s story HERE and continue to follow along as we tell Share Joy stories throughout our birthday month!
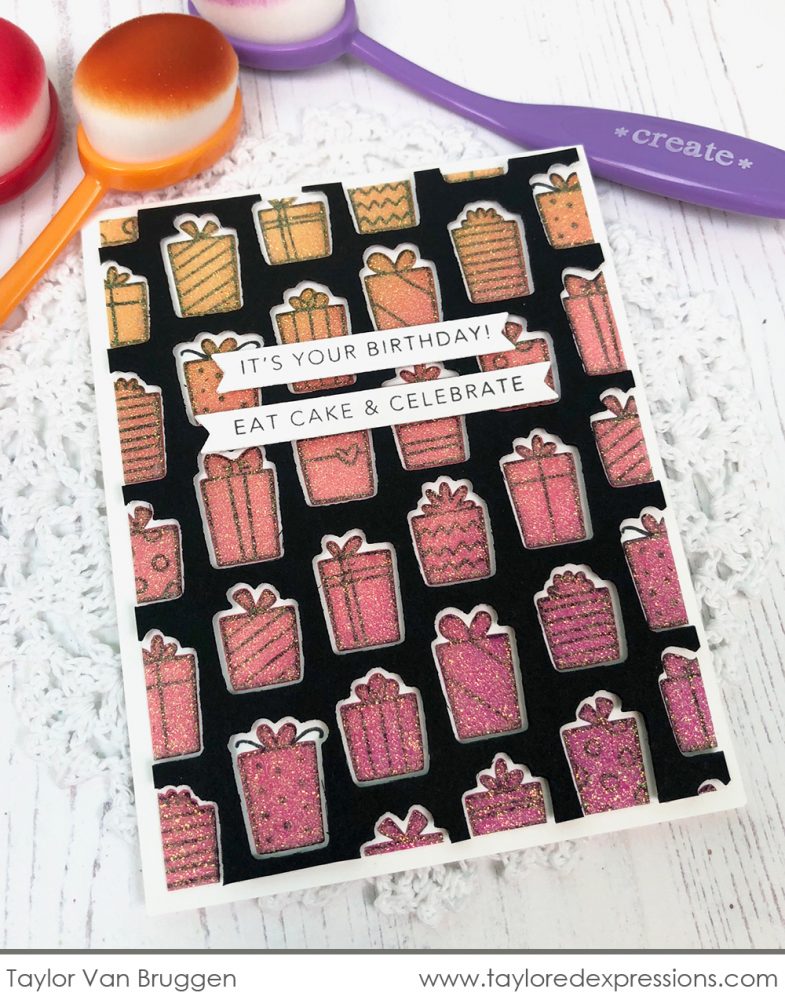
Now let’s get to the new products and projects that I have to share! How about some sparkly goodness to start it all off!?
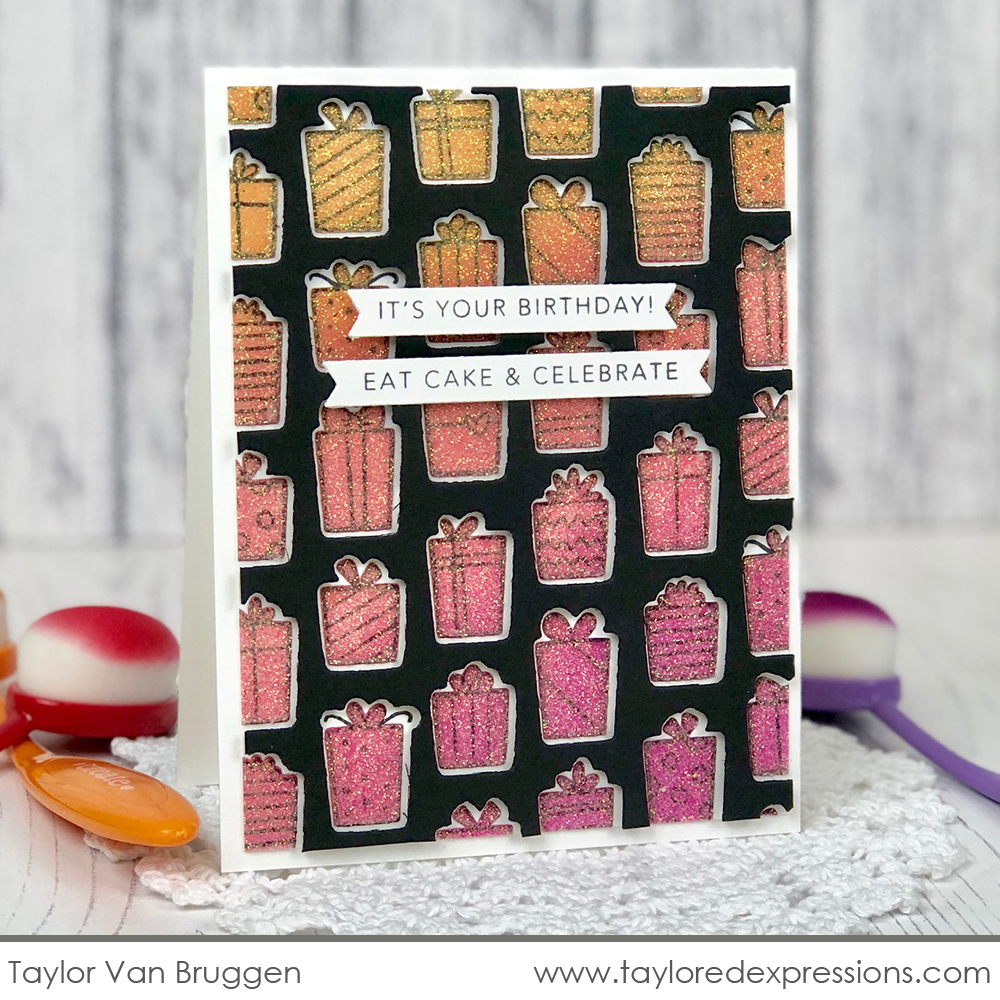
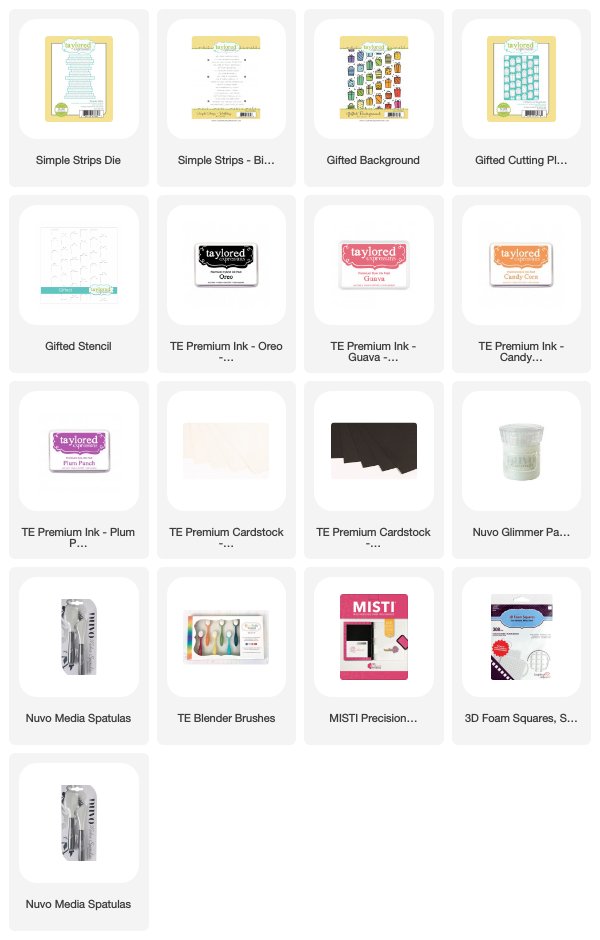
I’ve had so much fun combining my blender brushed backgrounds with Nuvo Moonstone glitter paste and I wanted to show you all how easy it is in today’s video! And I’m using my favorite new trio of products – check out how this stamp, die, and stencil coordinate for so many possibilities!
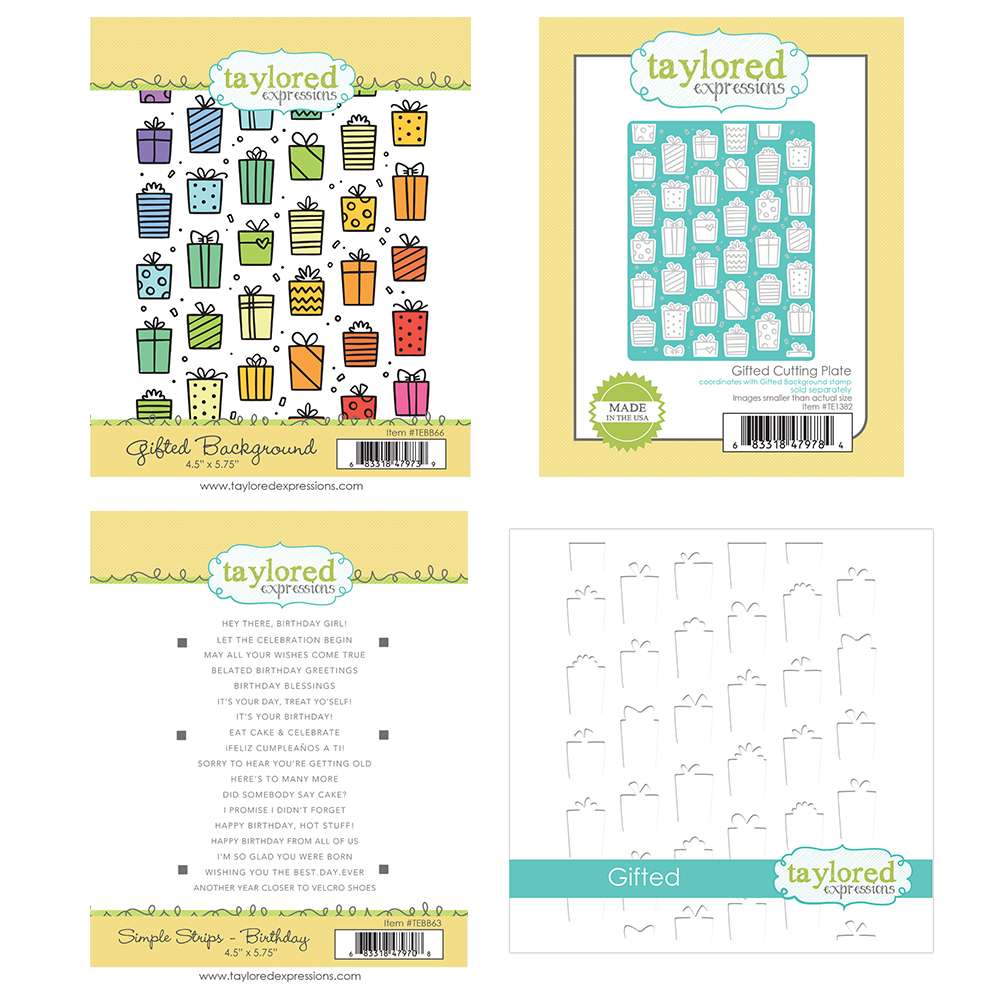
Here’s a closer look at the new products I used in the video. The Gifted Background stamp, Gifted Cutting Plate die, and Gifted stencil were designed to coordinate perfectly together! Don’t get me wrong, I love coloring with my Copics, but I often need a quick birthday card and not one that takes me an hour to color. My desire for quick, cute, and colorful is where the idea for the stencil was born. Simply cover up the background of the stamp and then blender brush across the presents to add quick color! Experiment with layering different colors for endless options.
There’s also a new stamp in the Simple Strips collection: Simple Strips – Birthday! The background size stamp includes 18 birthday themed sentiments that you can stamp and then die cut them all out at the same time with the Simple Strips die. You’ll have a pile of sentiments in no time to add to birthday cards, tags, and more!

Let’s take a look at a few projects from the TE Creative Team using the Gifted products:
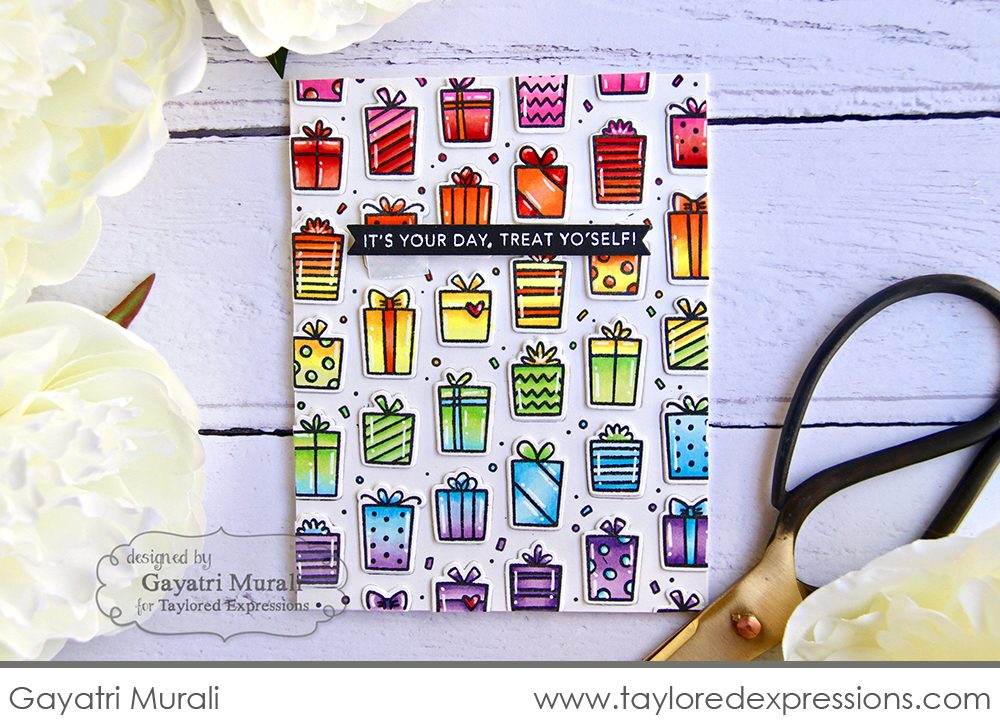
Gayatri Murali colored her presents in a rainbow of colors using Copic Markers. I am so in love with this because… rainbow, right!? Her shading and white gel pen details really make the presents pop!
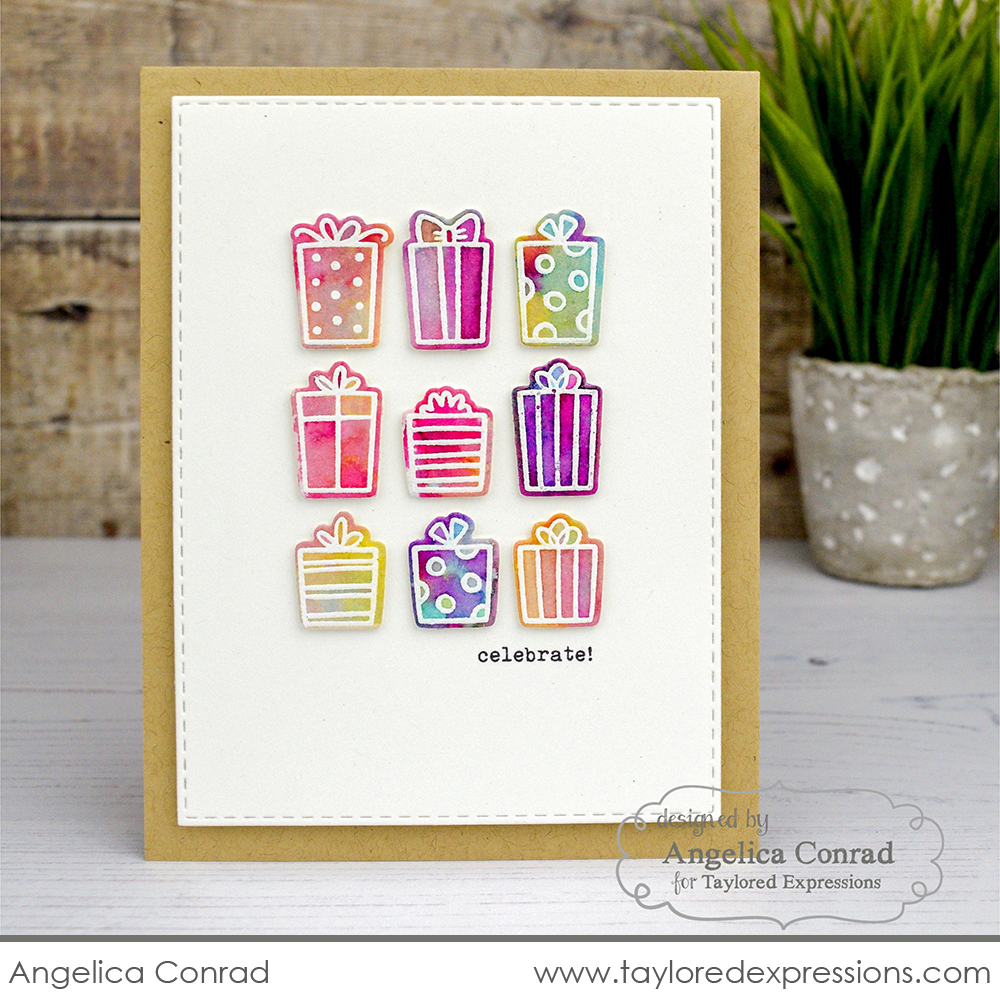
Angelica Conrad embossed her presents in white embossing powder and then did a pretty watercolor wash. She then took the coordinating die and die cut the presents, arranging just a few of them on this clean and simple card. Check out her blog to see how she used the piece these presents were cut from on a completely different card. I love a good 2-for-1 option!
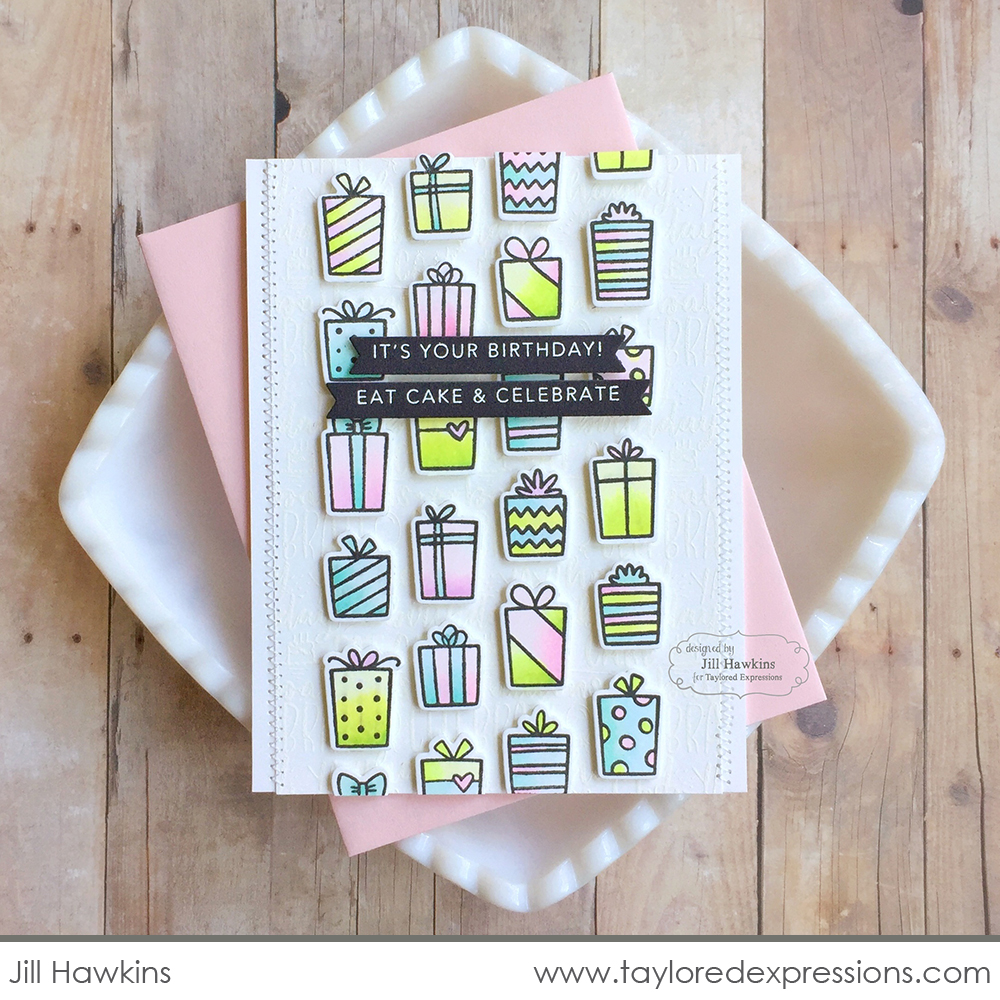
Jill Hawkins colored pretty pastel presents for her birthday card and then used the Gifted die cut as a template to arrange the presents on her card front – popping them up on foam tape within the die cut holes and then removing the template.
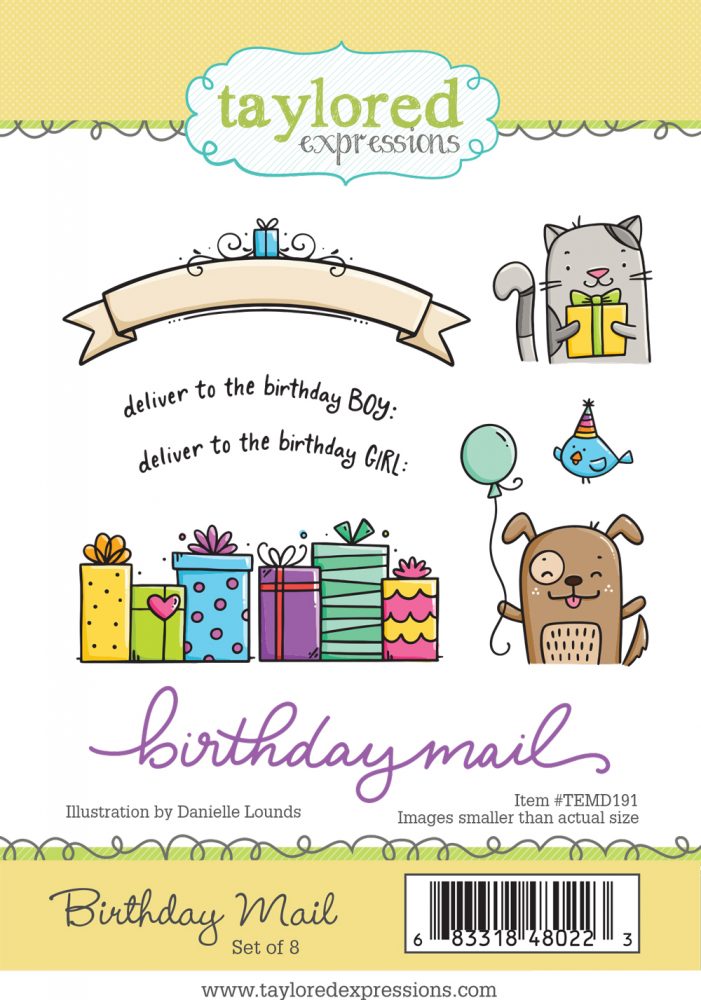
After playing with the pretty presents and creating bunches of cards, decorate your envelopes to match the occasion with the new Birthday Mail stamp set!
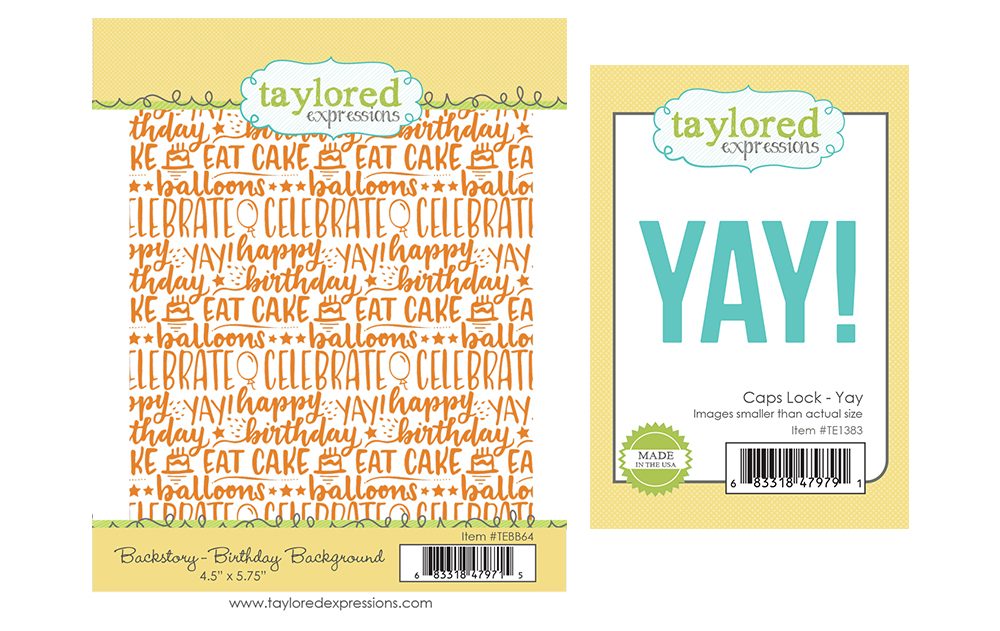
Next up, we have the Backstory – Birthday background stamp perfect for adding beautiful blends along with the Caps Lock – Yay die for creating that cool eclipse effect or layering over the background:
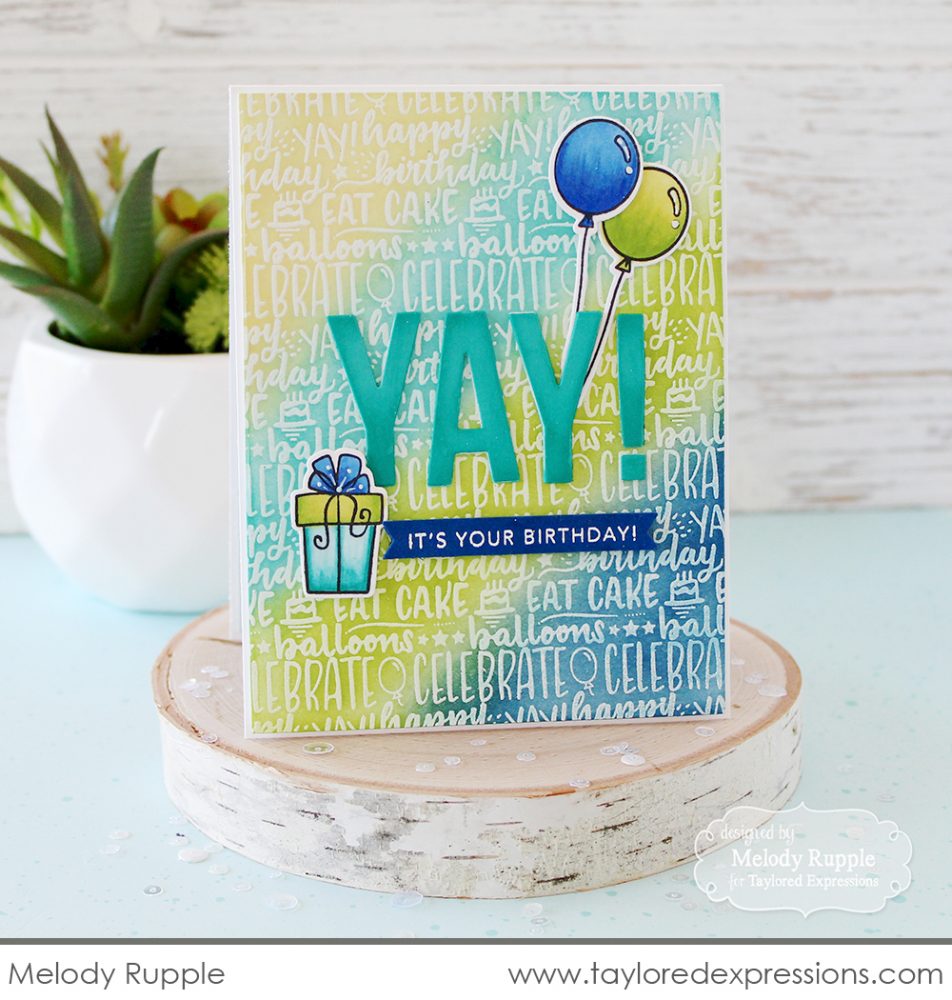
Melody Rupple blended a boyish background with blue, green, and yellow inks and embossed the Backstory – Birthday Background over the top with white embossing powder. To add dimension to her die cut word she blended one of the ink colors onto the “yay!” and finished it off with one of the Simple Strips sentiments and birthday-themed icons from another new product you’ll see below.
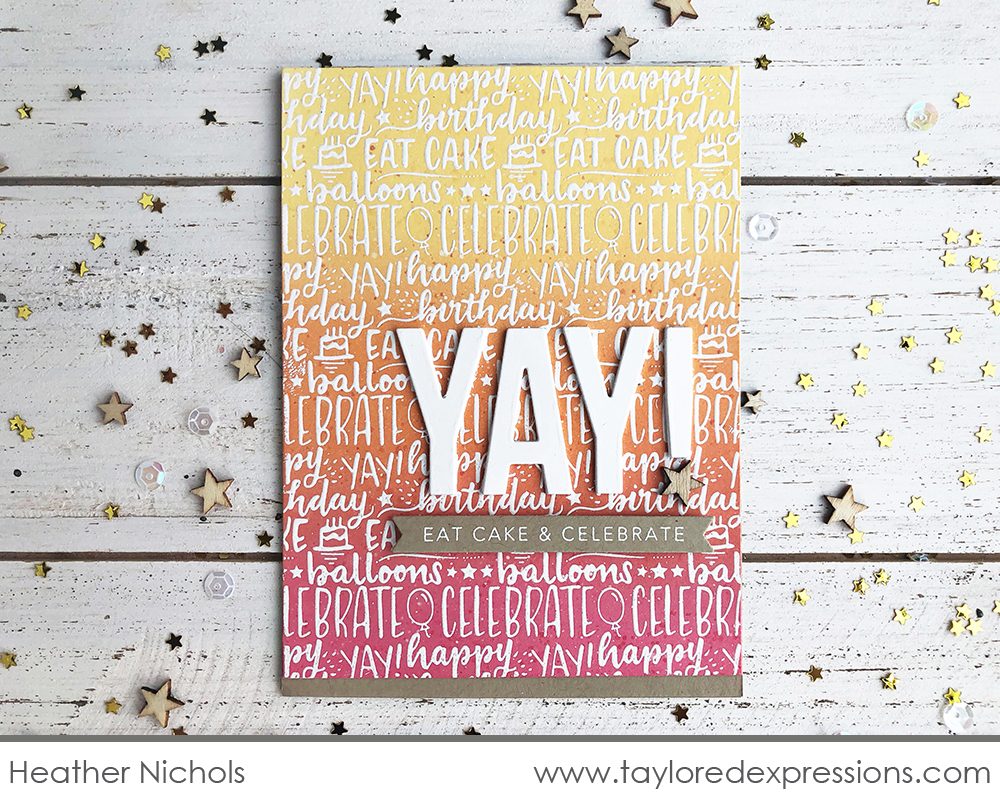
Heather Nichols also blended a background using colors from the other side of the color wheel (pink, orange, and yellow). I love how their color selections really transform the look of the background! Heather’s “yay!” pops off the card in Sugar Cube cardstock and then she added a sentiment from the new Simple Strips – Birthday stamp to finish it off.
Next up is the new Party Pennants Background stamp. This festive background features several banners that you can color coordinate for your special birthday girl or boy.
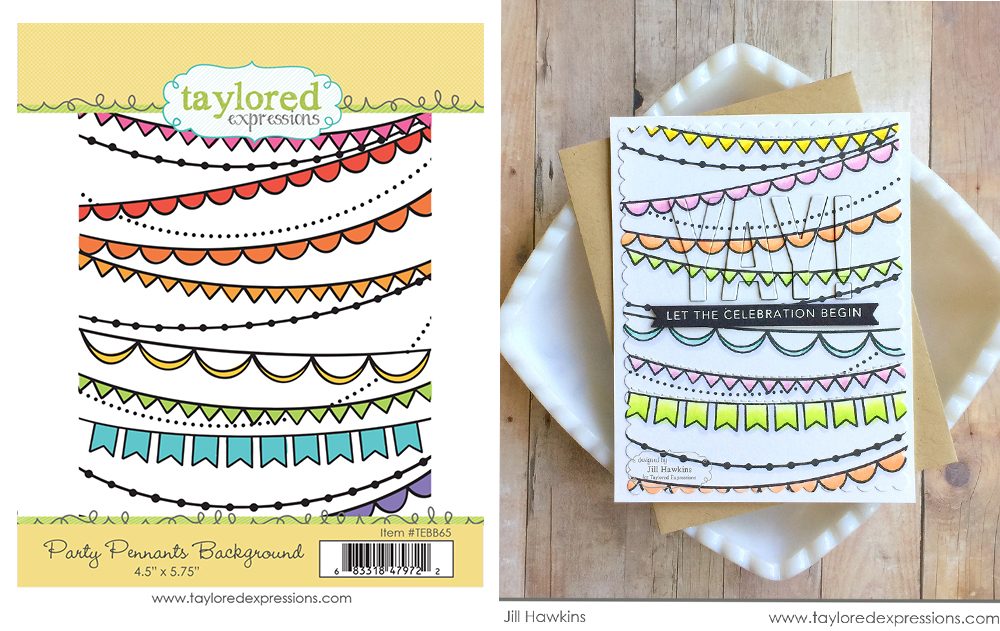
Jill Hawkins colored up the banners in beautiful pastel tones. I love how she used the Caps Lock – Yay die to create that eclipse effect and added a Simple Strips – Birthday sentiment underneath. Her card is perfect for any occasion worth celebrating!
If you love our Grumplings line, you’ll want to pay attention to this next new group of products! What’s better than a grumpling? How about an extra large grumpling!?
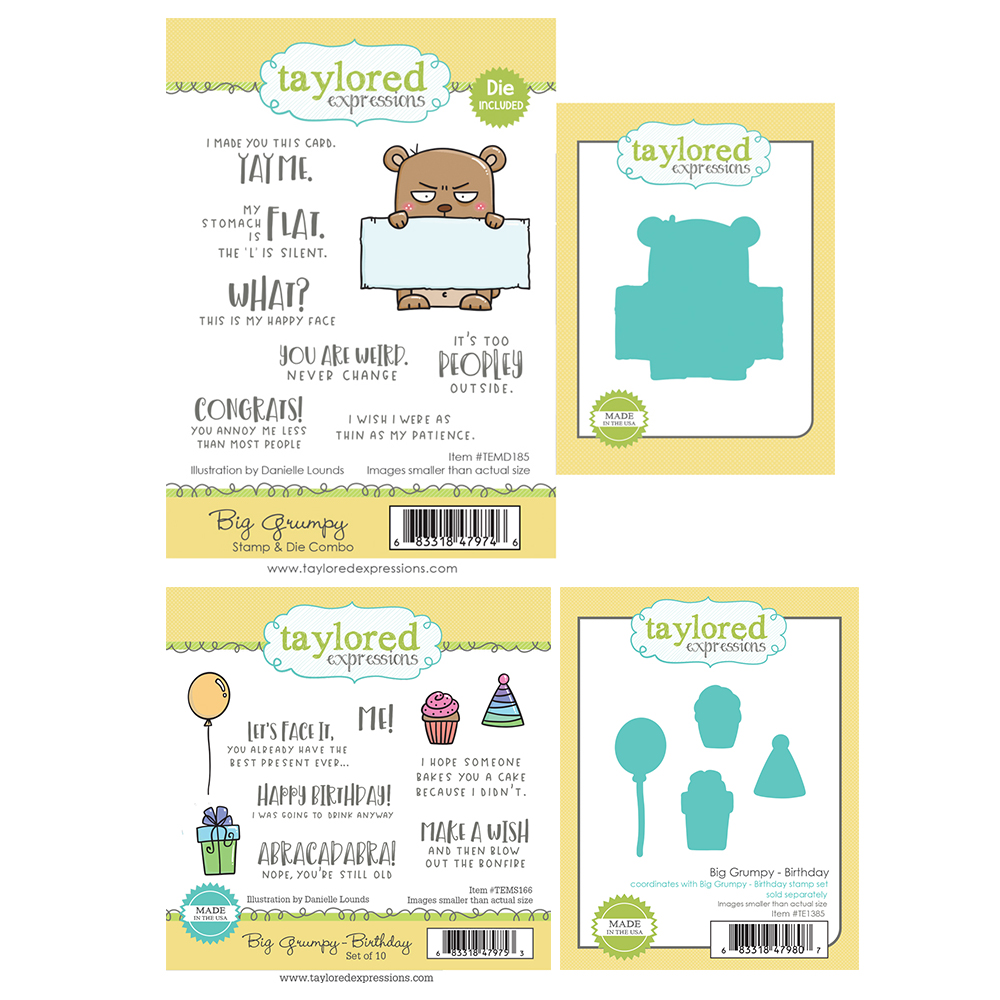
Big Grumpy is here and he’s… well, big and grumpy. The new Big Grumpy stamp & die combo set includes Big Grumpy himself holding a sign that you can customize with any number of sentiments. His XL size makes him easy to color and fills a big part of your card front. The snarky sentiments extend for several occasions including a separate set featuring birthday icons and snarky sentiments appropriate for both young and old.
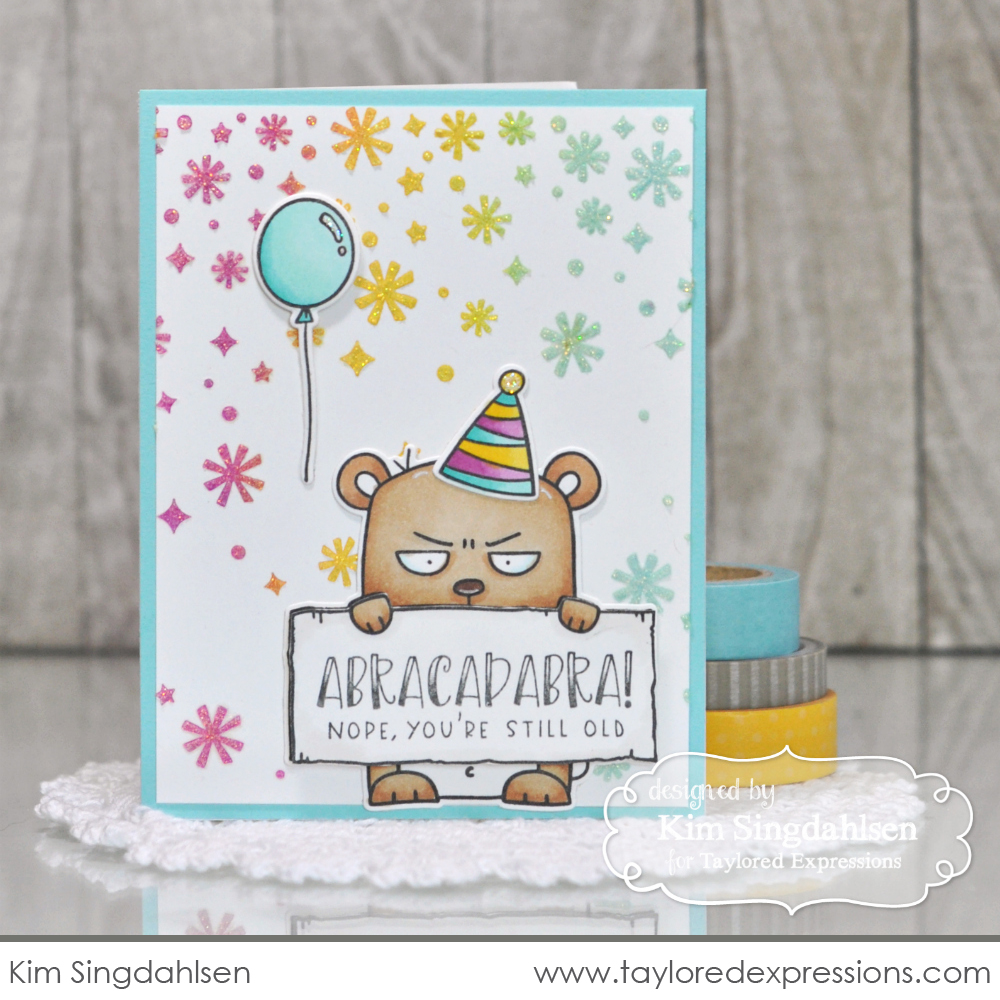
Kim Singdahlsen made Big Grumpy go to a birthday party. He had to wear a party hat (he hated it) and was supposed to hold onto a balloon, but he refused. The thing Big Grumpy actually enjoyed about the party? Reminding the recipient that they’re still old! P.S. How cute is that confetti in the background?! Keep scrolling to learn more about it!
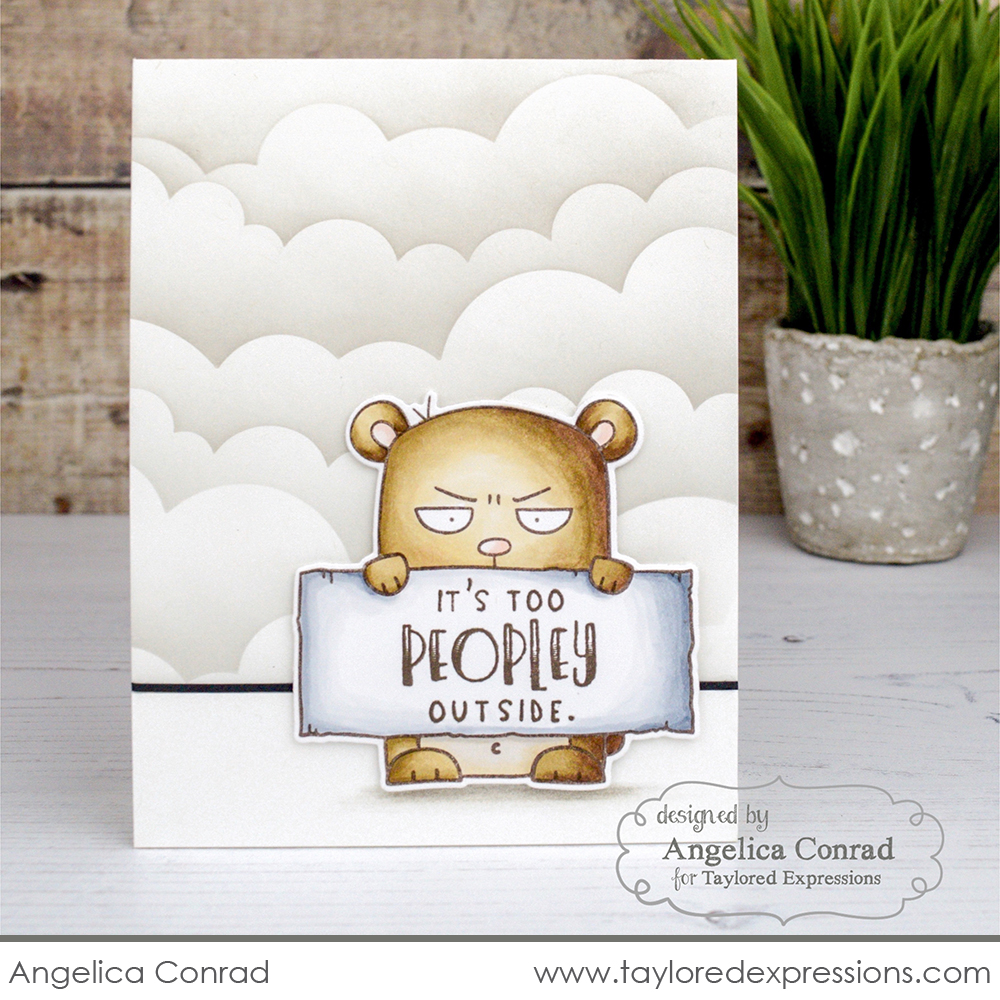
Angelica Conrad used a sentiment from the Big Grumpy set on her ‘peoply’ card. I can definitely relate to this when I’d rather just stay home in my PJs! Her stormy, grey, cloudy background created with the Set the Scene – Clouds stencil strips is perfect for this sentiment!
Next up, we have a new Cleary Crafty set from Heather Nichols debuting for our birthday celebration along with the Confetti Toss stencil that you got a peek of above:
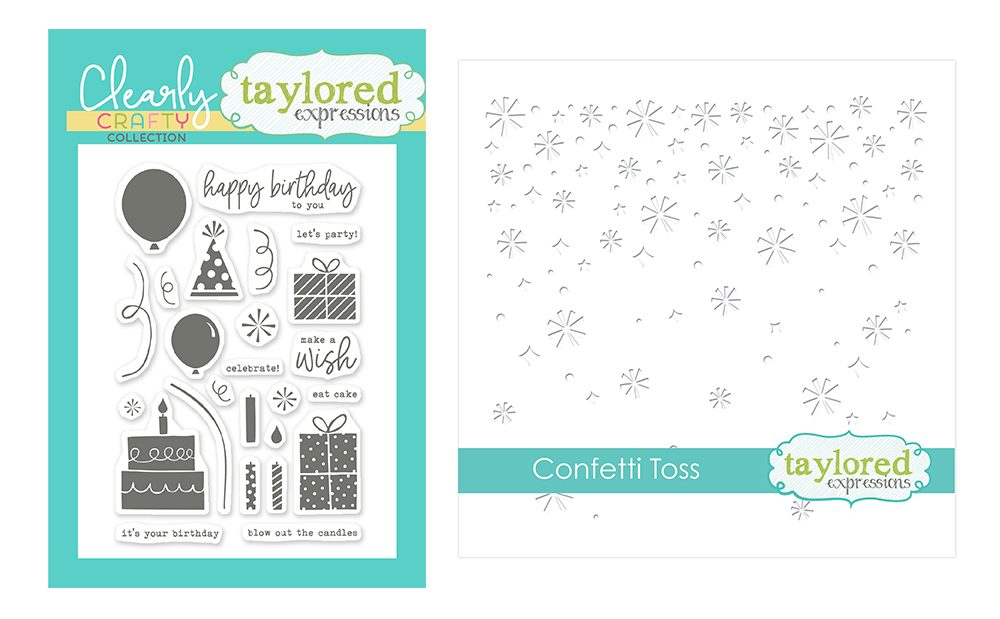
Birthday Basics is a clear set that features lots of basic birthday images and sentiments that are perfect for using on any birthday project! The images work well for building backgrounds or creating focal images. The new Confetti Toss stencil will let you shower your projects with a flurry of confetti shapes! Add ink, paste, or glitter through the stencil and let the party begin!
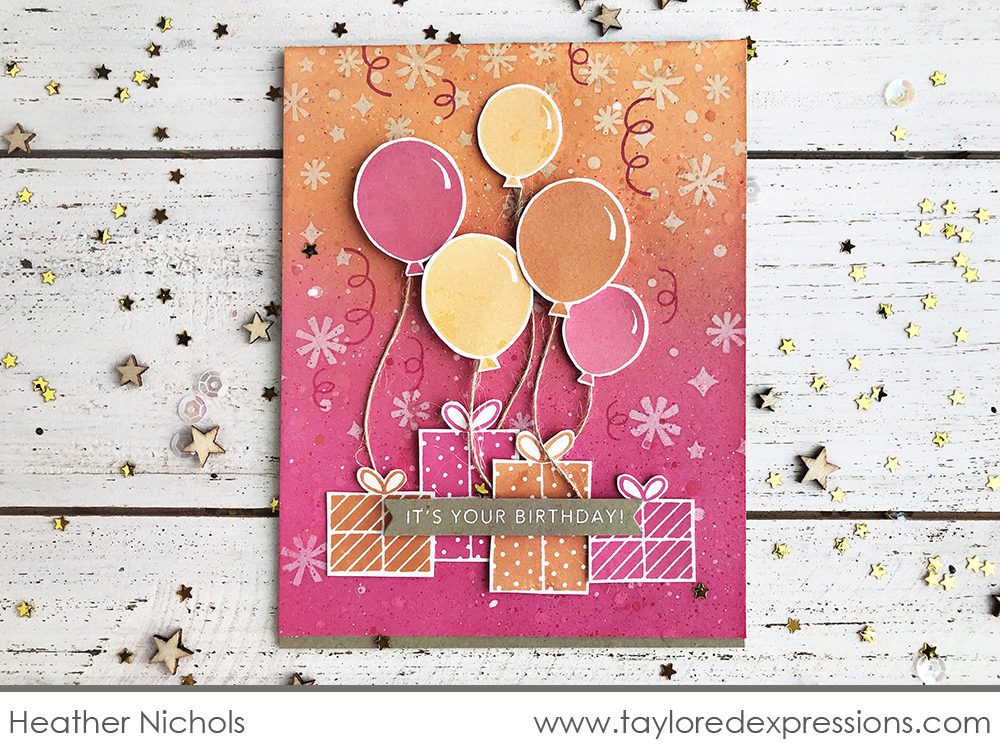
Heather Nichols put together a party complete with presents and balloons on this project created with the Birthday Basics stamp set. She added confetti to her blended background that was not all the way dry using the new Confetti Toss stencil and Sea Salt ink. The Sea Salt ink lifted the background color for a very cool effect! (This is the same stencil that you saw in Kim’s project above!)
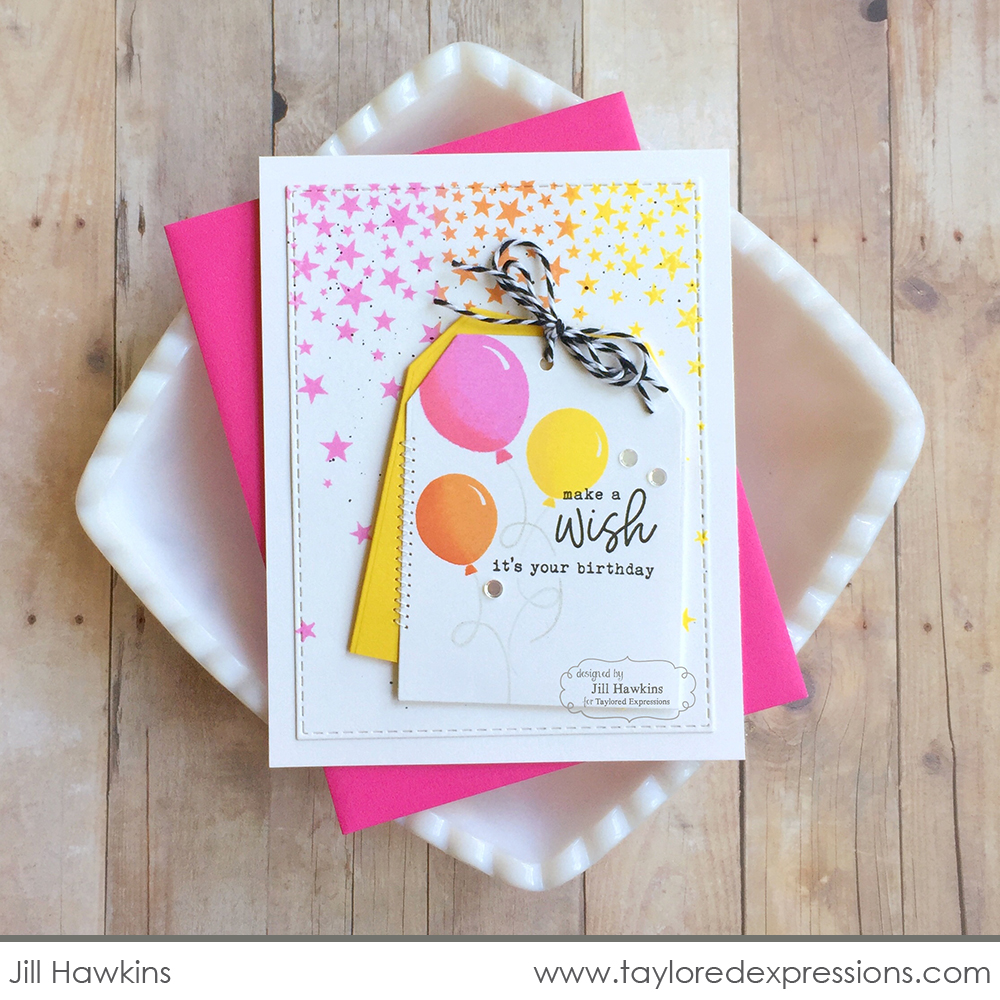
Jill Hawkins stamped the balloons from the Birthday Basics set onto a tag that she made the focal point of her birthday card. I love how she stamped the Star Fall Background in matching ink colors to pull the whole project together!
OK – we’re getting to the end – just a few more goodies to share with you today, but don’t stop scrolling because I’ve saved some exciting news (a brand new product line!) for last. But here we are… second to last is this gorgeous Big Cake stamp and coordinating die:
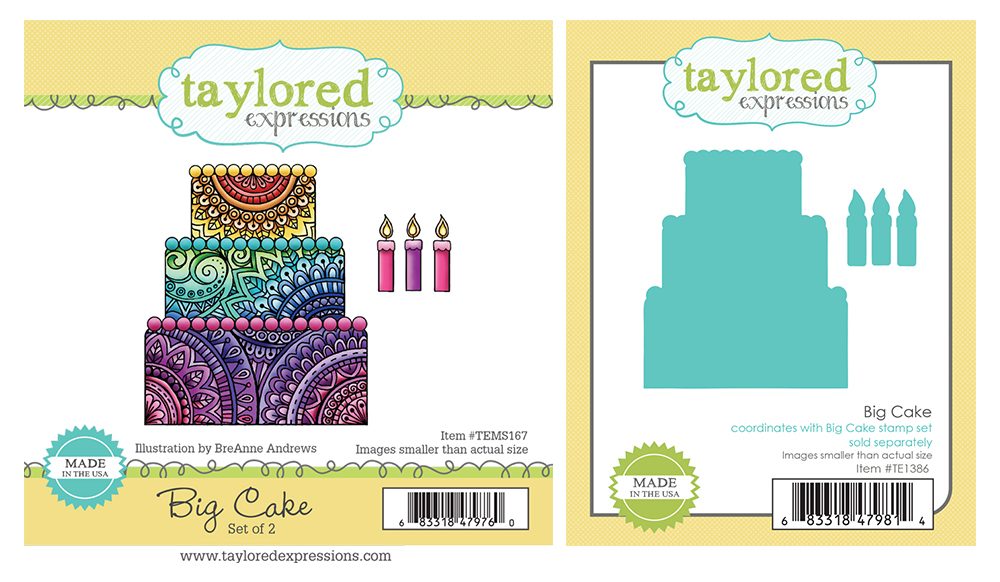
The Big Cake stamp set features a beautiful design similar to what you’ll find on our popular Big Butterfly and Big Heart. I love the detail on the three-tiered cake! Don’t get scared away if you’re not into coloring! It looks beautiful embossed and blender brushed as you can see on the beautiful samples from the Creative Team. I’m looking forward to leaving the candles off and trying this as a wedding cake too!
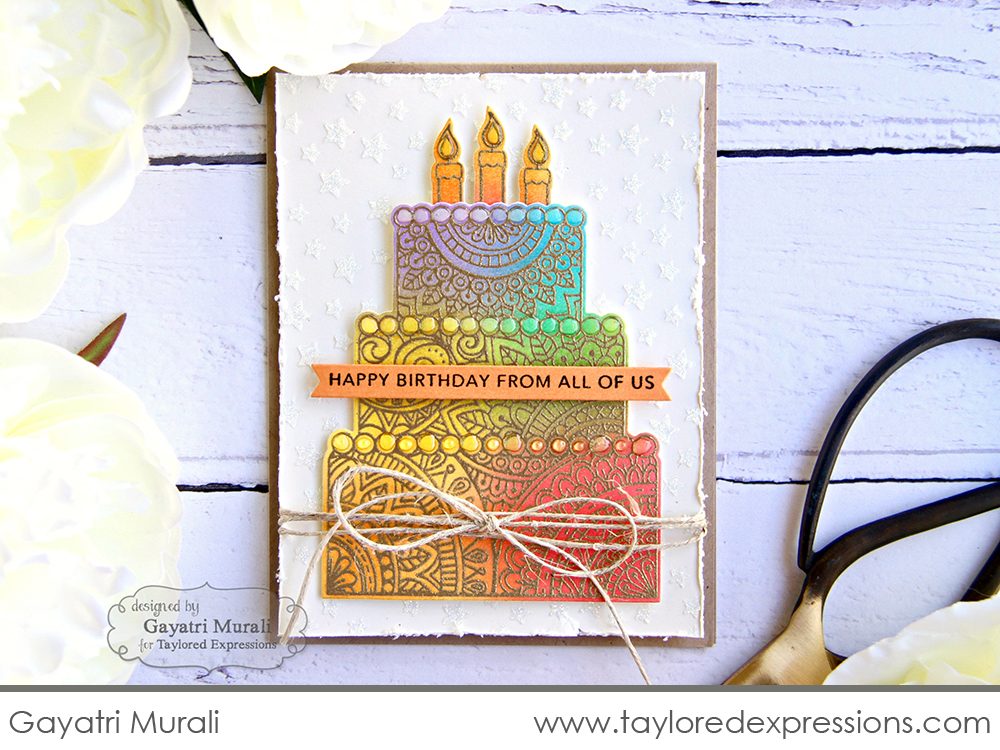
Gayatri Murali embossed the cake with gold embossing powder and blended with a rainbow of colors. The gold embossing really picks up all of the beautiful details of this large cake. I never would have thought to put gold with rainbow, but it’s gorgeous – and the Simple Strips – Birthday sentiment is the perfect finishing touch!
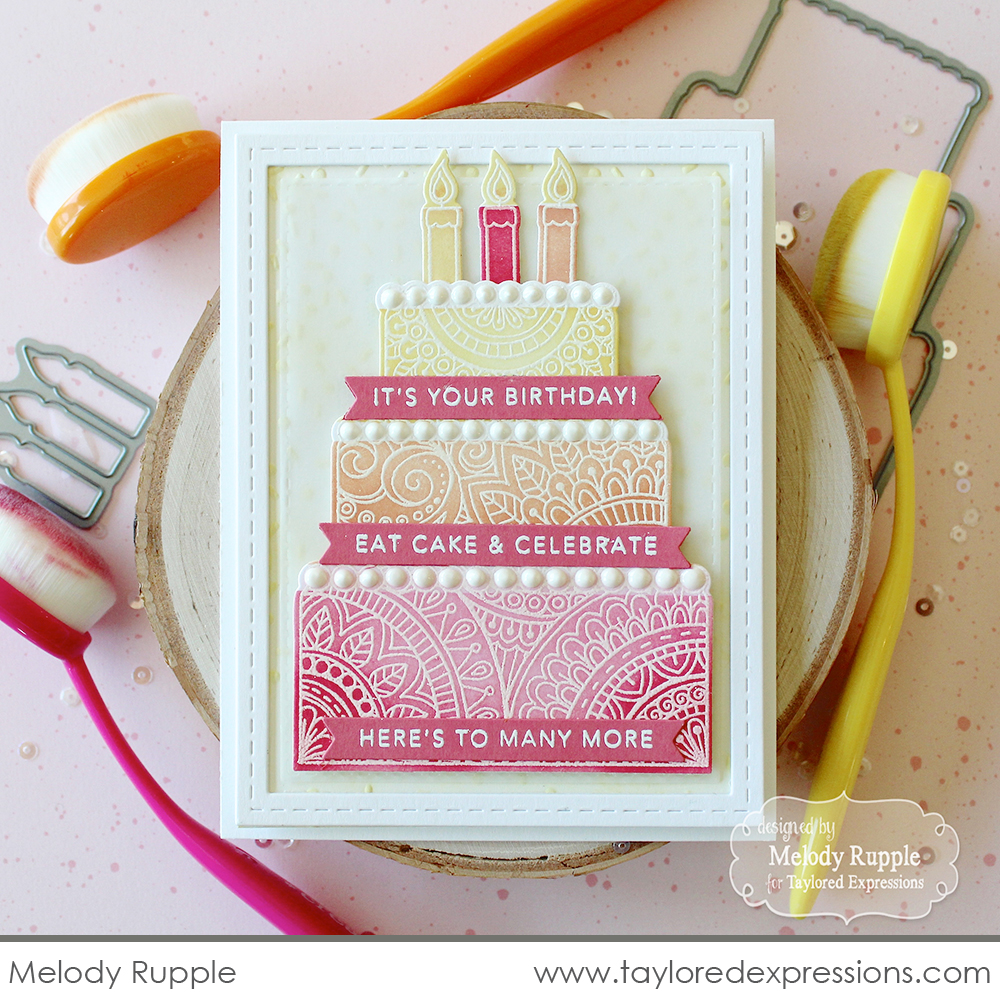
Melody Rupple blended each layer of the cake with a different color of ink and included three color coordinating candles on top. She also stacked each layer of the cake with the new Simple Strips – Birthday set, one on each layer of the cake!
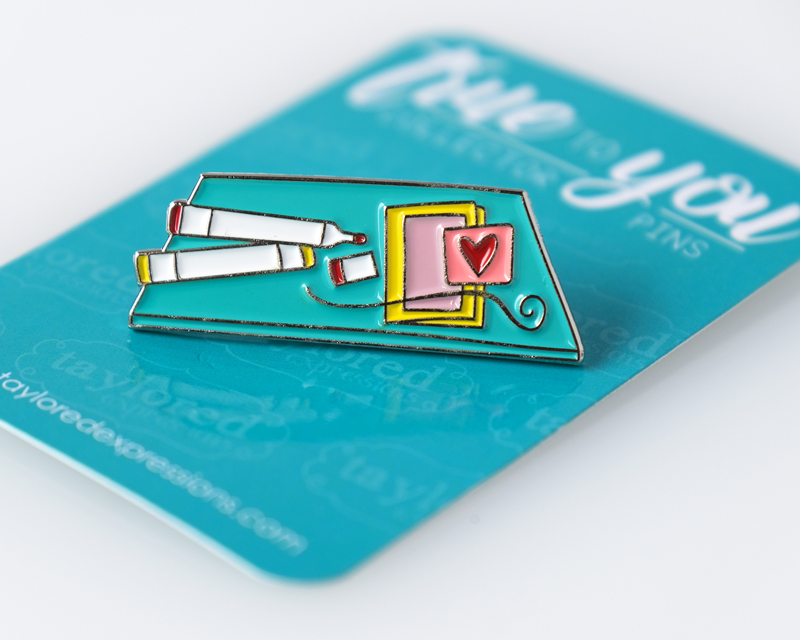
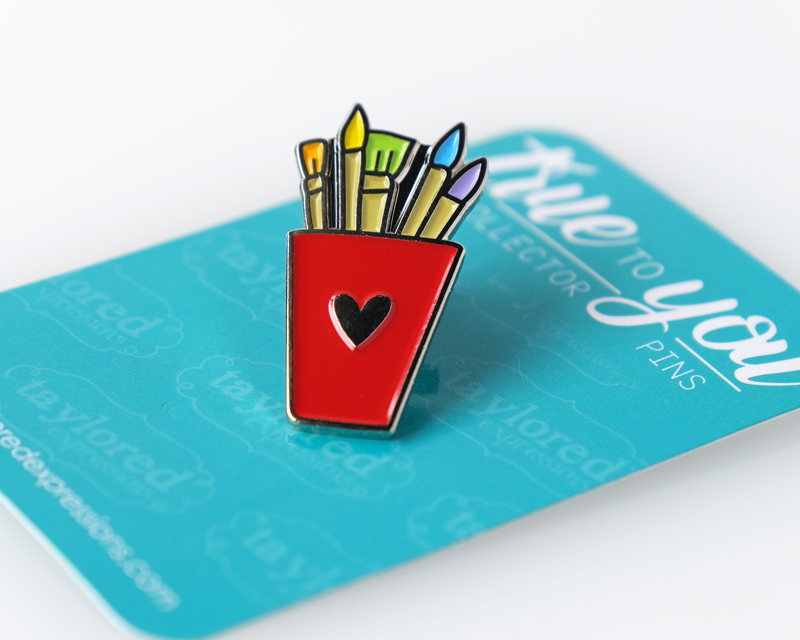
And now as promised – I saved something exciting for last! Did you catch the enamel pin is one of our giveaways this month? I have become smitten with enamel pins these days and I’m super excited to bring you our new True to You enamel pins! The back of the packaging says, “Crafting isn’t just a hobby. It’s a lifestyle. It’s who you are. These True to You collector pins embody what it means to be a crafter. You’re a little messy. You’re very creative and you’re proud of it.” I hope you love these as much as I do!
So that’s the whole she-bang of new products for our 11th birthday celebration! Everything is available to purchase right now, so head on over to the brand spankin’ new Taylored Expressions website to break help us break it in!
We’ll be continuing to celebrate over the next few days, so make sure you stop back again tomorrow for more project ideas and inspiration using the new products that I introduced today! You can also stop by the blogs of our TE Creative Team member to see the projects that they are sharing today using products from this special birthday release:


