Jan 08, 2020
January Release – Day 3
Hey, crafty friends! It’s Heather here today bringing you another day of inspiration with products from our January release from me and the the TE Creative Team. The new release products are available in the Taylored Expressions webstore right now. Click below to shop our new release!
Don’t forget about the promotion that we have happening for a limited time:
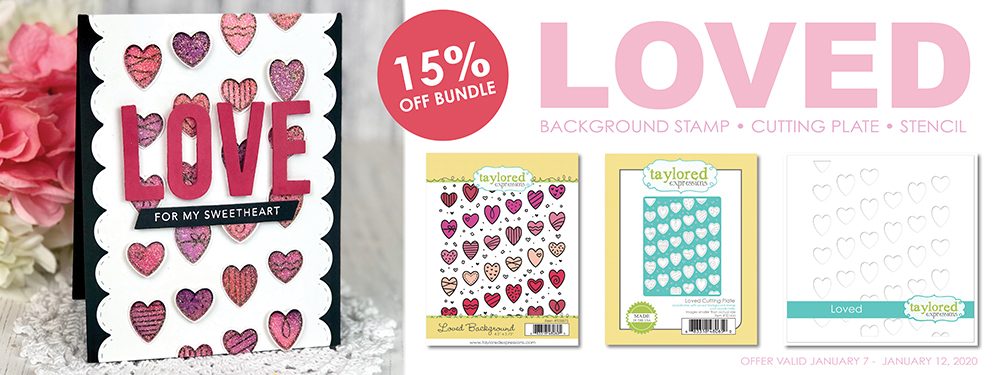
Purchase all three items from the new Loved collection to get 15% off the bundle! The Loved collection includes the Loved Background stamp, the Loved Cutting Plate die, and the Loved stencil. This offer is valid Tuesday, January 7th – Sunday, January 12th.
As you know, the Creative Team has been busy playing with the new goodies and we’ve got lots to share! Here’s an ‘at-a-glance’ look at the January Release:
- This release includes over 25 new products including stamps, dies, stencils, 2 new Masking Stencil designs, and new embellishments! Everything will be available at the TE webstore on Tuesday, January 7th at 9am CST. We want you to be able to place your order and get your goodies ASAP to start crafting for Valentine’s Day!
- Each day (Monday – Thursday) will feature a new how-to tip, technique, or process video.
Today, I am so excited to share a project that I created with the new Follow Your Heart Background stamp and Follow Your Heart Sentiments stamp set that I designed!
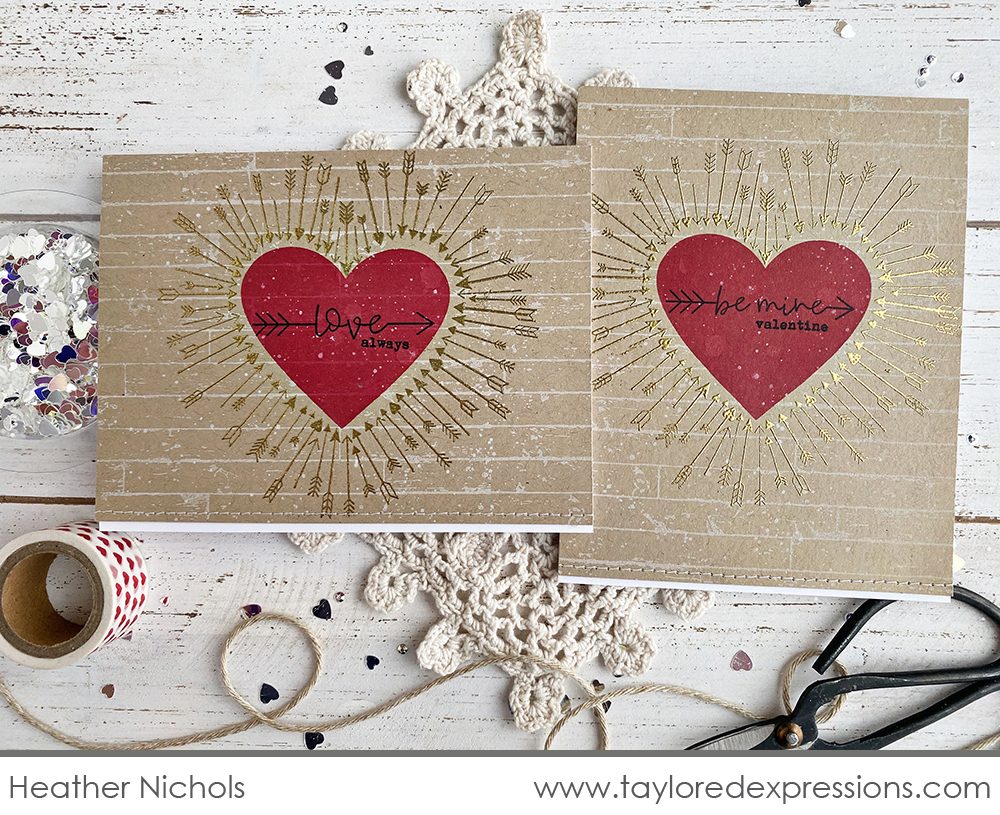
The Follow Your Heart Background stamp works wonderfully on your A2 projects whether they are in a portrait or landscape orientation. I have created this project so you can get a look at both versions. Watch the video below to see how I created this pair of Valentines.
I started this project with backgrounds that I stamped with the Shiplap Background stamp in Sugar Cube ink on Toffee cardstock. I let the Sugar Cube ink dry completely before I embossed the Follow Your Heart Background over the top.
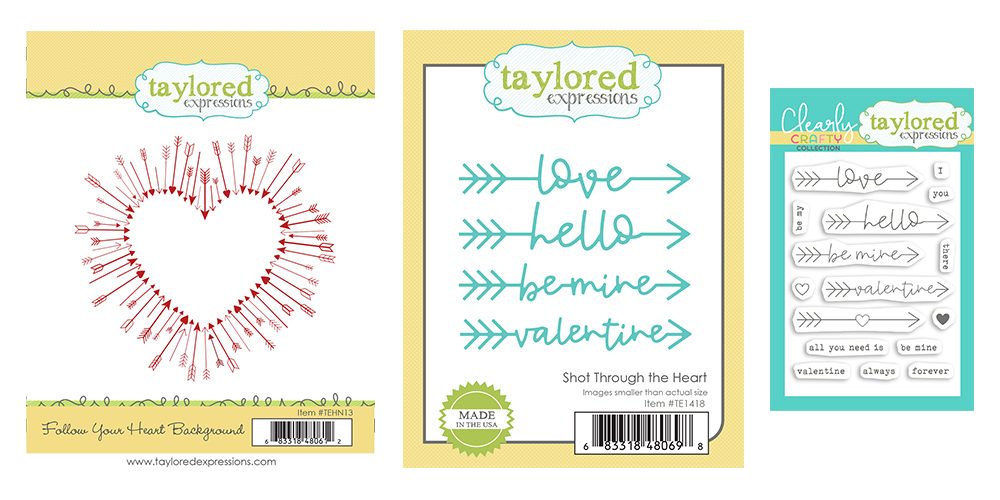
Here’s a closer look at the Follow Your Heart Background stamp, Shot Through the Heart die collection, and Follow Your Heart Sentiments stamp set. The Shot Through the Heart words coordinate with the Follow Your Heart Sentiments and so you can easily combine and create your own custom sentiments for your projects or use the words on their own.
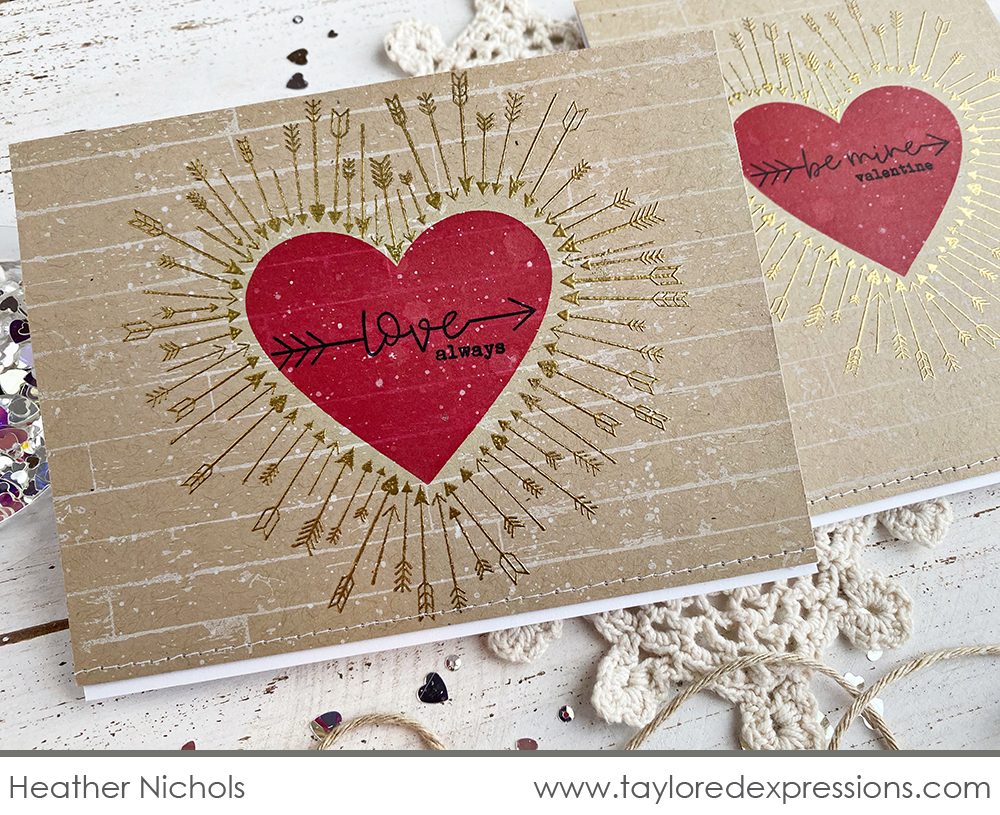
The smaller heart in the new Masking Stencils – Hearts collection fits perfectly into the center of the Follow Your Heart Background image. I added the hearts to each of my projects with Cherry Pop ink using a Blender Brush.
The Follow Your Heart Sentiments set is a clear set and so it was so easy to add the sentiment exactly where I wanted it in the center of the heart. The set features four different main arrow words and phrases along with smaller words and phrases that you can coordinate together however you like to create the perfect sentiment for your project!
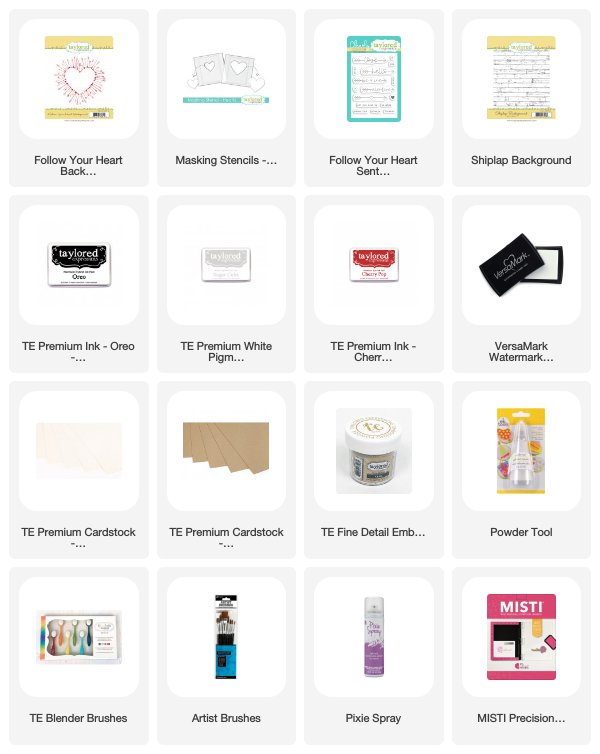
Check out the supply list below for a complete list of the products I used to make this pair of Valentine cards:

Now, how about some inspiration from the TE Creative Team?
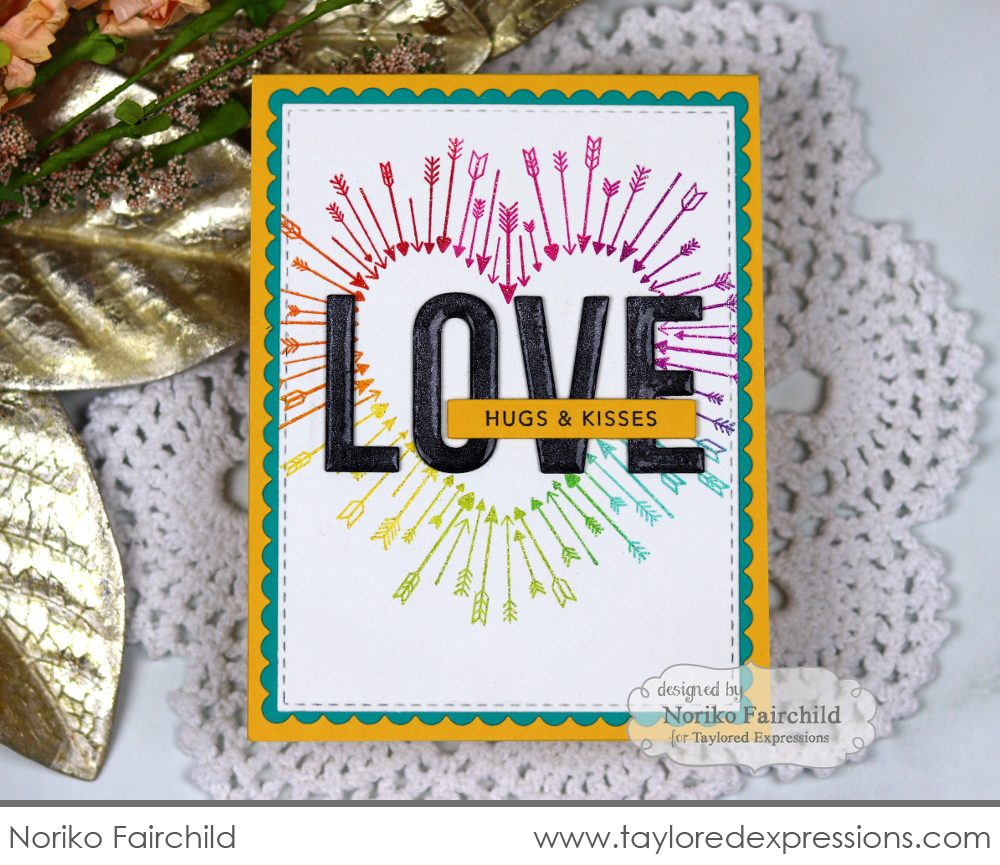
Noriko Fairchild inked up her Follow Your Heart Background stamp with multiple colors are the result is a colorful rainbow design. It is the perfect backdrop for her sentiment that is created with the Caps Lock – Love die and one of the sentiments from the new Mini Strips – Valentine stamp.
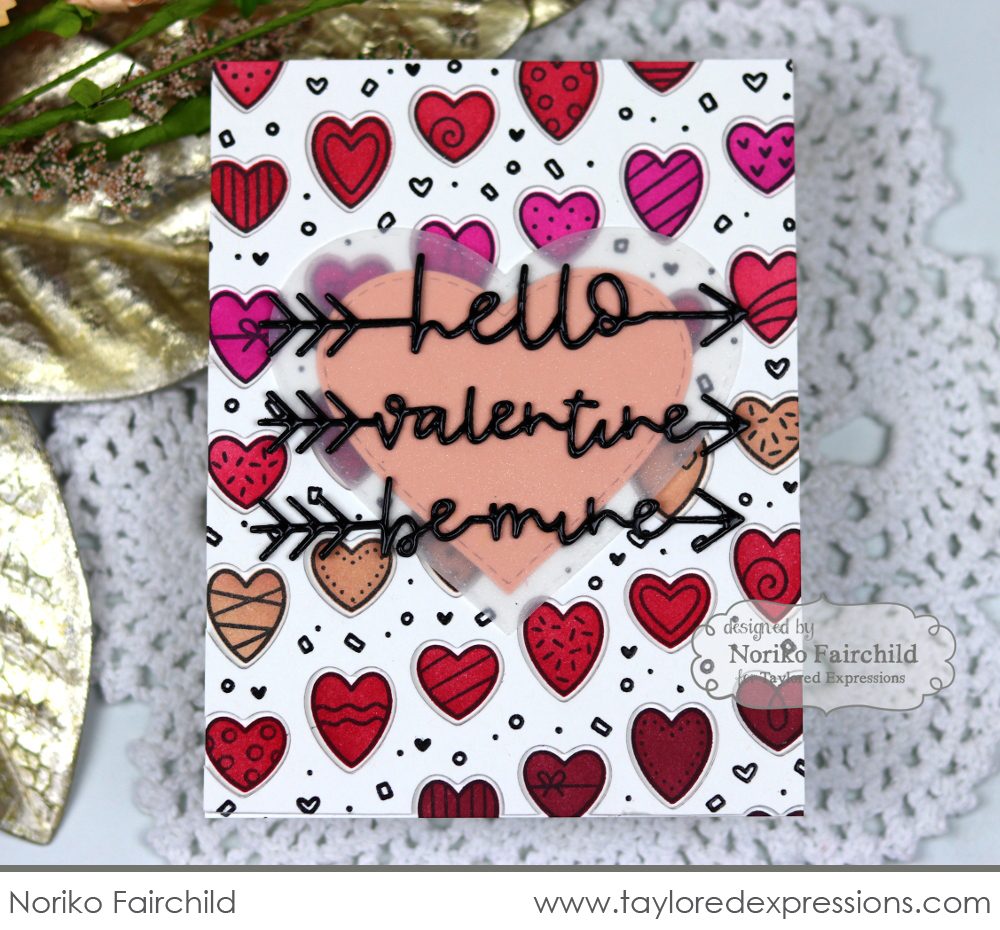
You can keep your sentiment simple and just use the main arrow words from the Shot Through the Heart die collection like Noriko Fairchild did on this Valentine card. She glazed the die cuts with Glossy Accents for a shiny and dimensional effect!
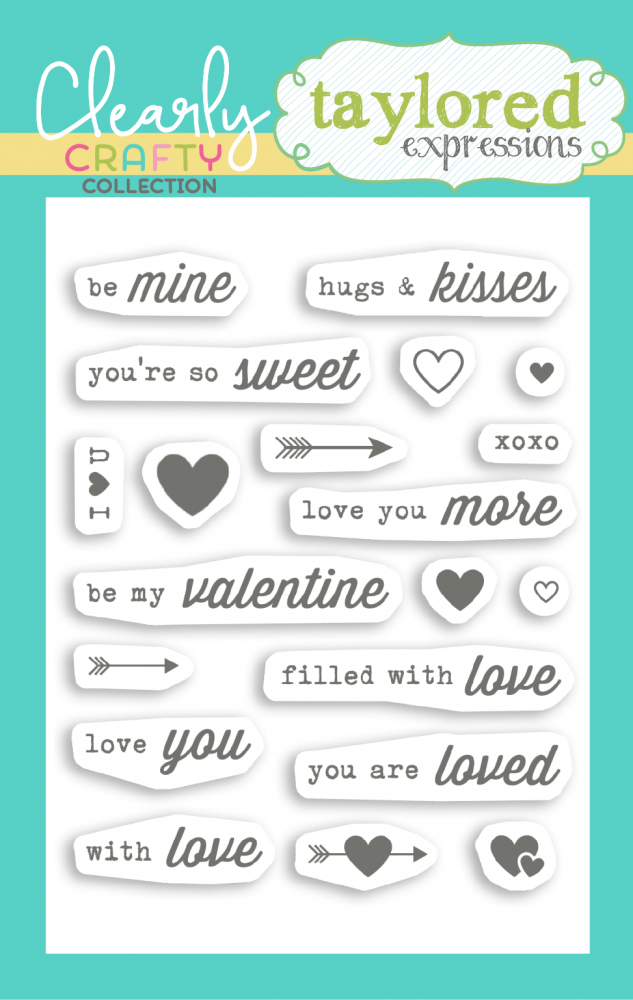
We are excited to add the new All Tucked In – Valentine stamp set to the All Tucked In line up! The set was designed to coordinate with the All Tucked In treat box and All Tucked In – Windows dies, but the set works wonderfully on its own too!
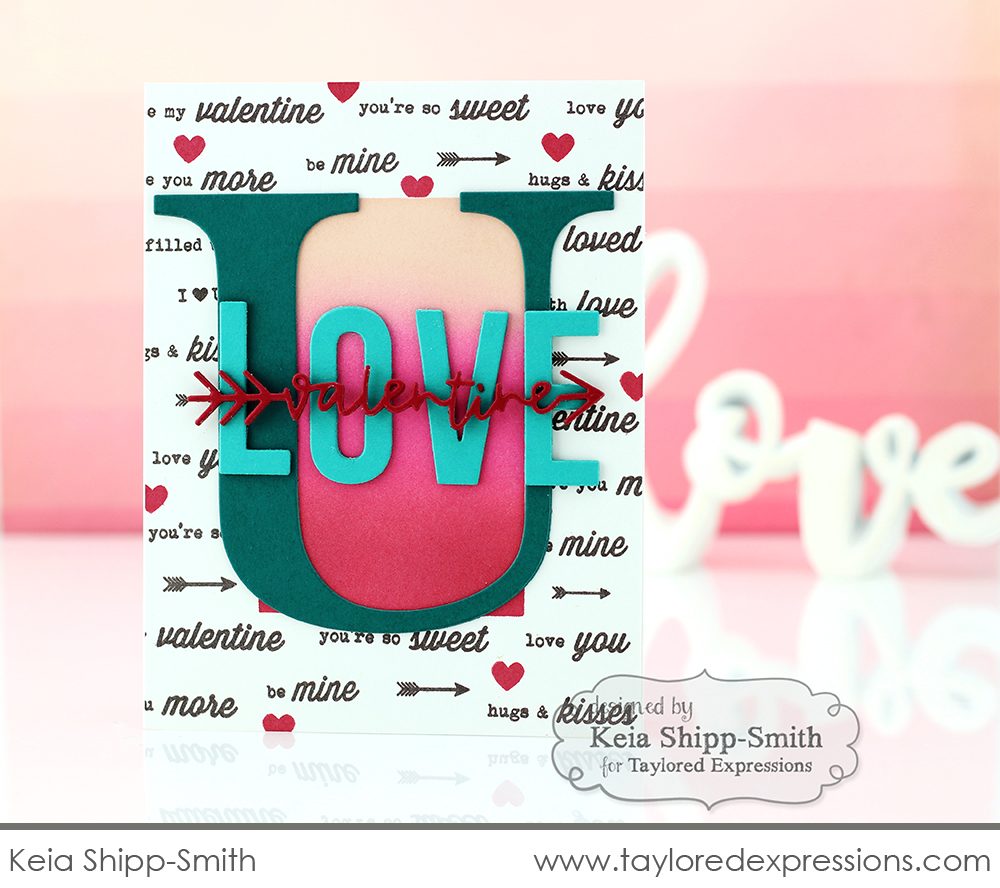
Keia Shipp-Smith created her own patterned paper using the All Tucked In – Valentine stamp set by stamping sentiment in the set with Oreo ink and adding in the stamped arrow and heart images. It’s the perfect backdrop for the “Love U Valentine” sentiment that she created by combining the Initially U, Caps Lock – Love, and Shot Through the Heart dies.
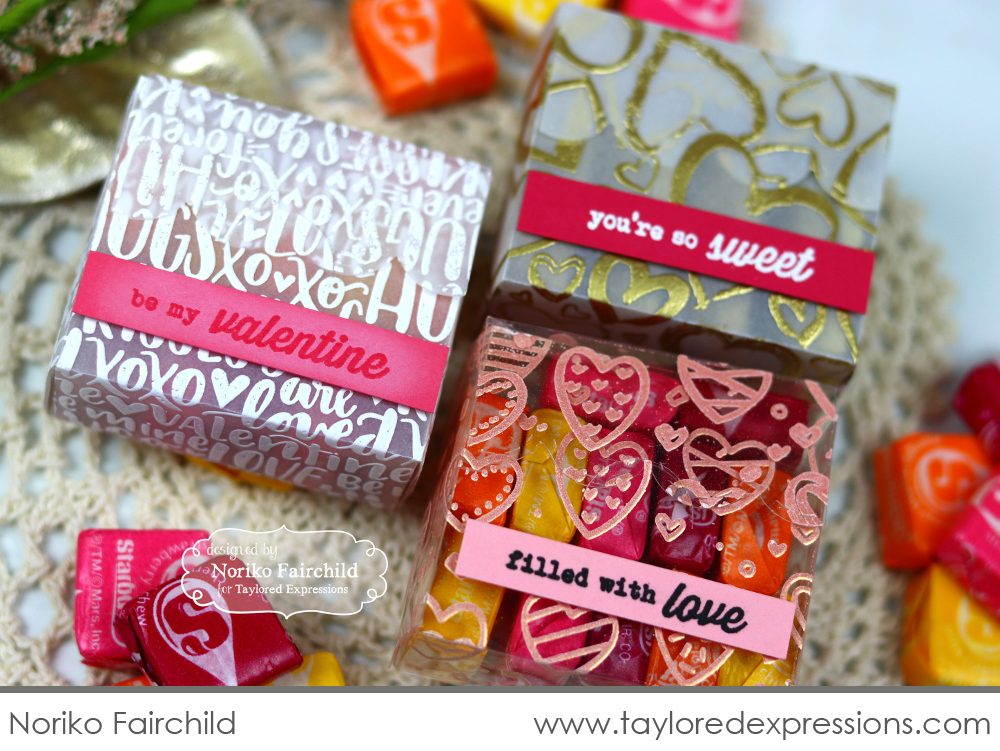
How fun are all of the different patterned treat boxes that Noriko Fairchild created using the All Tucked In die? She added a sentiment to each box using the All Tucked In – Valentine stamp set. The sentiments are the perfect size for stamping on a narrow strip of cardstock.
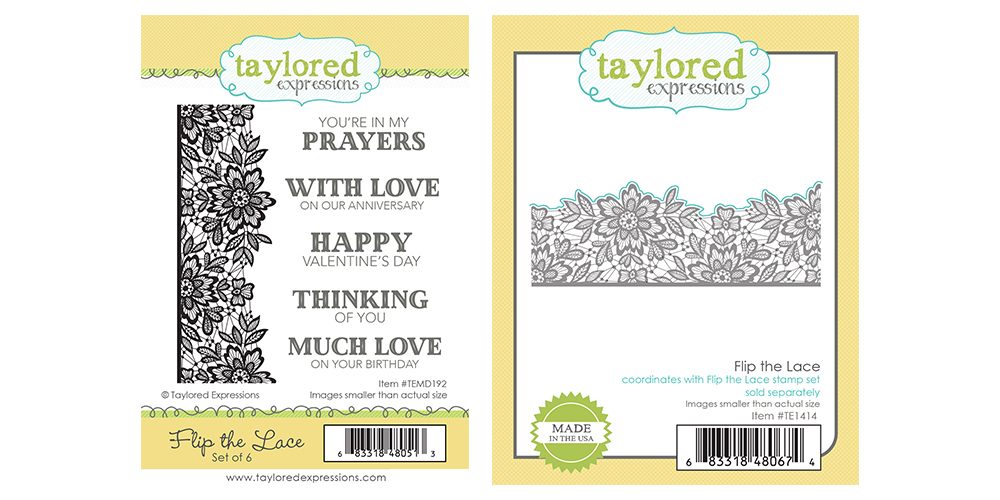
The Flip the Lace stamp set is a beautiful set that is perfect for projects where you want to add a feminine and formal feel. The set is wonderful for all sorts of occasions and includes a number of sentiments to do just that! You can cut out the edge of the lace image using the coordinating Flip the Lace die.
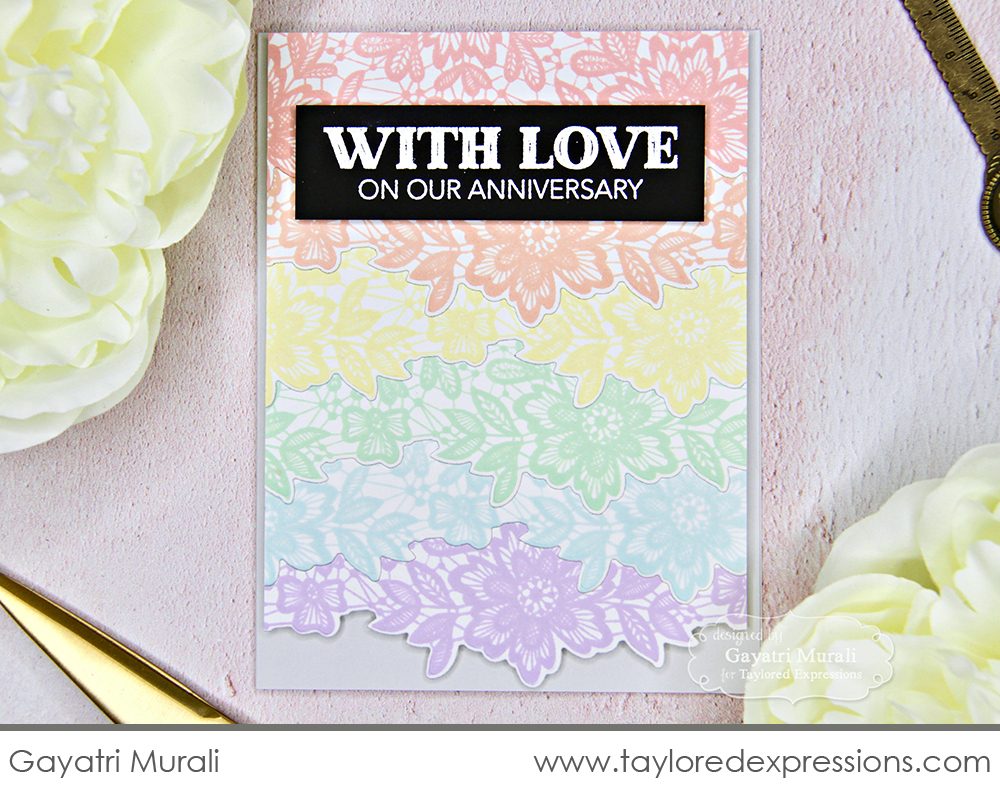
Gayatri Murali layered up several colors of lace borders for a beautiful effect using the Flip the Lace stamp set and coordinating die. Gayatri used a soft pastel color palette, but this would be so pretty in jewel tone or metallic colors too!
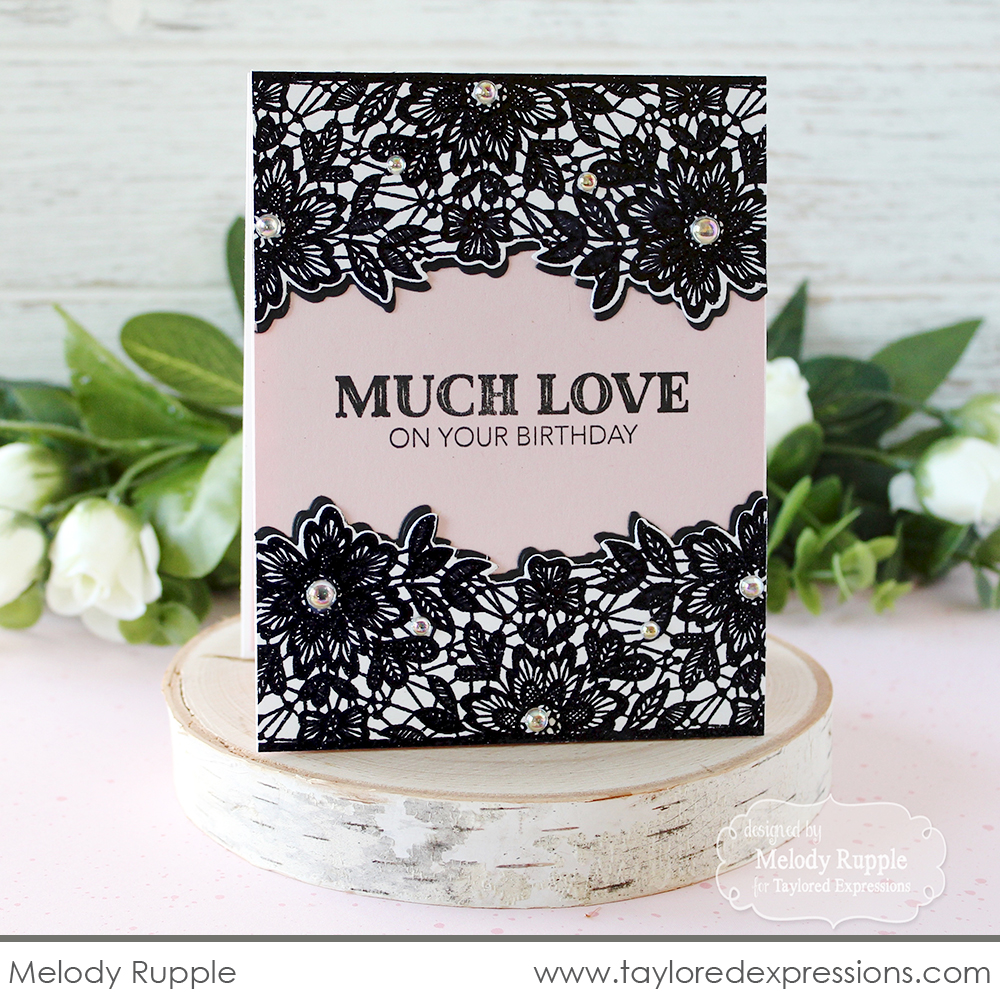
Stamping the lace from the Flip the Lace set in Oreo ink on Sugar Cube cardstock has a stunning effect! Melody Rupple used borders of lace stamped with Oreo ink at the top and bottom of this birthday card. I especially love the pearl details that she added to the flower centers on the lace design and the subtle shadows on the lace borders that she created with a die cut piece of Oreo cardstock layered a bit offset underneath.
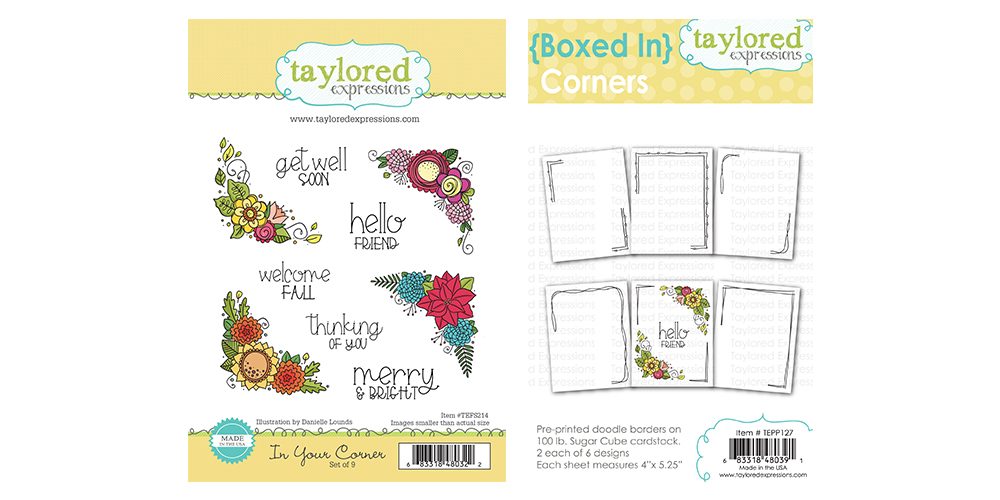
You may already have this next stamp set if you joined us at Stamp Joy 2019! In Your Corner was the set that found its way into our attendee goodie bags and now we’re excited to share it with everyone! You’ll also love the coordinating {Boxed In} Corners paper pack. Use it with the In Your Corner stamp set to create quick and easy cards with the option of stamping the seasonal floral arrangements in one corner or both corners (simply by flipping the panel in your MISTI)!
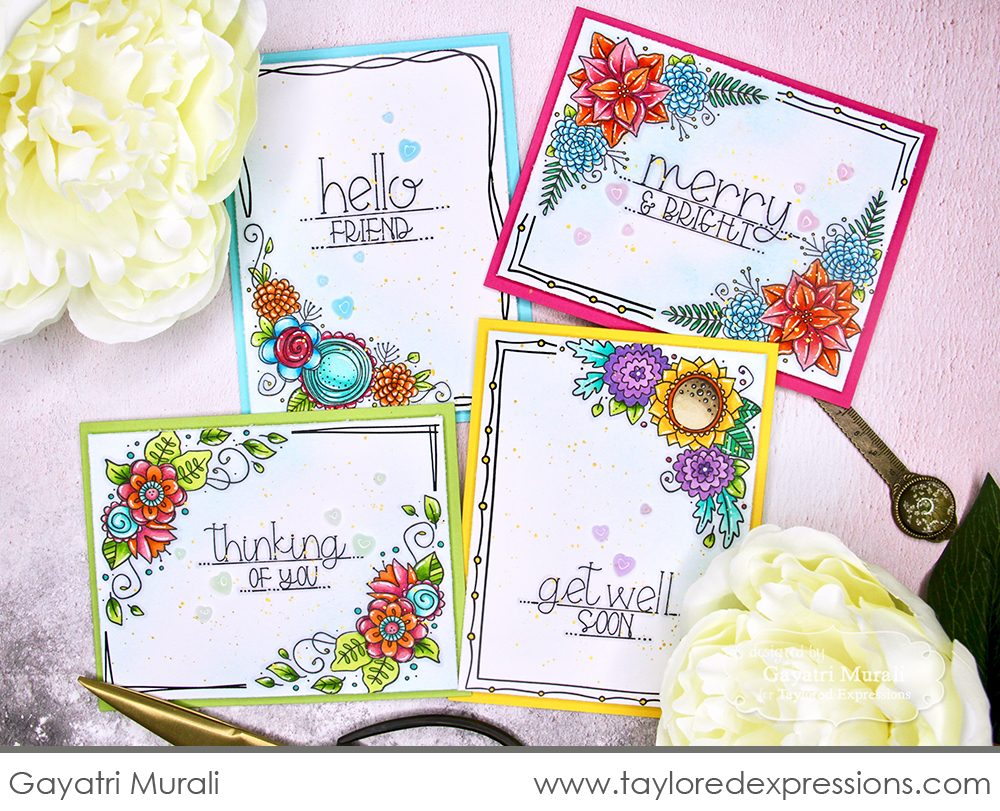
Gayatri Murali created a whole card set and showed off her coloring skills using the In Your Corner stamp set combined with the {Boxed In} Corners paper pack. The pre-printed papers make it so easy to stamp a perfectly coordinated set.
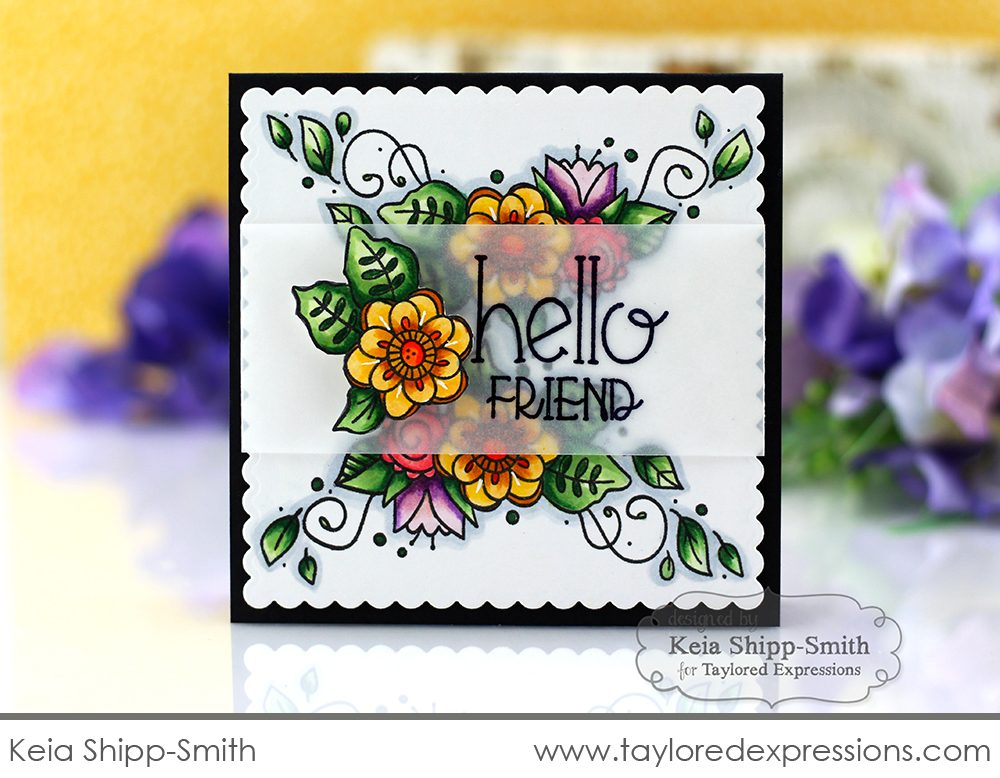
And finally today, Keia Shipp-Smith took the In Your Corner stamp set and created a unique background design by just turning the corner images to the center of her project! She stamped the sentiment for her project on a strip of vellum so that the background design could shine on her card.
That wraps up the inspiration for today here, but make sure you check out projects created with today’s featured products from our TE Creative Team. Just click on their faces below to visit their blogs. We have one more day of January release inspiration coming your way tomorrow. See you then!


