Oct 07, 2020
It’s the Most Wonderful Time… For More Holiday Inspiration!
Hey, crafty friends! It’s Heather here again today! The new holiday products are currently available in the TE webstore and I have more inspiration to share with you here on the blog. You are going to love the cards that Joy creates in the video for today and, of course, I have more inspiration to share from the TE Creative Team.
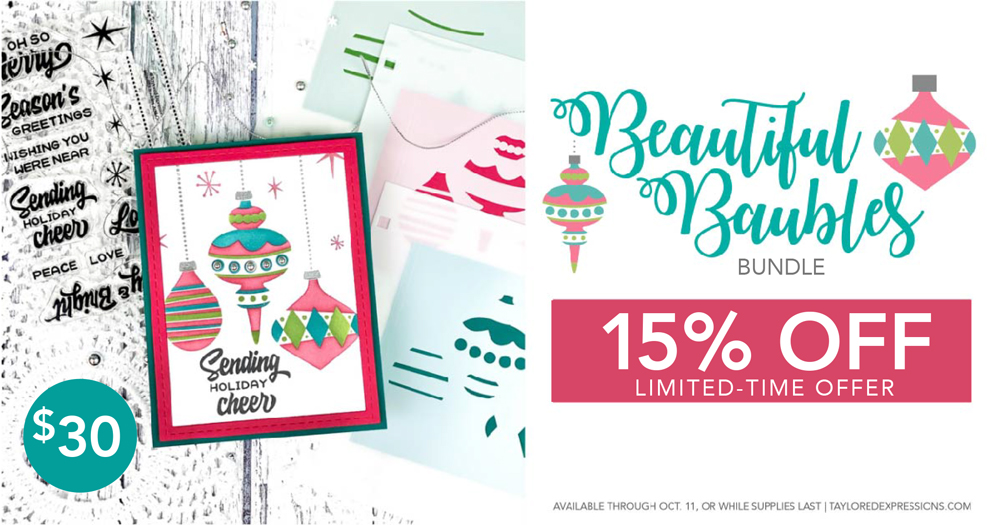
Before I get to all of that, I want to remind you about the promotion happening right now for the Beautiful Baubles Bundle:
Now through Sunday, October 11th (or while supplies last), you can get the Beautiful Baubles Bundle for 15% off! The bundle includes the Beautiful Baubles Layering Stencil set (regular price $21) and the Beautiful Baubles Add-ons clear stamp set (regular price $15). The discounted price is only available for a limited time through Sunday, October 11.
If you haven’t checked out the new Holiday release, click below to go to the TE webstore. Then, check out the inspiration on the rest of this post!
- Tune in for new product inspiration: this release includes over 40 new products including 2 new layering stencil sets, stamps, dies, more stencils, new embellishments, and Premium Glitter Cardstock in holiday colors.
- Our TE blog posts this week (Monday – Thursday) will feature a new how-to tip, technique, or process video.
- Receive FREE shipping on orders of $50 or more in the United States!
- Earn a free, exclusive stencil set with purchases of $100 or more. CLICK HERE for more information.
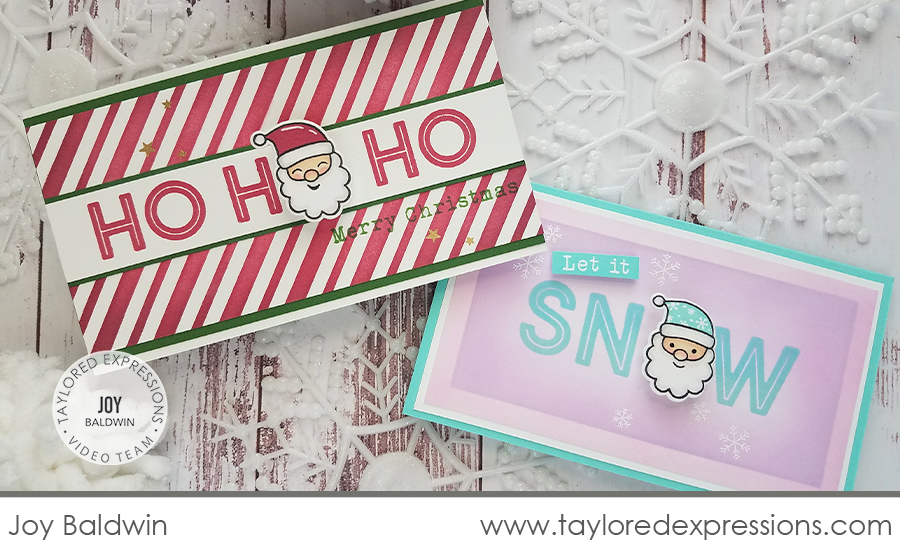
Our video today is from Joy Baldwin. Joy is sharing the new Fill in the Blank – Christmas Cling & Clear Combo set and using it with the St. Nick Background Cling & Clear Combo set to create this pair of cute Mini Slim Christmas cards. Watch how she creates both of these cards below:
In the video, Joy shows you how to stamp the St. Nick Background and color the images using the included clear stamps and Copic markers. Joy cuts out the individual Santas using the St. Nick’s Head die to use as part of the sentiments from the Fill in the Blank – Christmas set on two different cards. Each of the card uses one of the two new Mini Slim stencils to create the backgrounds.
Here’s a closer look at some of the new products from this release that Joy used in her video:
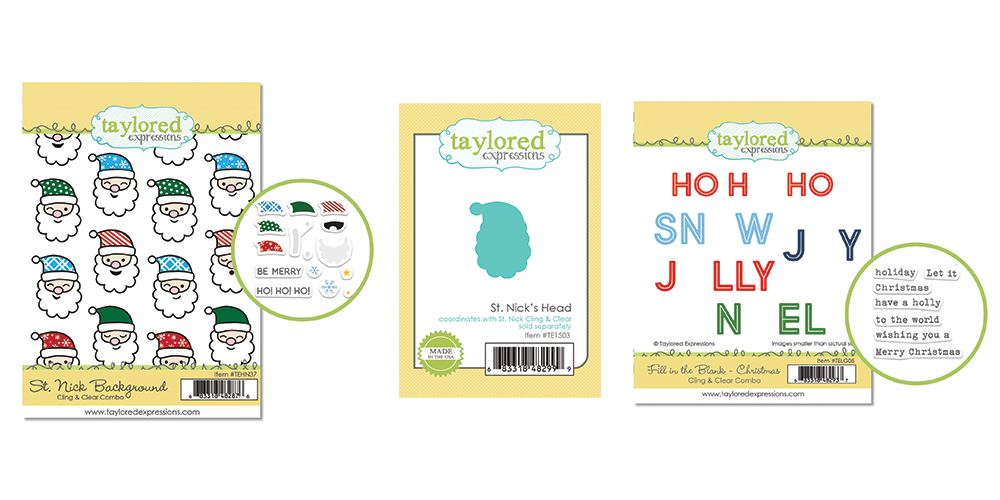
If you loved the Frosty Kit that we release this past summer, you are going to love the new St. Nick Background Cling & Clear Combo set. Along with a red rubber stamp featuring a pattern of adorable Santas, the set includes fifteen clear, photopolymer stamps to fill the hats with patterns, add color to Santa’s face, and a rosy nose! Also, use the coordinating stencil to add a star pattern around the Santas or choose to cut out the individual Santas using the St. Nick’s Head die.
The new Fill in the Blank – Christmas Cling & Clear Combo set includes five larger size sentiments that are all missing an ‘O’. Simply fill the open space with a Santa from the St. Nick Background, a snowman from the Frosty Background (see below), or another image from your collection. Complete the sentiments with the photopolymer stamp set that includes seven coordinating words and phrases.
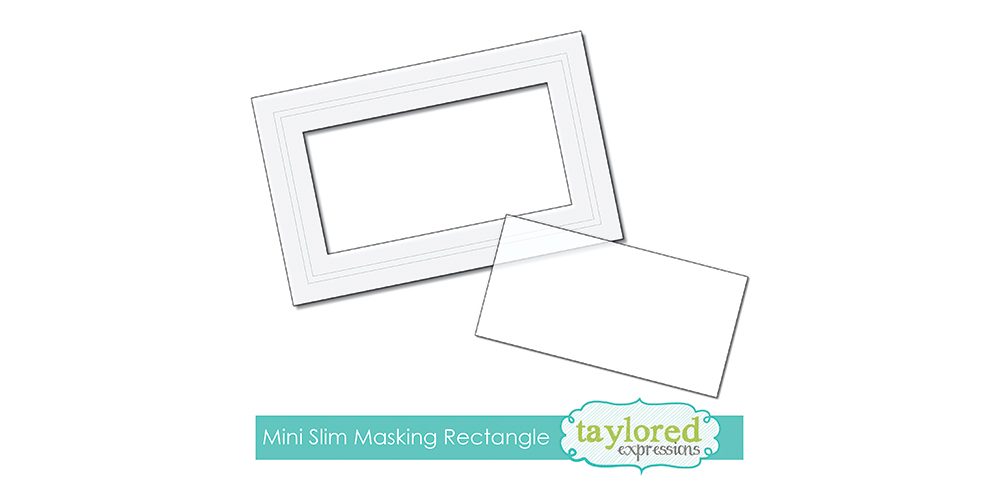
Masking Stencils are a crafty essential for card making and we’re excited to introduce the first one for the Mini Slim card size. The Mini Slim Masking Rectangle stencil has a rectangular opening with our etched alignment guides to perfectly center the opening on the 3.5″ x 6″ Mini Slim card base or 3.25″ x 5.75″ mini slim card layer. The rectangular insert from the stencil is included for even more masking options.

This cute card featuring the ‘ho ho ho’ sentiment has a fun red & white striped background created with the new Mini Slim Candy Cane Stripes stencil. I love the detail that Joy added by embossing gold stars scattered across her design and how she added the Santa on a Mini Wobble Spring so he can bounce around on the card – so fun!
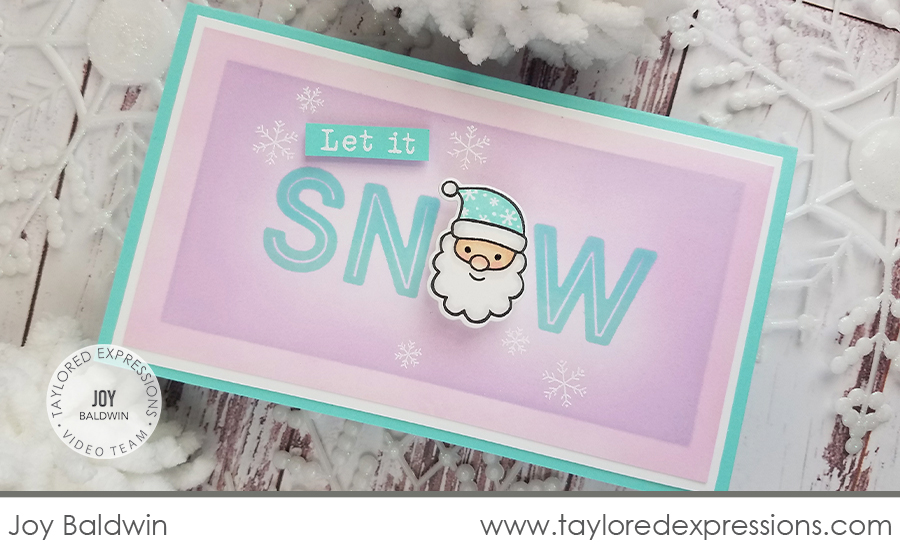
For this card, Joy used a softer pastel color combination to create an icy, winter look for the ‘let it snow’ sentiment. Her background is created with the Mini Slim Masking Rectangle using Cupcake and Lavender Glaze inks and she stamped the sentiment with Confetti Cake ink. She added snowflakes embossed in white and the snowflake patterned hat on Santa to complete the wintery look!
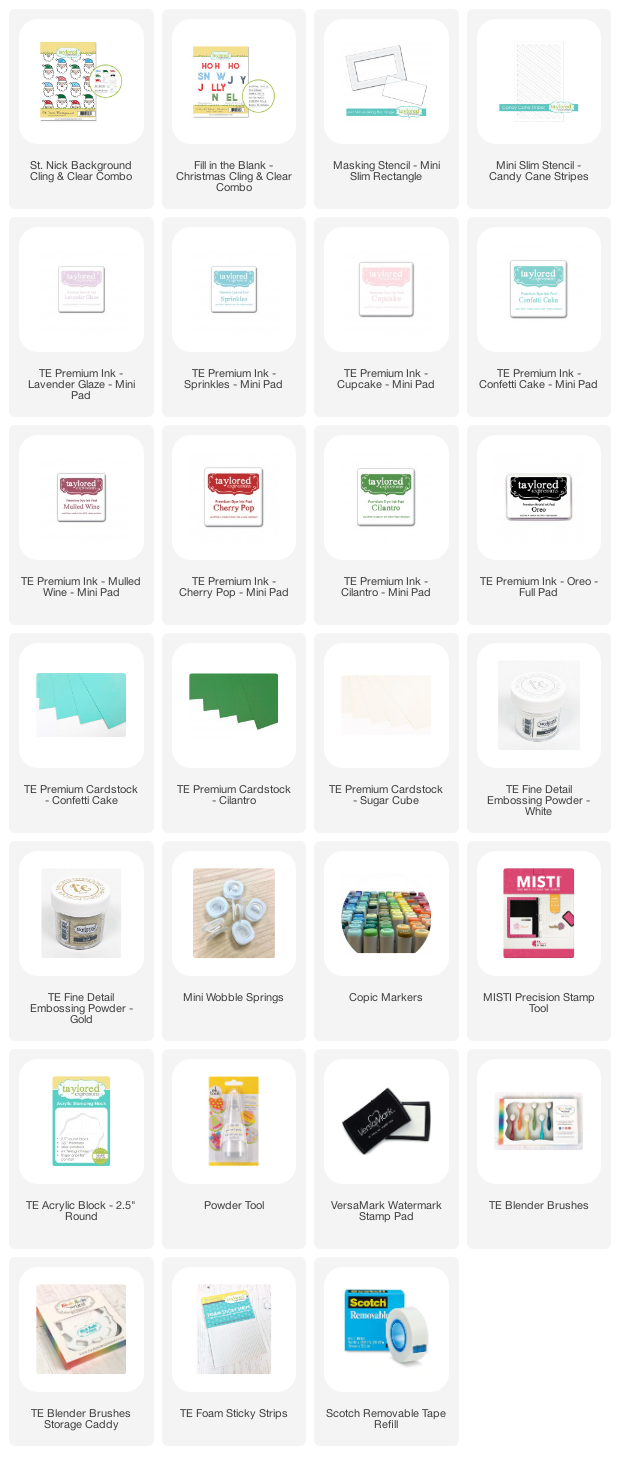
Check out the list below for the supplies that Joy used on her projects:

Here’s more inspiration from the TE Creative Team using more of the new products from our Holiday release:
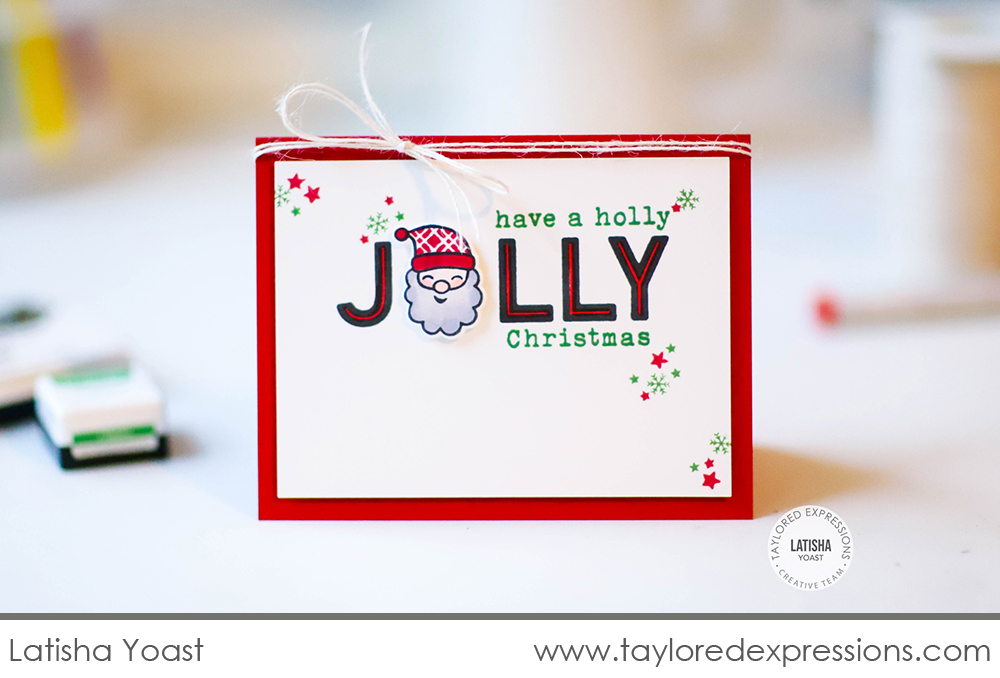
Latisha Yoast created this happy card for the holidays using the ‘jolly’ word from the Fill in the Blank – Christmas Cling & Clear Combo set and using a Santa from the St. Nick Background Cling & Clear Combo set to fill in the ‘O’. She completed the sentiment using the coordinating clear stamps in the Fill in the Blank – Christmas set using a green ink. Latisha also stamped tiny snowflakes and stars scattered throughout her design in reds and greens to finish off her card.
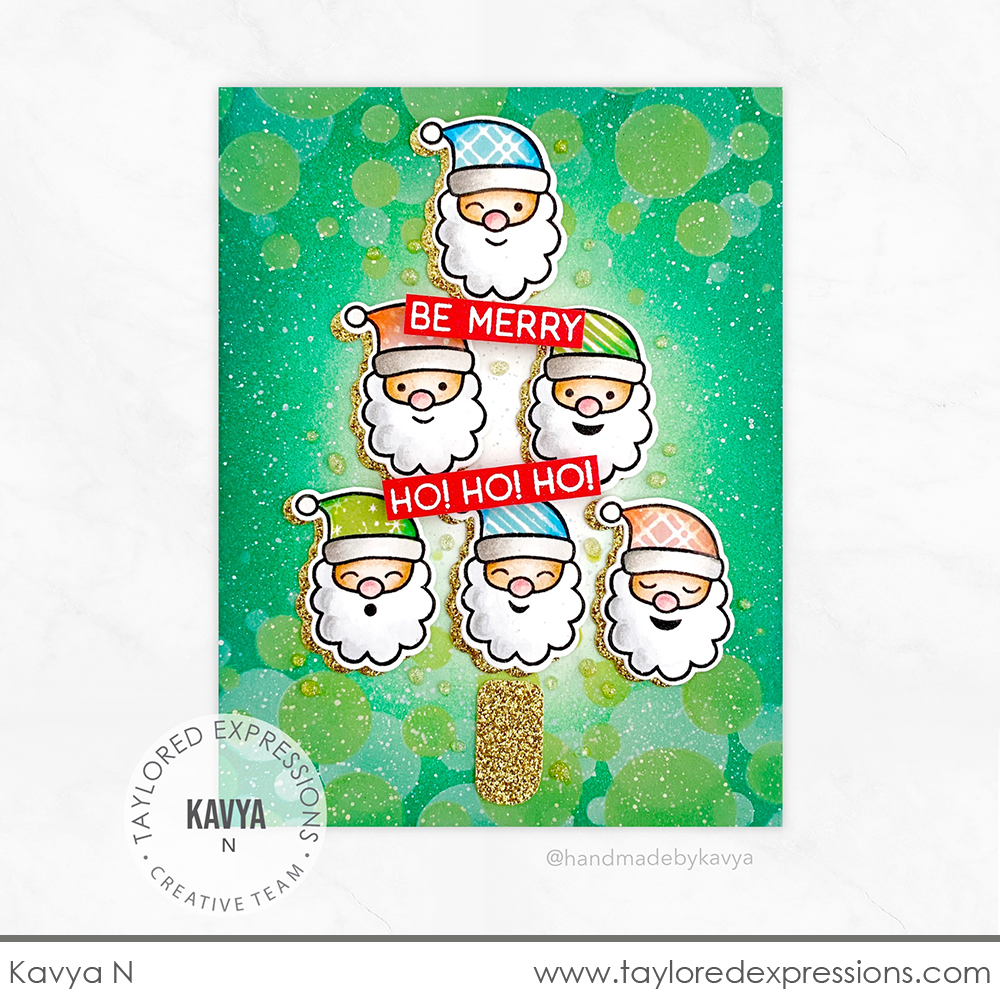
I just can’t get over the cuteness of this Santa tree that Kavya created with the St. Nick Background Cling & Clear Combo set! She added the Santa tree onto a colorful background that is created with the Bokeh Layering Stencil set and I love the gold glitter cardstock accents that are peeking out behind the Santas and used for the trunk of the tree.
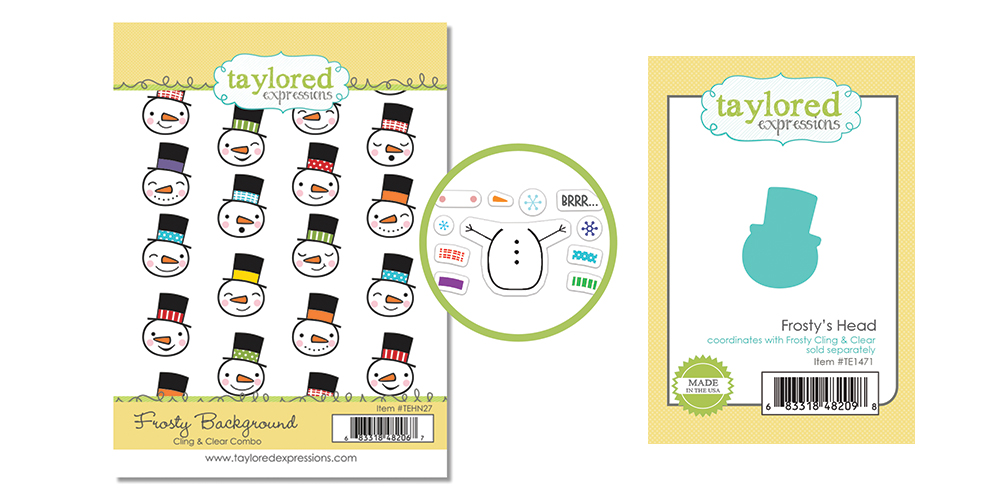
After the original release in July, we are now offering products from the Frosty Kit for purchase individually! The items being released include: Frosty Background Cling & Clear Combo, Frosty stencil, Frosty’s Head die, Frosty’s Body die, Sentiment Strips Duo dies, and Winter Wishes clear stamp set. To get a closer look at these products and even more inspiration from the original launch, CLICK HERE.
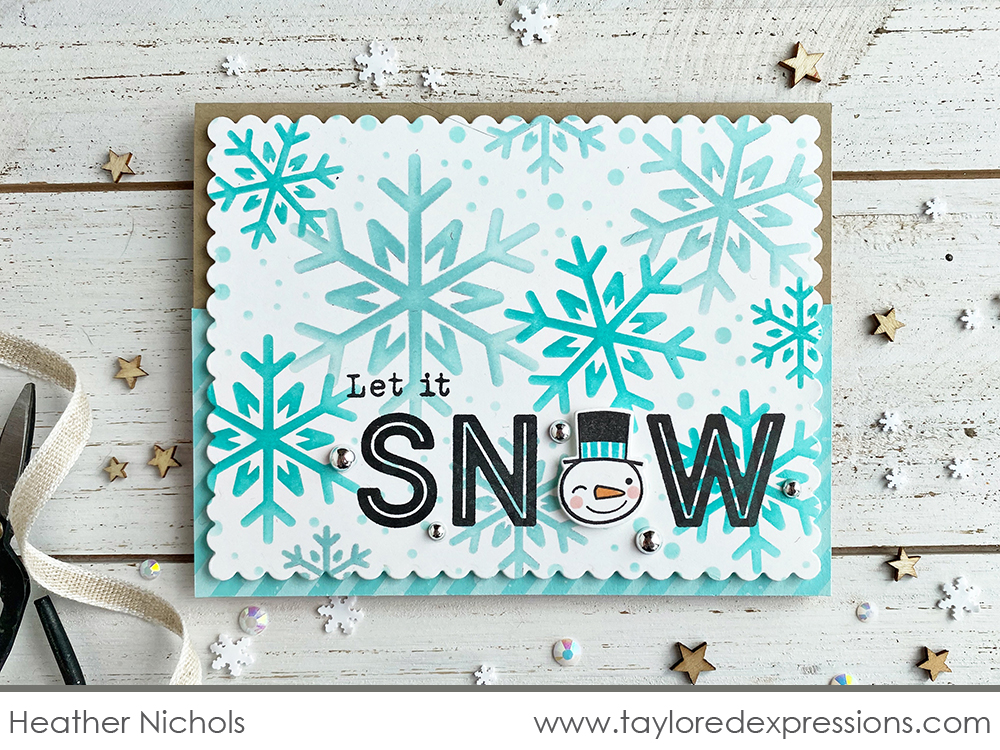
I created this card (Heather Nichols) that features an individual snowman from the Frosty Background Cling & Clear Combo set die cut with the Frosty’s Head die. It’s the perfect addition for the ‘O’ in the ‘let it snow’ sentiment stamped from the Fill in the Blank – Christmas Cling & Clear Combo set. The background on this card is created with the Let it Snow Layering Stencil set.
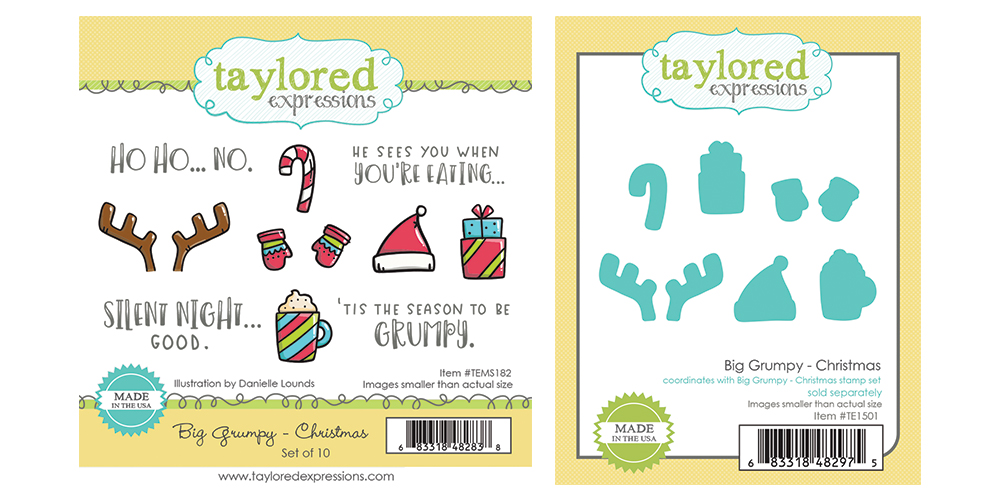
We couldn’t leave out Big Grumpy for the holidays, right? Use the Big Grumpy – Christmas stamp set (+ coordinating dies) to make fun holiday cards with our Big Grumpy and Big Grumpy – Cat stamp & die combo sets (sold separately). The set includes antlers and a Santa hat that Big Grumpy will try to pitch into the fireplace, holiday treats and gifts that Big Grumpy will refuse to share, mittens that he will surely lose, and several sentiments to let you know exactly what Big Grumpy thinks of this time of year!
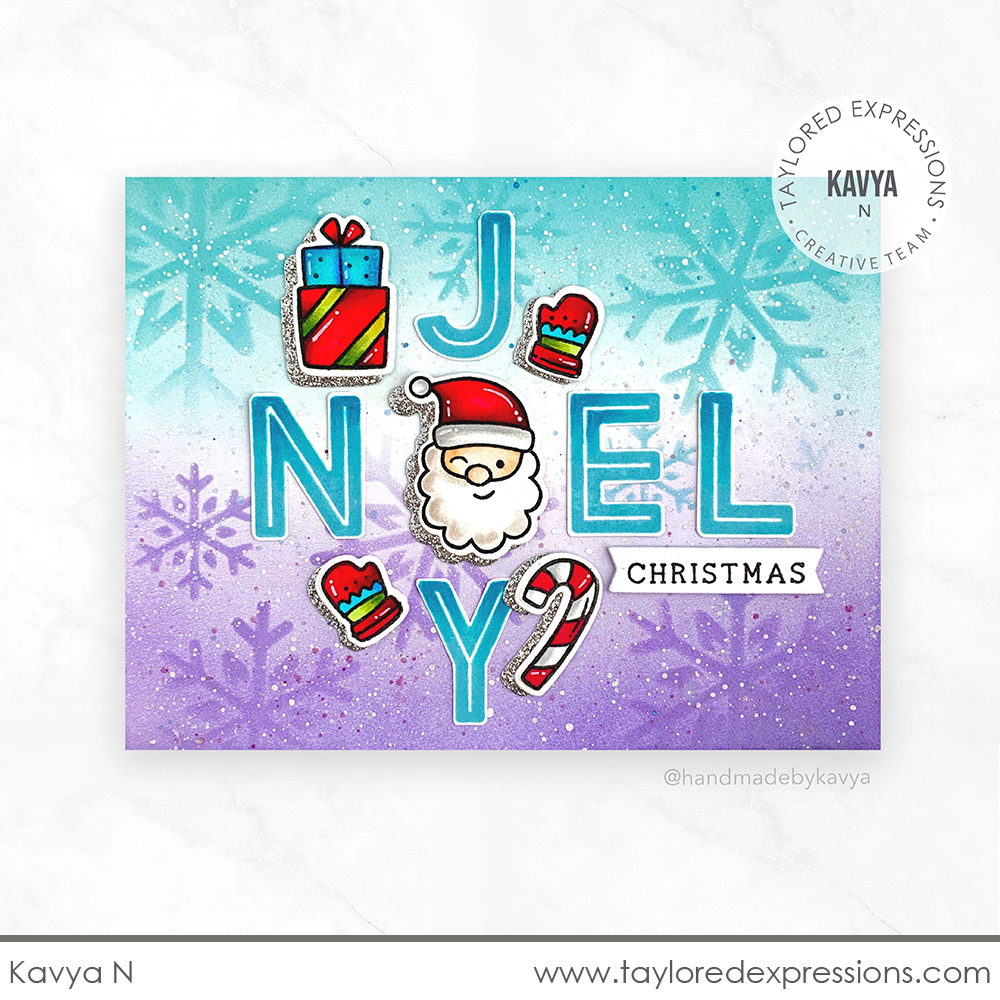
Kavya combined several sets, including the Big Grumpy – Christmas stamp set, to create this adorable Christmas card. The ‘joy’ and ‘noel’ words are stamped using the Fill in the Blank – Christmas Cling & Clear Combo set, cut out with scissors, and arranged in a crossword puzzle effect – the Santa is used as the ‘O’ in both of the words. Kavya sprinkled the rest of the cute accessories from the Big Grumpy – Christmas set around the sentiments to complete the design.
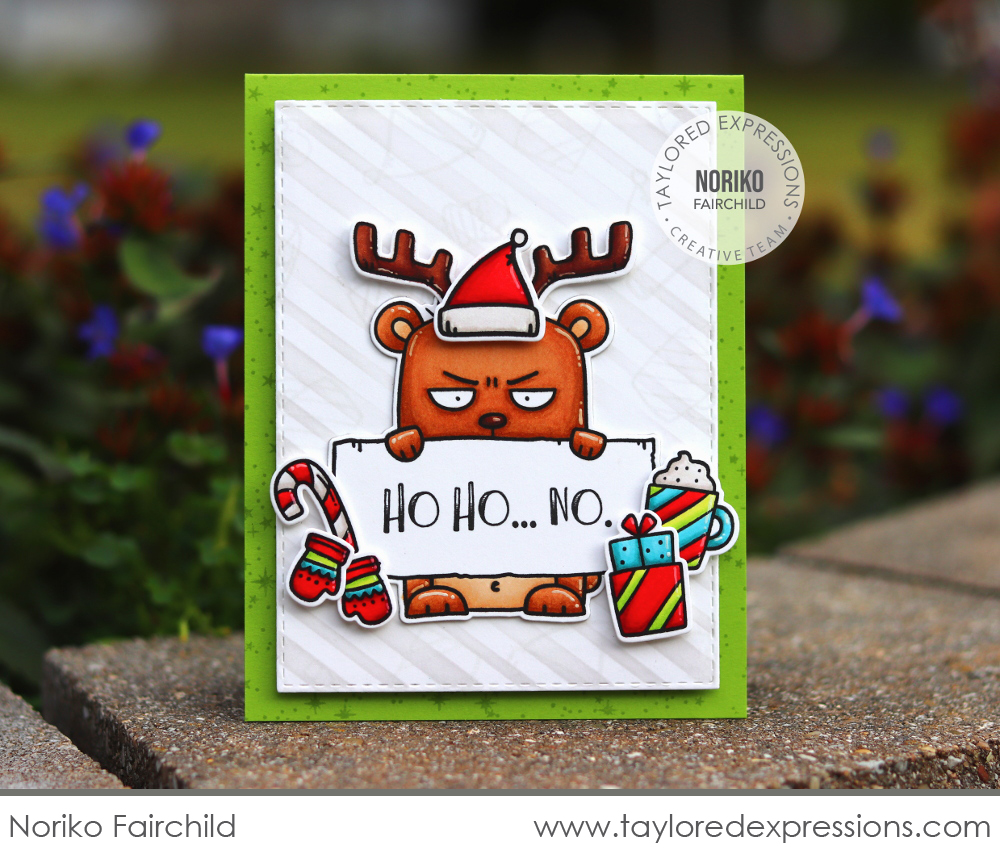
Noriko Fairchild surrounded Big Grumpy with all of the Christmas things from the Big Grumpy – Christmas stamp set and Big Grumpy is not having it as evidenced by the ‘ho ho…no.’ sentiment on his sign! Noriko colored Big Grumpy and his accessories with her Copic markers and added him to a background that is stenciled with the Mini Slim – Candy Cane Stripes stencil in Sea Salt ink – I love the subtle, striped look!
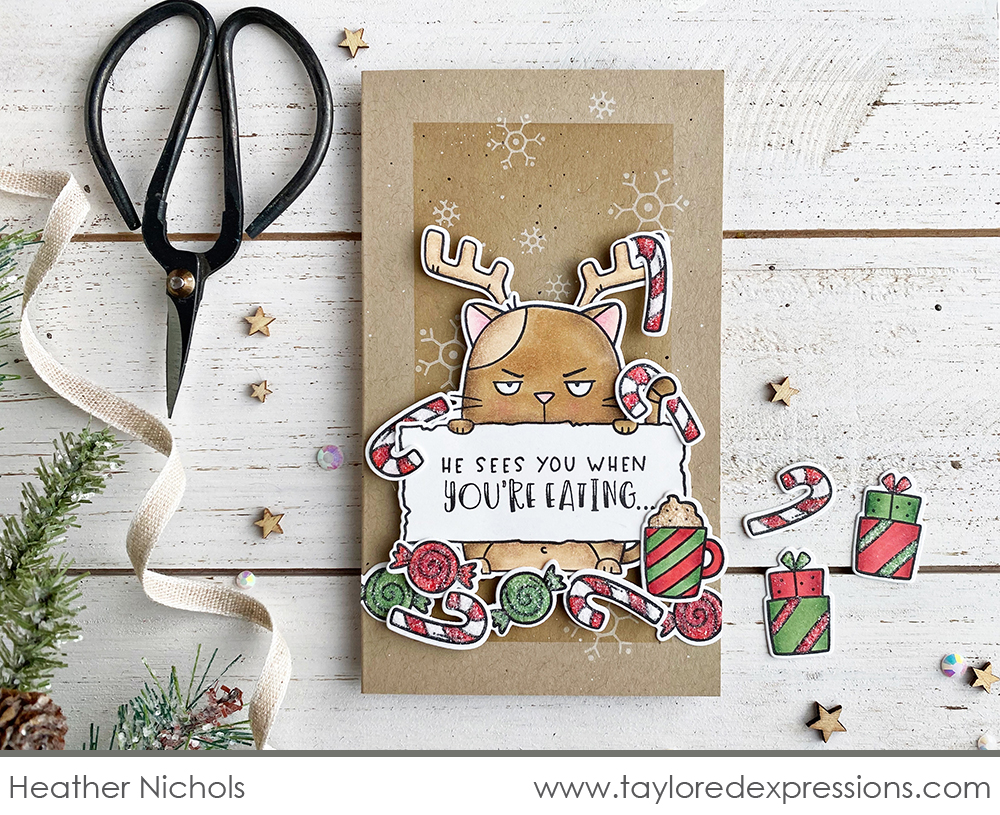
I had my own fun with the Big Grumpy – Christmas stamp set on this card (Heather Nichols). I added the antlers to Big Grumpy – Cat and piled a bunch of treats around him to go with the ‘he sees you when you’re eating’ sentiment. The round candies are actually from the Big Grumpy – Halloween stamp set that I colored in reds and greens for this Christmas card!

The new Merry Millie stamp set (+ coordinating dies) features that cute mouse, Millie, doing all things Christmas! She goes for a sleigh ride, hangs out with Santa and Rudolph, and more. Pair the images with one of the six sentiments to create super cute holiday cards.
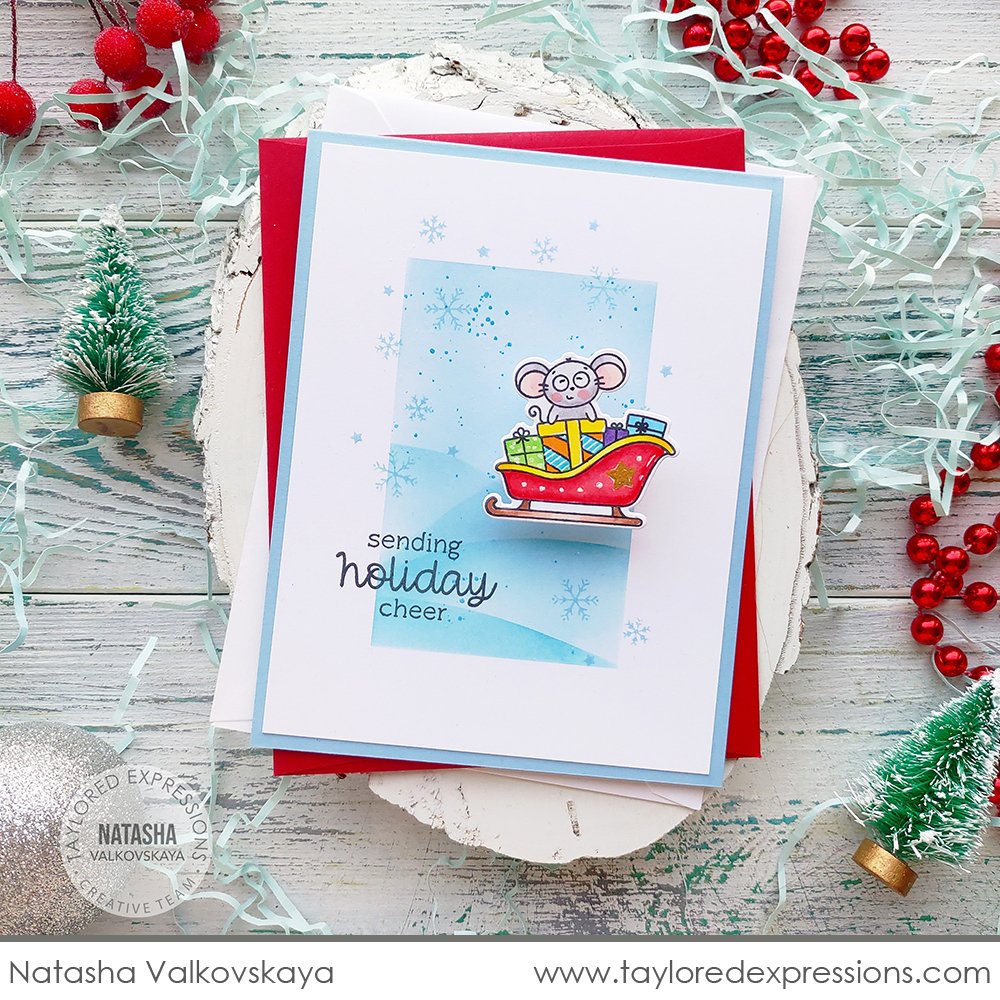
Natasha Valkovskaya created the sweetest snowy scene for Millie and her sleigh from the Merry Millie stamp set! She used the Masking Stencils – Rectangles set, more masking, and stamped tiny snowflakes and stars to create the scene in the center of the card. Millie is colored with Copic markers and added to a Mini Wobble Spring so she can bounce around in the snow!
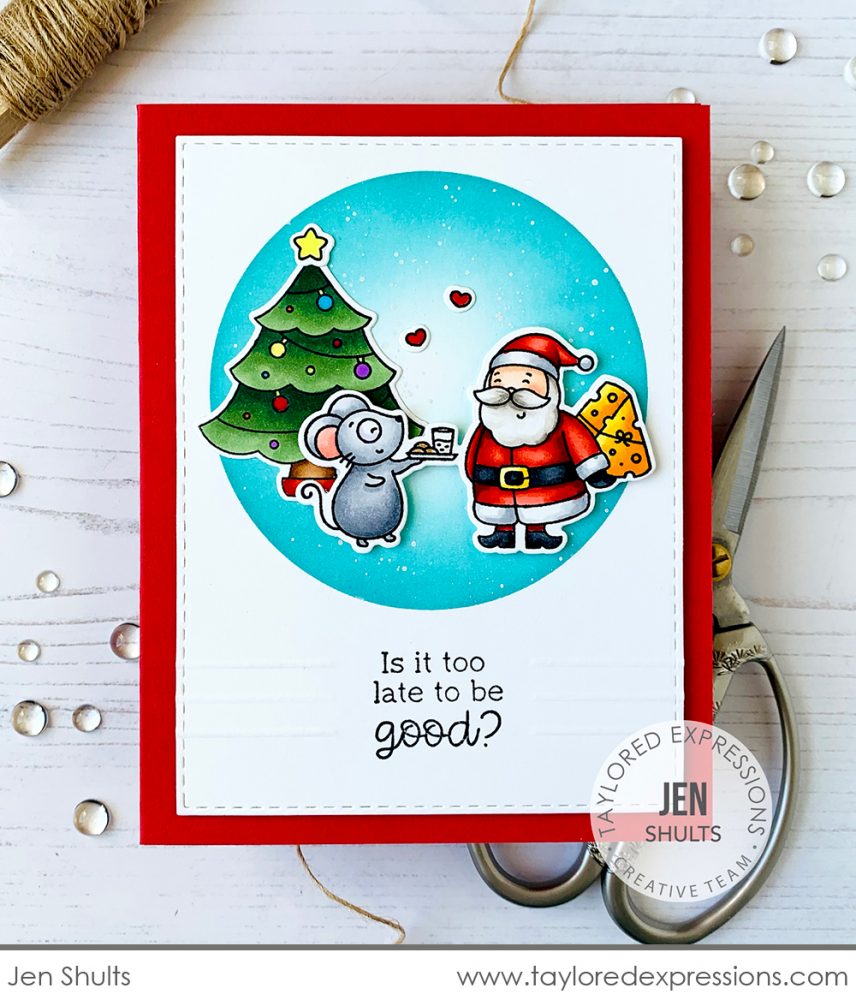
Jen Shults colored up this sweet scene with Millie and Santa from the Merry Millie stamp set using her Copic markers. She added the elements to a blended circle created with the Masking Stencils – Circles set on her card front and stamped the ‘is it too late to be good?’ sentiment underneath. I really like the scored lines that Jen added to bring attention to the sentiment.
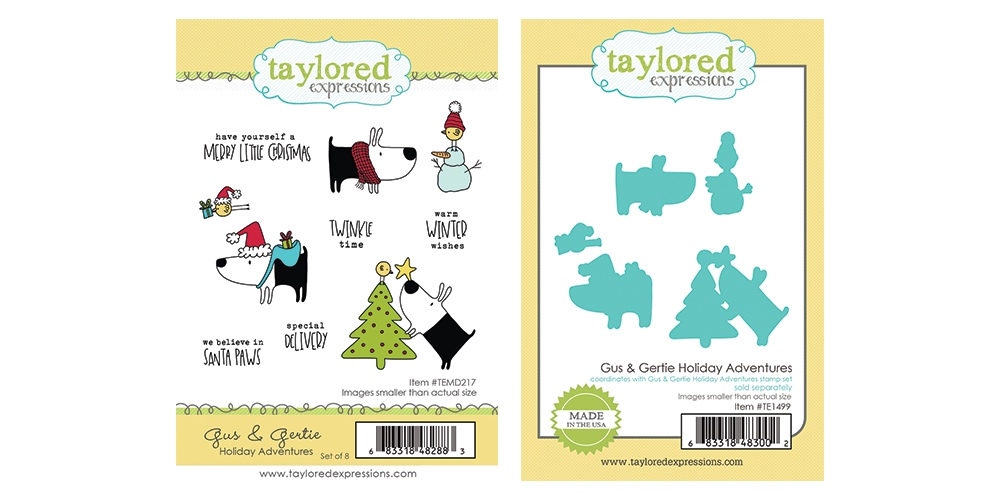
The new Gus and Gertie Holiday Adventures stamp set (+ coordinating dies) features our favorite puppy, Gus, and his birdie friend, Gertie, getting festive for the holiday season. There are three cute images and five sentiments perfect for Christmas and winter crafting!
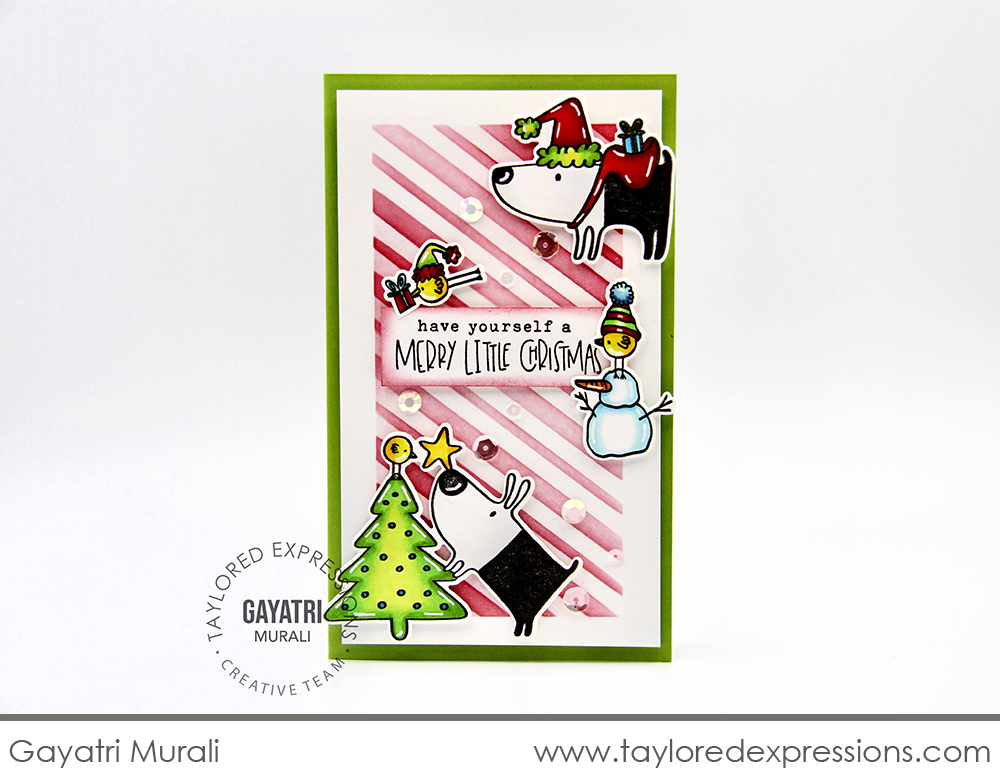
Gayatri Murali created a fun and festive Mini Slim Christmas card using several of the images from the Gus & Gertie Holiday Adventures stamp set. She set the images on a background that is created with the Mini Slim Candy Cane Stripes stencil paired with the Mini Slim Masking Rectangle stencil.
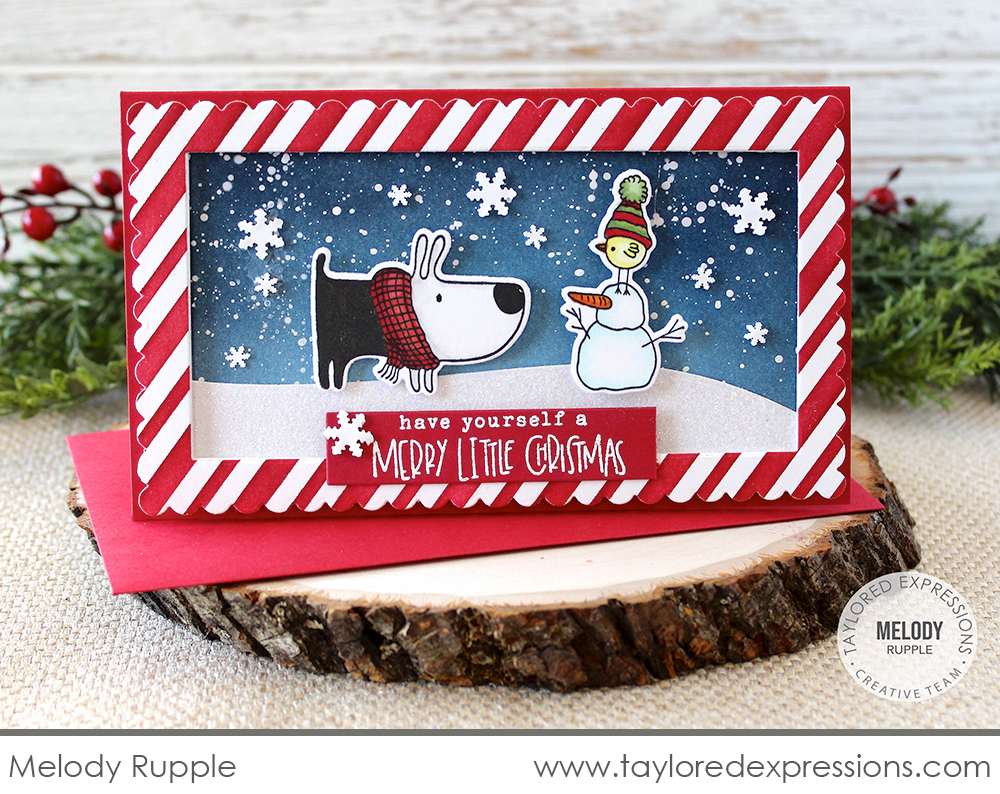
I love this snowy scene that Melody Rupple created on her card with the Gus & Gertie Holiday Adventures stamp set. Melody set Gus and Gertie on a snowdrift die cut from white glitter cardstock and added Bits & Pieces – Snowflakes to a ink splattered sky. The whole design is surrounded by a frame that is created with the Petite Scallop Mini Slim Stacklets, Stitched Mini Slim Stacklets, and stenciled using the Mini Slim Candy Cane Stripes stencil.
That wraps up the inspiration I have to share today – did you see anything that caught you eye that you want to try recreating? I definitely need to add more Mini Wobble Springs to my shopping list to bring those cute critters and scenes to life on my projects!
Thank you so much for stopping by the TE Blog today! Make sure to stop back tomorrow for one more day of crafty inspiration using the products from our holiday release. I’ll have a video to share from Mindy Eggen along with more inspiration from the TE Creative Team!
Did you know that you can subscribe to our blog and get our posts right in your inbox? Just sign up right HERE – that’s all there is to it to make sure you don’t miss any of our crafty inspiration!


