Oct 08, 2020
It’s the Most Wonderful Time… to Get Crafty for the Holidays!
Hey, crafty friends! It’s Heather again! I have lots to share with you today. There’s a great video from Mindy using the new Seasonal Sprig sets and more projects from the TE Creative Team as we take a closer look at one last bunch of products from the release. Are you ready to check everything out?
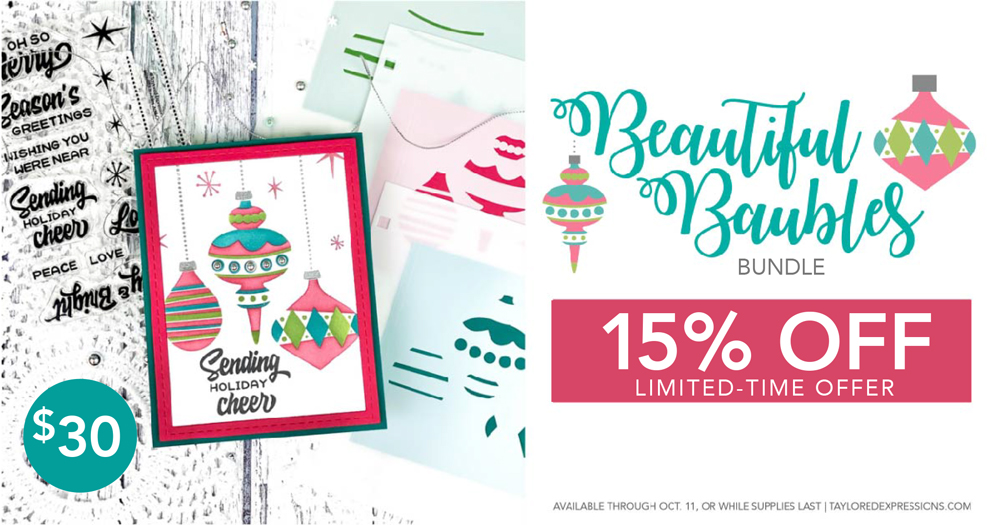
Don’t forget about the Beautiful Baubles Bundle promotion happening in the TE webstore through this weekend:
Right now through Sunday, October 11th (or while supplies last), you can get the Beautiful Baubles Bundle for 15% off! The bundle includes the Beautiful Baubles Layering Stencil set (regular price $21) and the Beautiful Baubles Add-ons clear stamp set (regular price $15). The discounted price is only available for a limited time through Sunday, October 11.
Click below to check out the new products in the TE webstore and keep scrolling for the inspiration!
- Tune in for new product inspiration: this release includes over 40 new products including 2 new layering stencil sets, stamps, dies, more stencils, new embellishments, and Premium Glitter Cardstock in holiday colors.
- Receive FREE shipping on orders of $50 or more in the United States!
- Earn a free, exclusive stencil set with purchases of $100 or more. CLICK HERE for more information.
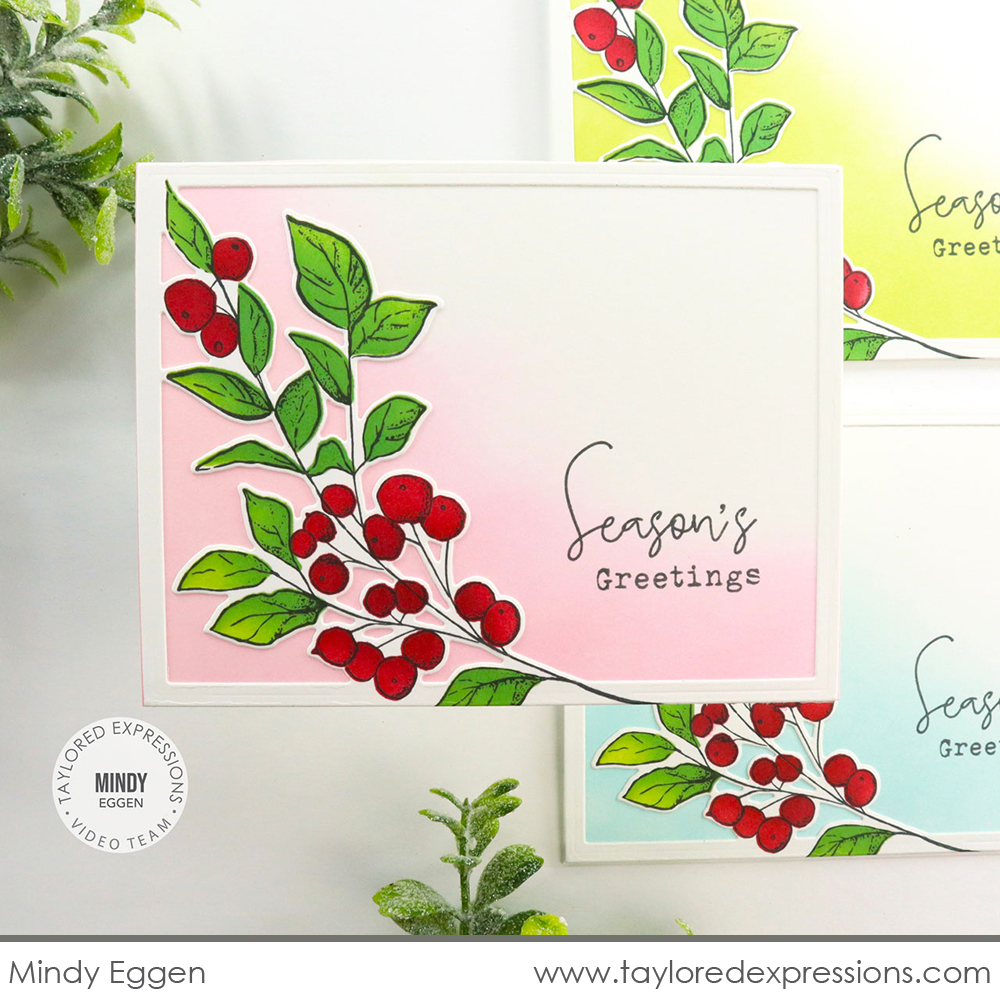
Mindy Eggen created the video for today and it’s all about the new Seasonal Sprig products: the Seasonal Sprig stamp set, Seasonal Sprig stencils, and Seasonal Sprig Cutting Plate die. Watch the video below to see all of these new products in action:
In the video, Mindy shares how to add color to the berry branch from the Seasonal Sprig stamp set using the coordinating stencils and die cut the image out using the Seasonal Sprig Cutting Plate die. She adds the die cut piece to different variations of backgrounds to create a variety of cards.
Here’s a closer look at the Seasonal Sprig collection that Mindy used in her video:
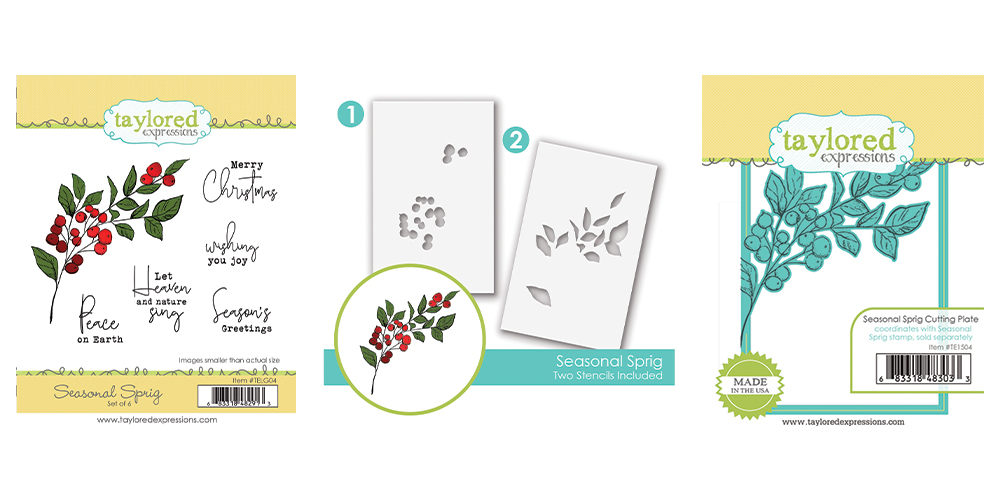
The new Seasonal Sprig stamp set features a lovely sketched berry branch perfect for creating a botanical look on your holiday projects along with five seasonal sentiments. Color the berry branch with your favorite medium or quickly add color using the new Seasonal Sprig Stencils. Plus, add the Seasonal Sprig Cutting Plate to your collection for even more dimensational card layouts!
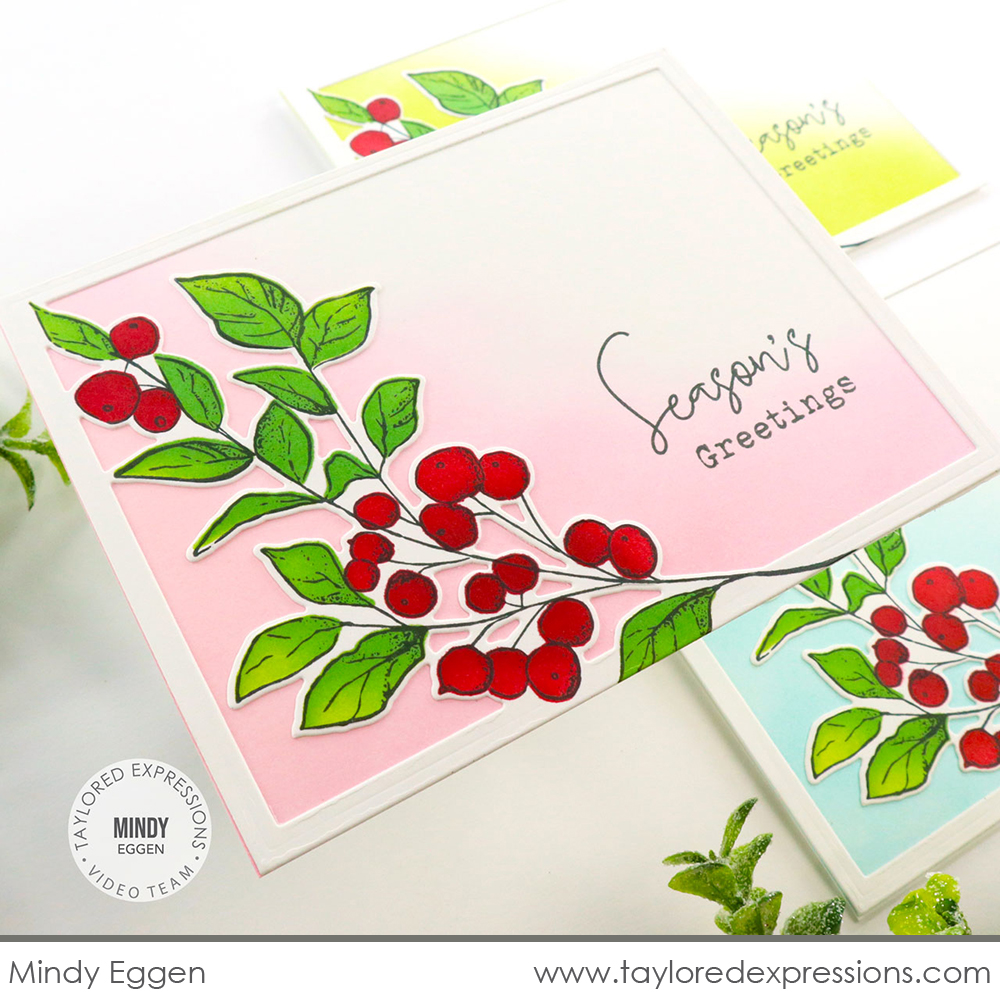
One of the background options that Mindy shares in the video is created with ink blending. Adding color blended out from one corner of your cardstock highlights the berry branch for a beautiful effect. I love how Mindy shared different ink colors to create different looks! The sentiments in the ink blended background are stamped with Oreo ink.
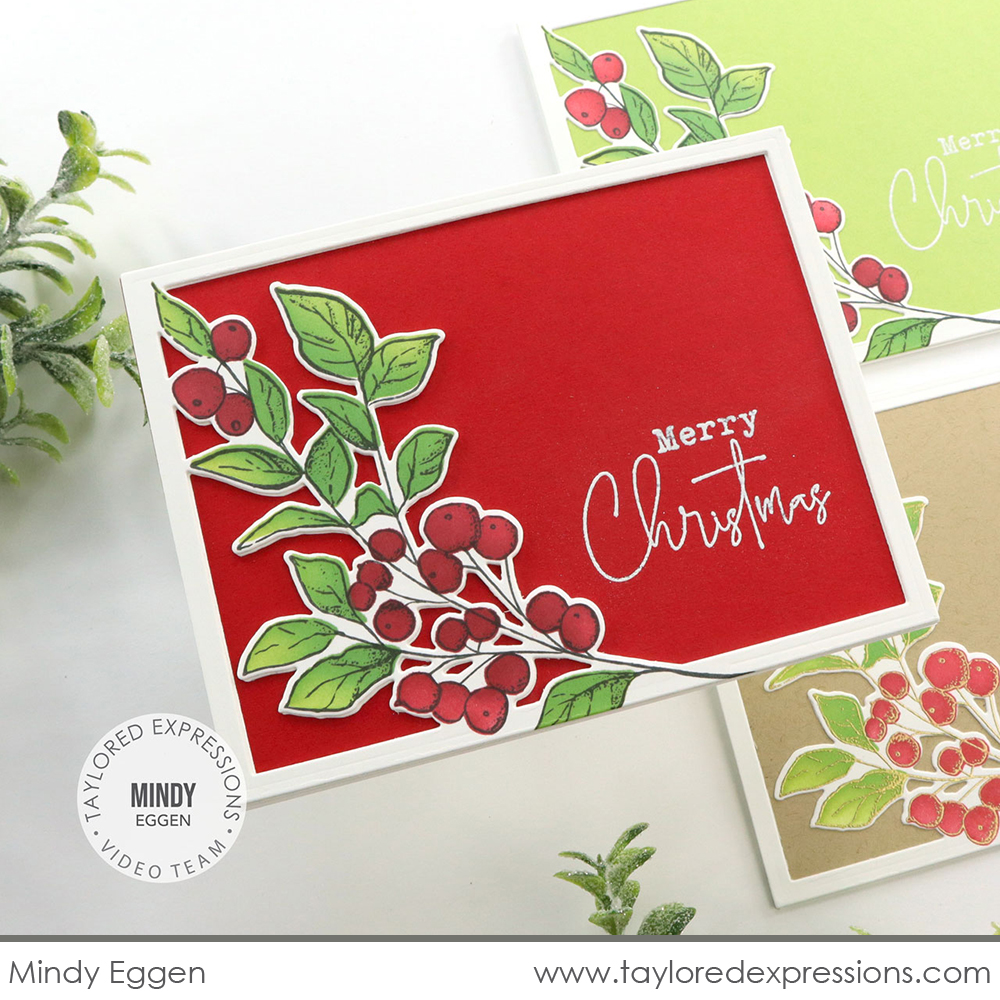
To keep things clean and simple, you can also just add a piece of colored cardstock as a background on your cards. This is a great idea to save time when you mass produce cards. Again, Mindy shared using different cardstock colors to get different looks! The sentiments on the plain cardstock backgrounds are embossed in white.
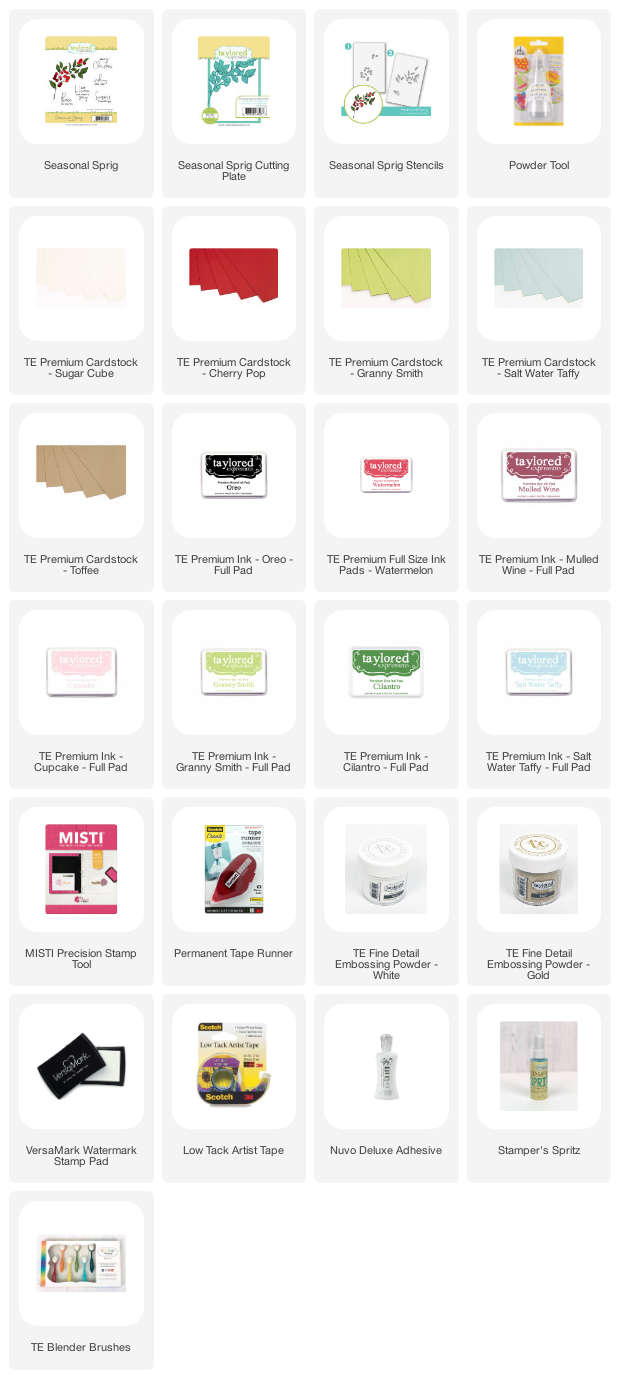
Check of the list below for the supplies that Mindy used in the video:

Now, here’s more inspiration with the new Holiday release goodies from the TE Creative Team:
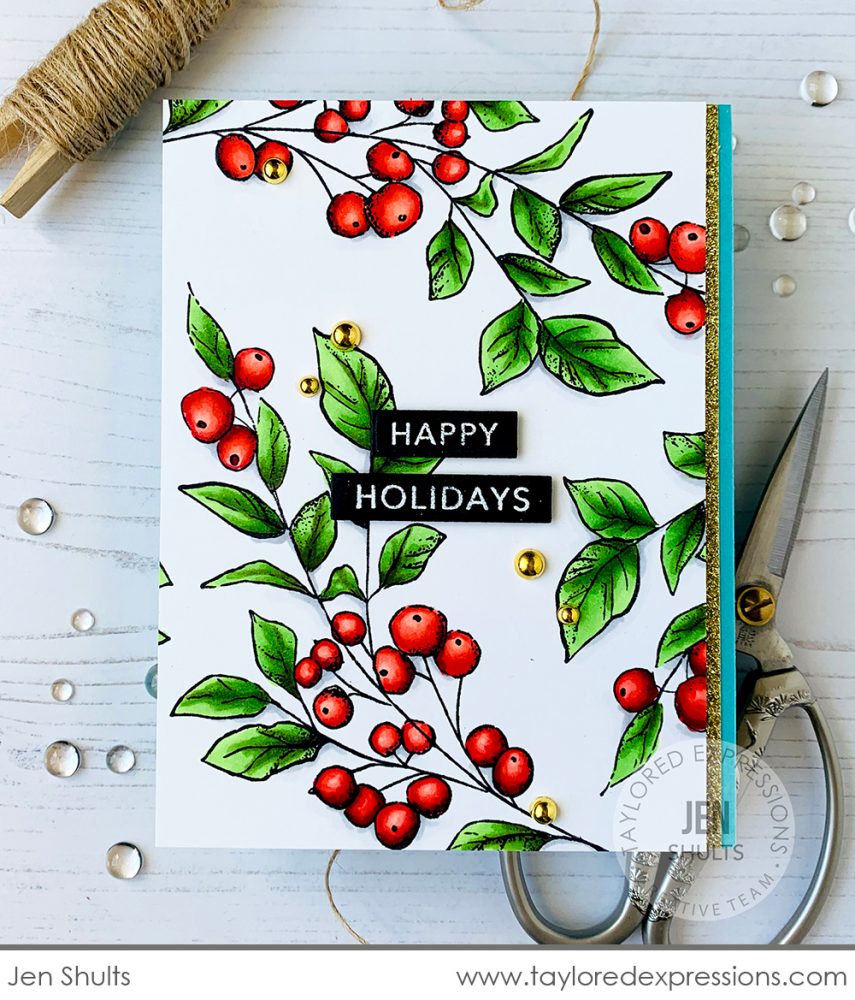
Jen Shults created this stunning look by coloring the berry branch from the Seasonal Sprig stamp set with Copic markers. To keep the colored branches as a focal point, Jen added simple touches to finish off her card design like the thin border of gold glitter cardstock, a few Bits & Pieces – Gold Drip Drops, and a sentiment created with the Building Blocks – Happy Additions stamp set and coordinating Building Blocks die.
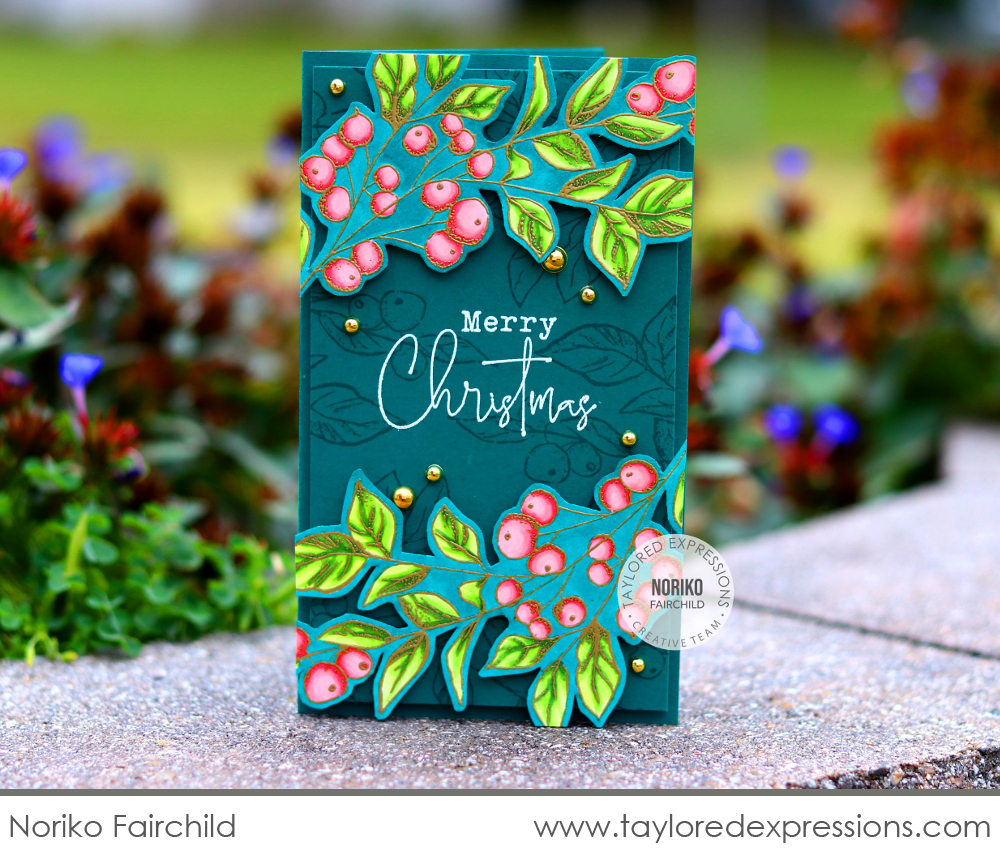
Noriko Fairchild really thought out of the box with color on her Mini Slim card created with the Seasonal Sprig stamp set. She stamped the image with Oreo ink, colored it with Copic markers, and then restamped the image to emboss it in gold. She added the die cut branches (trimmed out from the Seasonal Sprig Cutting Plate die cut) and added them over a Poblano Pepper card base that is stamped with more berry branches using Poblano Pepper ink for a tone on tone effect. Gorgeous!
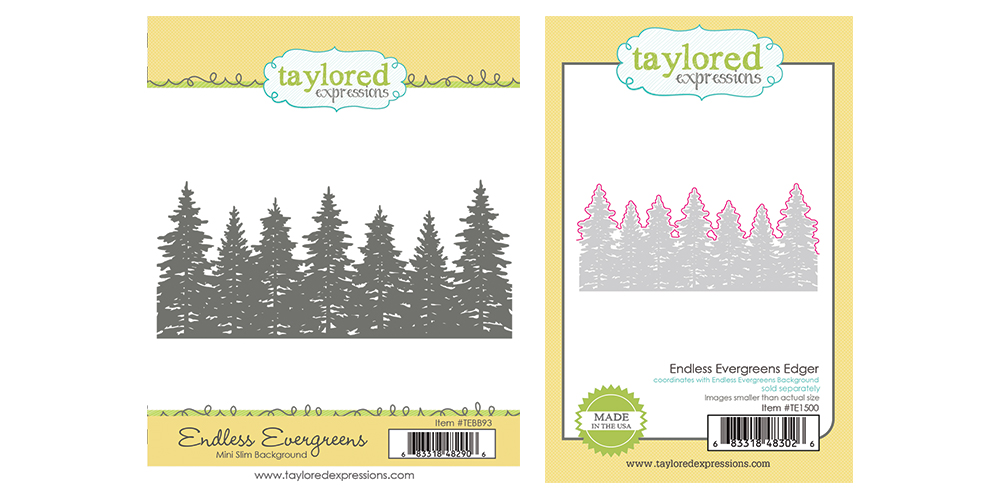
Easily add a border or background of evergreen trees to your holiday or nature-inspired projects using the Endless Evergreens stamp. The stamp is designed to fit entirely across both an A2 size and Mini Slim size card. The coordinating Endless Evergreens Edger cuts along just the top edge of the evergreen border. This one will definitely stay in my stash of supplies for year-round use!
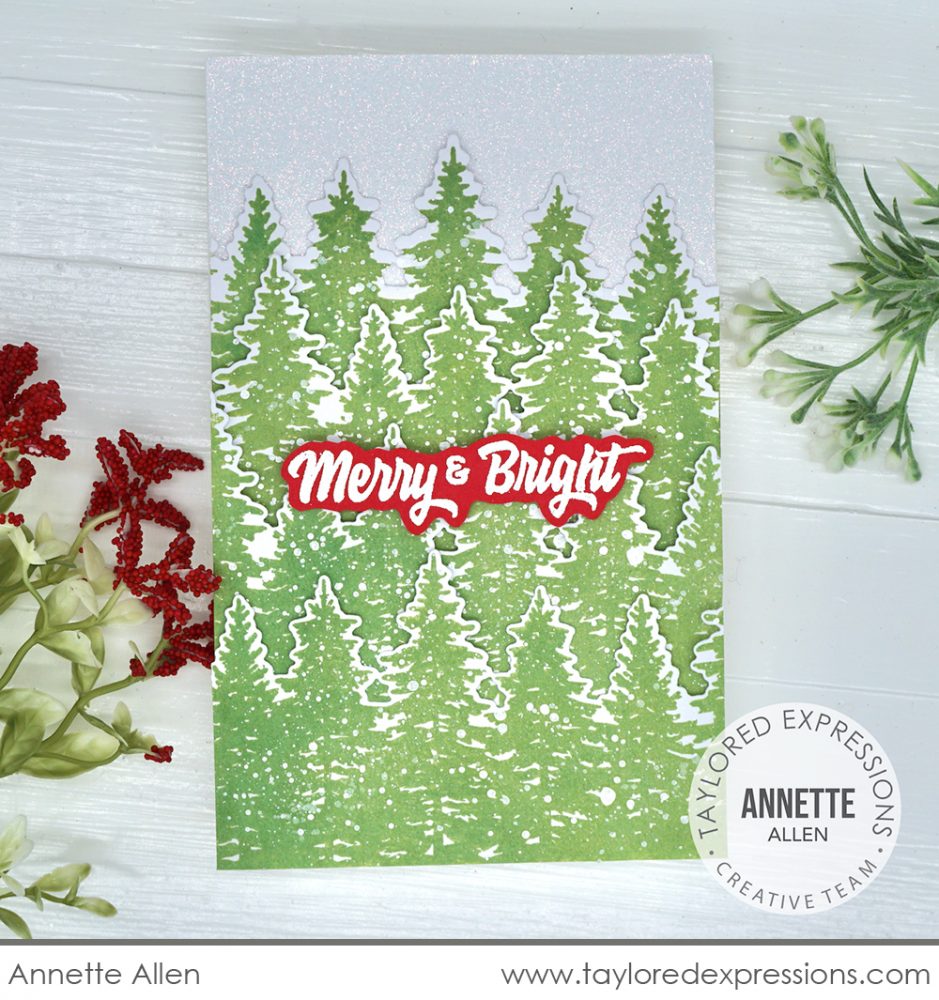
Annette Allen created a whole forest of trees using the Endless Evergreens stamp set (+ coordinating die) for this Mini Slim Christmas card. She added peek of white glitter cardstock at the top of the card for a sparkly, snowy look and added the ‘merry & bright’ sentiment from the Beautiful Baubles Add-ons stamp set. The sentiment is embossed in white on Cherry Pop cardstock and fussy cut out with scissors.
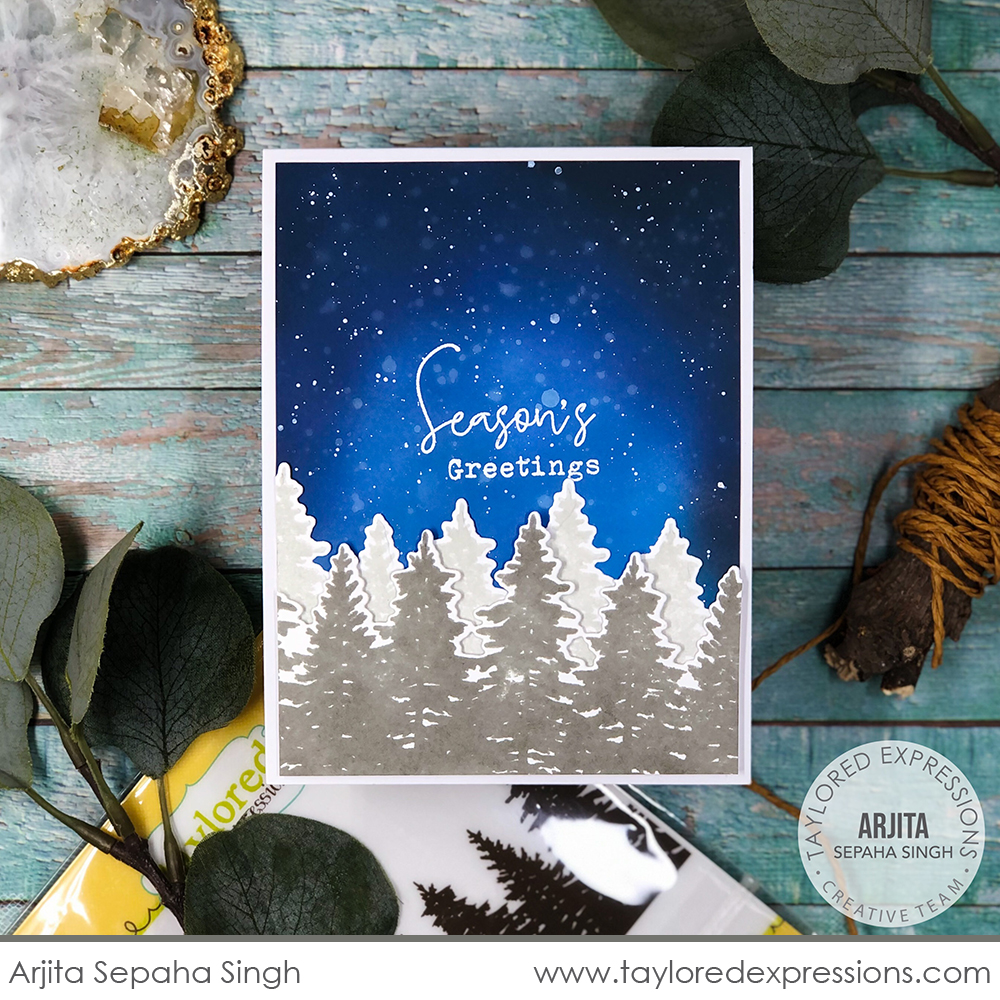
Arjita Sepaha Singh created a gorgeous nighttime scene using the Endless Evergreens stamp set. The trees are stamped in a few shades of gray inks, cut out with the coordinating die, and added to a background blended with darker blue inks that are spattered with white ink to look like snow. The sentiment is from the Seasonal Sprig stamp set and is embossed in white over the sky background.
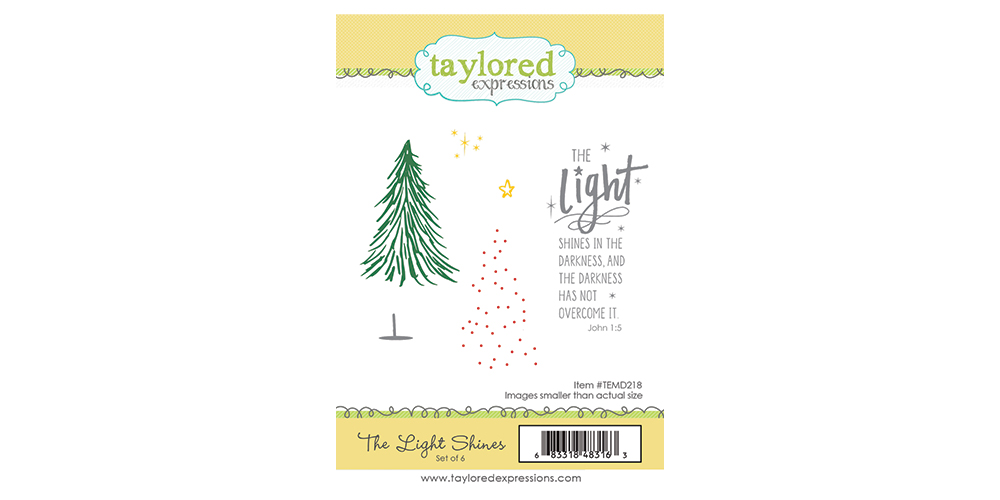
Celebrate the reason for the season with the new The Light Shines stamp set. The set includes a sketched Christmas tree with tiny lights to top it and an inspirational sentiment to share the reason for the season with friends and family near and far.
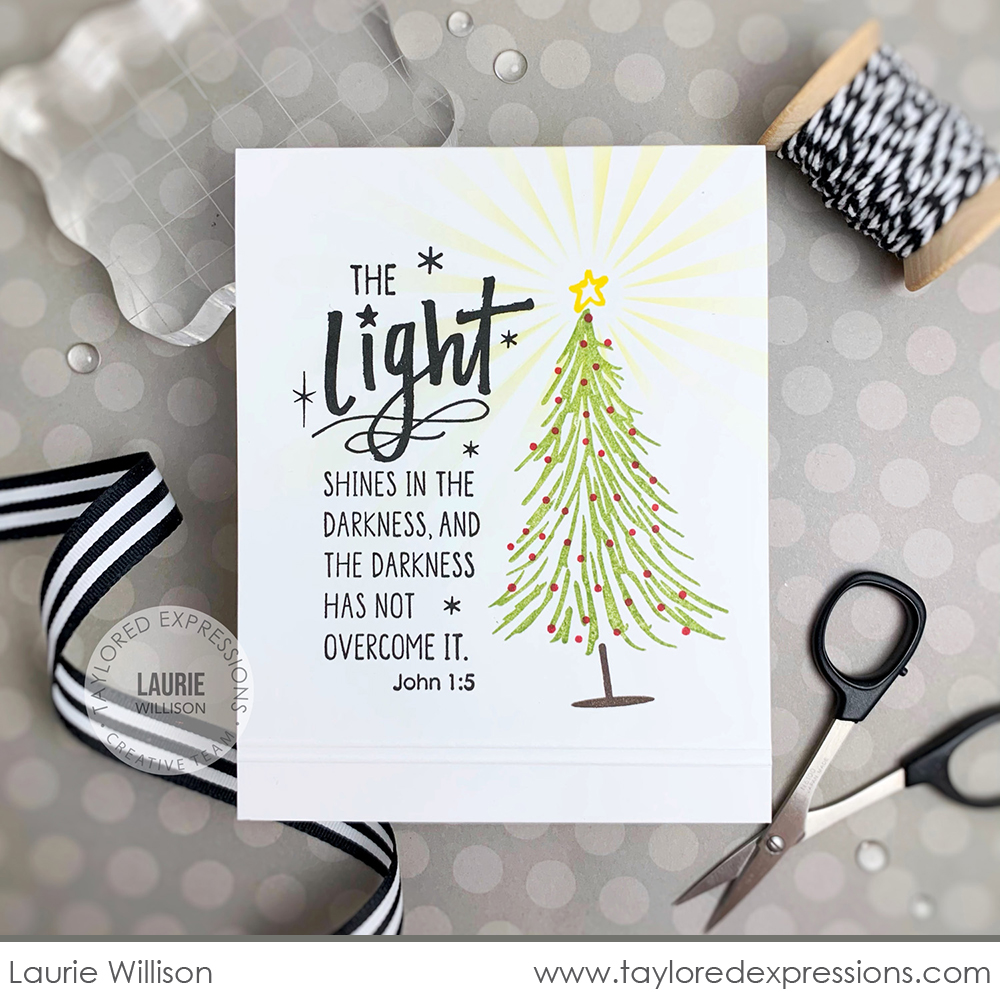
The Light Shines stamp set is wonderful for clean and simple card designs like the one Laurie Willison created here. She stamped the sentiment alongside the tree image on Sugar Cube cardstock, making sure to add all of the colorful details to the tree design with the different stamps included in the set. Laurie scored a few lines on the bottom of her card design to finish off the clean and simple look.
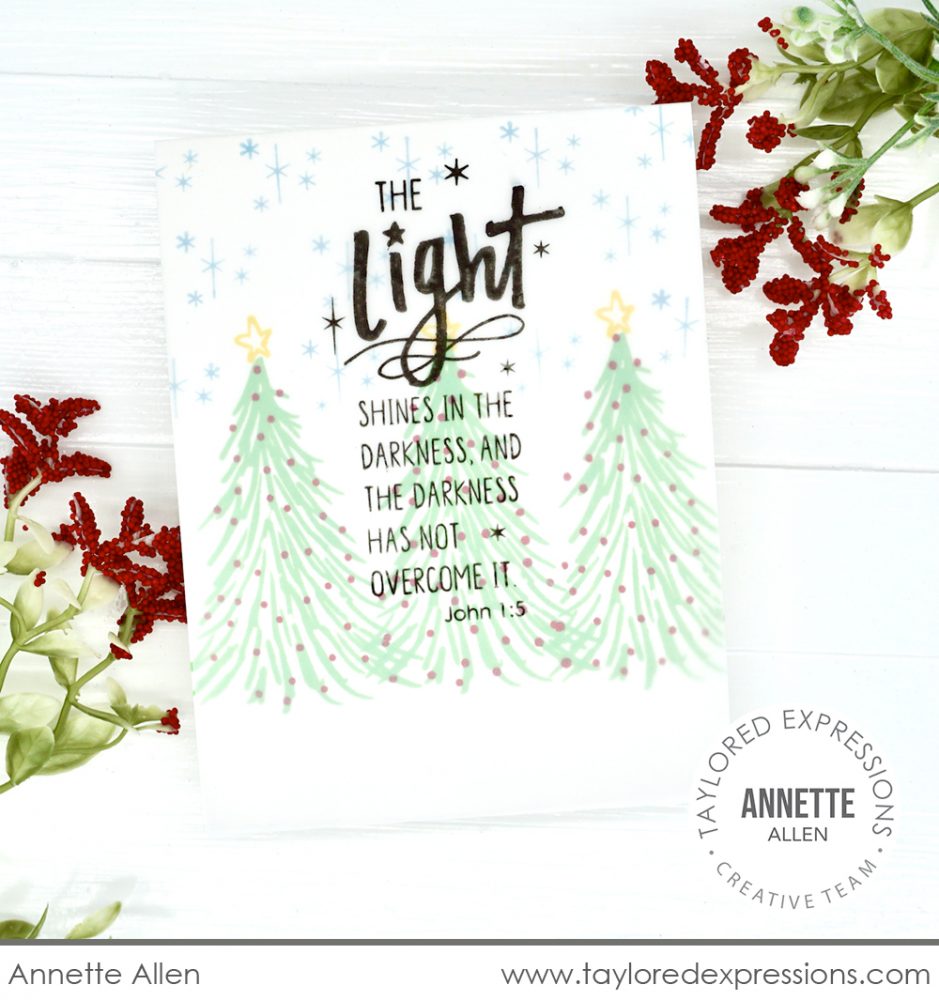
Annette Allen stamped the tree image several times in a row to create a pretty lineup of Christmas trees on her card created with The Light Shines stamp set. She added details to the trees and twinkles in the sky to complete the scene. Annette added the sentiment on a layer of vellum that covers the whole card front, giving the background scene a soft and frosty look.
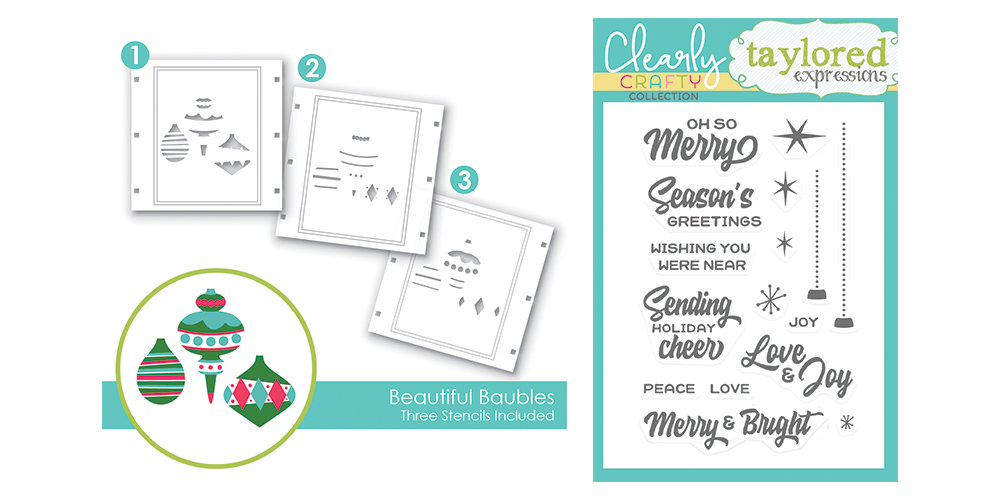
The Beautiful Baubles Layering Stencils includes three stencils that when layered together with the easy alignment guides create three vintage-themed Christmas ornaments. Then pair the stenciled ornaments with the Beautiful Baubles Add-ons clear stamp set to ‘hang’ the ornaments and add holiday sentiments.
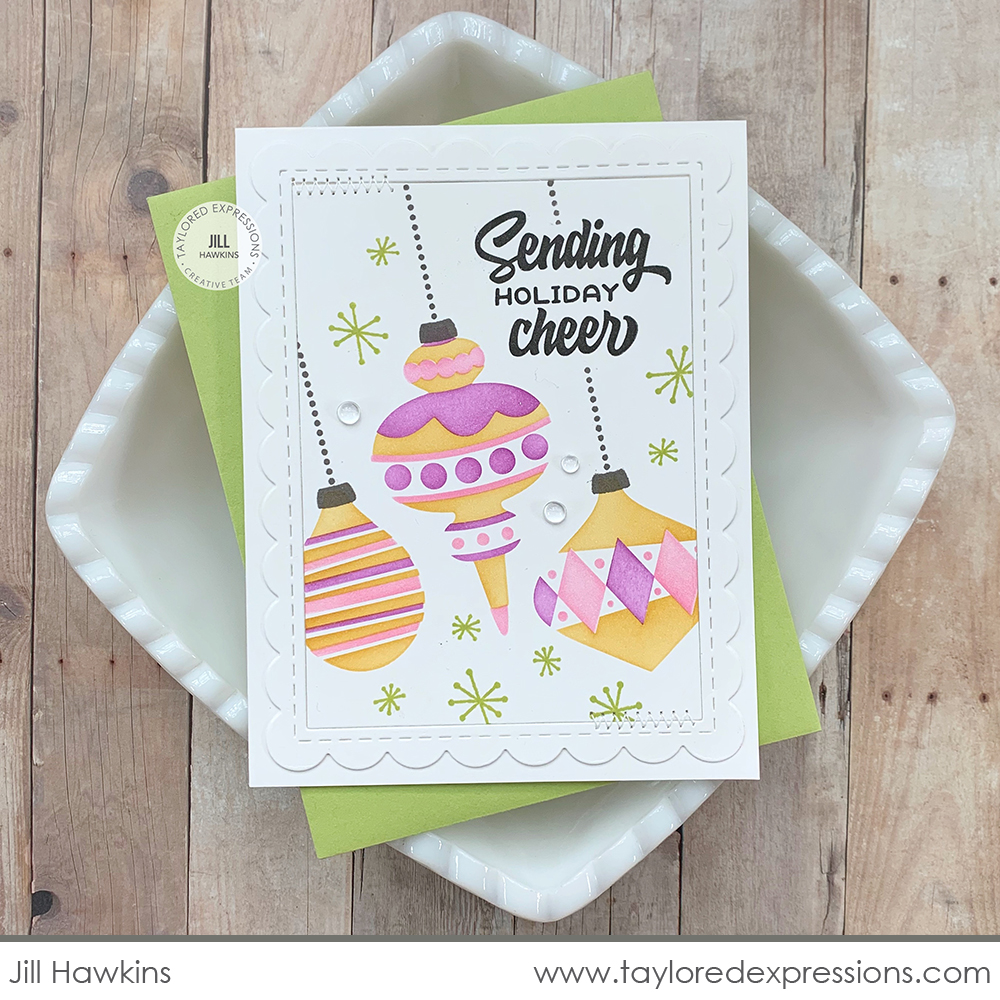
Jill Hawkins created a fun and whimsical look on her card created with the Beautiful Baubles Layering Stencil set. She tipped the ornaments at an angle and I love the fresh and fun colors that she used: Honey, Granny Smith, Plum Punch, and Strawberry Milkshake. Jill added the retro starburst details and sentiment to her card with the Beautiful Baubles Add-ons stamp set. Can you spot Jill’s signature stitching?
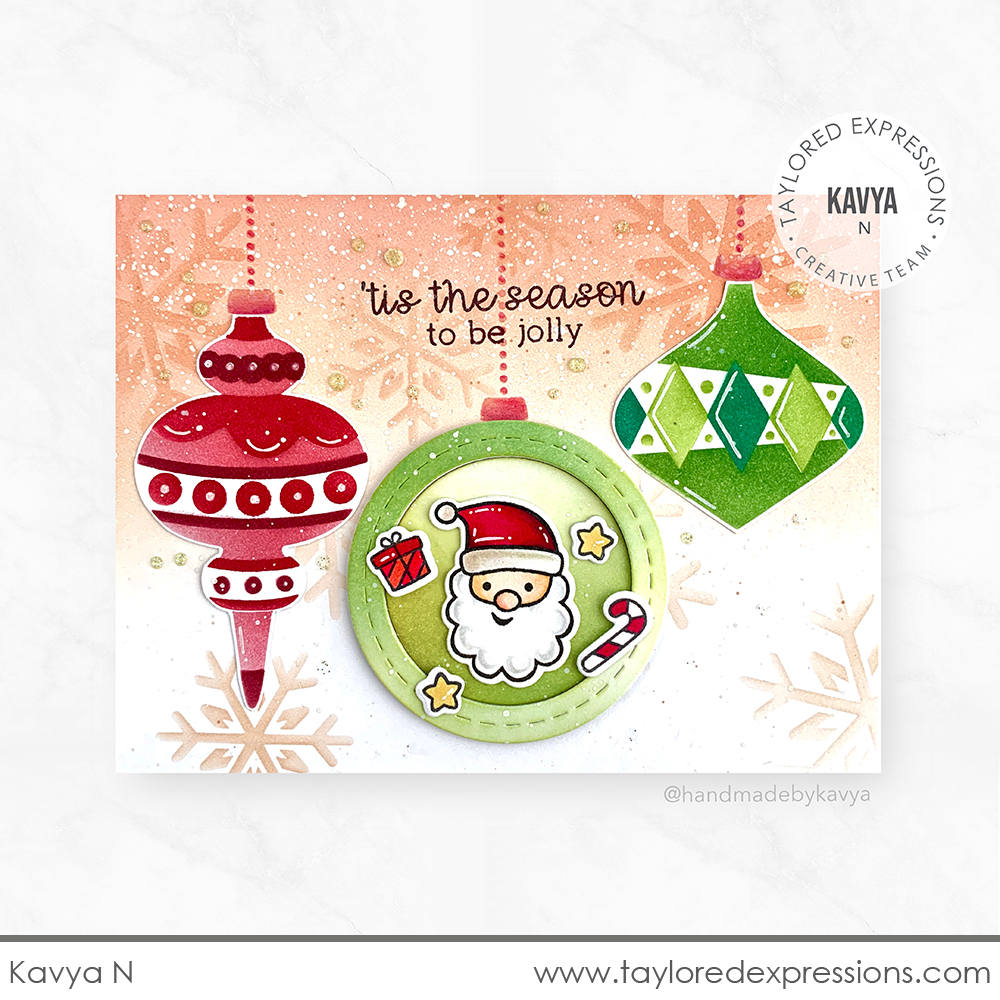
Kavya created this fun Christmas card with a trio of ornaments. Two of the ornaments are stenciled using the Beautiful Baubles Layering Stencil set and the one in the middle is created with a Stitched Frame Stacklets 2 die cut that Kavya filled with fun images from the St. Nick Background Cling & Clear Combo set and Big Grumpy – Christmas stamp set.
That wraps up the inspiration for our Holiday release! We hope you enjoyed all of the projects we shared from the TE Creative team – it’s always so much fun to see what everyone creates! Now we can’t wait to see what YOU create! Make sure to share on the Fans of Taylored Expressions Facebook Page.
Here at Taylored Expressions, we are gearing up for our virtual Stamp Joy event that starts tomorrow morning. If you are joining us, we will “see” you there! If not, we will see you back here next week on the TE Blog for more crafty inspiration!
Did you know that you can subscribe to our blog and get our posts right in your inbox? Just sign up right HERE – that’s all there is to it to make sure you don’t miss any of our crafty inspiration!


