Oct 22, 2020
Learn 3 Blending Techniques and More with the NEW Blender Brushes & Stencils!
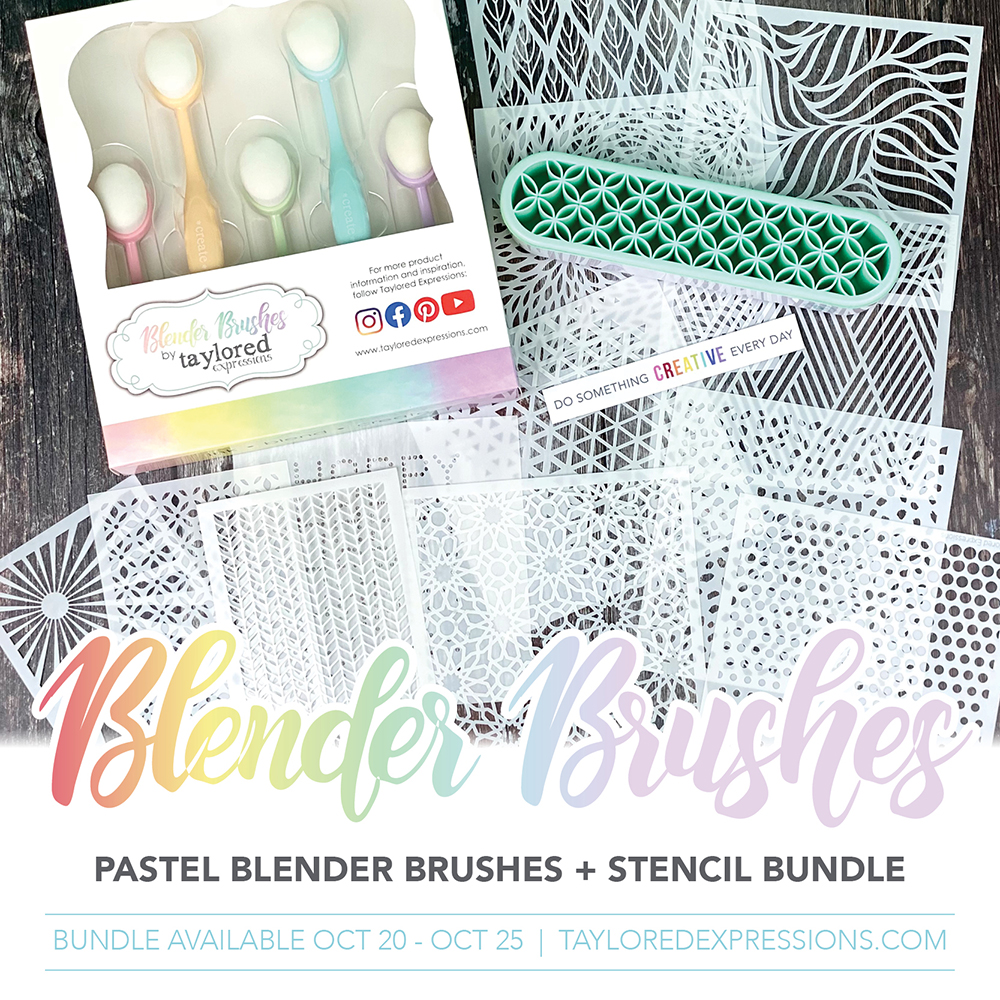
Hey, crafty friends! We are back today with more inspiration to share using the new Pastel Blender Brushes and stencils from this week’s release. Today I have a video to share from Mindy Eggen and it’s full of ideas for using the new stencils and color blending. There’s also more to share from the TE Creative Team as we take a closer look at a few of the new stencil designs.
Make sure to check out the promotional bundle offer for this release that gives you nearly 20% off the regular retail price:
The I Want It All Bundle retails for $95 (that’s nearly 20% off the retail price of the items individually!) and includes the following:
- Pastel Blender Brushes (set of 5)
- Tool Tray
- All 12 new stencils including: 9 standard (6″ x 6″) stencils and 3 Mini Slim sized stencils.
- Exclusive ‘do something creative everyday’ sticker designed to fit on the Tool Tray. This sticker design is only available with the bundle and not sold separately.
The special introductory price on the I Want It All Bundle is available now through, Sunday, October 25th, or while supplies last.
Click below to shop all of the new products that are releasing today and then keep scrolling for inspiration!
- Tune into the TE Blog this week! Our blog posts (Tuesday – Saturday) will feature a video showcasing the new release products.
- New products are available to purchase RIGHT NOW in the TE webstore!
- Receive FREE shipping on orders of $50 or more in the United States!
- Earn a free, exclusive stencil set with purchases of $100 or more. CLICK HERE for more information.
Ink blending is one of the talents that Mindy Eggen is known for in our crafty universe and she has tips, tricks, and ideas to share with you in the video below using the new products from this week’s release:
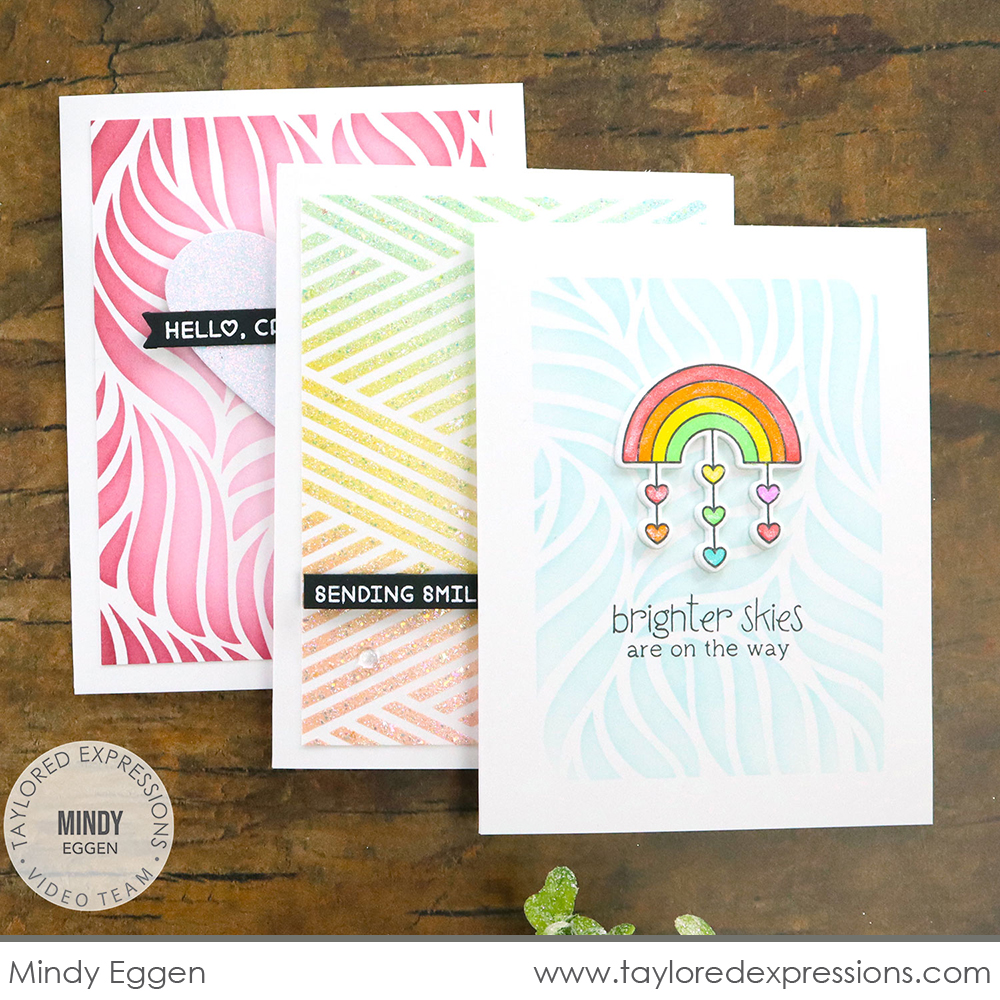
In the video, Mindy shows you three different ideas for creating background for your projects using blender brushes, stencils, and pastel colors. She shares how she uses each background to complete a card design.
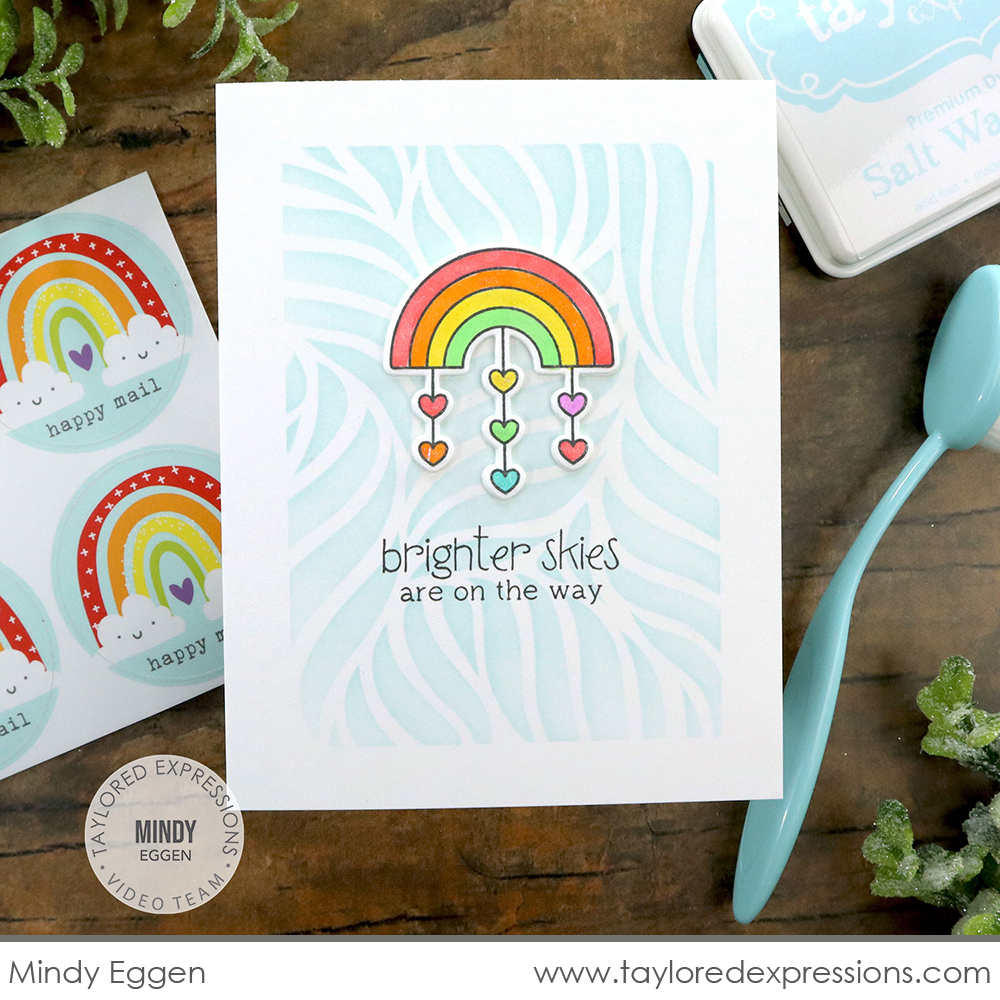
This first card uses just one pastel color, Salt Water Taffy, to create a background with the Breezy stencil. Mindy also used the Masking Stencils – Rectangles set to create the border around the edges of the stenciled design. The cute rainbow and sentiment from the Brighter Skies stamp set (+ coordinating dies) completes the card design.
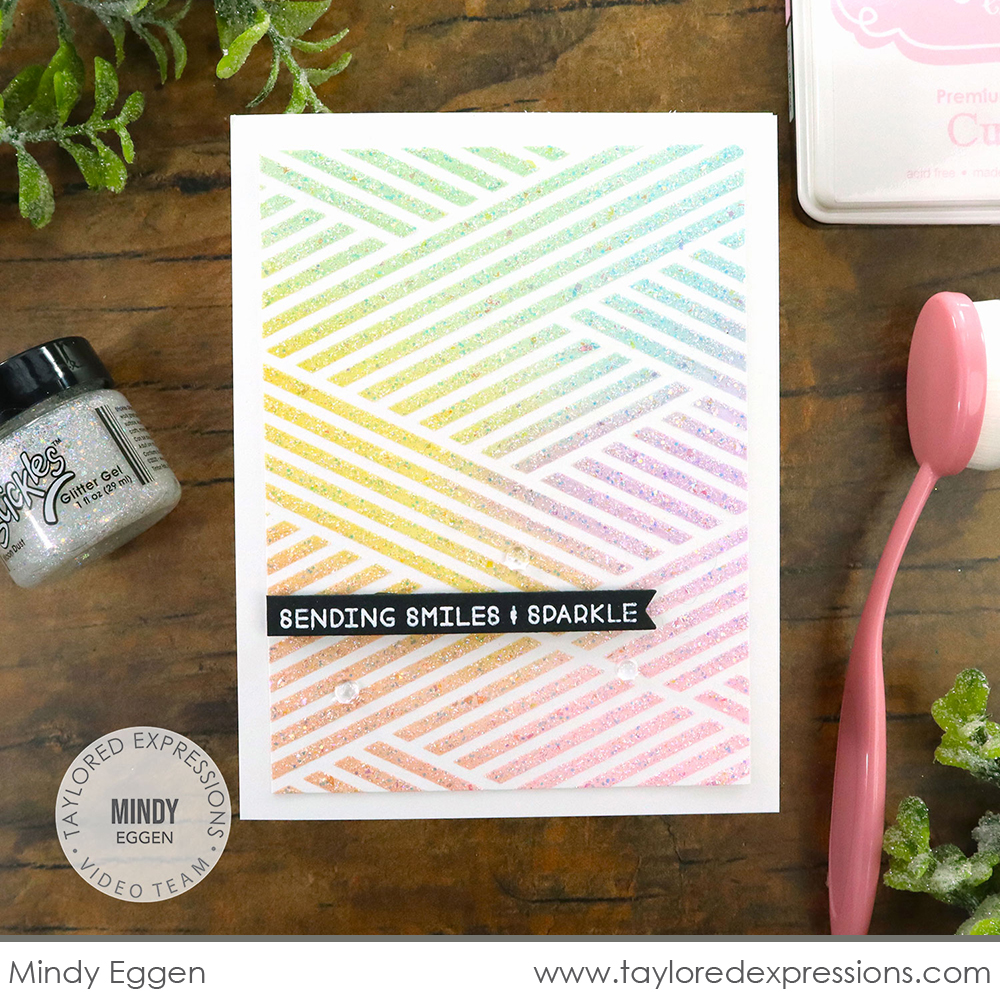
Mindy used multiple pastel ink colors on this card (Cupcake, Peaches ‘n’ Cream, Pineapple, Mint Julep, Salt Water Taffy, and Lavendar Glaze) to create a pretty, pastel rainbow blend with the Criss-Cross stencil. She also added a glittery effect to the design by applying Stickles Moon Dust Glitter Gel through the stencil before removing it from the cardstock. This card is finished off with a sentiment from the Simple Strips – Crafty stamp and a few Bits & Pieces – Clear Drip Drops.
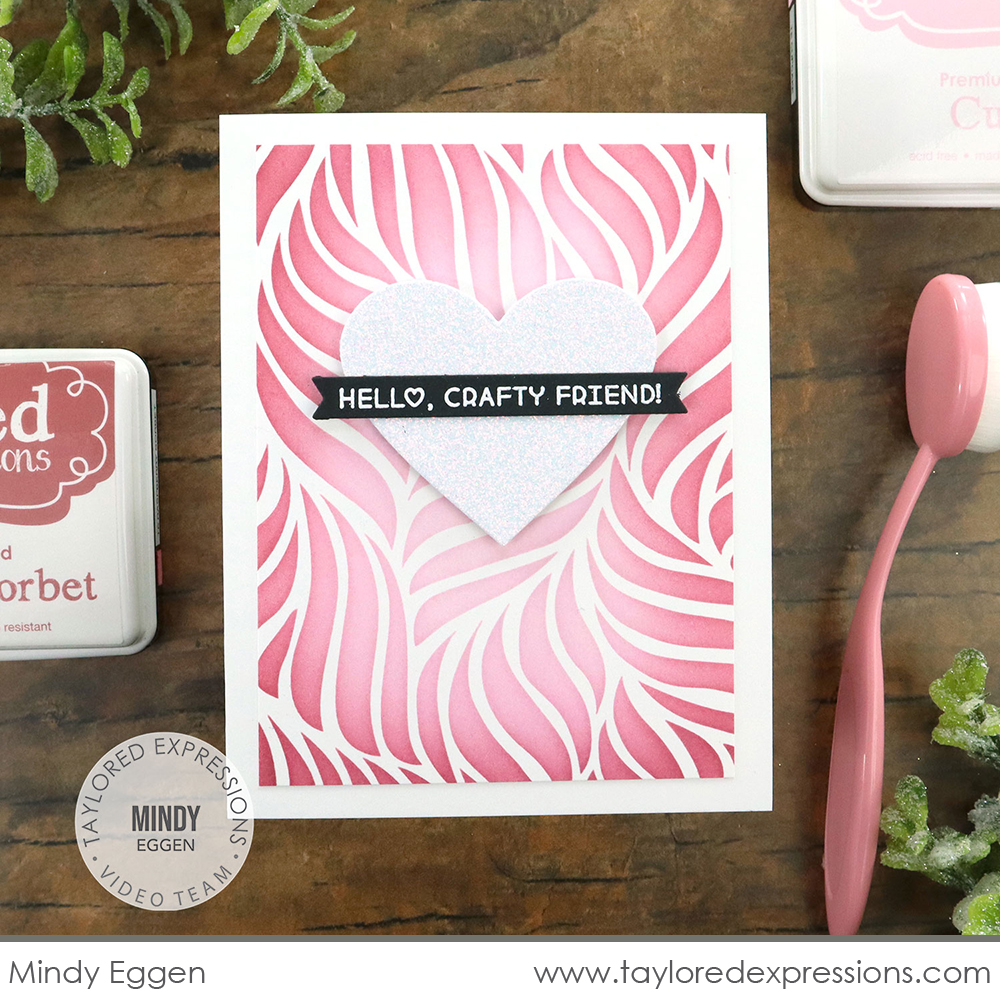
On this last card, Mindy shares how she created a gradient blend going from light to dark using Cupcake, Raspberry Sorbet, and Mulled Wine inks with the Breezy stencil. A heart cut from white glitter cardstock and a sentiment from the Simple Strips – Crafty stamp finish off this card.
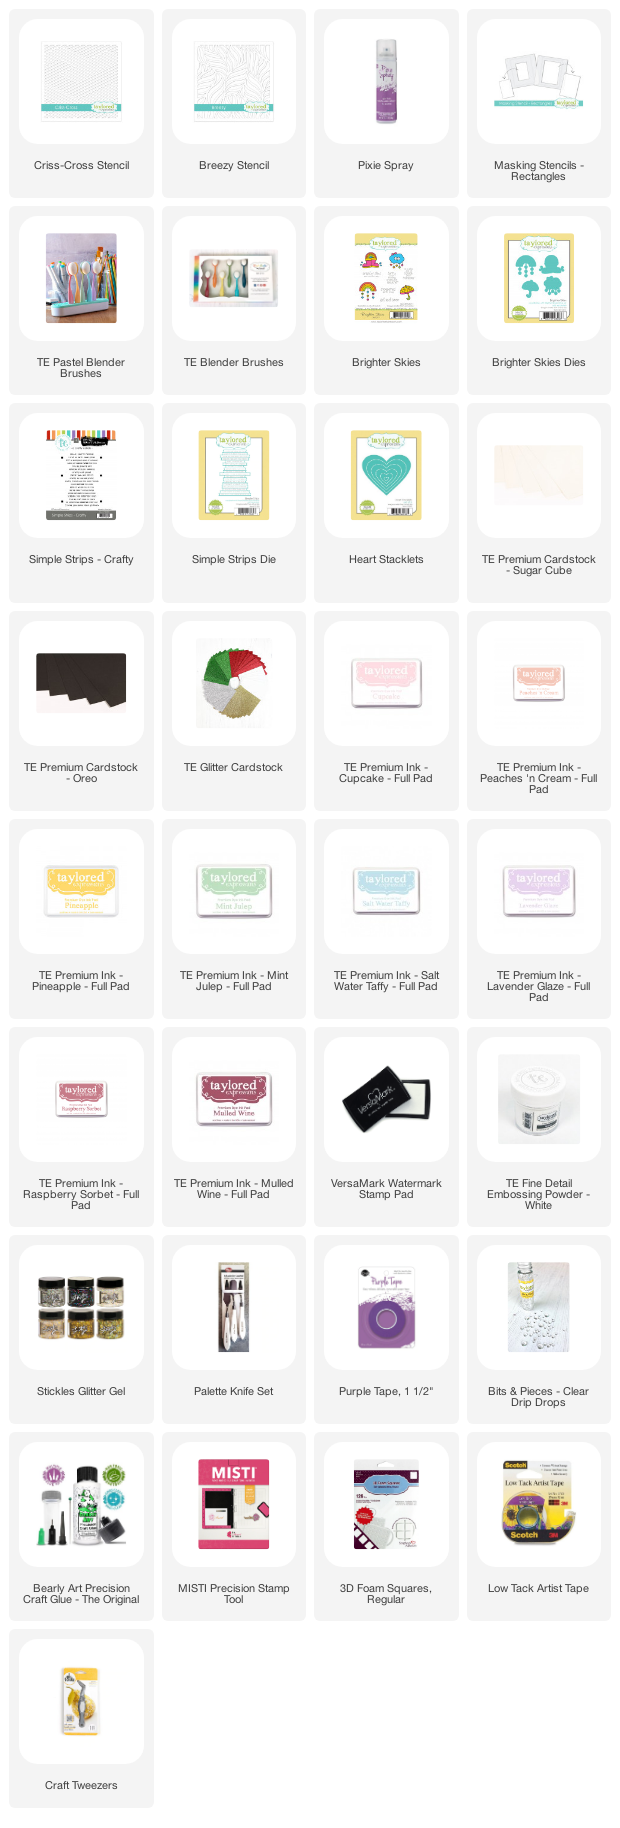
See the list below for the supplies that Mindy used on her projects:

Next up is a closer look at a few more of the new stencils that debuted this week along with inspiration from the TE Creative Team:
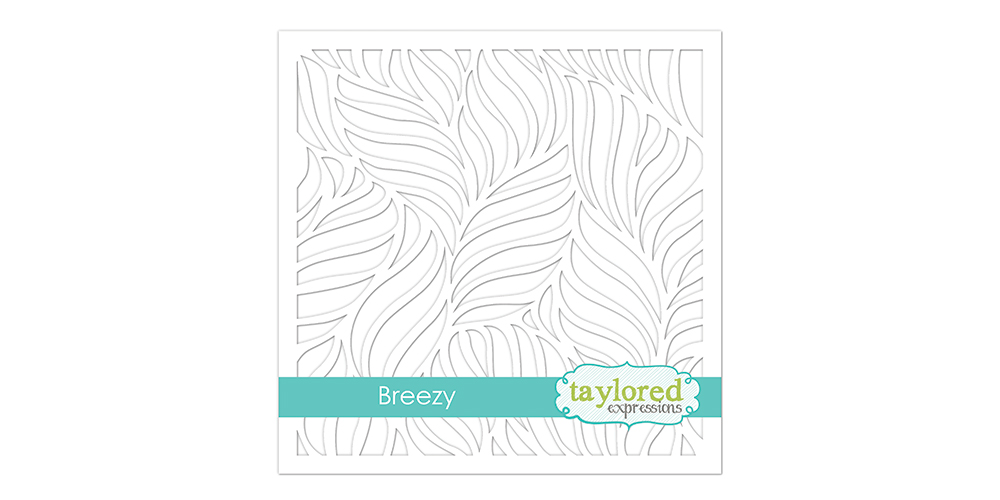
The Breezy stencil is the standard size (6″ x 6″) and features a swirling pattern that could be interpreted as leaves, waves, wind, fire, and more!
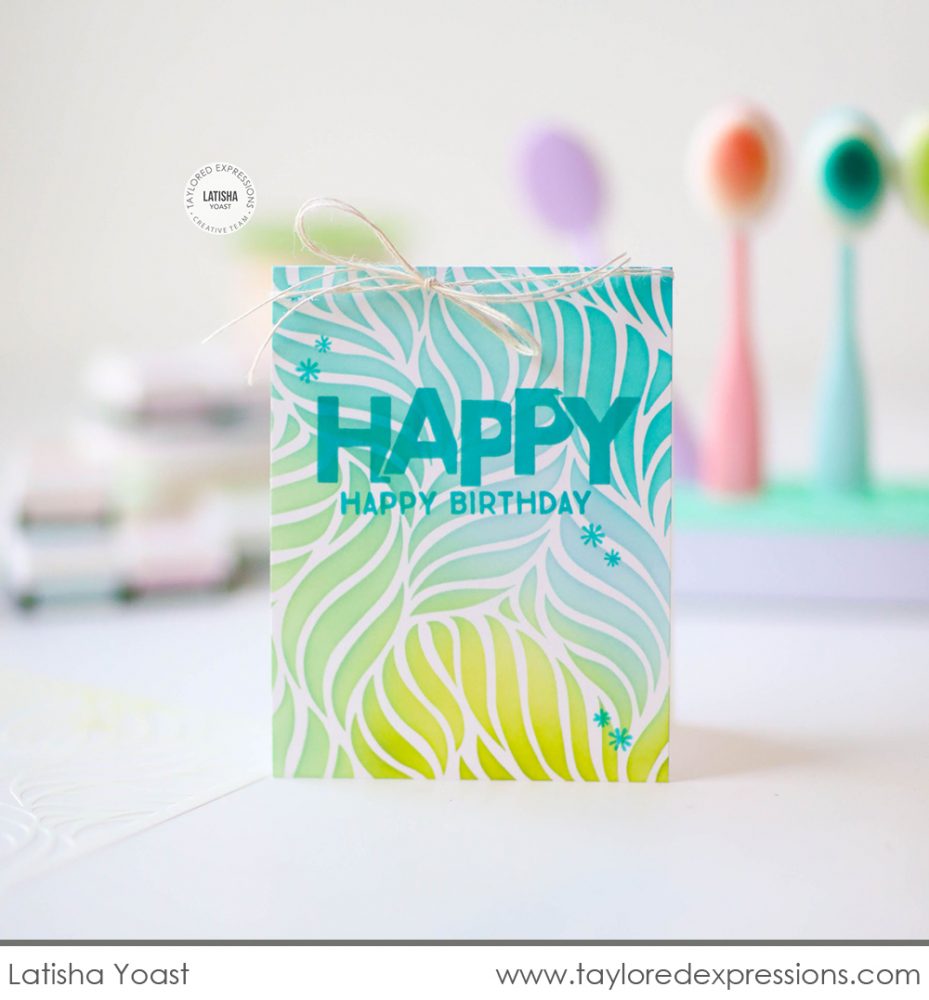
Latisha Yoast was feeling mermaid vibes from the Breezy stencil and used that inspiration for the colors (Key Lime, Mint Julep, Salt Water Taffy, and Blue Raspberry) she used to create the background on this card. Her sentiment is stamped by combining the On the Block – Happy stamp with the ‘happy birthday’ sentiment from the Tag Team – Birthday stamp set.
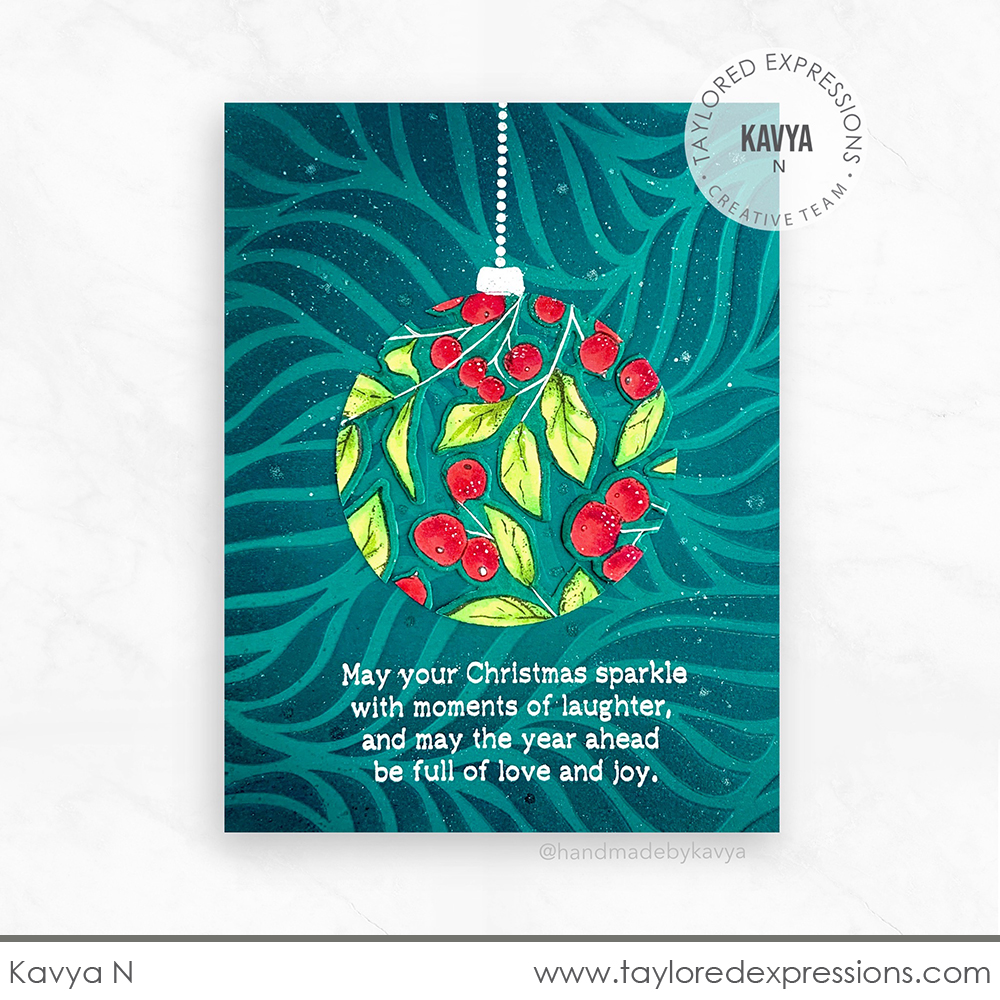
Kavya created this gorgeous Christmas card using the Breezy stencil for the card background. She embossed the stencil on Poblano Pepper cardstock to add subtle dimension and then added color using Blueberry ink. The ornament is created with the Seasonal Sprig stamp set. Kavya arranged the sprig images and then cut out the arrangement with a circle die. The sentiment is from the Merry Millie stamp set.
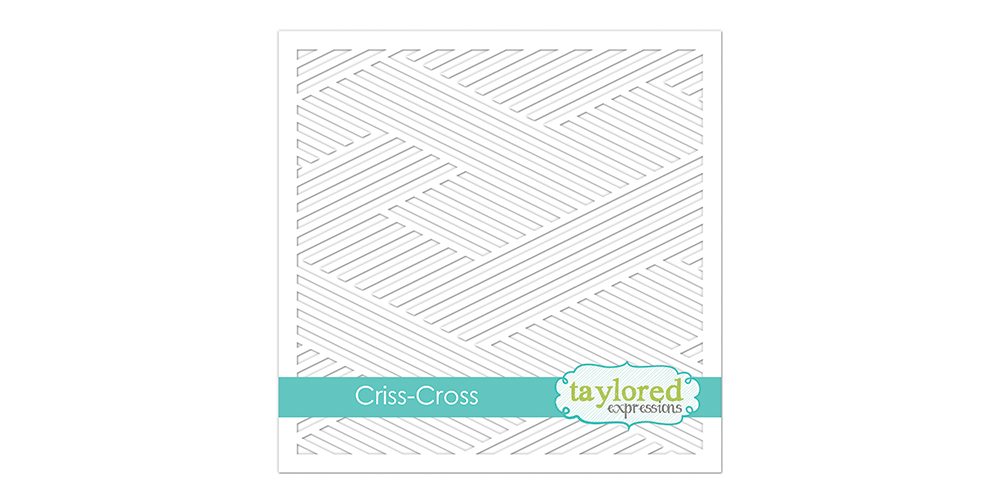
The Criss-Cross stencil is the standard size (6″ x 6″) and features a pattern of overlapping lines. This versatile pattern creates a unique background to use on cards for many occasions.
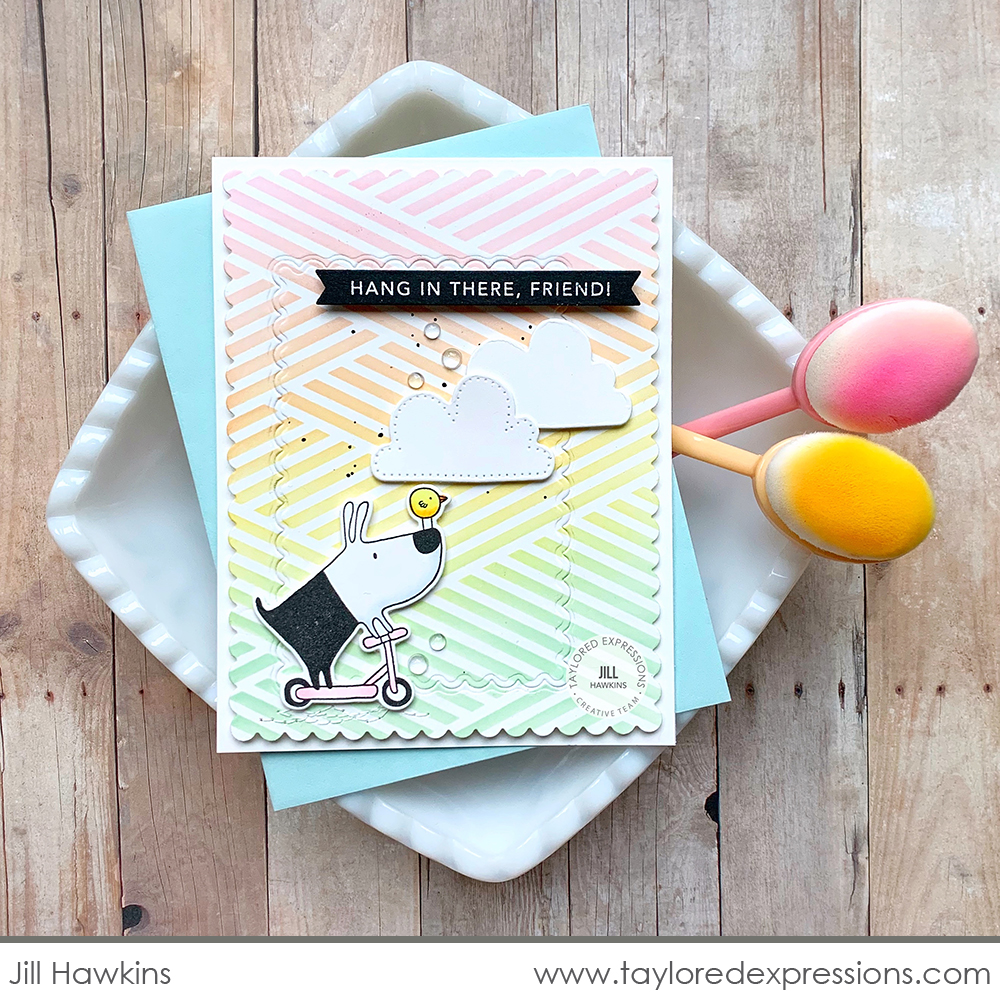
Jill Hawkins created a full on pastel rainbow blend with the Criss-Cross stencil and it’s the perfect vibe for Gus (from the Gus & Gertie stamp set) cruising by on his scooter. The scene is finished off with puffy clouds die cut with the Rainbow Cloud Duo dies and a few Bits & Pieces – Clear Drip Drops embellishments. The sentiment is from the Simple Strips – Friendship stamp and is embossed in white on Oreo cardstock.
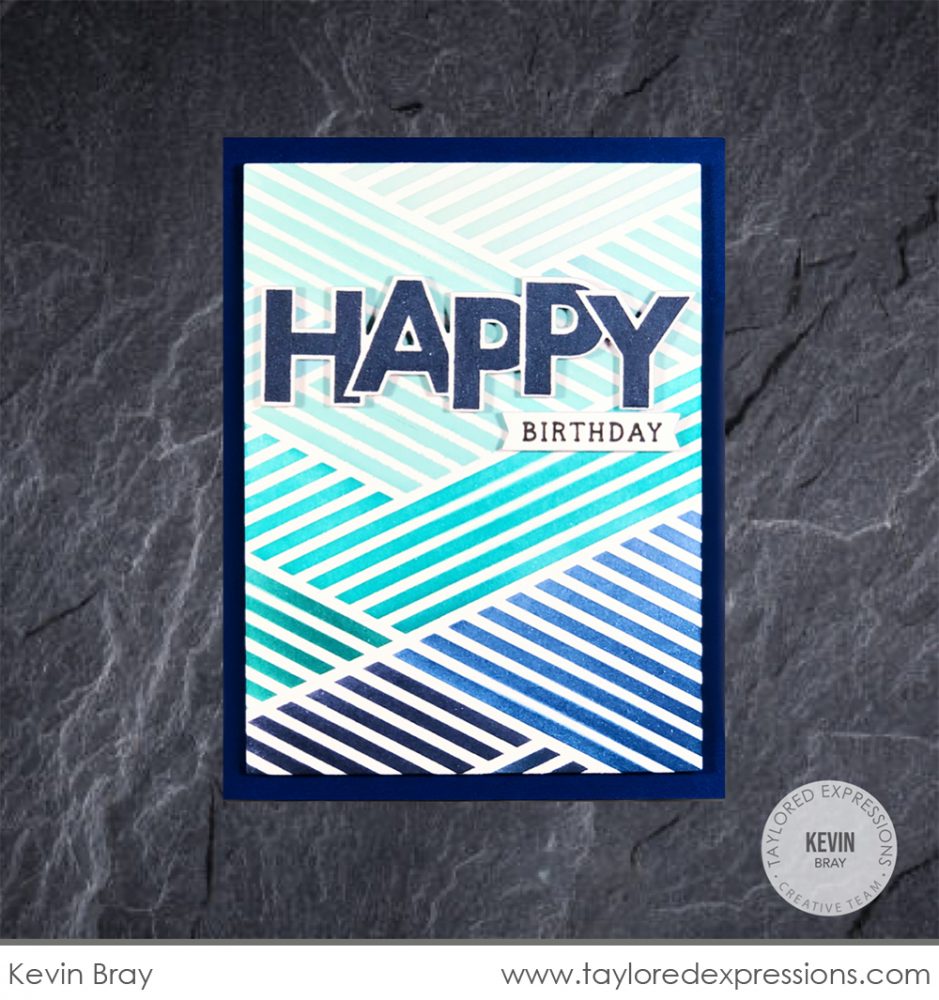
Kevin Bray did a simple masking technique with the Criss-Cross stencil to create the gradient color blocking effect on this birthday card. He added ink blending from the lightest shades of blue at the top of the card and gradually getting darker all the way down to the bottom with the darkest shades. The effect is pretty awesome and could be done in a number of different color variations. The sentiment on Kevin’s card is created with the On the Block – Happy stamp (+ coordinating die) and On Repeat – Birthday stamp (+ coordinating On Repeat die).
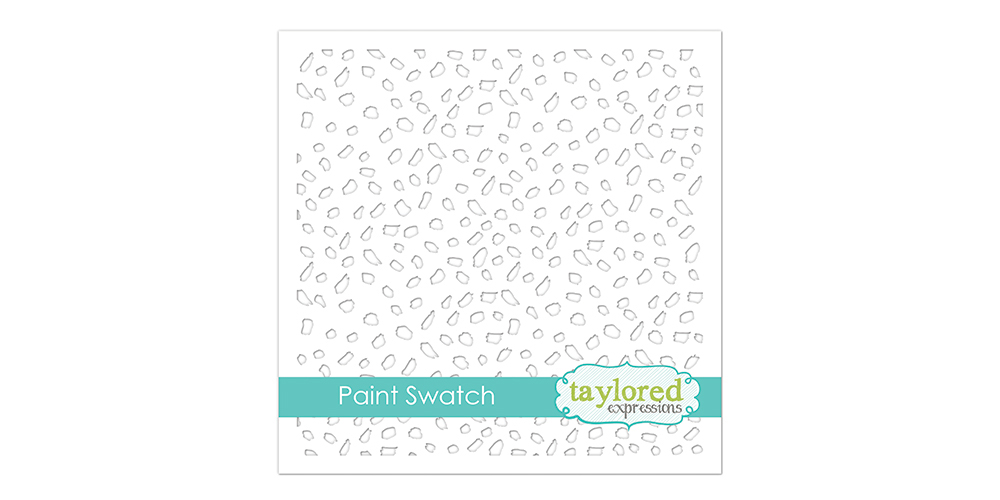
The Paint Swatch stencil is the standard size (6″ x 6″) and has an all over pattern of flecks that look like they were painted on with a brush. You could interpret this background as a confetti look for birthday projects, animal spots, and more!
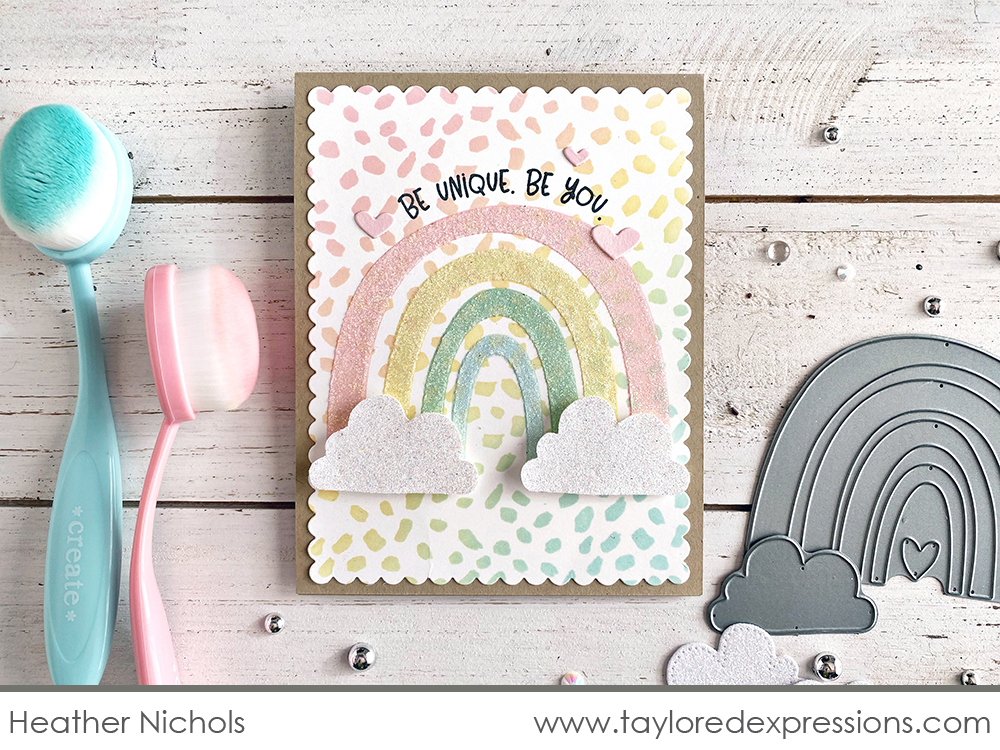
This card was created by me (Heather Nichols) and I used the Paint Swatch stencil to create a rainbow confetti background using Cupcake, Potato Chip, and Confetti Cake inks. Where the ink colors overlap, it creates the other color tones in the pastel rainbow. I stenciled the rainbow over the top of the background using the Masking Stencils – Make a Rainbow set and then added a layer of Nuvo Moonstone Glimmer Paste over the top to sparkle it up.
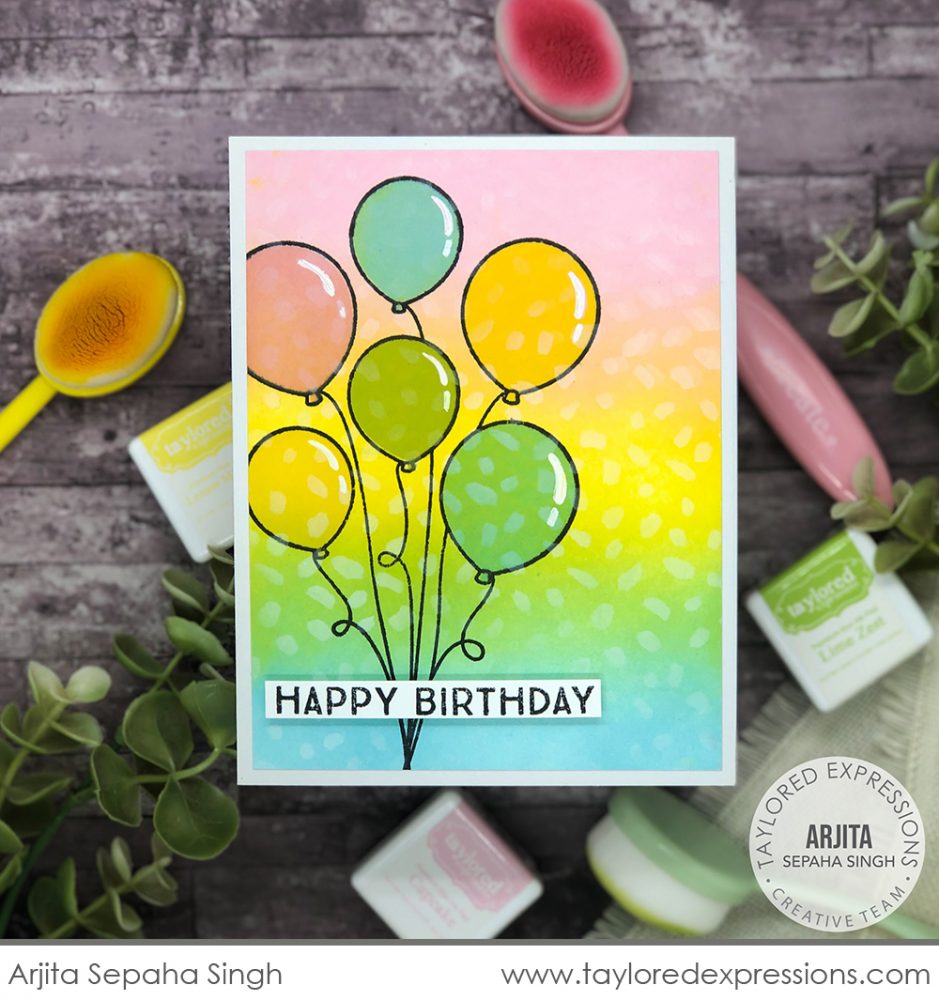
Arjita Sepaha Singh used the Paint Swatch stencil to create a subtle confetti look on this birthday card. She ink blended a pretty rainbow background, added the Balloon Bouquet, and then stenciled the Paint Swatch pattern over the top with Sugar Cube ink. I love how the subtle texture steps up this card design!

Join Taylor live for “T Time” at 1pm Central today on the Taylored Expressions Facebook Page. Taylor always has something crafty and fun to share. We hope to see you there – come join in on the fun!
Have you decided on a favorite stencil from this release? I find more favorites with each new piece of inspiration from the TE Creative Team! Thank you so much for stopping by the TE Blog today and I will be back tomorrow with more crafty inspiration to share.
Did you know that you can subscribe to our blog and get our posts right in your inbox? Just sign up right HERE – that’s all there is to it to make sure you don’t miss any of our crafty inspiration!


