Dec 05, 2020
3 Creative Ways to use the Masking Stencils – Diamonds Set!
Hey, crafty friends! It’s the weekend! Are you working on any crafty projects today? At my house we are planning on doing cookie baking, I have decorations to add to my porch, and a few crafty projects too!
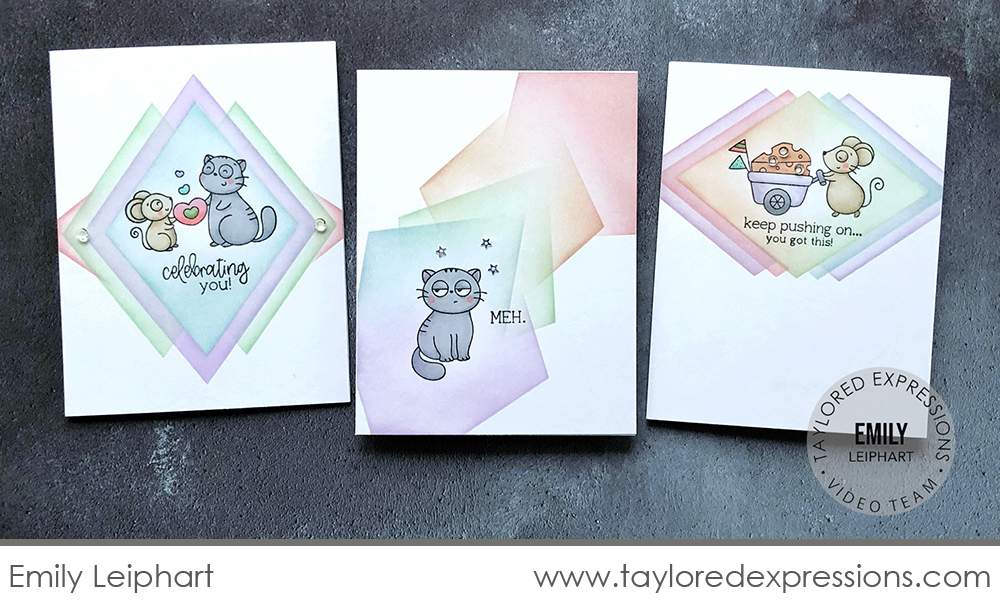
Today, I have a set of cute cards to share with you that were created by Emily Leiphart using the Masking Stencils – Diamonds set. This is the exclusive gift for the month of December in the TE webstore with an order of $100 or more. Here’s a closer look at the set:
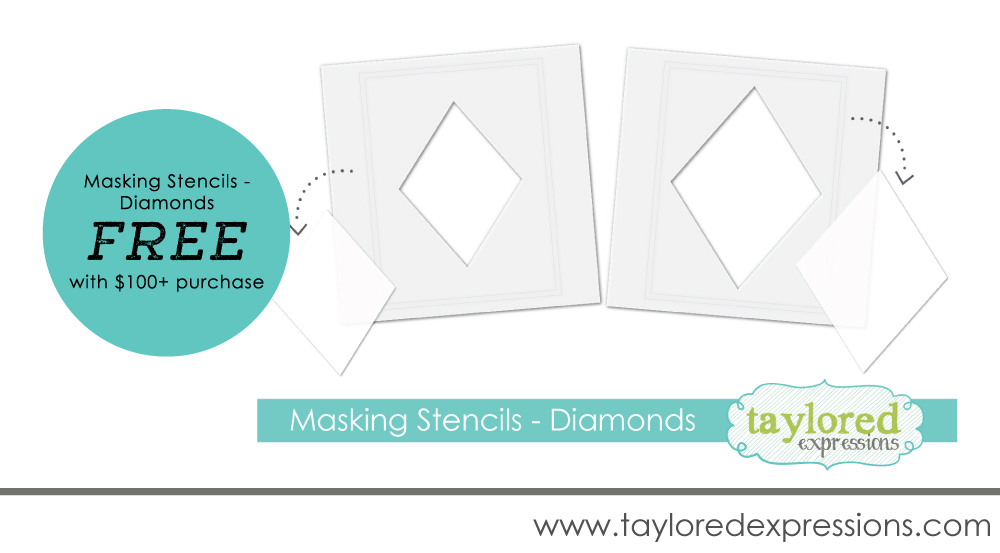
The Masking Stencils – Diamonds set includes 2 stencils that each feature a different sized diamond shape that you can add to your projects easily without masking your cardstock using tapes or masking paper. Use Pixie Spray or purple tape to hold things in place and use the innovative alignment guides to line things up perfectly on your A2 sized projects. Use the included insert shapes for even more masking possibilities!
Watch the video below to see how Emily used the Masking Stencils – Diamonds set in several creative ways on her projects:
In the video, Emily shows you how she used the Masking Stencils – Diamonds set to frame the stamped images on her cards in three different ways. She shares how to make sure your stamped images and sentiments are lined up so they can be framed perfectly and colors the images using Copic markers.
Here’s a closer look at each of the cards that Emily created in the video:
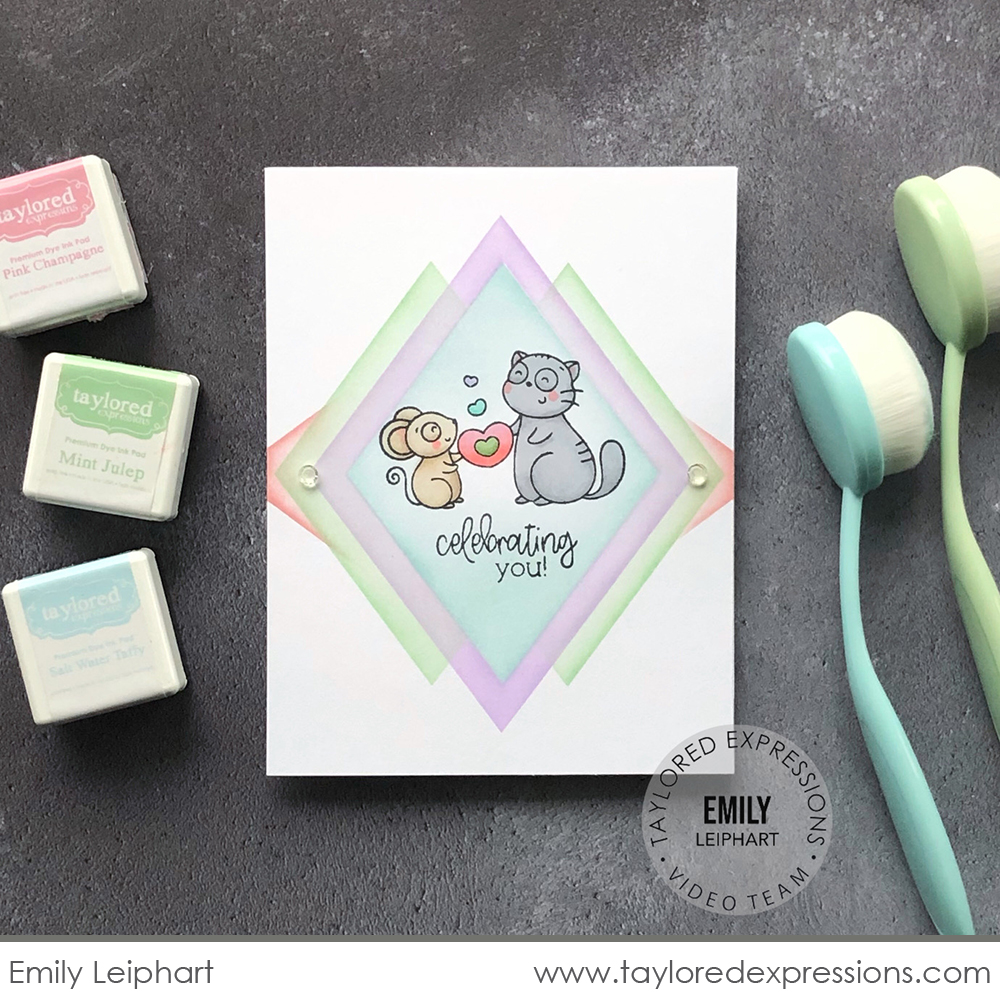
For the images and sentiments on her cards, Emily used the Max & Millie stamp set. There are so many images and sentiments in the set that can be used for a wide variety of occasions. If you are new to stamping and love cute critters, this is a great stamp set to start off with!
Use the different sized diamonds in the Masking Stencils – Diamonds set together to create unique shapes and patterns to frame your focal point area on your project. Use the insert shapes with Pixie Spray to mask areas of your design and create multi-colored looks. Emily also rotated her stencil 90 degrees to add another creative effect.
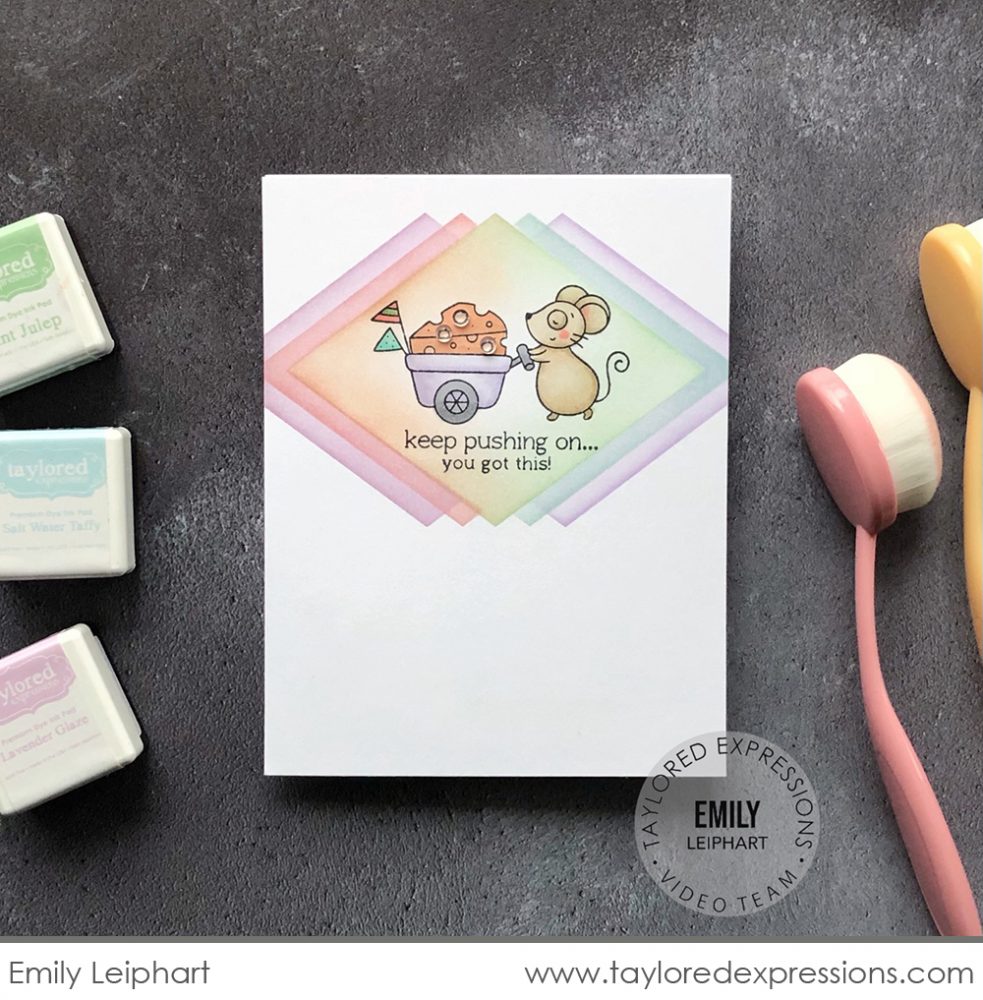
Emily was inspired by the new Pastel Blender Brushes when creating the color scheme for her projects and chose ink colors to match the brushes: Pink Champagne, Peaches ‘n’ Cream, Mint Julep, Salt Water Taffy, and Lavender Glaze.
On this card, Emily turned the diamond shape on its side to accommodate the wider image. Once she was done blending the center diamond, she masked it off and moved the stencil to add the blended borders on each side of the main image.
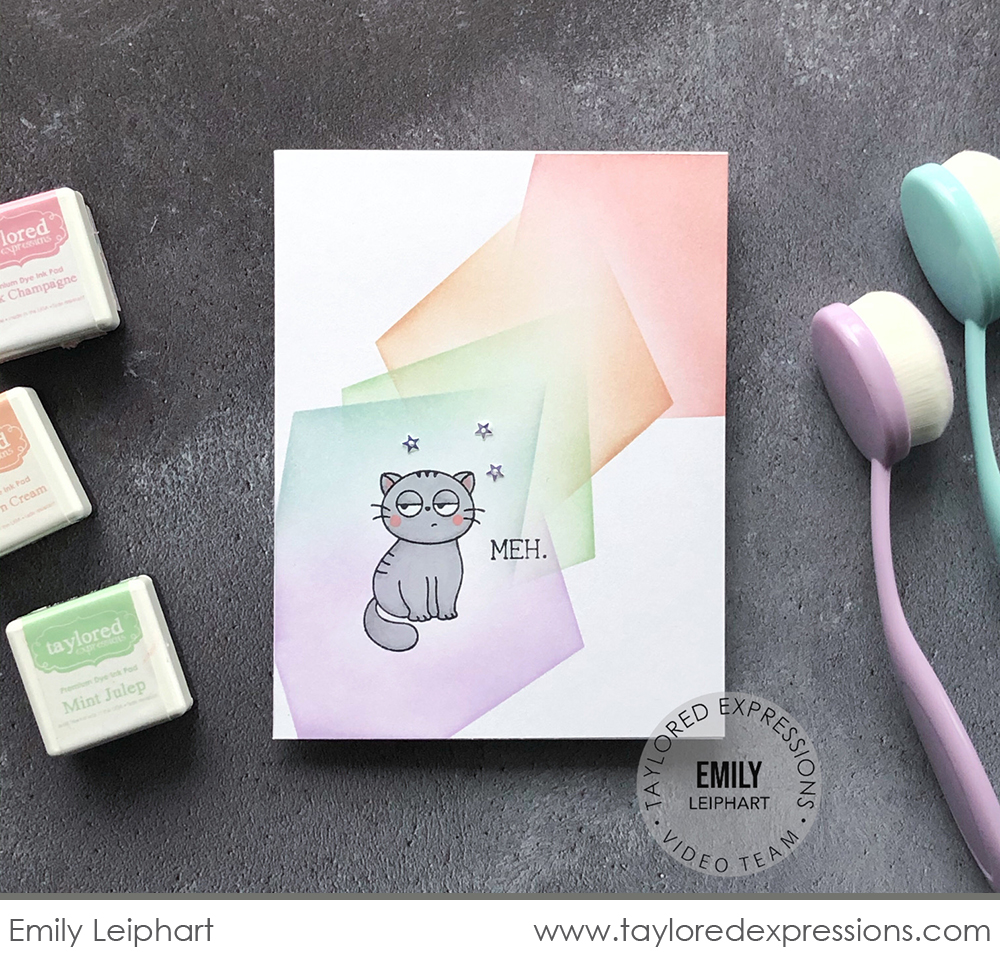
Don’t be afraid to try unconventional ideas when using your masking stencils. I love how Emily rotated the diamonds in multiple directions to create a sort of wonky rainbow diamond trail across her card. The look goes perfectly with Max and his ‘meh.’
All of the cards that Emily created would be perfect to bundle up into a gift set! They coordinate perfectly with each other because of using the same stamp set and color combinations on each card.
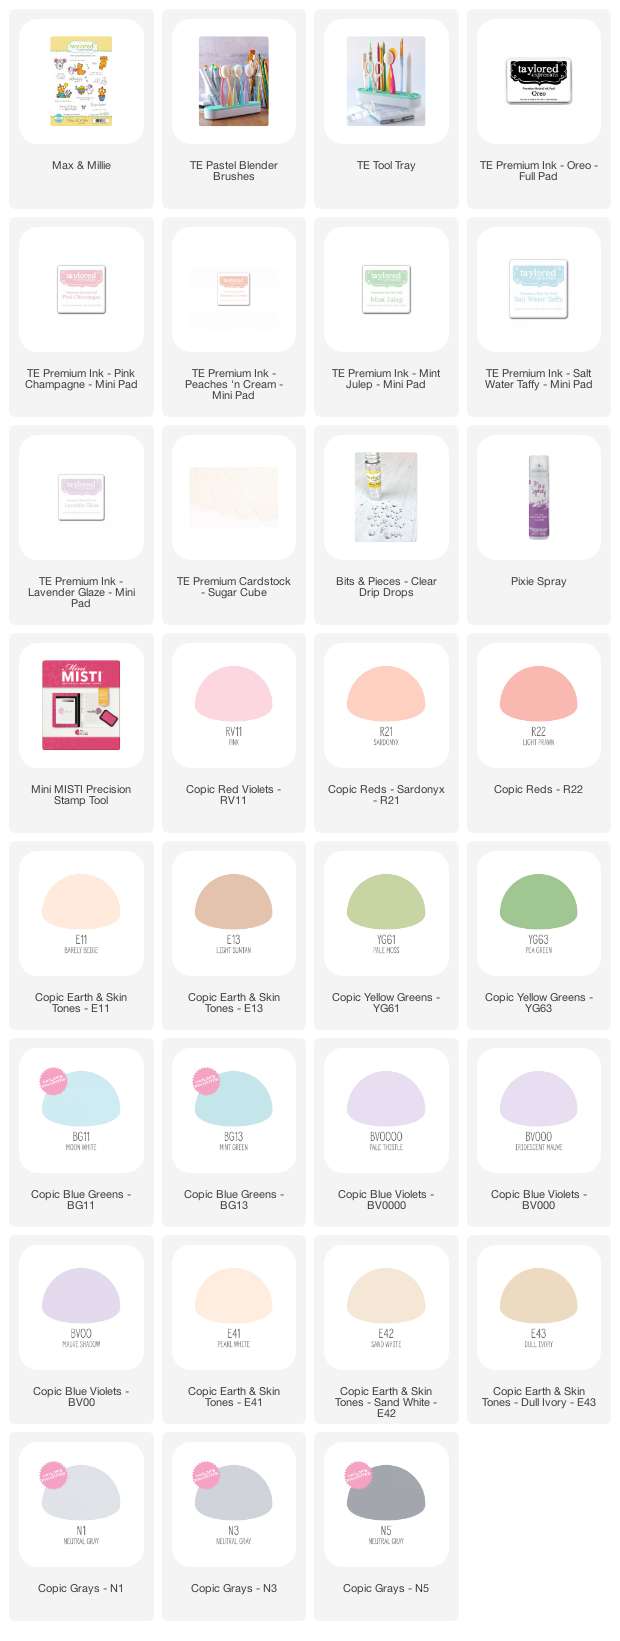
In addition to the Masking Stencils – Rectangles set, the supplies that Emily used on her projects are listed below:

Thank you so much for stopping by the TE Blog today. I have a sneak peek coming your way tomorrow of something special that we are bring to you this next week. I think you are going to love it! Make plans to stop back again and see what we have been up to!
Did you know that you can subscribe to our blog and get our posts right in your inbox? Just sign up right HERE – that’s all there is to it to make sure you don’t miss any of our crafty inspiration!


