Feb 23, 2021
Spring has Sprung! It’s Release Day!
Hey, crafty friends! It’s Heather here today and it’s release day! All of the new goodies from yesterday’s sneak peeks are now available to purchase in the TE webstore. Isn’t it wonderful to see all of the flowers and cheery spring themed projects? It’s just what I’ve needed in the middle of the wintery gray days that have been the normal the last few months. It gives me hope that spring is truly on its way. I have more springtime projects to share with you today from the TE Creative Team along with a video from me that features my new Good Egg Stamp & Stencil Combo set – I hope you enjoy it all!
Before we get to the inspiration for today, don’t forget about the special bundle discount for this release:
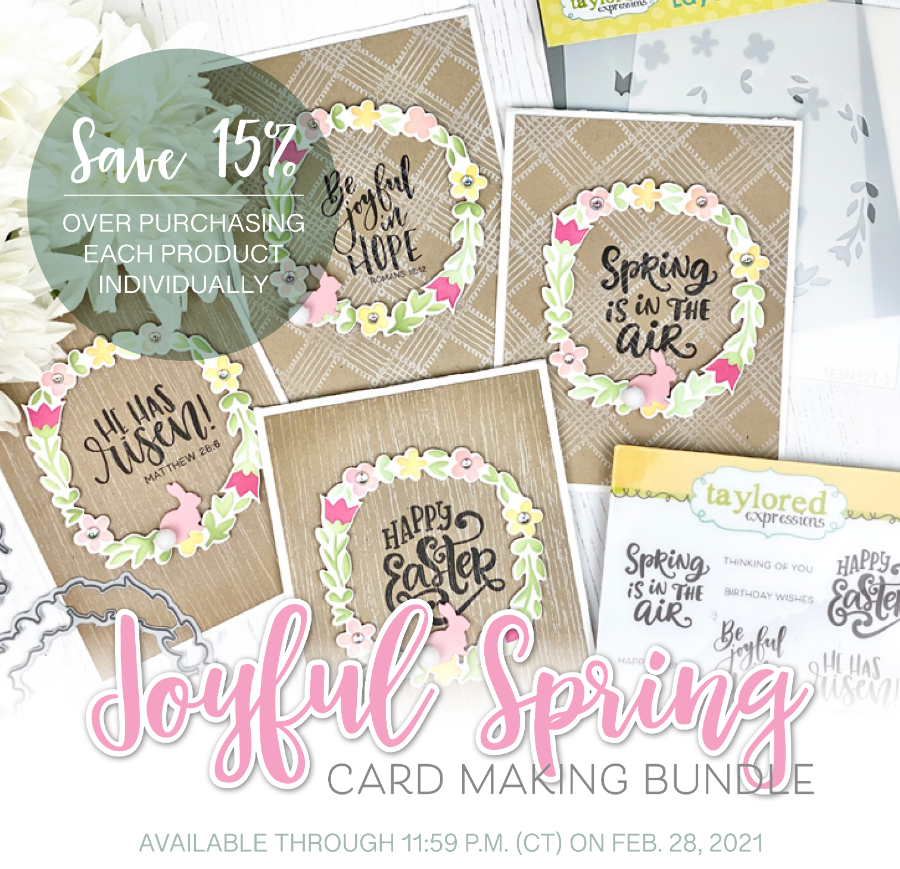
Tuesday, February 23rd, through Sunday, February 28th (or while supplies last), You can get the Joyful Spring Bundle for 15% off! The bundle includes the Spring Wreath Layered Stencil set, Spring Wreath die collection, and Be Joyful stamp set. The discounted bundle price is only available through Sunday, February 28th.
Click below to check out the new products in the TE webstore and keep scrolling for the inspiration!
- Tune in for new product inspiration: this release includes over 25 new products including new stamps, dies, stencils, and the cutest new wooden bunny embellishments!
- Our TE blog posts this week (Monday – Thursday) will feature a new how-to tip, technique, or process video.
- Receive FREE shipping on orders of $50 or more in the United States!
- Earn a free, exclusive stamp with purchases of $100 or more. CLICK HERE for more information.
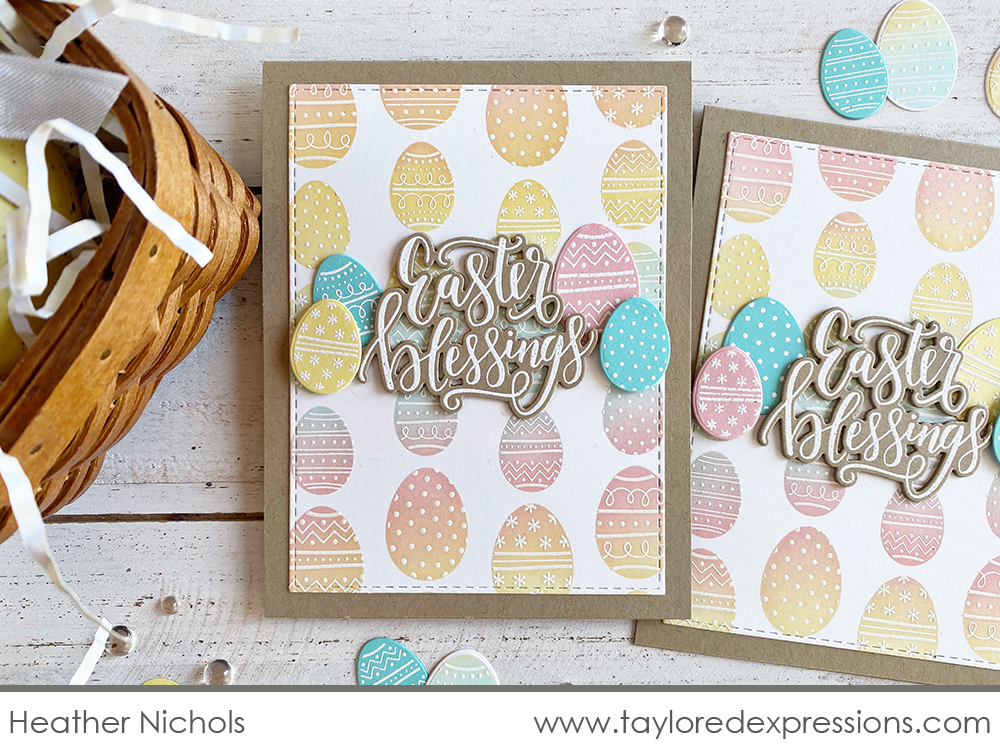
Let’s get the inspiration started! I am kicking things off today with an Easter card created with the new Good Egg Stamp & Stencil Combo set. I hope you will love this new way to create a whole bunch of Easter eggs in a short amount of time. You can use the eggs as a background, or cut them out with the coordinating dies to use them individually on your projects. Watch the video below to see how my Easter card comes together:
In the video, I show you how to use the Good Egg Stamp & Stencil Combo set to create a background of colorful Easter eggs by embossing the egg patterns in white and adding the colorful eggs with the coordinating stencil and my Blender Brushes. The sentiment from the Handlettered Easter stamp set is embossed in white and cut out using the new coordinating dies. I also created single eggs to use on my project by embossing the egg patterns in white on different colors of cardstock and cutting them out using the Good Egg dies. All of the elements come together to create the fun and festive Easter card!
Here’s a closer look at the new products that I used on my project:
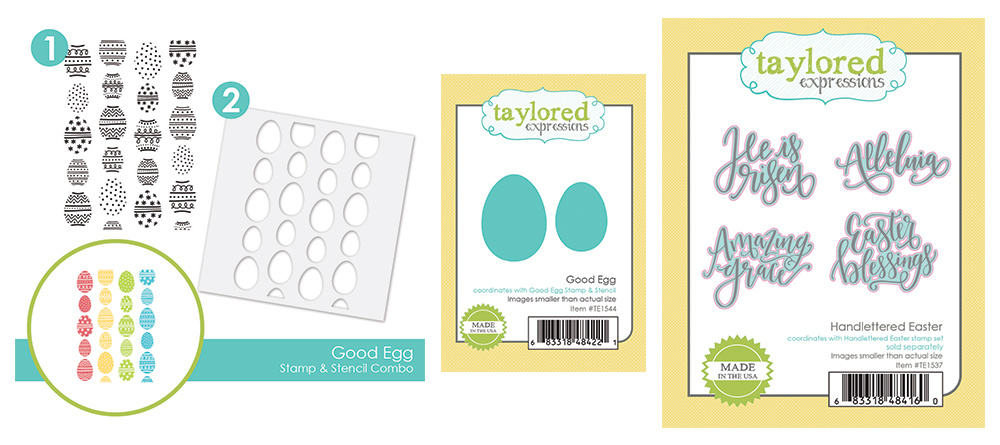
Combine your love of stamping and stenciling with the Good Egg Stamp & Stencil Combo. This set is a fun way to make a custom background that’s perfect for Easter projects. Simply stamp or emboss the egg patterned background, lay the egg stencil over the top, and add color with your Blender Brushes. Cut out the eggs with the coordinating Good Egg dies to use them individually on your projects.
The Handlettered Easter die collection coordinates with our previously released Handlettered Easter stamp set (sold separately) to perfectly set off the sentiments on your projects.
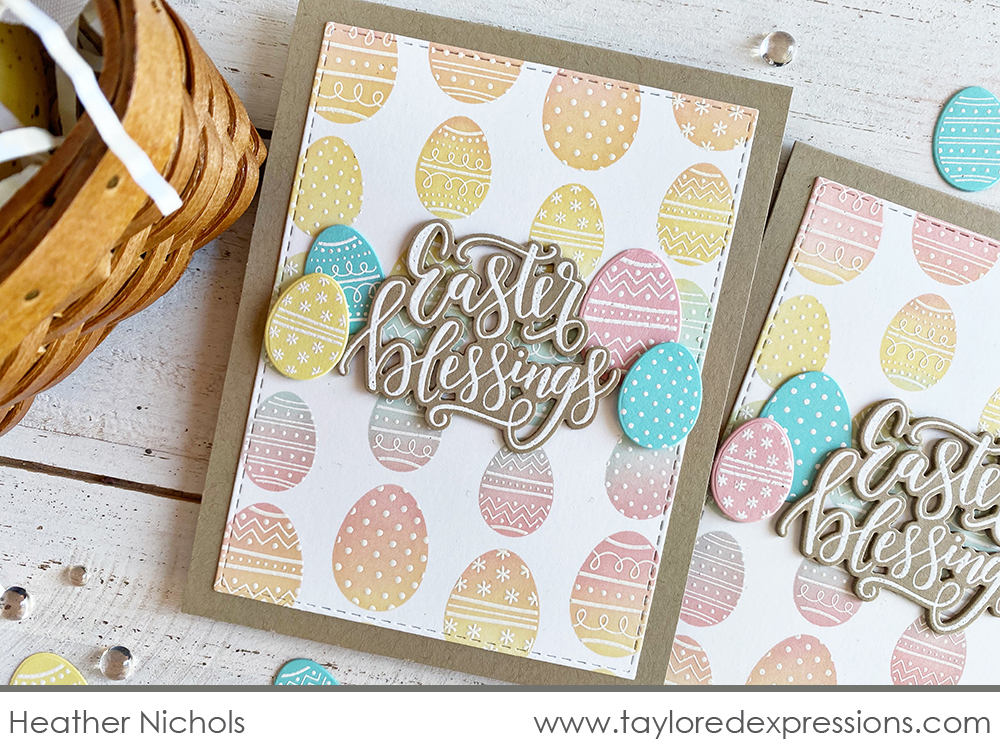
While I embossed the egg patterned background from the Good Egg Stamp & Stencil Combo set, you could also stamp the patterns in a single color without embossing too. If you don’t want to stamp the patterns first, another option is to stencil the eggs and then stamp the pattern background over the top. You’ll want to use a positioning tool to get things lined up just right if you choose to create them this way.
I wanted the Easter eggs for my project to be a rainbow blend of colors. I created a pastel rainbow by applying Pink Champagne, Potato Chip, and Confetti Cake inks through the egg stencil with my Blender Brushes. I love the different tones that happen when the ink colors overlap!
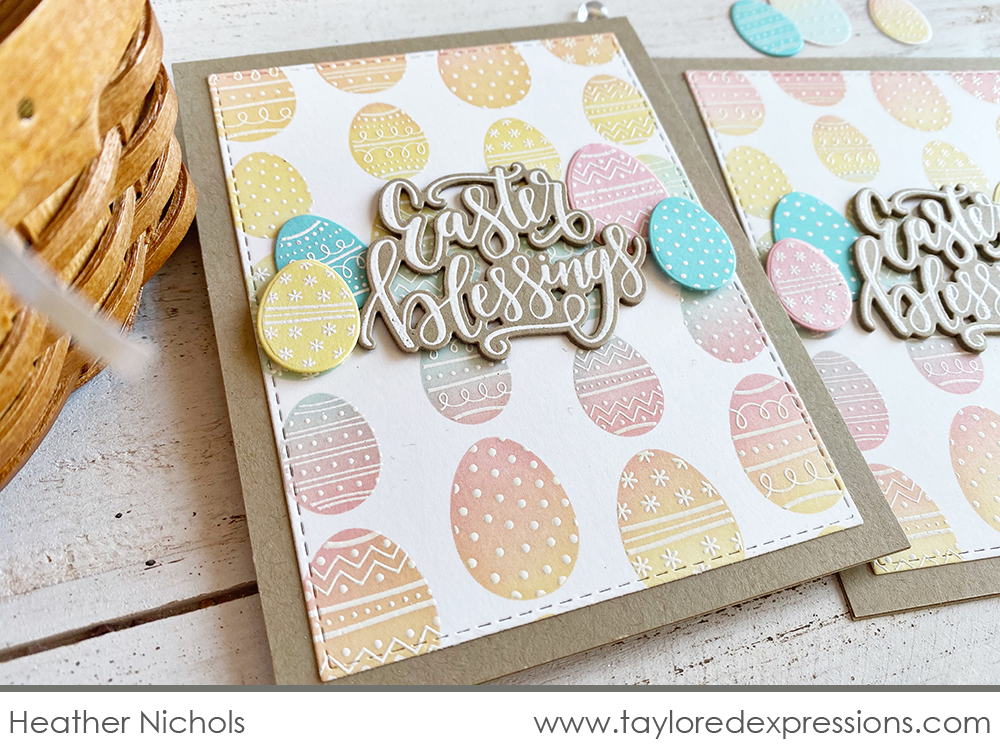
There are so many options to “color” your eggs: you could have them all the same color, do a rainbow or gradient blend like I did, or mask off areas of the stencil to create an assortment of colored eggs. You could also create eggs by adding the pattern to different cardstock colors and cutting out the egg shapes without using the stencil. I did this on my project to add the single eggs around the sentiment!
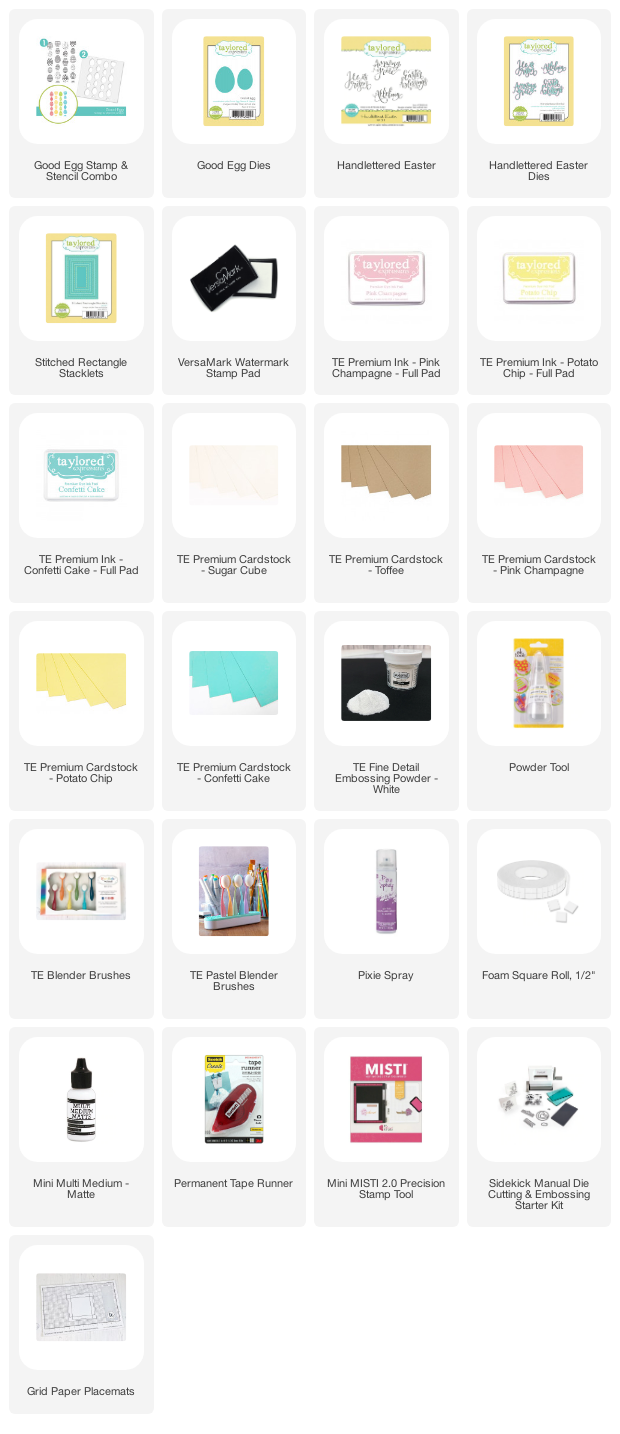
The list below includes all of the supplies that I used to create this festive Easter card:

Here’s more inspiration from members of the TE Creative Team as well as a closer look at a few more of the new products that are available to purchase today for our Easter release!
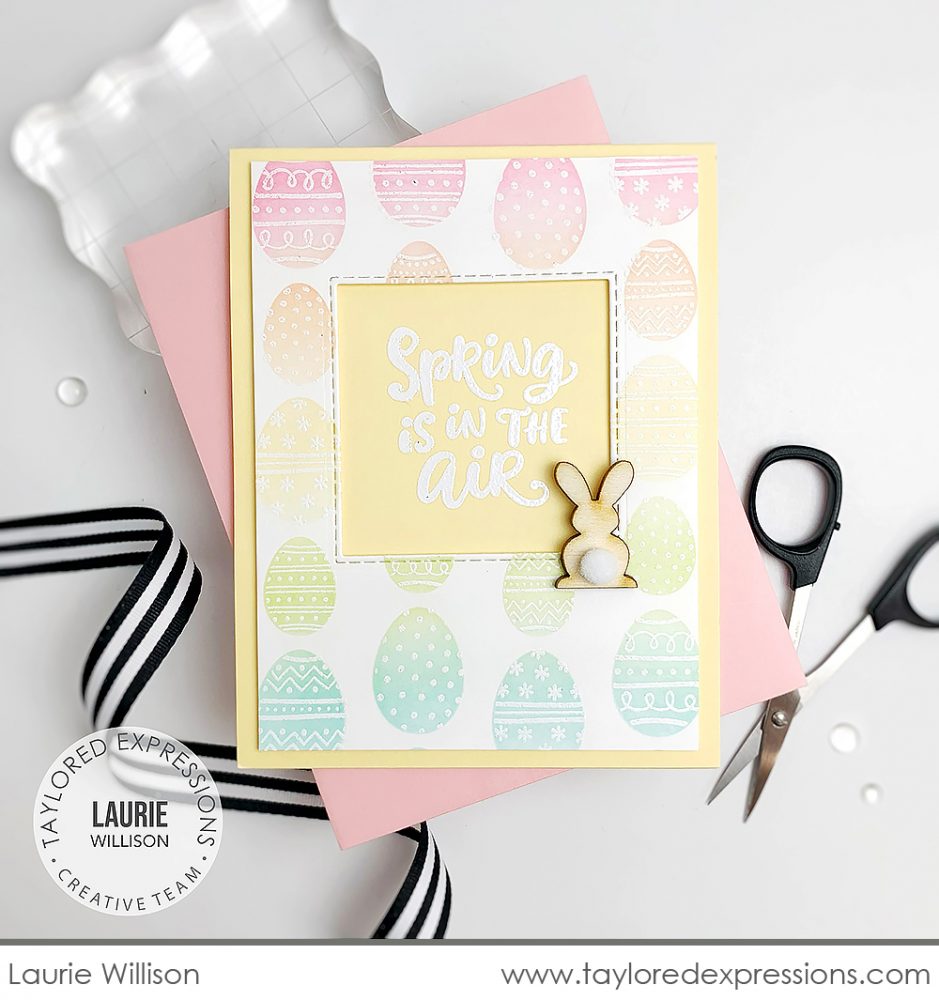
Laurie Willison also created a background of pastel rainbow Easter eggs with the Good Egg Stamp & Stencil Combo set and then cut an opening to create a frame with a Stitched Square Stacklets die. The frame opening is the perfect spot for a sentiment and Laurie embossed the ‘spring is in the air’ sentiment from the new Be Joyful stamp set into the frame on her card. The wooden bunny with the pom pom tail is the perfect finishing touch!
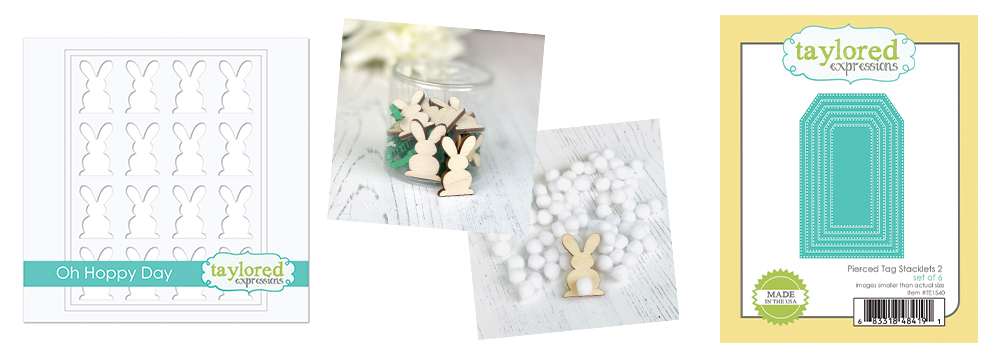
Stencil a whole card full of bunnies with the Oh Hoppy Day stencil using ink, pastes, and more! This stencil includes the etched alignment guides to line everything up perfectly on an A2 card front.
For extra dimension on your Easter and spring projects, we have new wooden bunny embellishments! The bunny coordinates perfectly with the Oh Hoppy Day stencil or you can use them on their own too. The Bunch of Bunnies includes 10 wooden bunnies and you can add a bunny tail to them with one of the White Pom Pom Bunny Tails (sold separately).
Step up your tags with the Pierced Tag Stacklets 2 die collection. This die collection cuts out several tag sizes with a pierced border and it coordinates to work as layers with the original Tag Stacklets 2 die collection.
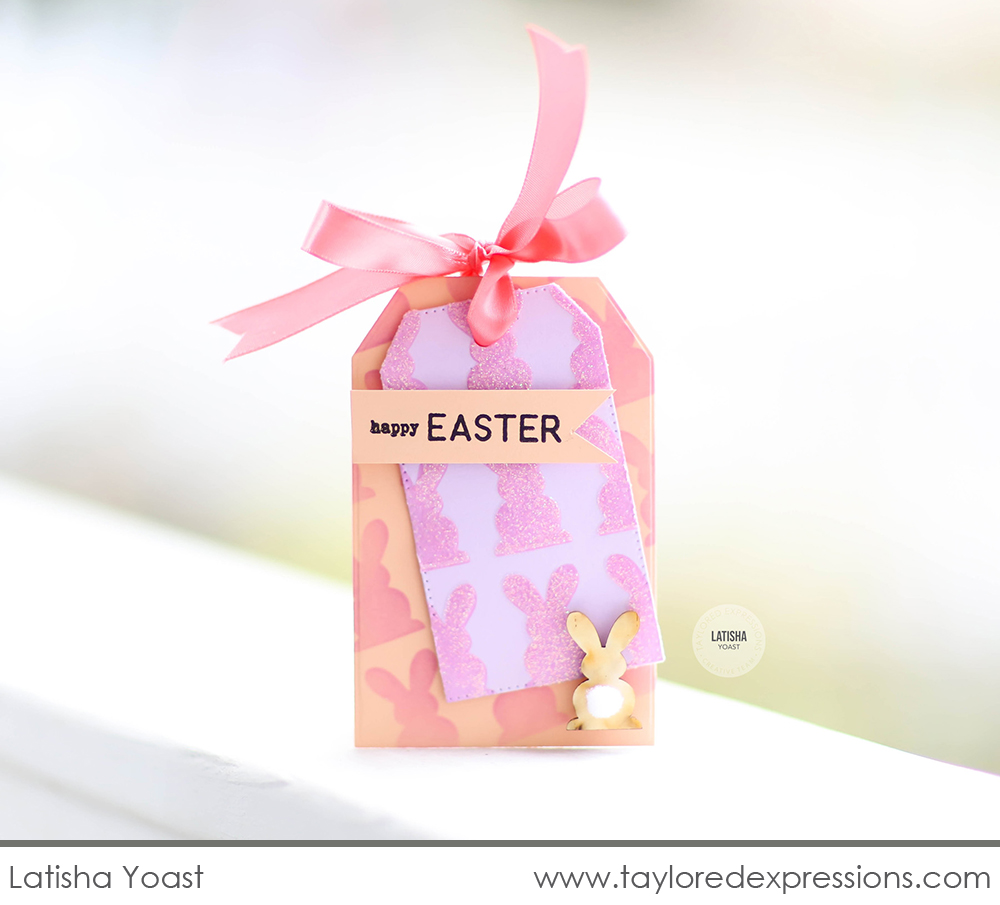
Latisha Yoast created a layered Easter basket tag using the new Pierced Tag Stacklets 2 die collection layered over a tag base cut out with a Tag Stacklets 2 die. She stenciled bunnies onto both tags using the Oh Hoppy Day stencil and I love how the bunnies on the top tag layer are sparkled up with glitter paste! The sentiment on the tag is from the new Pennant Parade – Easter stamp set and Latisha added one of the wooden bunnies to finish off the tag.
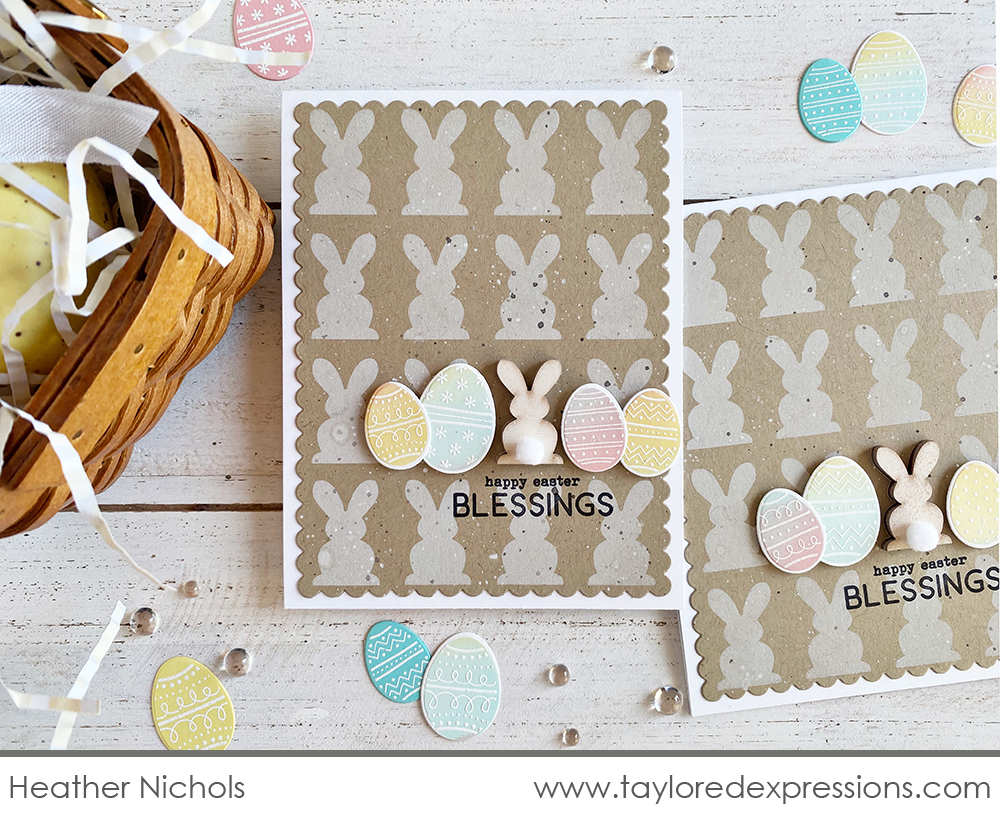
I (Heather Nichols) combined bunnies and eggs on this Easter card! I stenciled the bunnies using the Oh Hoppy Day stencil with Sugar Cube ink on Toffee cardstock and then added one of the wooden bunnies over one of the stenciled bunnies. I cut out a few of the eggs from extra backgrounds I created with the Good Egg Stamp & Stencil Combo set (from my project above), added them around the wooden bunny, and stamped the sentiment from the Pennant Parade – Easter stamp set underneath.
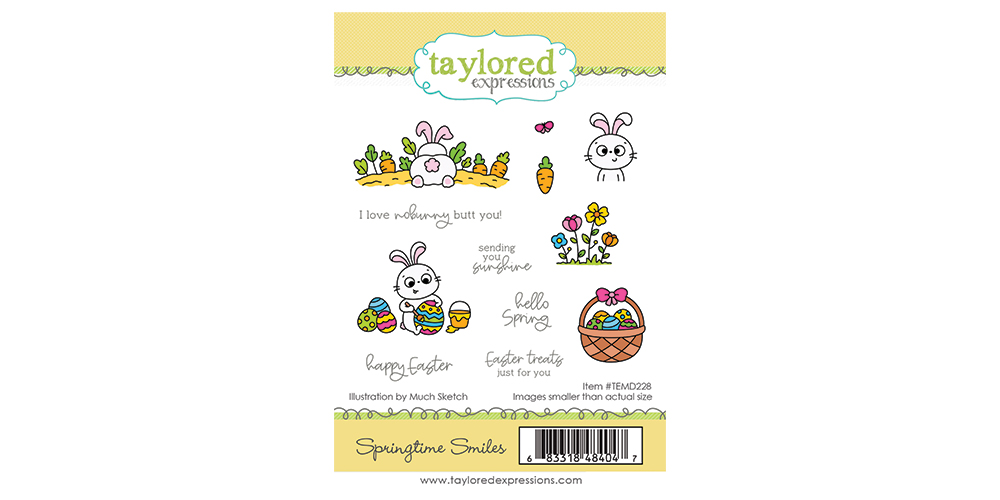
The cute little bunny in the Springtime Smiles stamp set is going to steal your heart! There are three bunny images as well as a basket, flowers, and more to create the sweetest scenes on your projects along with five sentiments that are perfect for the springtime season.
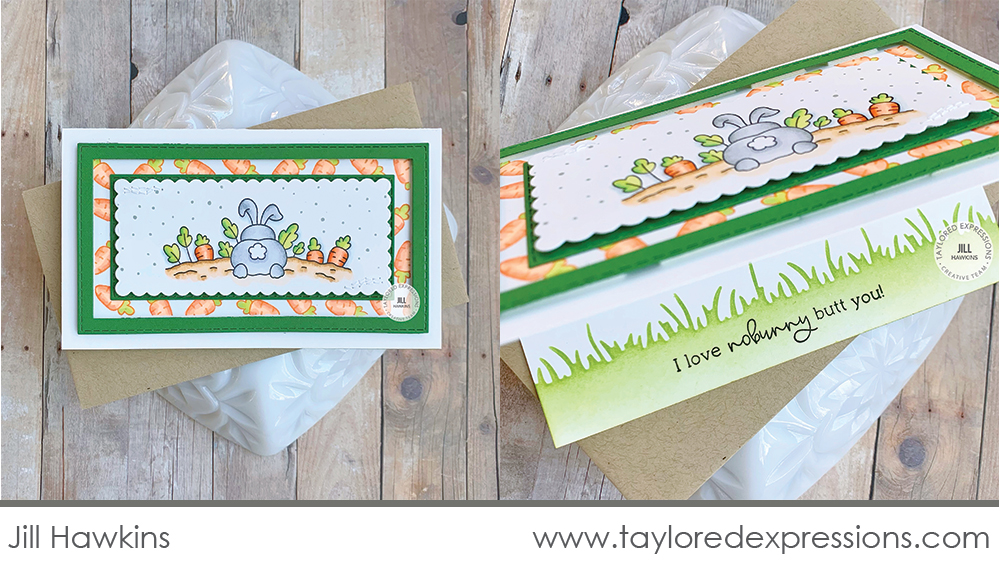
This cute Mini Slim card by Jill Hawkins features the bunny in the carrot patch image from the Springtime Smiles stamp set. She colored the bunny with Copic markers and I love how she used the small carrot in the set to stamp and color a coordinating patterned paper to frame the image. I had to make sure and include a peek of the inside of Jill’s card. She stenciled a border along the bottom edge with the Set the Scene – Grass Stencil Strips set and added the ‘I love nobunny butt you!’ sentiment stamped onto it – so fun!
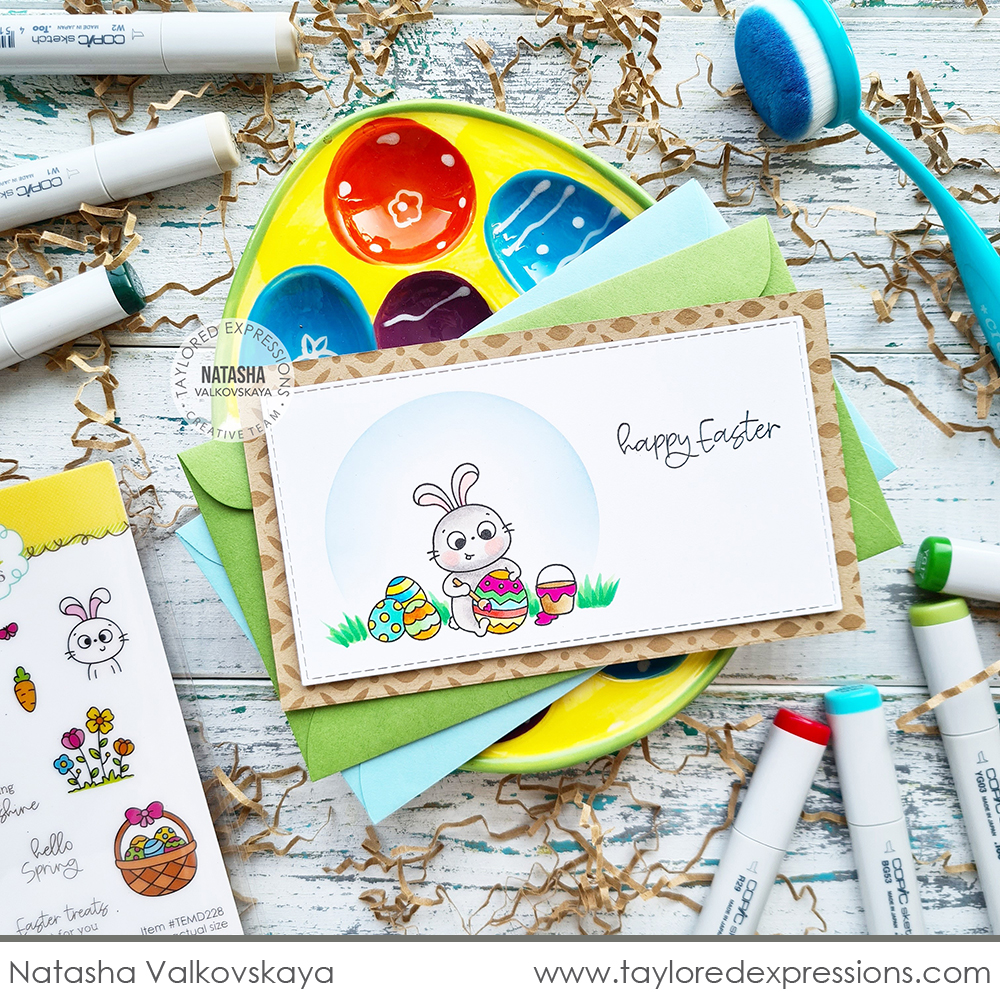
Natasha Valkovskaya colored the bunny painting eggs image from the Springtime Smiles stamp set and spotlighted it on this Mini Slim card with the Masking Stencils – Circles set. It’s a simple technique that really steps up the card design to make the focal image shine! I also love the sweet detail of the patterned Toffee card base peeking out from behind the main image that is stenciled with the Mini Slim Floral Lattice stencil.
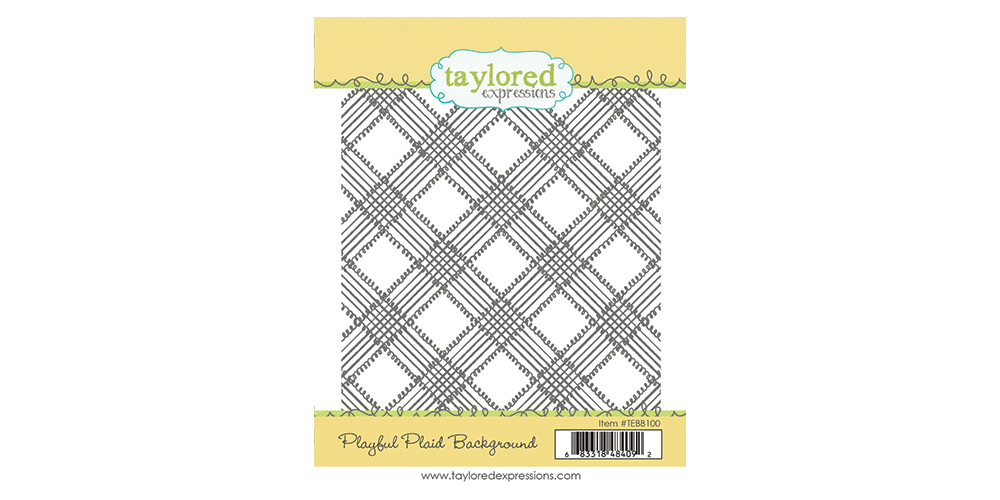
The Playful Plaid Background stamp features a whimsical plaid design with a fun looped line detail that will will fill up your A2 card front. This background will work wonderful for Easter projects, baby cards, and all your projects that need that touch of sweetness and whimsy.
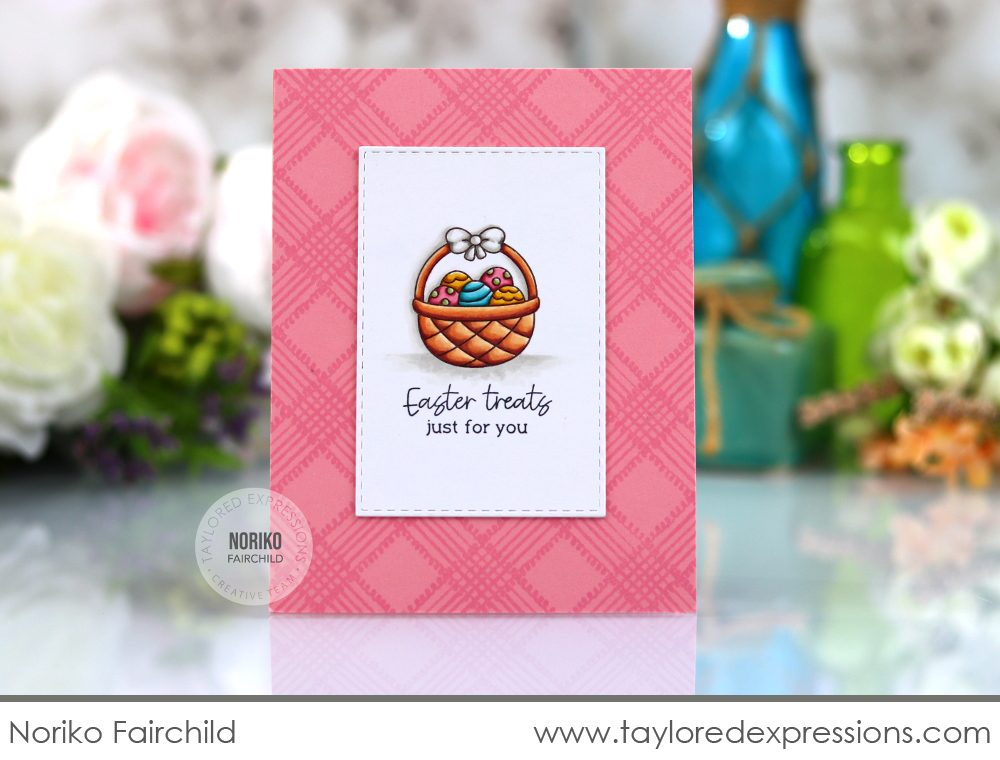
Noriko Fairchild used the Playful Plaid Background stamp to create a pretty tone on tone background for this Easter card featuring the basket image from the Springtime Smiles stamp set. She chose the pink color in her colored image to determine her background color. The tone on tone look adds the perfect amount of texture and can be done in a number of different colors to change up the look!
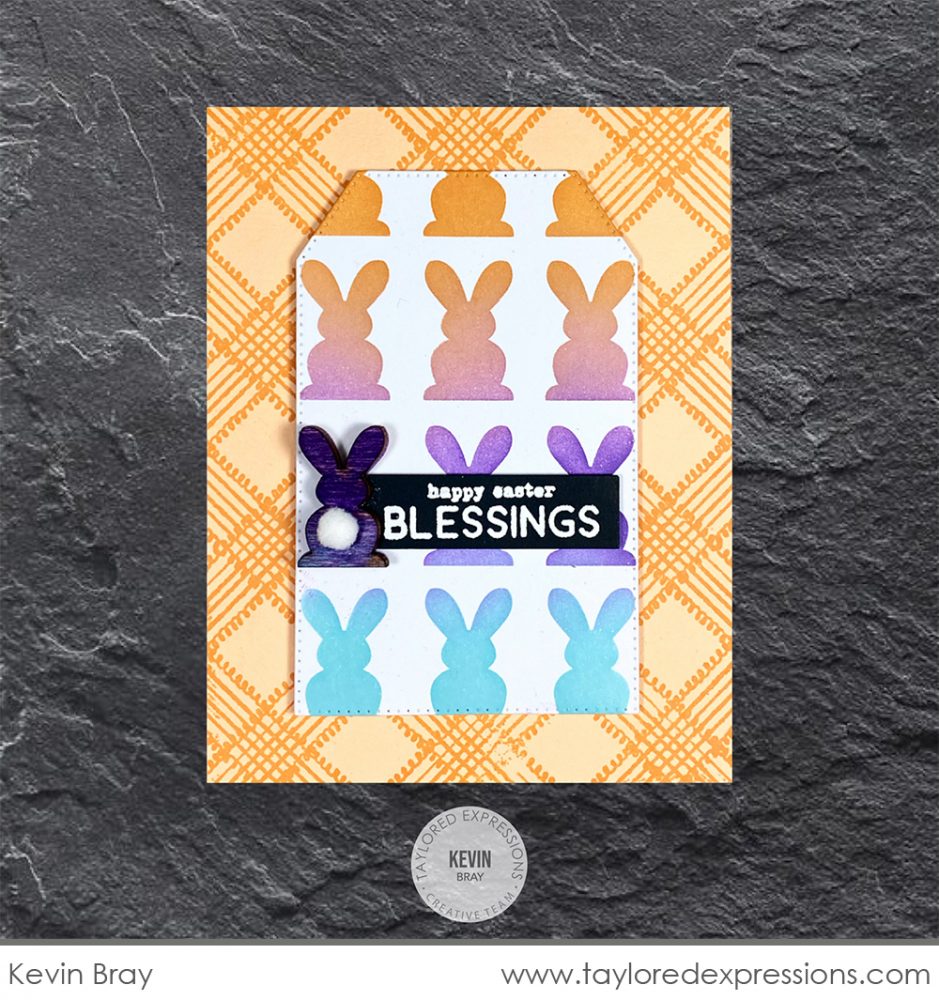
Kevin Bray layered a tag full of bunnies over the Playful Plaid Background on this Easter card. He did the same thing as Noriko did on her card above and pulled one of the colors he used to blend the bunnies (Candy Corn) from the tag to create a coordinating tone on tone background. He did a little bit more contrast by stamping the Candy Corn ink onto Peaches ‘n’ Cream cardstock.
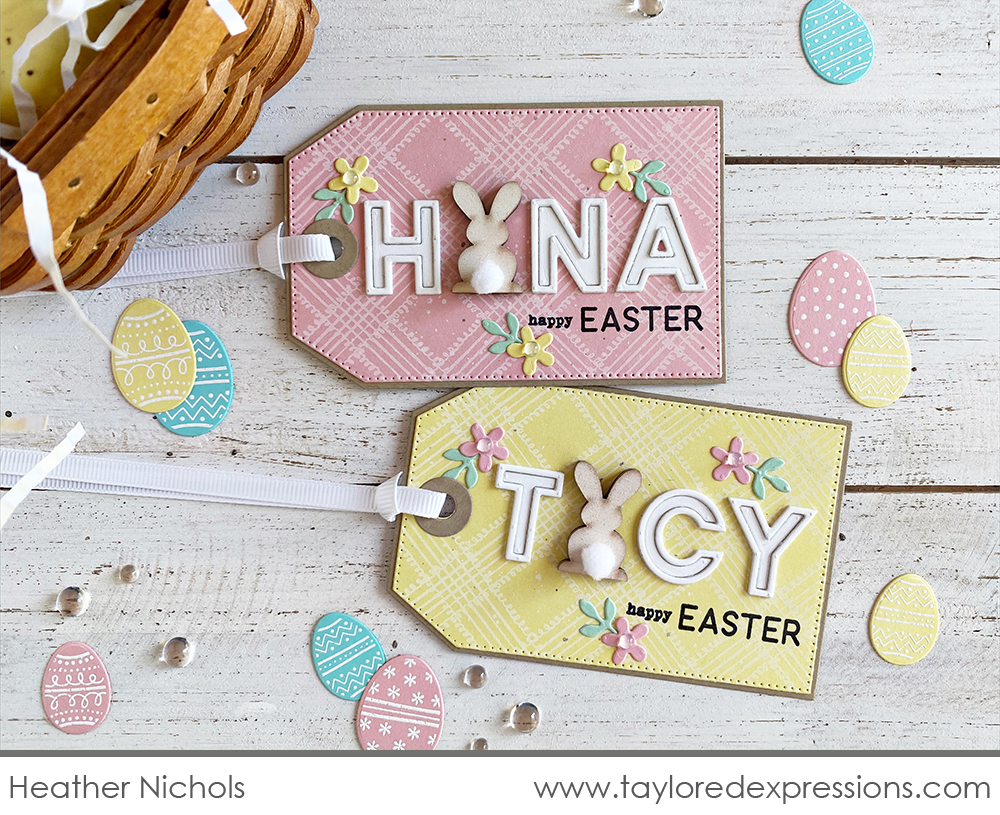
Here are a few more tags I (Heather Nichols) created for my girls for their Easter baskets. I stamped the Playful Plaid Background onto Pink Champagne and Potato Chip cardstock with Sugar Cube ink, cut the tags out with a Pierced Tag Stacklets 2 die, and added their names to the tags with the Cap it Off Alpha dies. I substituted one of the wooden bunnies for an ‘A’ in each of the names for a fun Easter look!

And now it’s time to check in with the lucky winners! If you find your name and comment listed below, please contact us with your mailing address and your selected ‘favorite product’ (must be one product, sorry… not a bundle) and we’ll get your prize in the mail right away! Congrats to all the prize winners!



Join Taylor live for “T Time” at 1pm Central today on the Taylored Expressions Facebook Page. She’ll be sharing a closer look at all of the new products in this Easter release. We hope to see you there – come join in the fun!
Thank you so much for stopping by today! Make sure you check out the rest of the Taylored Expressions Creative Team projects using the new Easter and spring goodies from this release. Click on the faces below to visit their blogs. Stop back tomorrow for more inspiration and a closer look at a few more new products from this release.


