Aug 26, 2021
Create for Multiple Occasions with the TE Exclusives and NEW Dies that are Available NOW!
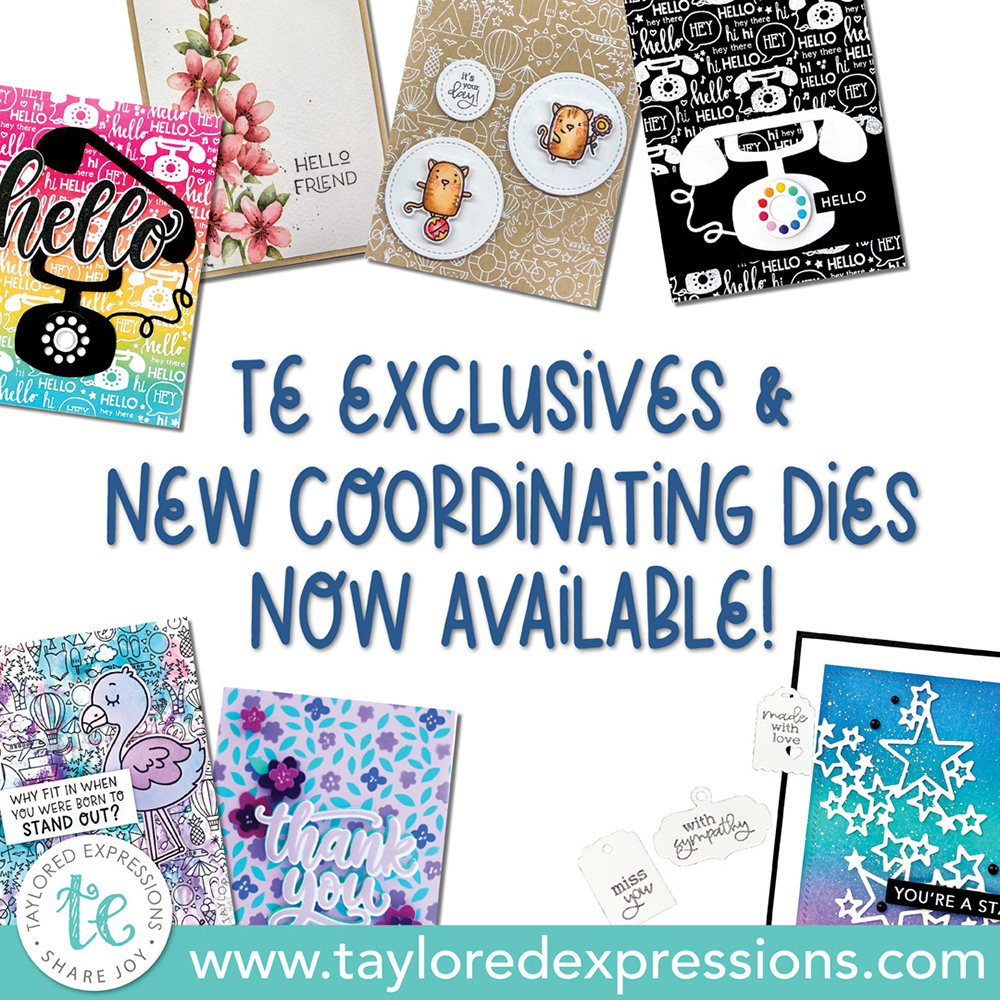
Hey, crafty friends! It’s Heather here and I have more inspiration to share using the new TE Exclusive products and new dies that are now available to purchase in the TE webstore. The new products cover a wide variety of occasions and with each stamp set, die, and stencil there are ways to adapt them for what occasion you are creating for with a change of color, sentiment choice, etc. Keep scrolling for today’s inspiration including a video from me (Heather Nichols) and projects from the TE Creative Team. If you haven’t checked out the new products in the TE webstore, click below:
Also, here’s one last reminder about the End of Summer Sale that is happening this week in the TE webstore:
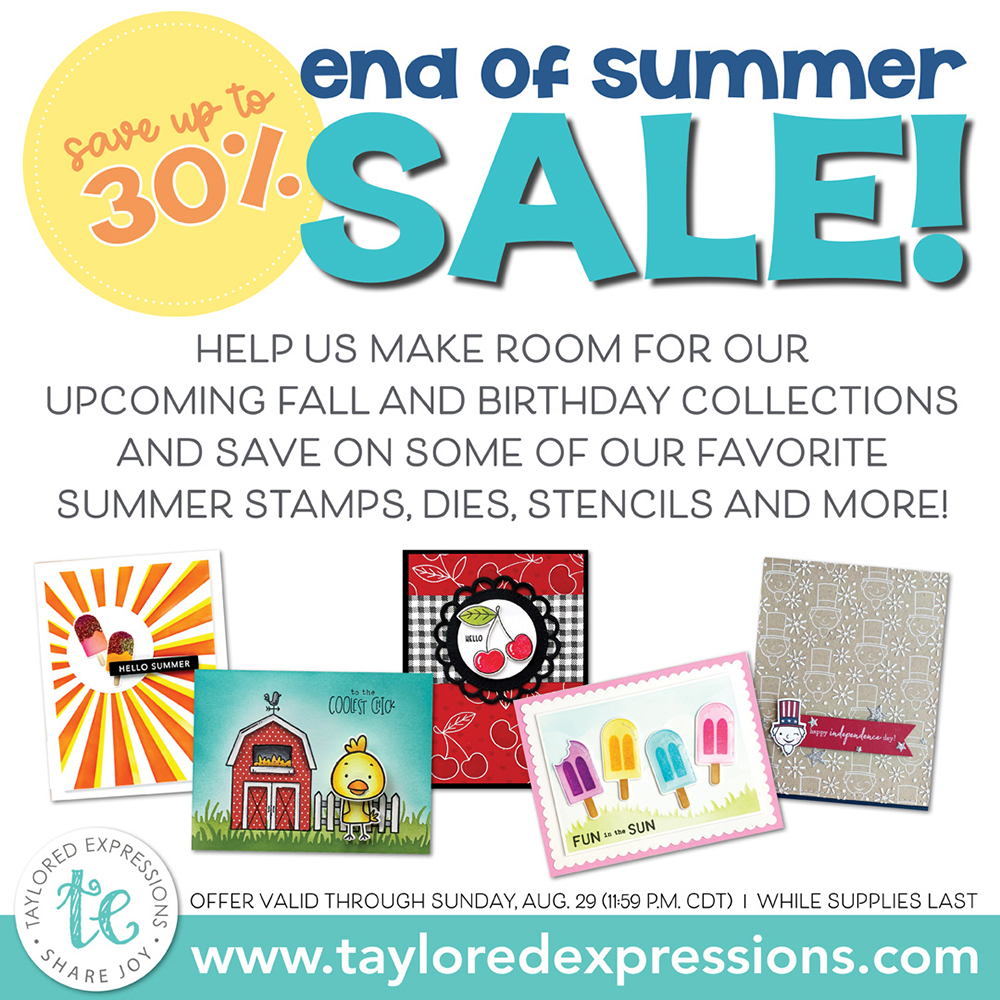
Now, through Sunday, August 29th, save 30% on our select summer favorites! If you have had your eye on some of these stamp sets, dies, and stencils, now is the time to add them to your collection and save at the same time! We are making room for all of the new autumn, birthday, and holiday products that are arriving soon! Click below to check out what’s included in the sale:
Now, let’s get on to today’s inspiration:
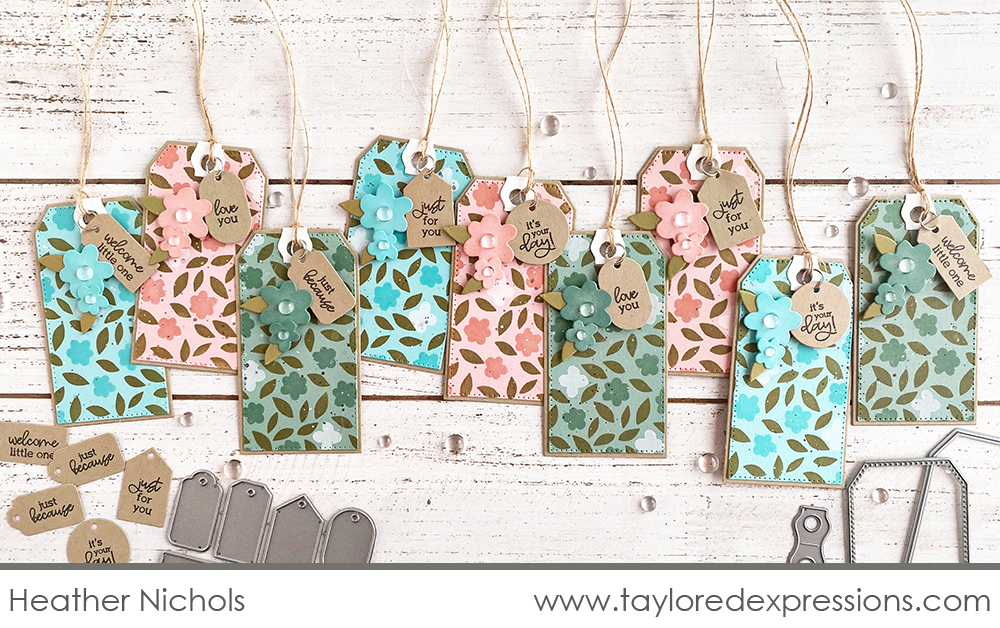
The Mixed Blooms Layered Stencil set enables you to create an overall floral design that you can use on projects for a number of occasions. I created a tag set and added sentiments for different occasions onto tiny tags. Watch the video below to see how you can create tags like these:
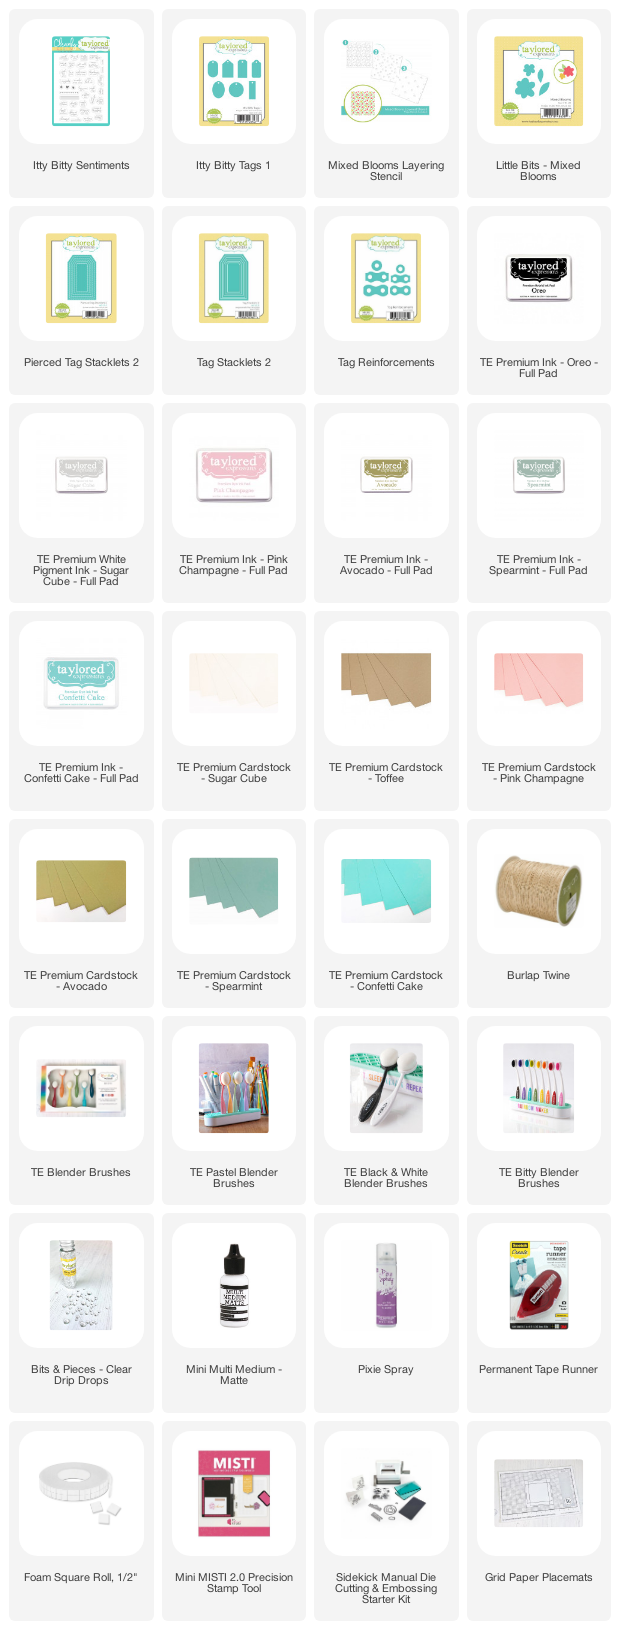
In the video, I share how to use the Mixed Blooms Layered Stencil set to create a floral pattern on several different cardstock colors: Confetti Cake, Pink Champagne, and Spearmint. I used the stenciled design to create tags with the Pierced Tag Stacklets 2 and Tag Stacklets 2 die collections. The sentiments on the tags are made with the Itty Bitty Sentiments stamp set, Itty Bitty Tags 1 die collection, and are attached to the tags with a jump ring! Finally, to step up the tag design, I added floral die cuts to the tags created with the Mixed Blooms dies.
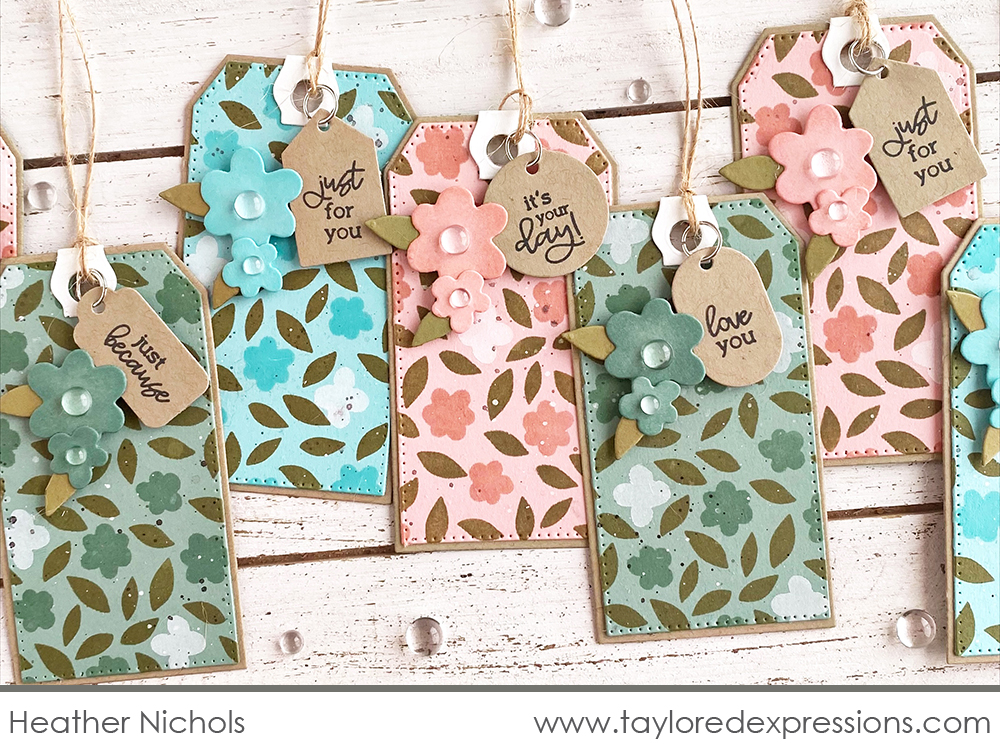
Tags are a favorite of mine and I loved the idea of using the Itty Bitty Sentiments stamp set & Itty Bitty Tags 1 dies to add sentiments to the tags for a number of different occasions. The Itty Bitty Sentiments stamp set has so many sentiments included that you are sure to find one that will fit the occasion that you are creating for. A tag set like this would be wonderful to package up for a gift and you could even add the tiny tags so that they can be added later for whatever occasion they are needed for. You could use this concept for a set of cards too!
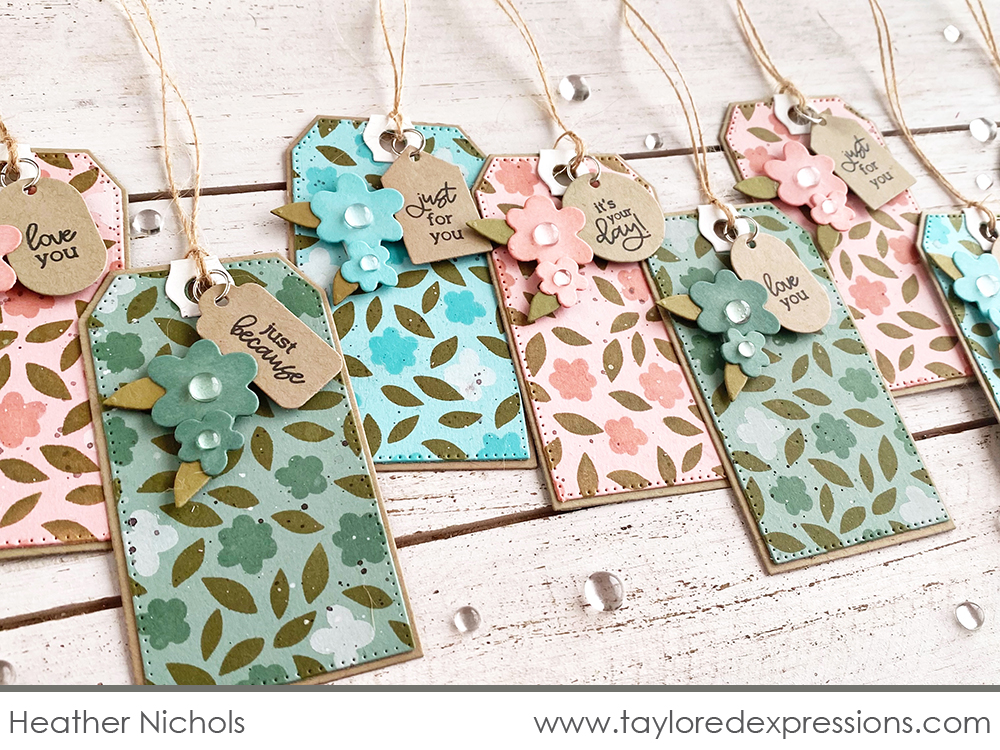
Creating the floral pattern in a few different color combinations also gives me a variety of choices when it’s time to add them to a gift. I kept things simple by choosing the matching ink color to the cardstock for one of the stencil flower layers, Sugar Cube ink for the other flower layer, and Avocado ink for the leaves. Keeping things simple also makes it easy to create multiples!
Adding in a few elements to step up your design also can enhance the look of your projects. The reinforcement at the top of the tags gives them a polished look, jump rings to attach the tiny tags are unexpected and classy, the larger flowers add a focal point to the tags that coordinates with the floral pattern in the background. All of the elements together take the basic tag design from simple to sensational.

Here’s more inspiration from the TE Creative Team to share featuring the new TE exclusive products + new dies that we released for purchase this week:
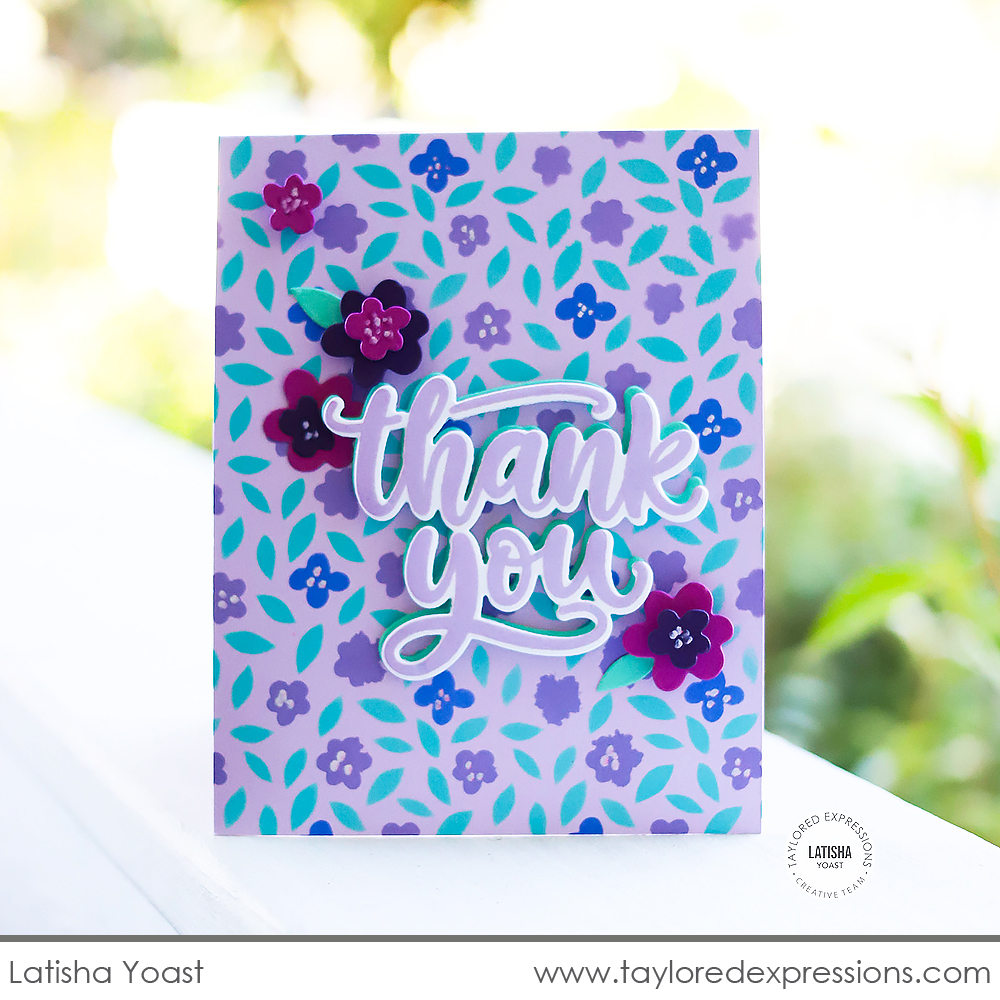
Latisha Yoast used the Mixed Blooms Layered Stencil set to create a background in pretty purples for this thank you card. She stenciled the flower layers of the stencil set using Jelly Donut and Blueberry inks on Lavender Glaze cardstock. The leaves are stenciled with Cookie Monster ink, with a layer of Sugar Cube ink layered underneath so the turquoise color pops on the colored cardstock. The sentiment is stamped with the Oh My Word – Thank You stamp set onto the coordinating die cut with Lavender Glaze inks and Latisha surrounded the sentiment with flowers created using the Mixed Blooms dies.
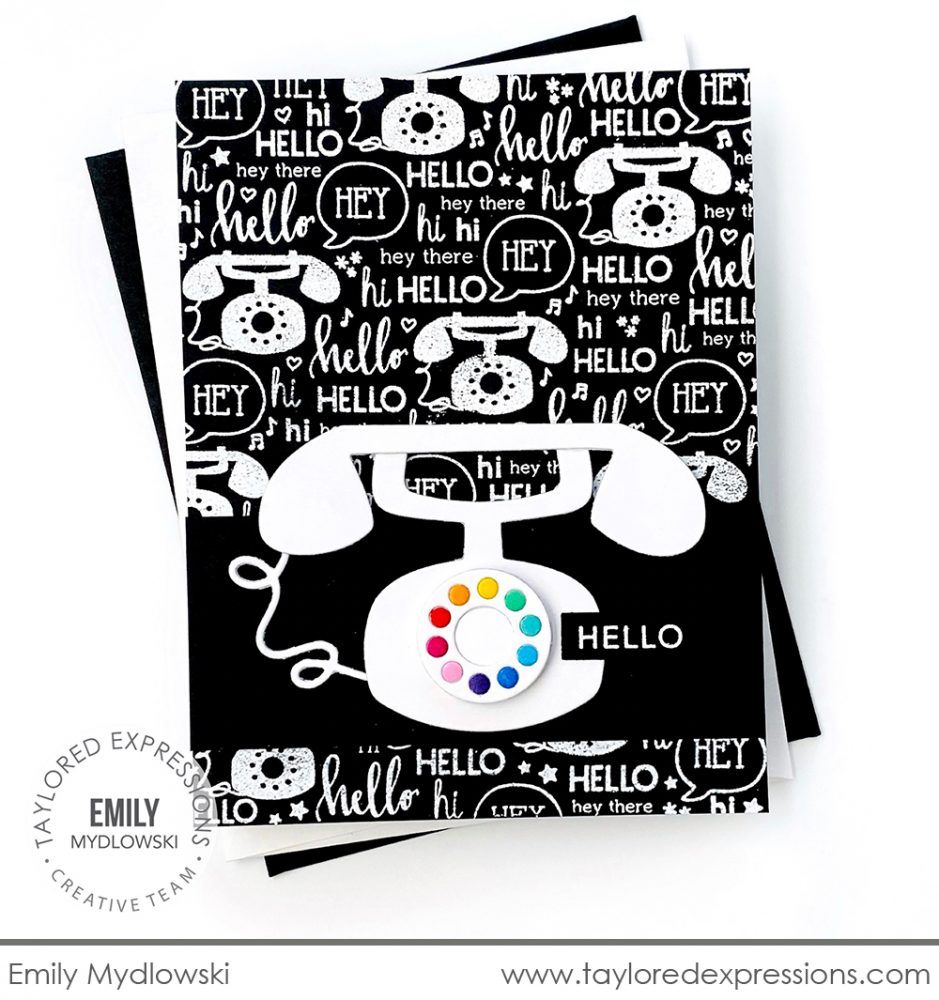
I love the bold black and with the pop of rainbow on this card by Emily Mydlowski! The background of the card is embossed in white with the Hi, Hey, Hello Background stamp on Oreo cardstock. Emily cut out the phone from Sugar Cube Cardstock using the Off the Hook dies and then used Copic markers to color the rainbow circle insets on the phone dial. The dial on the phone actually spins – so cool! Make sure you stop by Emily’s blog to see how she created the spinner on the phone!
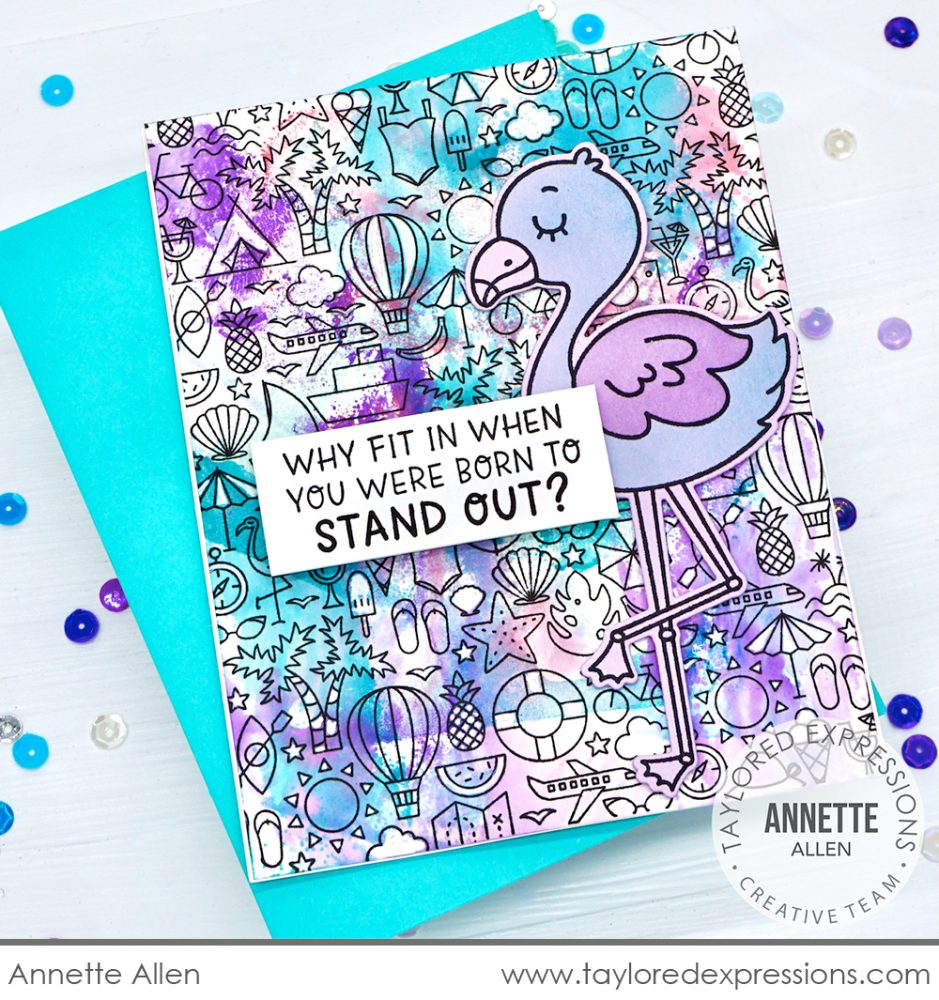
I love how Annette Allen created the background on this card using the Summer Vibes Background stamp! She did an ink smooshing technique to create colorful splotches with Lavender Glaze, Blue Raspberry, and Cookie Monster inks and then stamped the background over the top with Oreo Ink. She also used a white gel pen to highlight parts of the summer images. The flamingo and sentiment from the Tickled Pink Stamp & Stencil Combo set take center stage to complete this summery card!
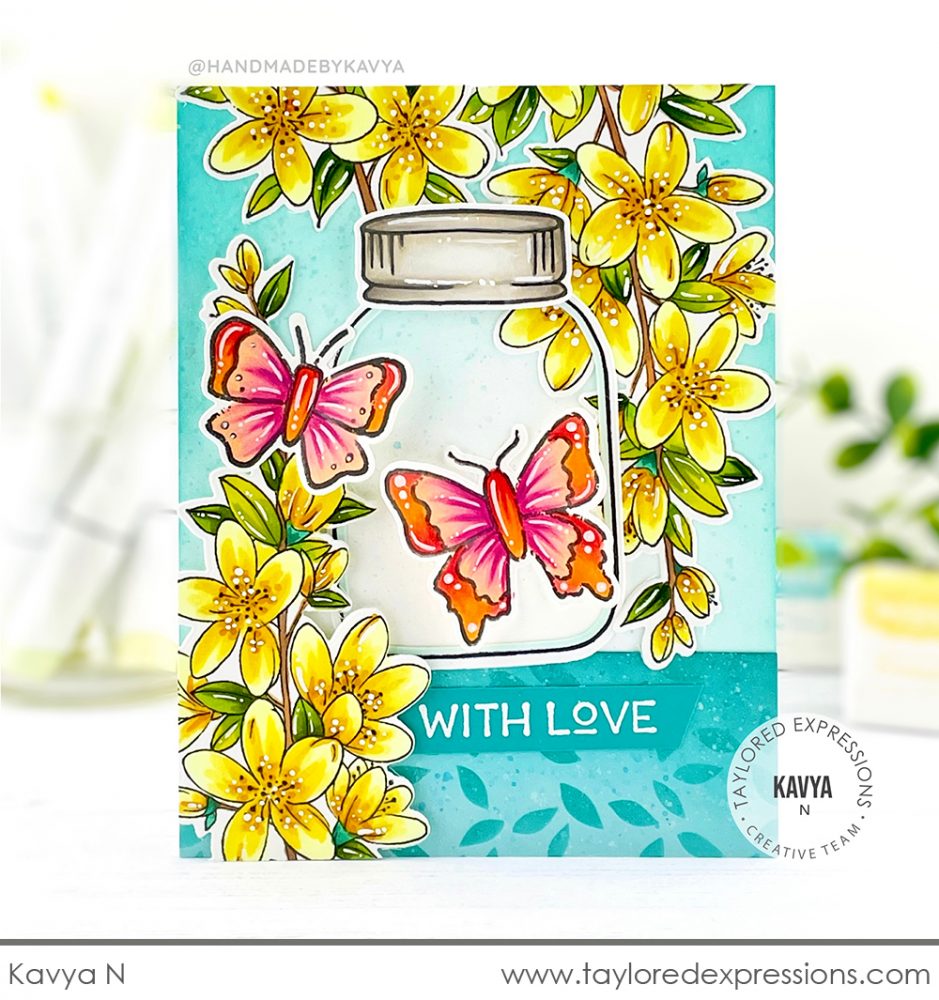
The pretty scene on this card by Kavya was inspired by an image she saw of butterflies in a jar between yellow flowers and she recreated it on this card! She used the Bursting Blooms stamp set for the yellow flowers, coloring them with Copic markers and cutting them out with the new coordinating die. The butterflies are from the Social Butterflies Cling & Clear Combo set (+ coordinating dies) and the jar was stamped with the Mason Jar stamp set. Kavya set the scene on a turquoise background that really makes the colorful flowers and butterflies stand out!
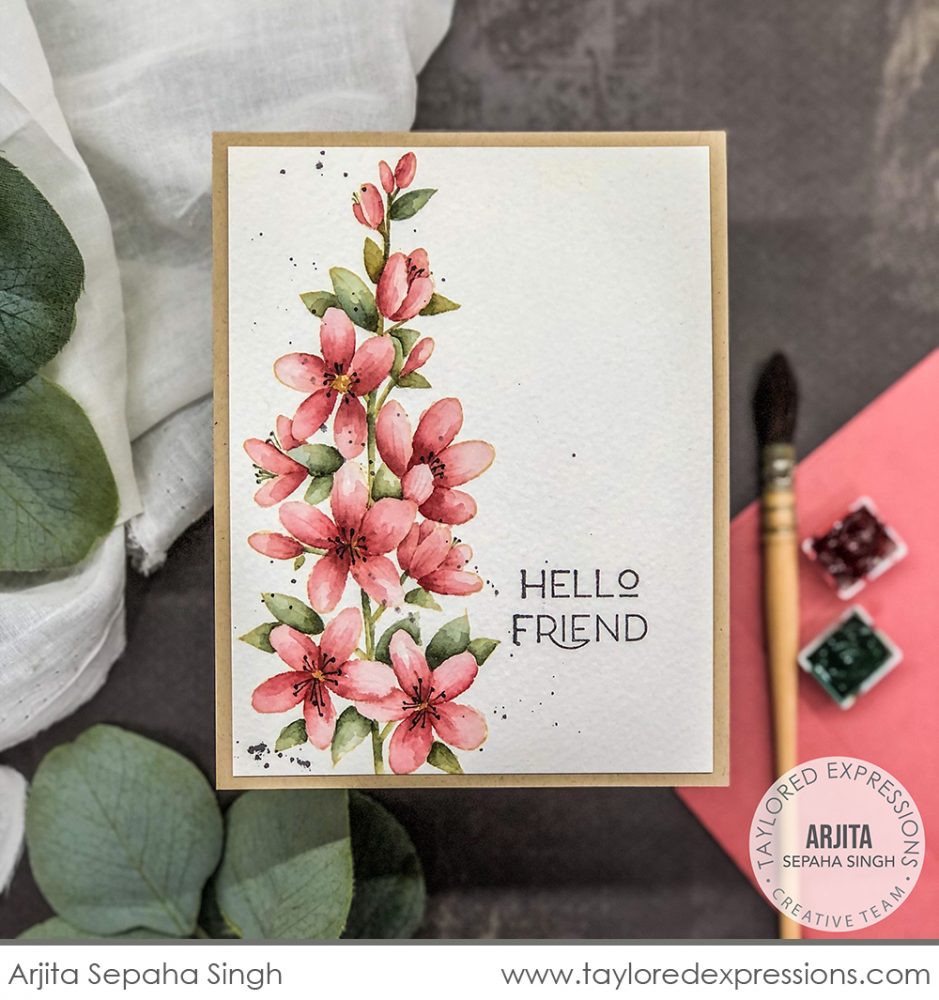
The final card I have to share for this week is this stunning no-line watercolor card created with the Bursting Blooms stamp set by Arjita Sepaha Singh. The blooms are stamped with a light ink tone (Sea Salt ink works very well for this technique) onto watercolor cardstock and color is added with watercolor paints. Arjita used a fine point black marker to add the details in the centers of the flowers, stamped the ‘hello friend’ sentiment in Oreo ink next to the blooms, and added the painted panel to a Toffee card base.
That wraps up for the inspiration for this week with the TE Exclusives that are now available to purchase + the new die collections! We can’t wait to see what all of you create! Make sure to share your creations over on the Fans of Taylored Expressions Facebook Page. Next, get ready for our fall release! I’ll share a sneak peek this weekend and then make plans to check out the new products and inspiration that we have coming your way next week!
Did you know that you can subscribe to our blog and get our posts right in your inbox? Just sign up right HERE – that’s all there is to it to make sure you don’t miss any of our crafty inspiration!


