Apr 26, 2022
We are Over the Moon About Our NEW Kit!

Hey, crafty friends! It’s Taylor here today and it’s time for the release of our newest craft kit! We are literally over the moon to introduce the new Over the Moon Kit. This kit, designed by Heather Nichols, has a celestial theme that is designed to celebrate our loved ones and the achievements and special events in their lives. We are also debuting a coordinating Foil It pack, sold separately from the kit, featuring toner printed designs on Blue Corn cardstock. The foiling results on the darker cardstock are stunning and coordinate beautifully with the kit! I am so excited to share this kit with you and I know you will love all of the inspiration created by the TE Creative Team with it. Get ready to scroll through all the amazingness!
What else is unique about Taylored Expressions kits? In keeping with our mission to Share Joy, we encourage you to send the cards you create by including six envelopes along with six custom envelope seals to match the theme of the kit. Each kit comes packaged in a zippered pouch with a coordinating vinyl sticker making it easy to keep the supplies organized. We create a special color story for each kit with lots of inspiration from our Creative Team to get you started!
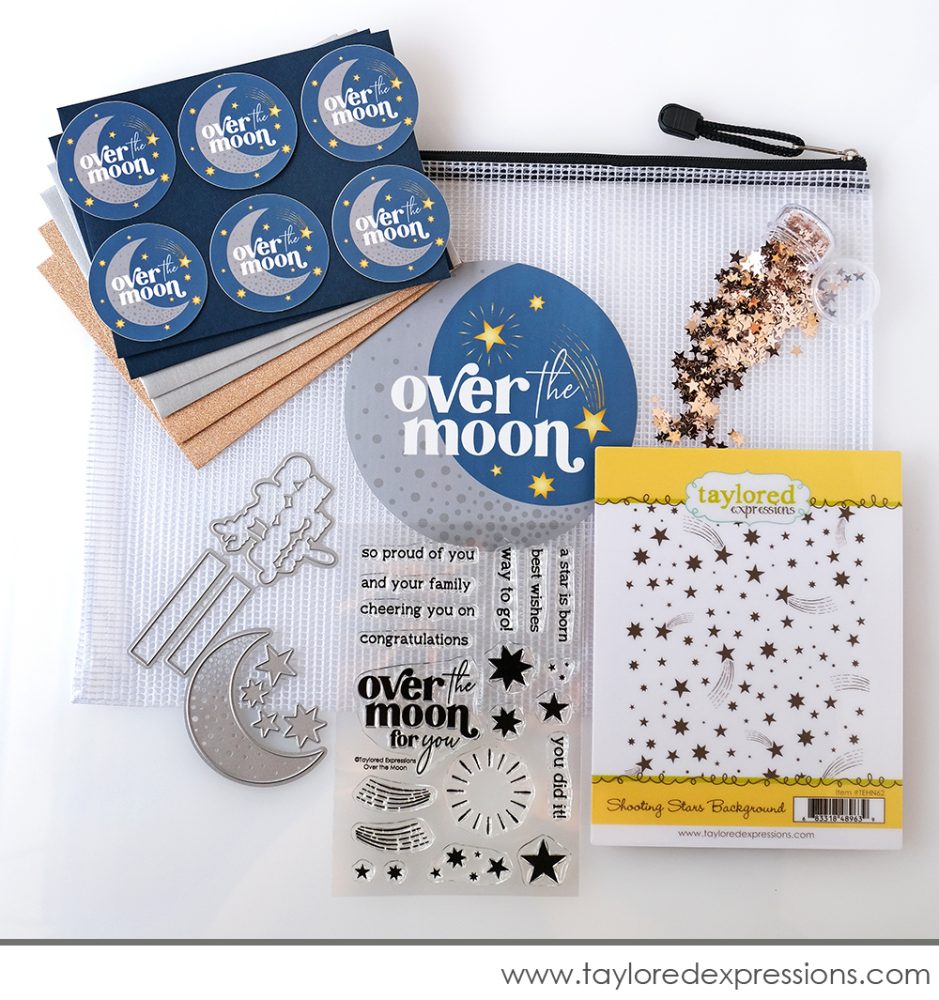
Our Over the Moon Kit retails for $68, comes in a zippered pouch with a custom sticker, and includes:
- Clearly Crafty Over the Moon stamp set
- Over the Moon die collection
- Shooting Stars Background stamp
- Moon & Stars die collection
- Mini Pot of Rose Gold Stars
- A2 Envelope Pack (6 envelopes, 2 each of: Blue Corn, Rose Gold Sparkle, and Metallic Silver)
- Envelope Seal Pack (6 seals)
Limited quantity available
Most items are not available to purchase individually. You will be able to purchase additional envelope seals (pack of 10), Foil It – Over the Moon panels (pack of 12), and Rose gold foil cardstock separately from the kit.
PLEASE NOTE:
The vast majority of the individual items included in our cardmaking kits will not be available to purchase individually in the future. While we may, on rare occasions, release a kit item into our regular inventory at a later time, this will no longer be an option for the majority of the products. Instead, they will remain exclusive to the kits and may only be purchased as part of a kit while supplies last.
Since our curated cardmaking kits can sell out quickly, we encourage you to purchase the kits you love when they are released, as they will not be restocked once they have sold out. We intend to release a kit the last Tuesday of each month at 9am (Central), and a sneak preview will be posted on the TE Blog on the Saturday prior to the release.
To be notified of new kit releases, be sure to subscribe to our newsletter and follow us on Facebook and Instagram! Stay tuned for another fabulous kit next month!
>>>>><<<<<
Click below to shop and then keep scrolling for a closer look at the kit products and inspiration from the TE Creative Team:

Today’s video is from Heather Nichols and she is sharing more about the new Over the Moon Kit and Foil It – Over the Moon panels. She created a card design with the kit and then stepped it up into an interactive shaker card. Watch how her cards came together in the video below:
In the video, Heather shares a closer look at what’s included in the Over the Moon Kit. She shows the new Foil It – Over the Moon panels and foils them with Rose Gold Deco Foil using a Minc machine and she shares how to cut out and emboss the moon from the Moon & Stars die collection. Heather creates the first card design using the kit and then shares how to use the same design for a shaker card with a few easy steps.
Here is a closer look at the cards that Heather shared in the video:
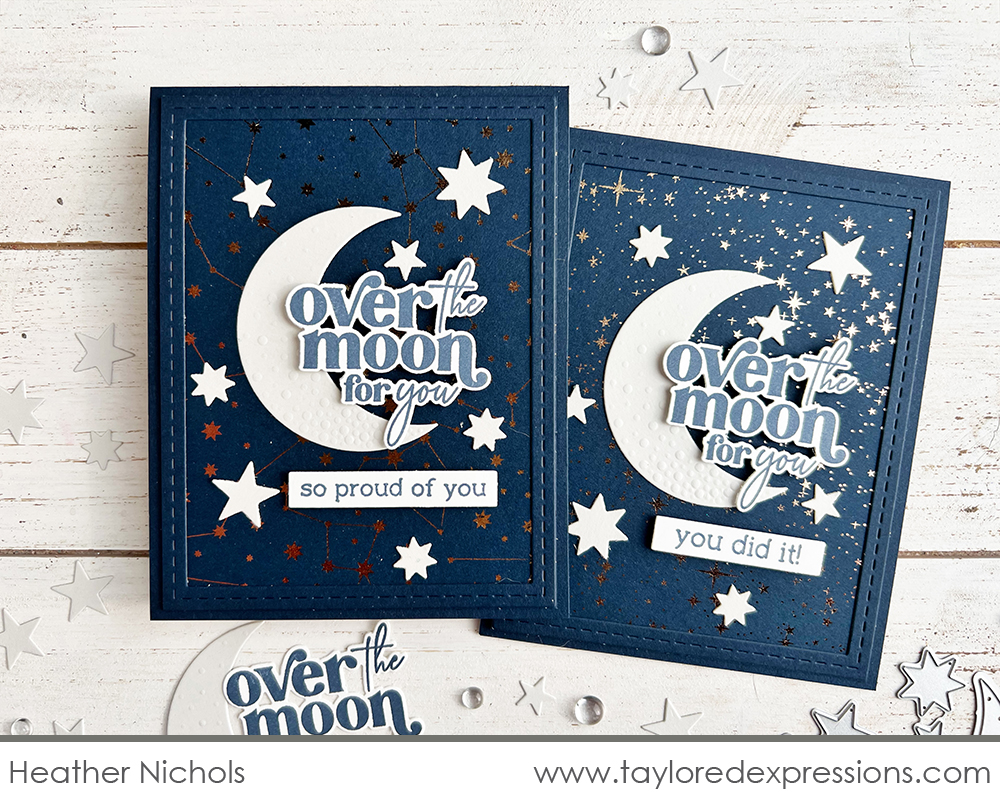
The foiling on the Blue Corn cardstock really sets thing up for a great card design! There are four different panel designs in the Foil It – Over the Moon pack and Heather shares all of them on the cards she created. I think you’ll agree that the shimmer and shine on the dark colored cardstock is amazing!
For this first set of cards, Heather added the moon with the ‘over the moon…’ sentiment nestled into the crescent shape. I love the embossed texture on the moon that adds additional dimension and texture to your project. It’s so easy to emboss the texture on the moon using the die and embossing pad kit with your die cut machine. Heather shows you how to do it in the video above!
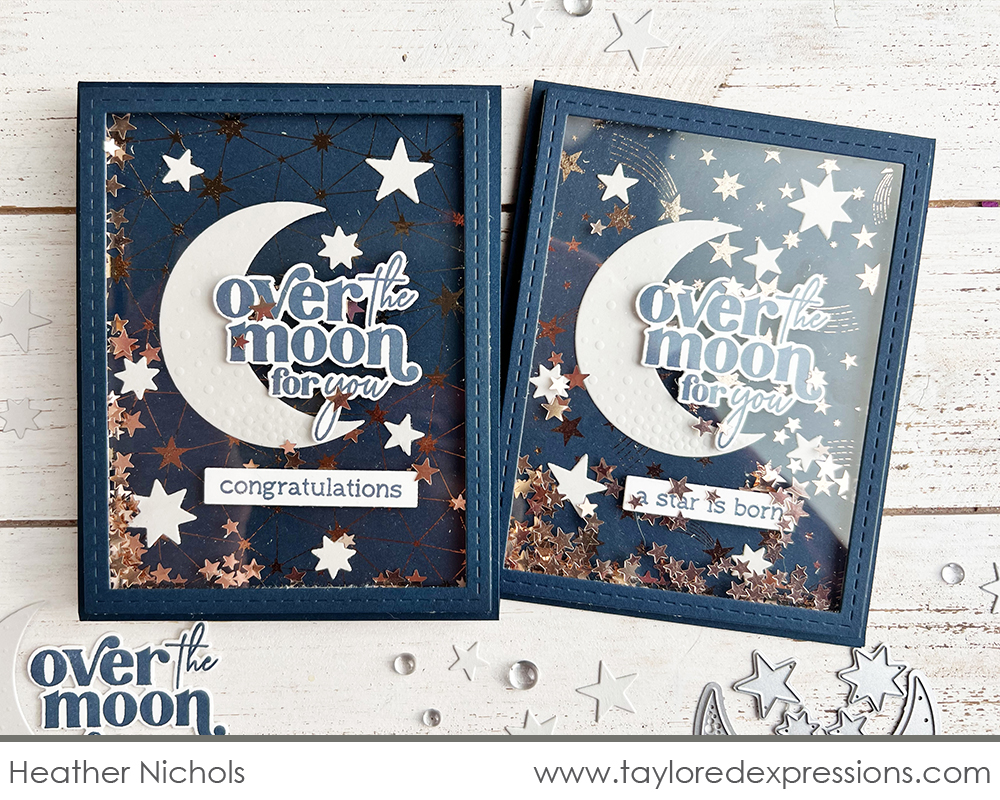
On the first cards, Heather framed the design with the largest Stitched Frame Stacklets 1 die cut from Blue Corn cardstock. For the shaker card, instead of adhering the frame directly to the panel, she backed the frame with window acetate, adhered the frame to the panels with foam sticky strips, and filled the shaker with Rose Gold Stars from the kit.
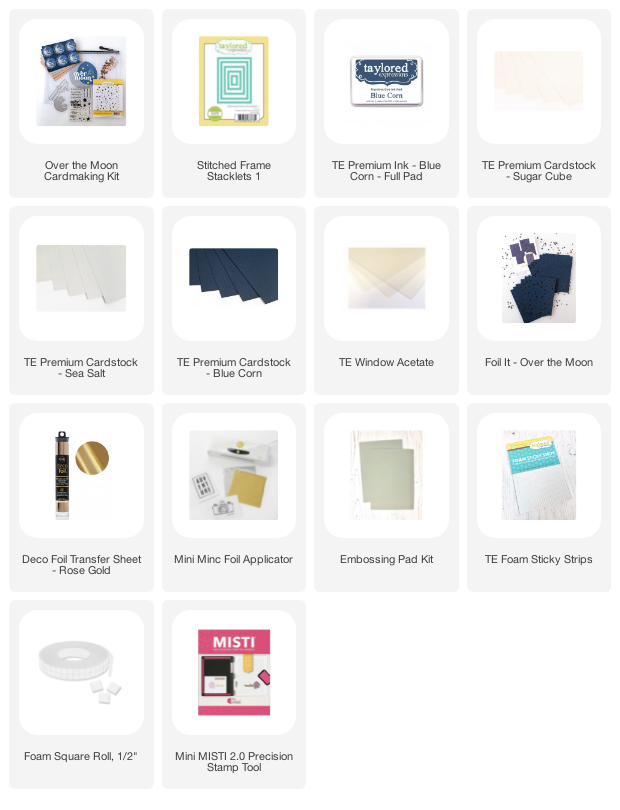
Check out the list below for all of the supplies that Heather used to create her cards:

Now, let’s take a closer look at the different elements of the kit as well as more inspiration from the TE Creative Team. Note: Most of these items are only available as part of the Over the Moon Kit.
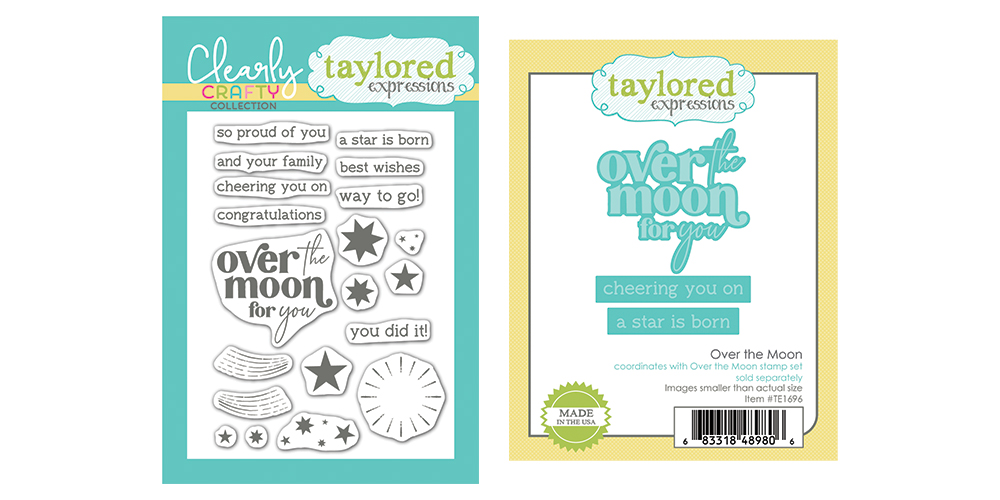
Let the special people in your life know that you share in their excitement for big achievements and events with the Clearly Crafty Over the Moon stamp set. The set includes the main ‘over the moon for you’ sentiment along with smaller, coordinating sentiments so you can customize your cards perfectly! Add shining and shooting stars to your cards to accent your sentiments, create backgrounds, and more.
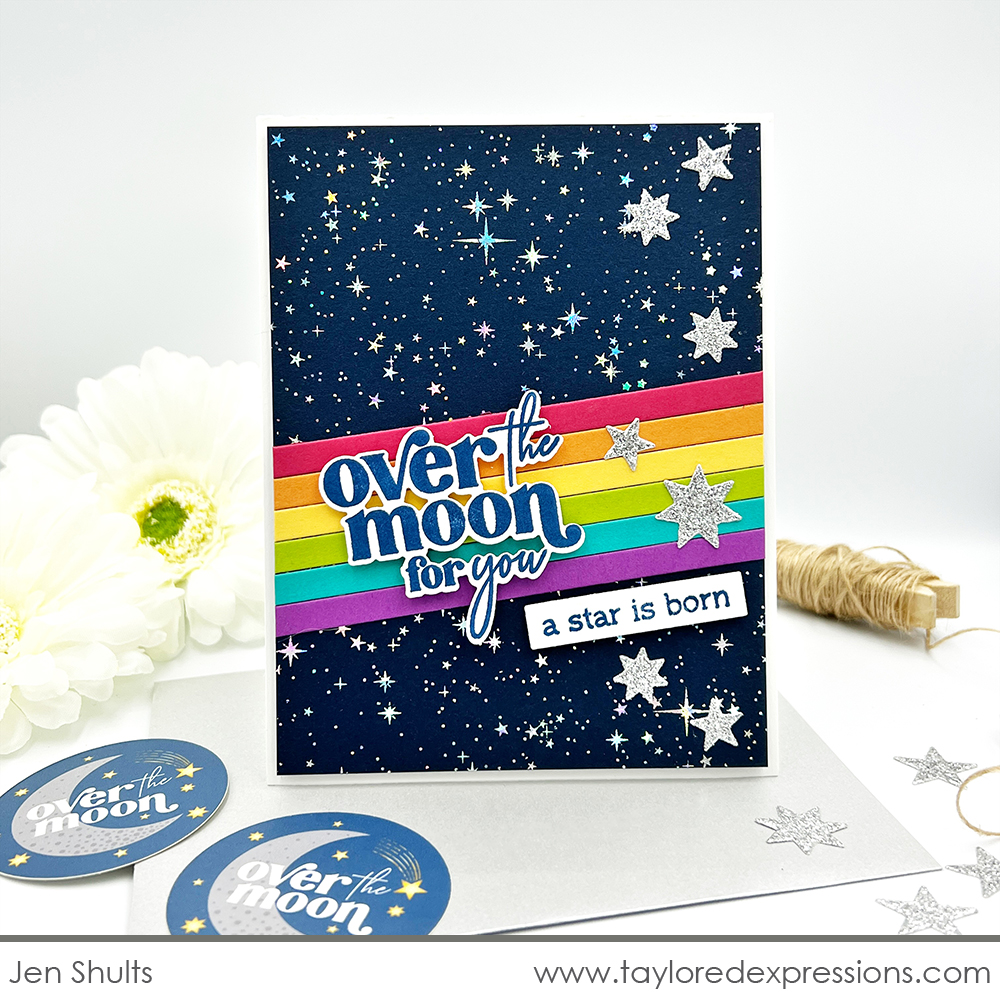
Jen Shults paired the ‘over the moon for you’ and ‘a star is born’ sentiments from the Over the Moon stamp set on this card. The sentiment is perfect for either a baby card or to celebrate a loved one’s shining star moment! The background on the card is from the Foil it – Over the Moon pack (it might look familiar if you love our Twinkle Twinkle Background) and I love the rainbow that Jen created with the Easy Strips – 1/4″ die cut from a rainbow of cardstock colors.
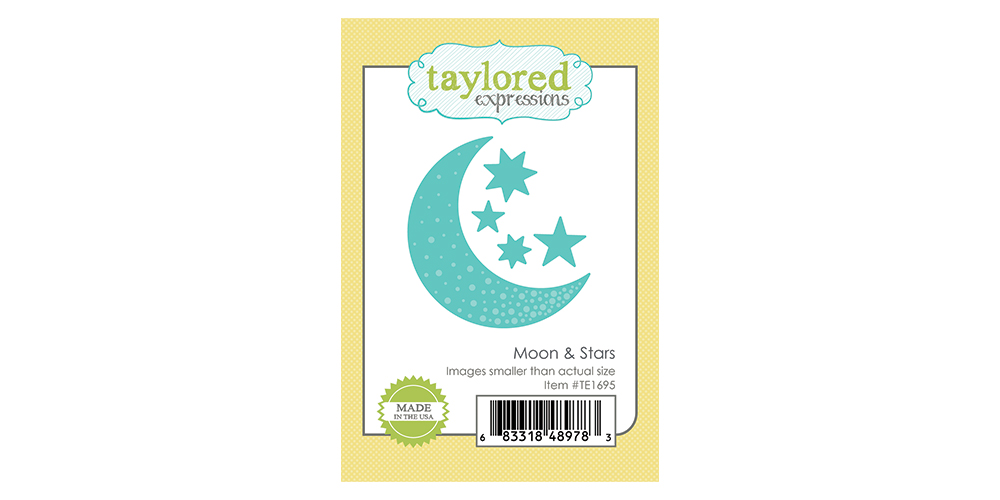
The Moon & Stars die collection includes stars and a crescent moon that you can cut out and emboss with a dotted texture through the etched openings of the die. Use an embossing pad kit with the moon die cuts and your die cut machine for the best embossing results.
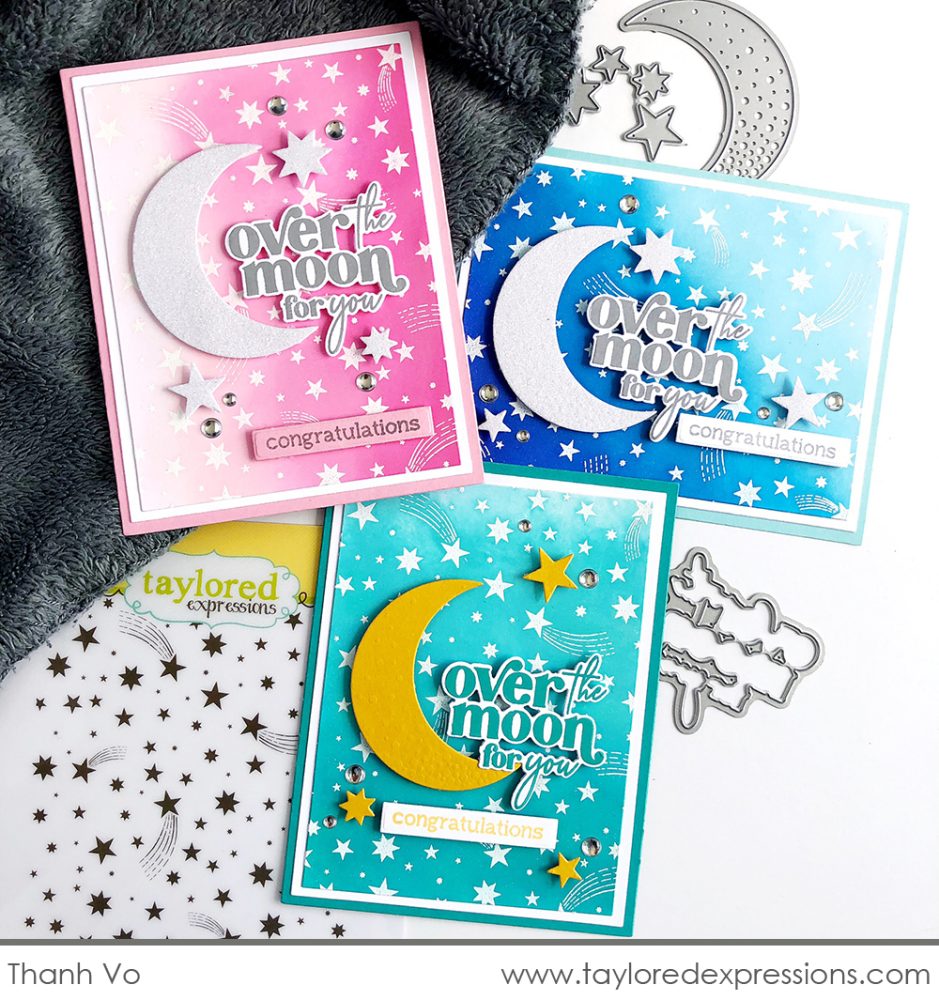
We are excited to have Thanh Vo join us for the Over the Moon Kit release and she used the Moon & Stars die collection on this trio of congratulations cards. For the top two cards, Thanh cut out the moon and stars from white glitter cardstock. The moon and stars are cut out from Pineapple cardstock for the card on the bottom and the moon is embossed with the embossing pad kit using a die cut machine. I love the different colored backgrounds that are ink blended for each card with the Shooting Stars Background embossed over the top in white. The cards are finished off with sentiments from the Over the Moon stamp set and a few Bits & Pieces – Drip Drops.
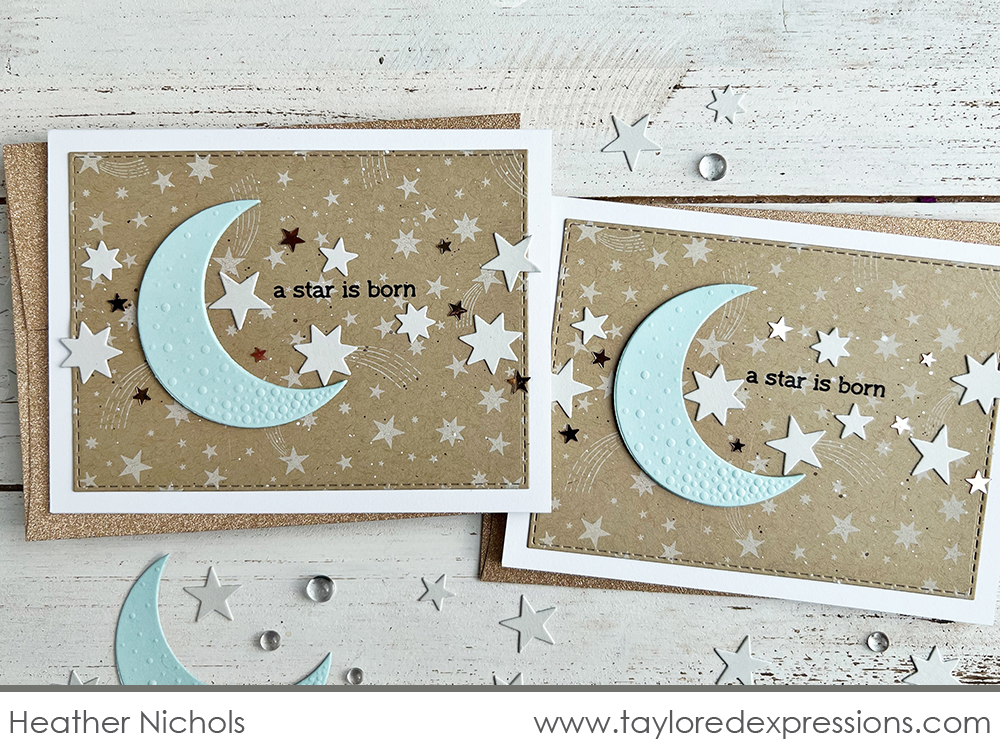
Heather Nichols die cut and embossed the moon from Salt Water Taffy cardstock using the Moon & Stars die collection for this baby card. She added the moon along with stars cut out from Sea Salt cardstock to a background that is stamped with the Shooting Stars background (more info on that stamp below) in Sugar Cube ink on Toffee cardstock. The finishing touch is Rose Gold Stars from the kit sprinkled across the card to add a bit of sparkle.
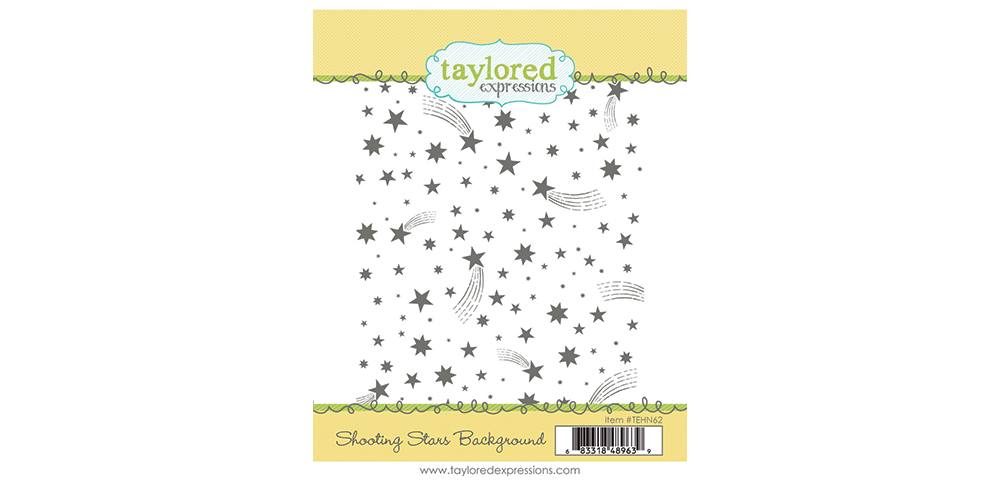
Make a wish with the Shooting Stars Background stamp! Use the background on cards with a celestial theme or it can even be used used on cards to celebrate a birthday, new baby, and more. The star filled design fills up an A2 sized card front and will work in both a horizontal or vertical card format.
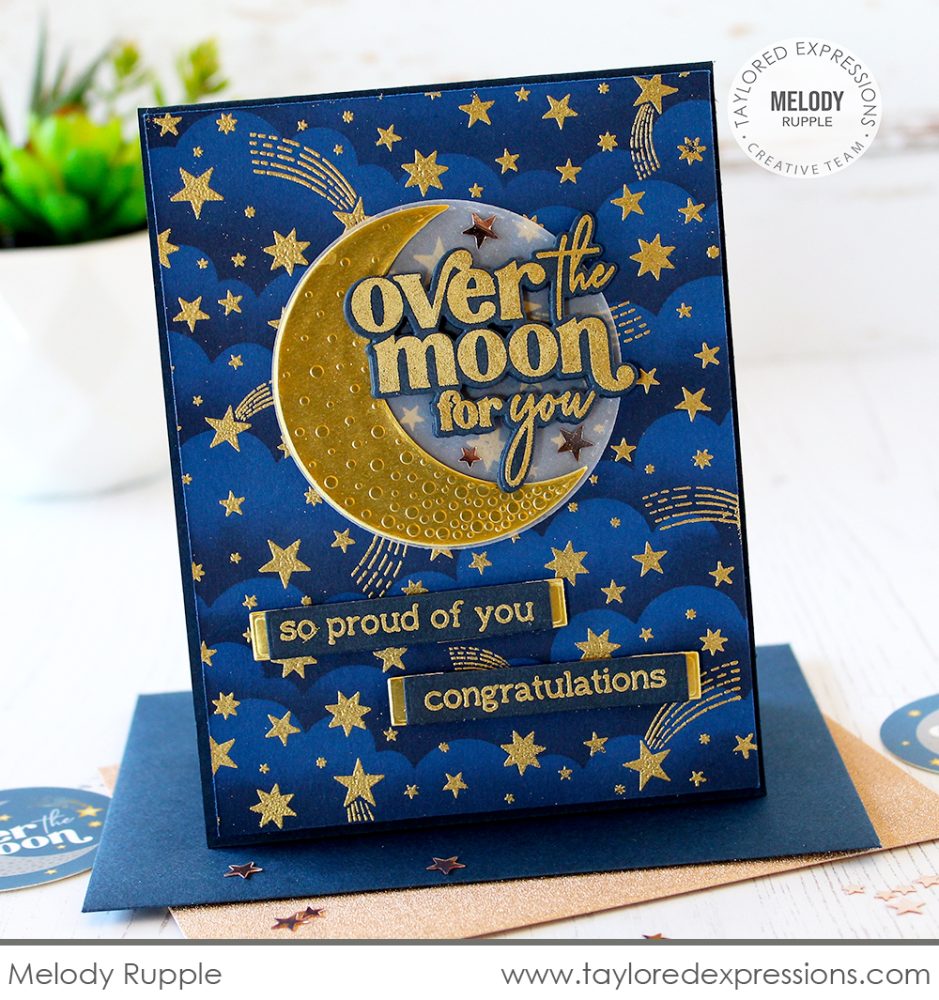
Melody Rupple created a stunning background on this card created with the Over the Moon Kit. She used the Set the Scene – Clouds Stencil Strips to stencil the background with Blue Corn ink on Blueberry cardstock and then embossed the Shooting Stars Background stamp over the top in gold. It’s the perfect backdrop for the moon cut out and embossed from gold foil cardstock. The sentiments from the Over the Moon stamp set are embossed in gold on Blue Corn cardstock and cut out with the coordinating dies.
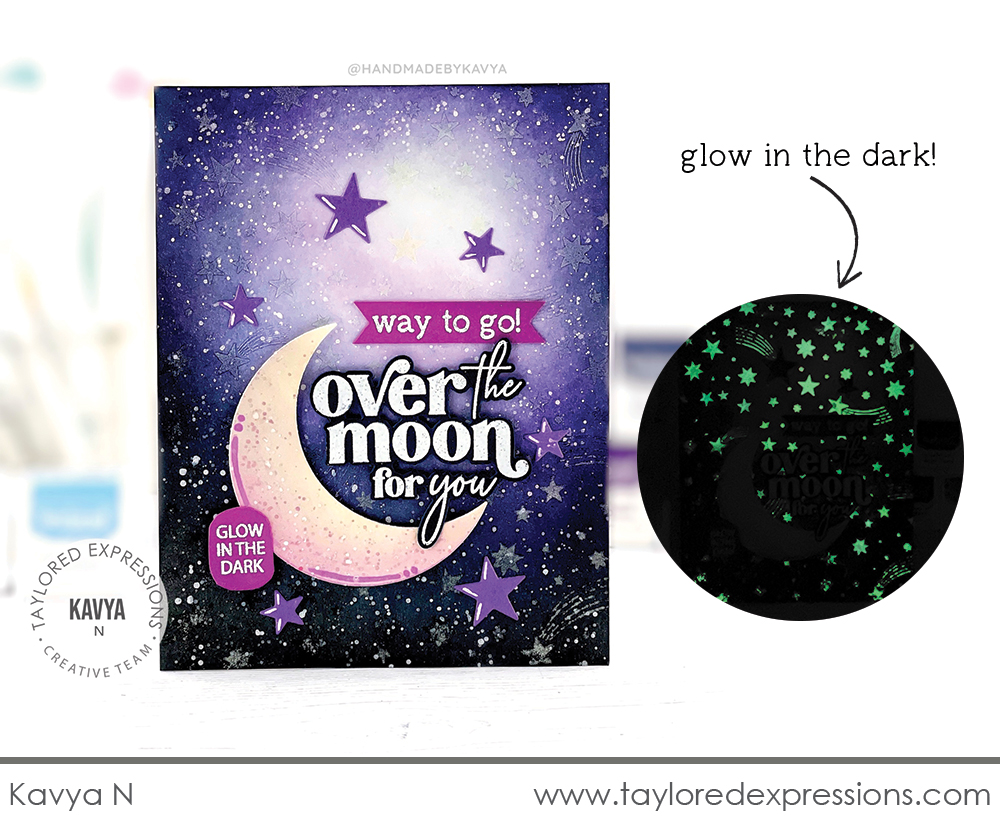
I love how Kavya embossed the Shooting Stars Background on her card with Glow-in-the-Dark embossing powder! She first ink blended the background and then embossed the stars over the top – she even added a sentiment from the I’m Interactive stamp set for the card recipient! Kavya added lots of splatters to the moon die cut and background to add to the celestial look along with die cut stars. The sentiment is put together with the ‘way to go!’ and ‘over the moon for you’ sentiments from the Over the Moon stamp set.
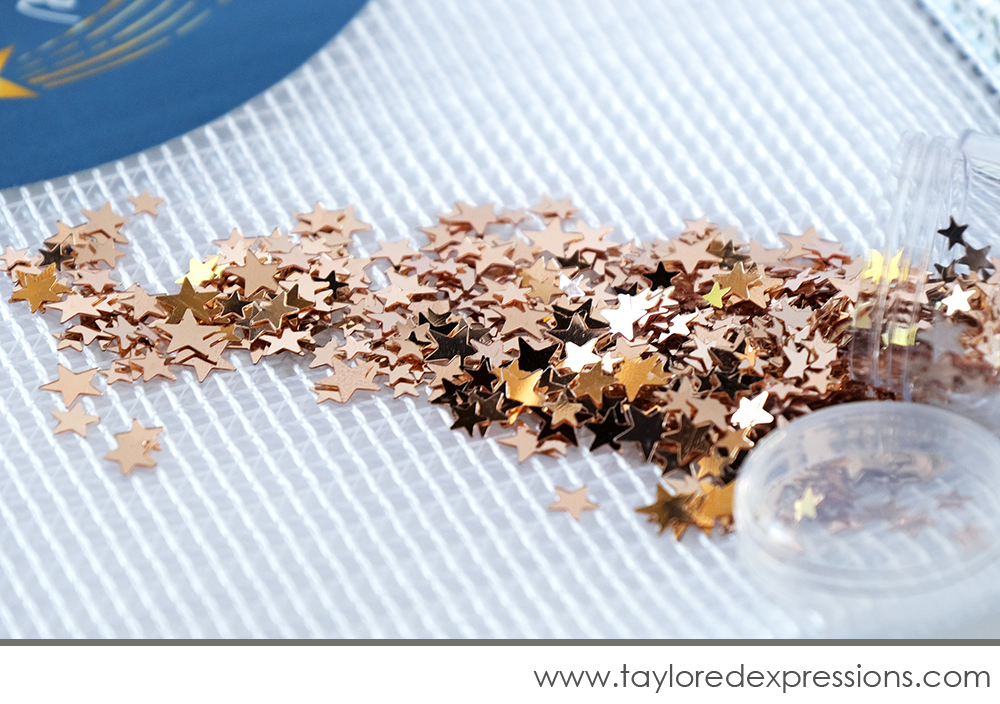
The kit includes a small pot of Rose Gold Stars perfect for adding sparkle and shine to your projects. Use a few stars to embellish your cards, use as a shaker filling, and more!
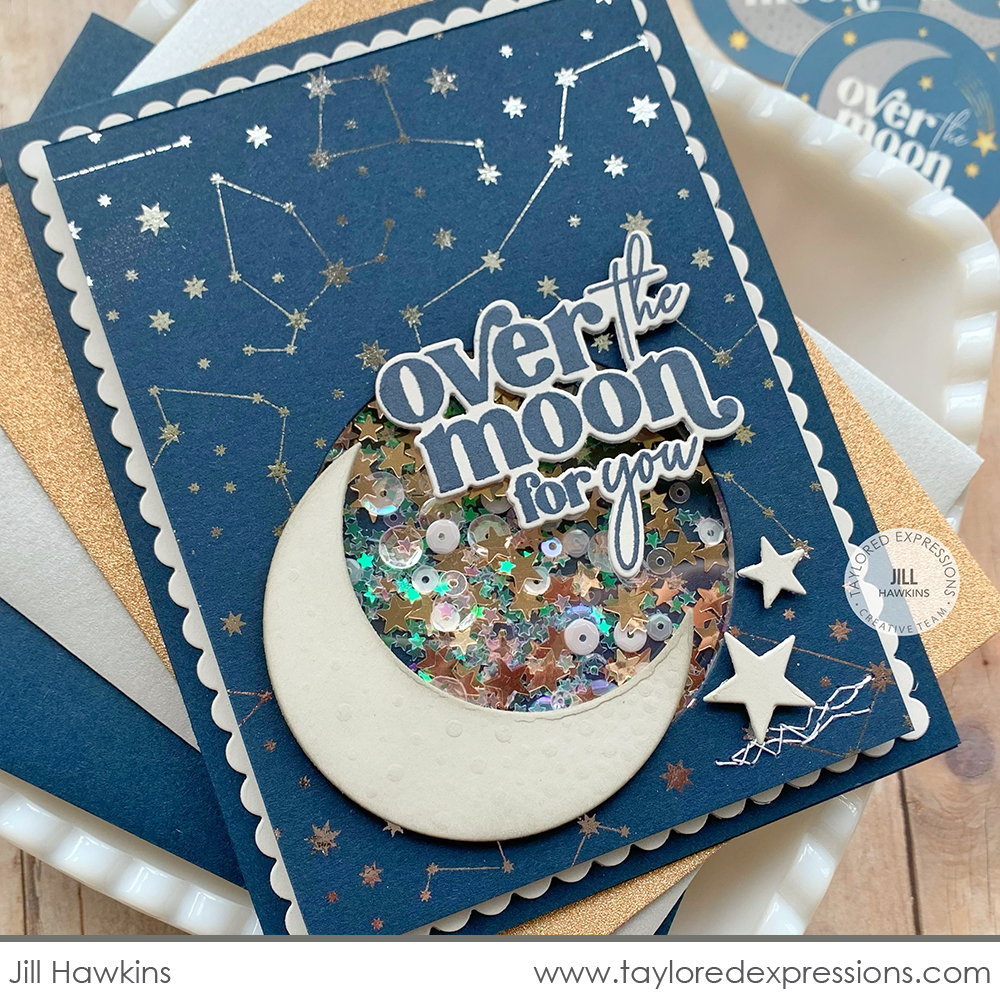
Jill Hawkins used the Rose Gold Stars as a filling for a shaker card created with the Over the Moon Kit. She cut a circle opening from a Foil It – Over the Moon panel, backed it with window acetate, adhered it to a Petite Scallop Rectangle Stacklets die cut, and filled the shaker with a mix of Rose Gold Stars and Snow Flurries sequins. The moon is tucked up to the side of the shaker opening and Jill finished the card with the ‘over the moon for you’ sentiment, die cut stars, and a bit of her signature stitching.

The Over the Moon Kit includes 6 envelopes and 6 custom envelope seals that coordinate with the theme of the kit. The six A2 envelopes are 2 each of Blue Corn, Rose Gold Sparkle, and Silver Metallic. The coordinating envelope seals are made from durable, weatherproof material and are sure to bring a smile to the recipients of your cards.
Additional Over the Moon Envelope Seals are available to purchase in packages of 10.
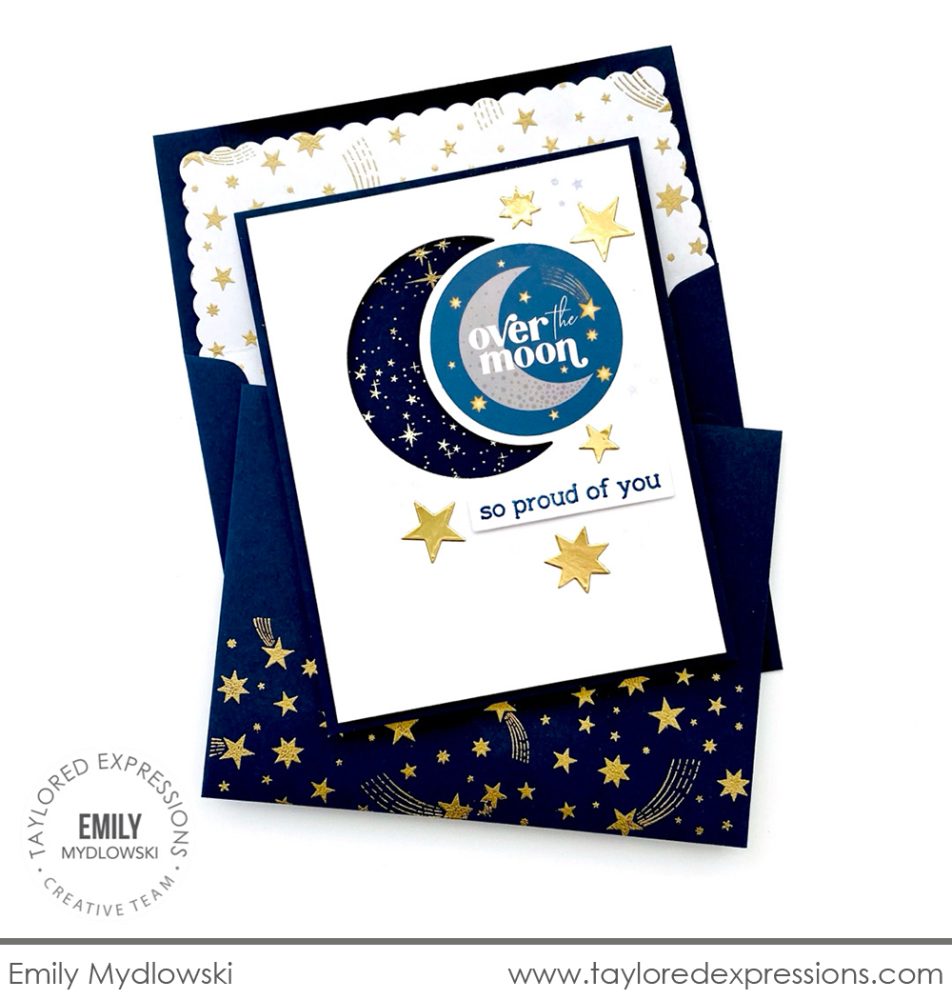
Emily Mydlowski did it again with this kit and used one of the envelope seals as a feature on this card! She offset the envelope seal from a circle cut from a Sugar Cube panel and layered it over a Foil It – Over the Moon panel. The result is a crescent moon shape with lots of shimmer and shine. Emily sprinkled a few gold foil cardstock stars across the card and added the ‘so proud of you’ sentiment from the Over the Moon stamp set.
>>>>><<<<<
In addition to the kit, we are offering:
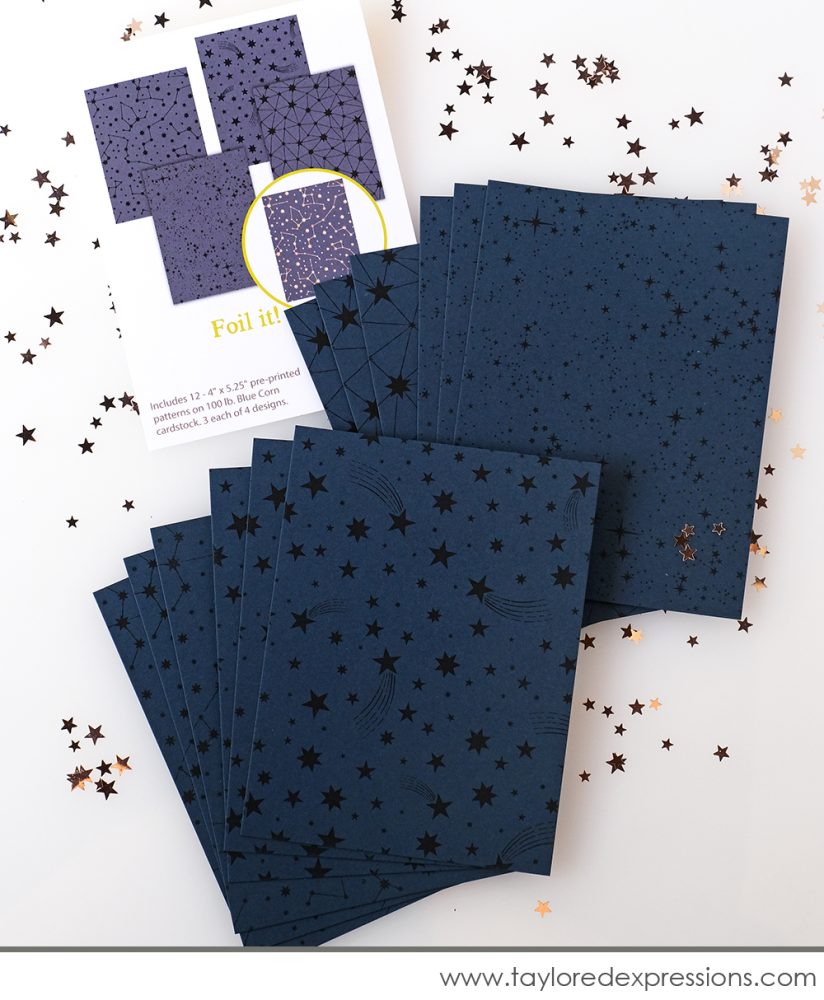
Add a celestial pattern to your projects with the Foil It – Over the Moon panels. We are excited to offer toner printed panels printed onto Blue Corn Cardstock to create a stunning foiled effect! Top any of the four designs included in the package with foil and send it through your Minc machine to add shimmer and shine! We recommend foiling at a high temperature (Minc setting 5) for best results when foiling on dark colored cardstock.
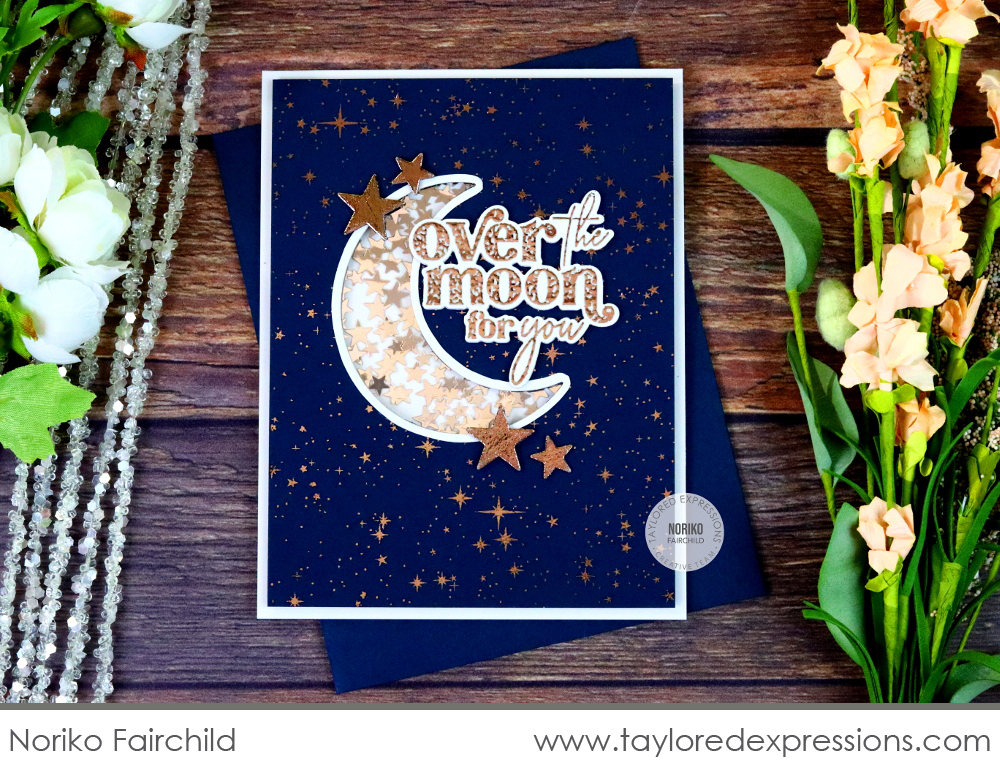
You’ve seen lots of examples of the Foil It – Over the Moon panels from the TE Creative Team on this post and here’s one created by our resident foiling expert Noriko Fairchild! Noriko foiled the panel as well as the die cut stars (using a sticky sheet) and the sentiment. The sentiment is embossed iwith clear embossing powder, topped with foil, and sent through a Minc machine at a low heat setting. The shaker element on the card is cut out with the moon from the Moon & Stars die collection and is filled with Rose Gold Stars.
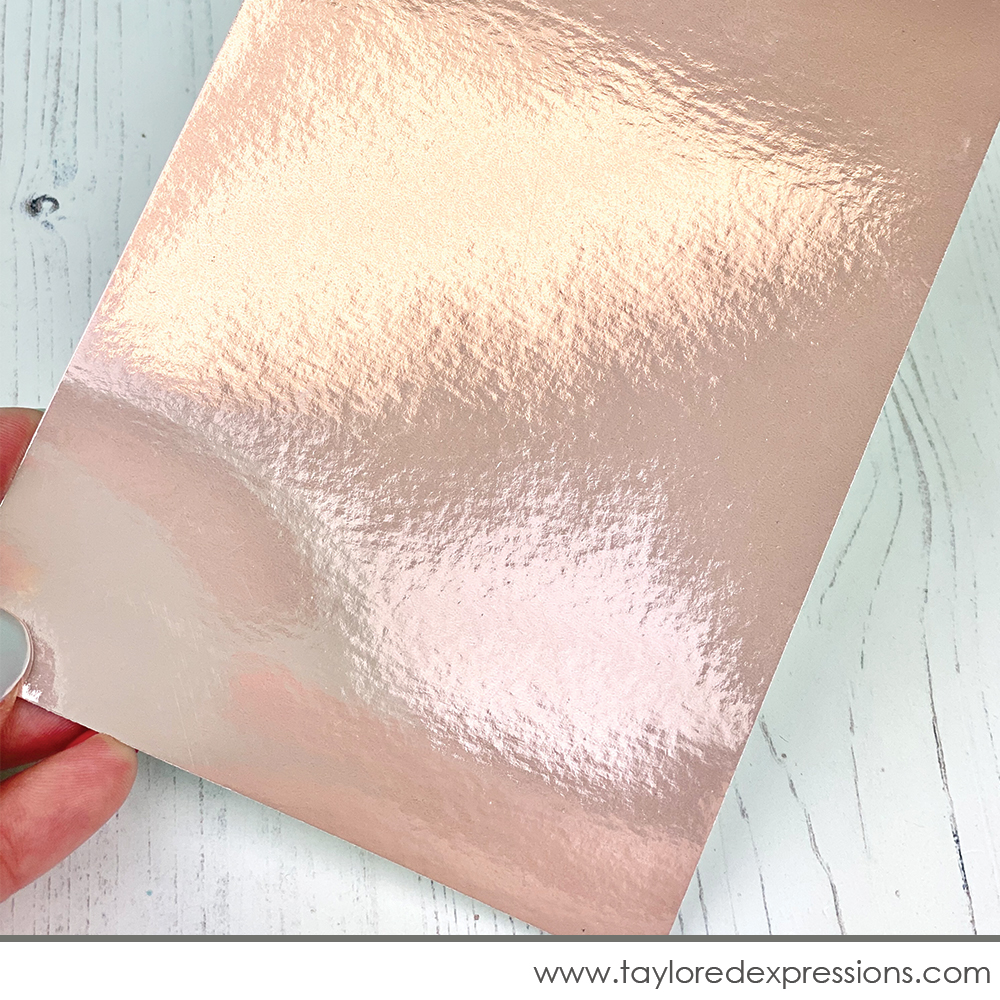
Add a little glitz and glamour to your crafting projects with TE Foil Cardstock. Available in Silver, Gold, and now Rose Gold, it has the perfect blend of durability and flexibility needed to make cards, crafts and more!

Join me live for “T Time” at 10AM Central on the Taylored Expressions Facebook Page. I’ll be sharing an unboxing and closer look at the items in the Over the Moon Kit. We hope to see you there – come join in the fun! (Don’t worry, if you miss the live you can always watch the saved broadcast afterward!)
Thank you so much for stopping by today! Make sure you check out the rest of the TE Creative Team projects and our guest designer using the Over the Moon Kit – click their faces below to hop to their blogs! Stop back again here on the TE blog on Thursday for more kit inspiration and a video from Joy Baldwin. See you then!


