Aug 12, 2022
These Projects are Too Cute to Spook – With NEW Halloween Products!
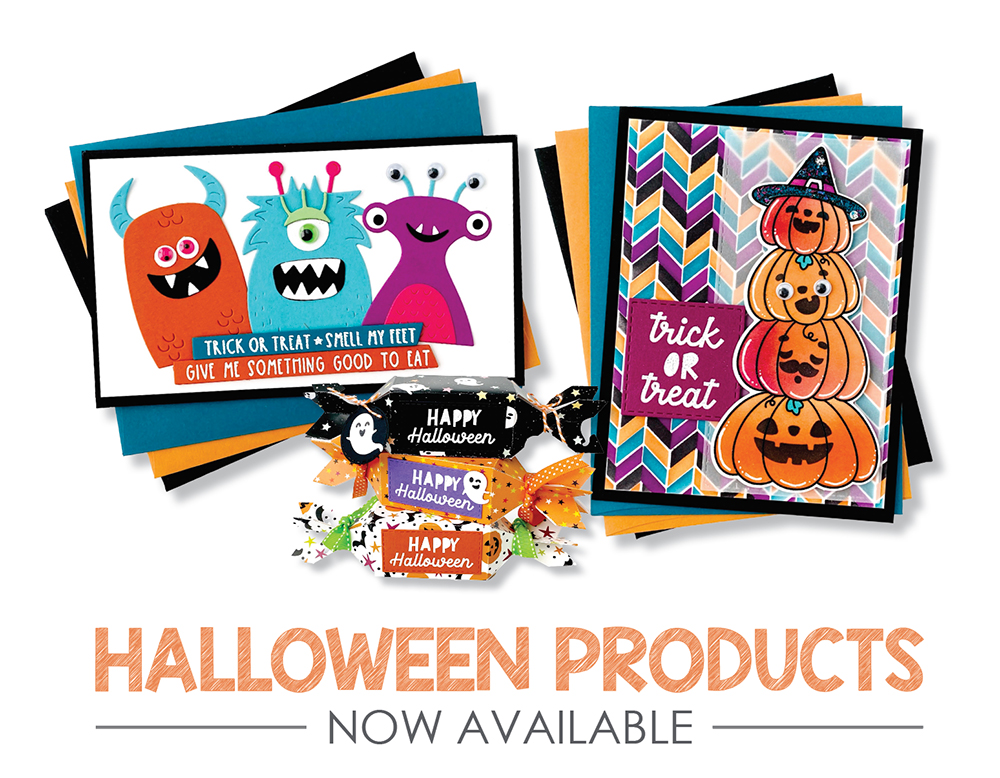
Hey, crafty friends! It’s Heather here today bringing you more inspiration for our Halloween release! While my girls are older and we don’t do the activities that we did when they were younger to celebrate, I still love to put together special treats for them and for other special people in our life. There are so many fun products from this release that I have lots of ideas for! The Stack-O-Jacks products are on my mind for creating personalized tags and I can’t wait to play with the possibilities using the Monster Squad dies! Tell me your ideas that you have for the new Halloween products, I would love to hear them! Maybe your inspiration will be sparked by a project that you see here today? I have a video to share with you featuring projects created with the Create-in-Quads Halloween Layering Stencil set and more projects to share from the TE Creative Team.
Just a note that our Boo Bundle promotion is SOLD OUT. You can still buy products from the bundle separately and you can still take advantage of earning the Gus & Gertie – Halloween Stamp & Die Combo set FREE with a purchase of $100+ in the TE webstore this week!
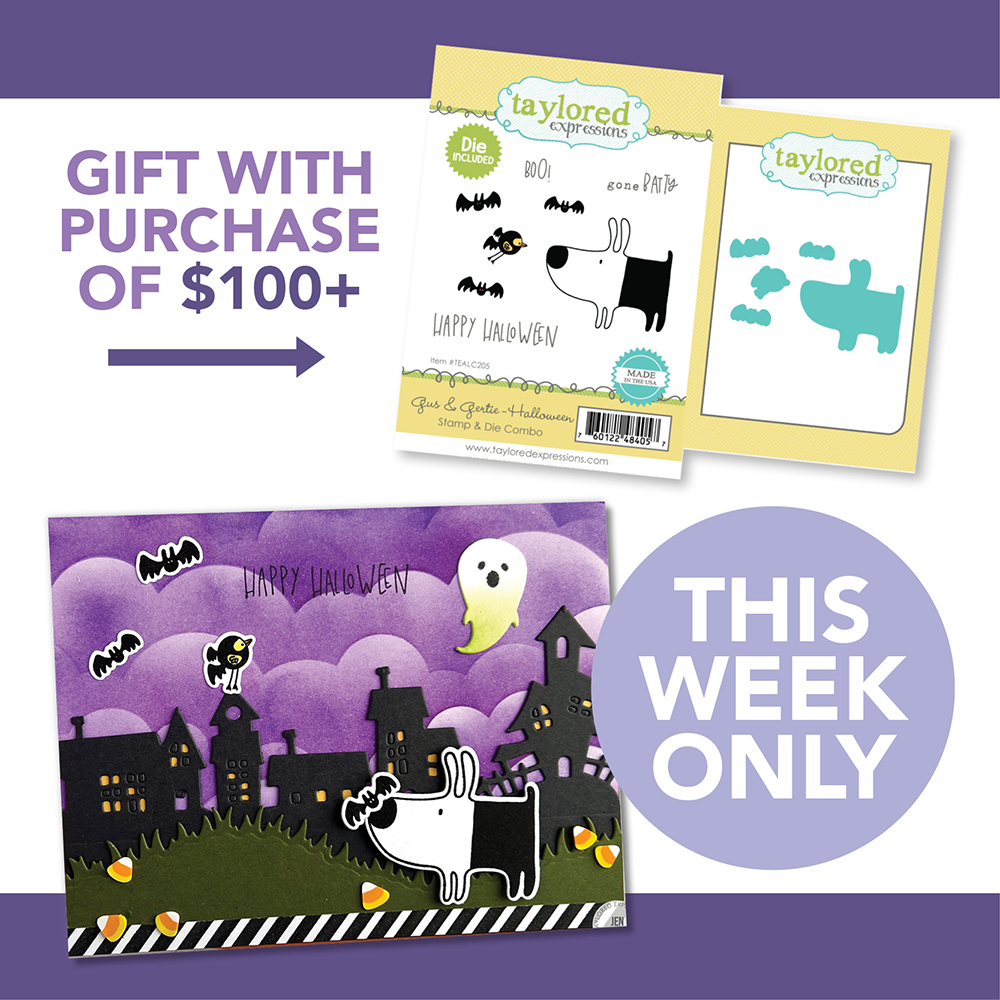
Also, this week only our FREE gift with any $100+ purchase is the Gus & Gertie – Halloween Stamp & Die Combo set! This adorable set features our favorite dog Gus and his buddy Gertie the bird dressed up as a bat for Halloween! The set also includes more bats and three Halloween sentiments along with dies to cut out the images. Offer valid while supplies last.
Click below to visit all of the new items in the TE webstore and then keep scrolling for all of today’s spooky inspiration.

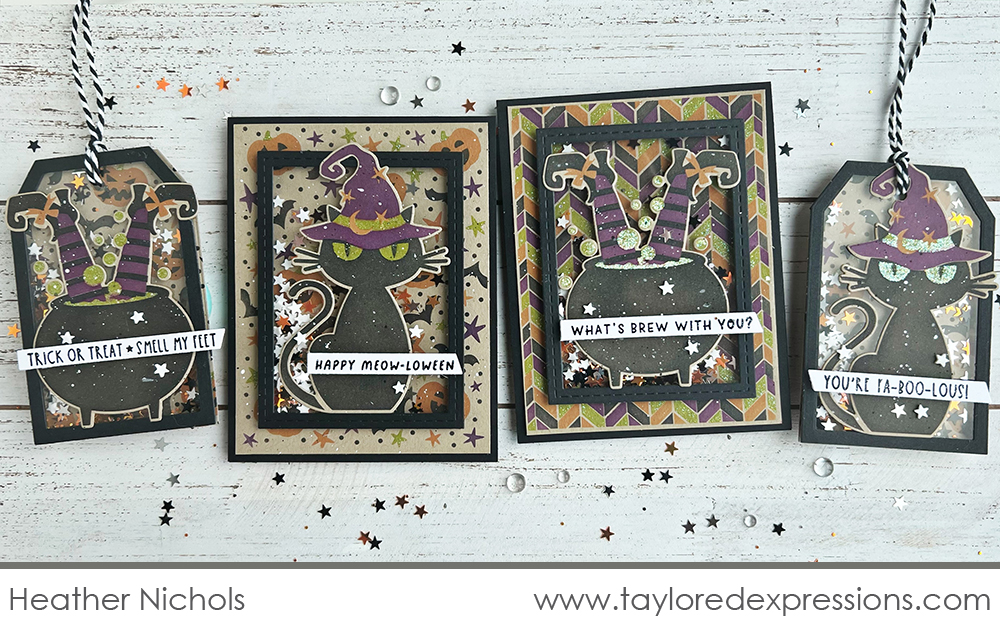
Today’s video from me (Heather Nichols) features the Create-in-Quads Halloween Layering Stencil set. I created two Halloween shaker cards combining the elements from the stencil along with two shaker tags. Watch the video below:
In the video, I show how to stencil the four A2 card panels using the Create-in-Quads Halloween Layering Stencil set. I stenciled the four layers onto Toffee cardstock from the Create-in-Quads Paper Pack using Candy Corn, Oreo, Passion Fruit (my new favorite Halloween purple!), and Lime Zest inks, adding a layer of Happy Medium – Iridescent Glitter to the Lime Zest layer. Once the stenciled design was dry, I cut the panels apart and paired each of the large images (cut out with the coordinating Create-in-Quads Halloween Cat and Create-in-Quads Halloween Cauldron dies) with one of the background designs to create two shaker cards. I also stenciled up additional panels with the Create-in-Quads Halloween Layering Stencil set to create a pair of Halloween shaker tags.
Here’s a closer look at the projects that I shared in the video:
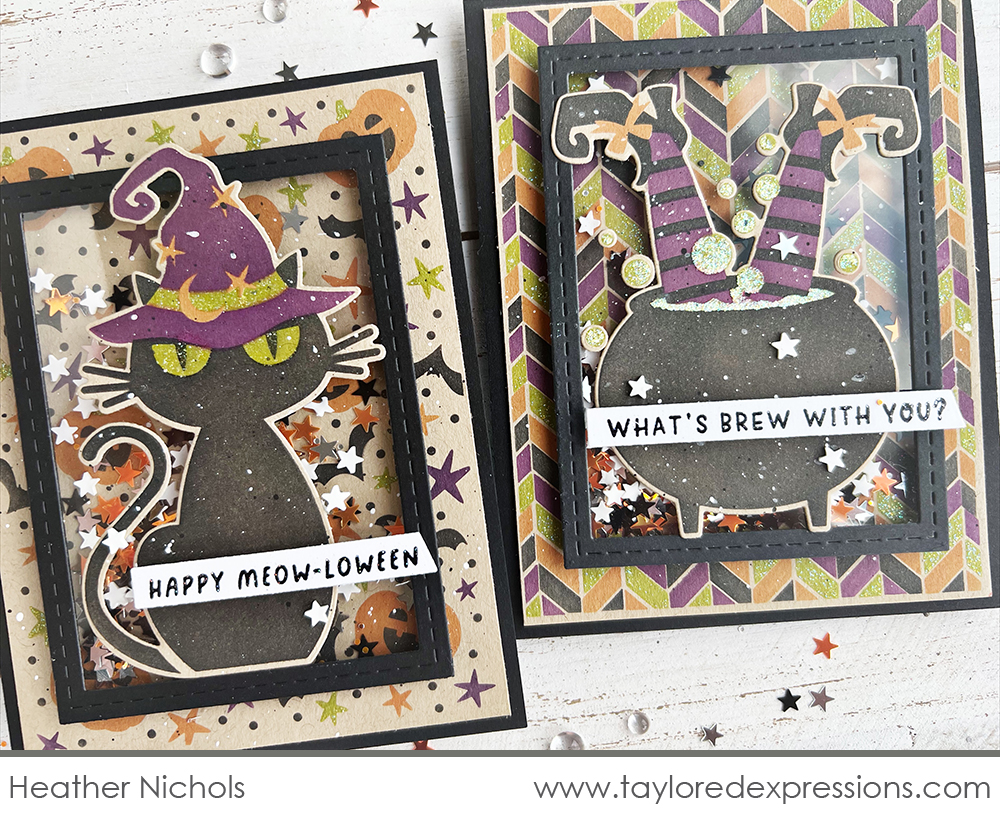
For the cards, I paired the cat with the background design featuring pumpkins and bats and I paired the cauldron with the houndstooth background design. To create the shaker, I backed a frame cut out with the Stitched Frame Stacklets 1 die collection from Oreo cardstock with window acetate, added foam sticky strips to enclose the shaker, and adhered it to the background over the shaker fillings: Bits & Pieces – Clay Stars and Bits & Pieces – Halloween Stars & Sparkles. The sentiments on all of my projects are from the Simple Strips – Halloween stamp that are embossed with Black Sparkle embossing powder and cut out with the Simple Strips – Asymmetrical die.
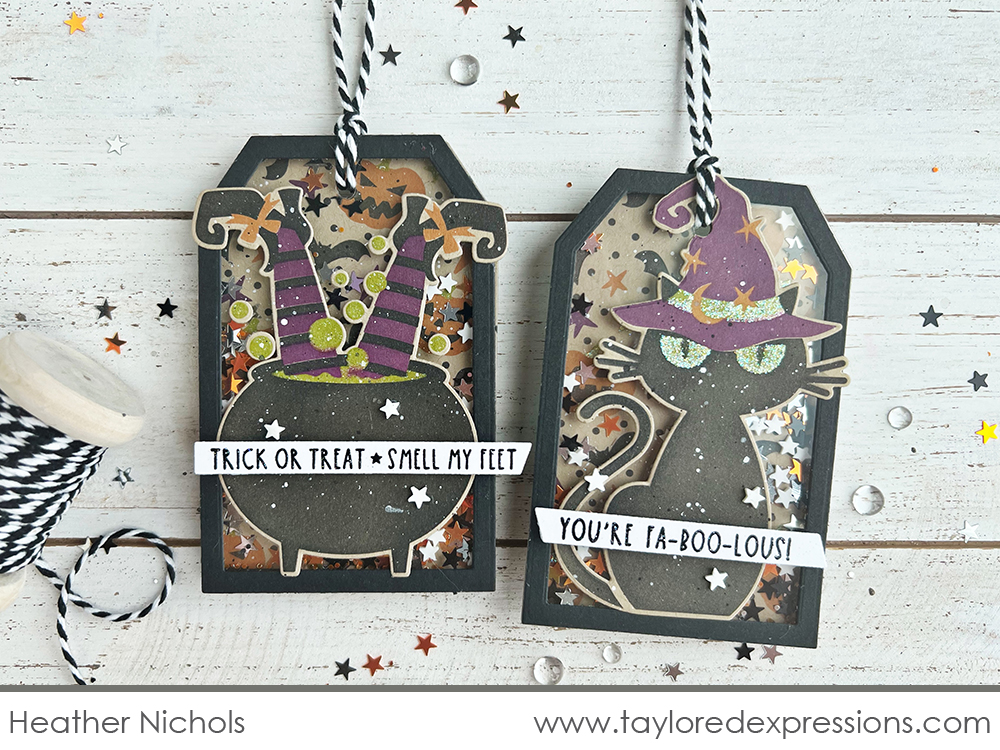
For the tags, I cut tag bases using the Tag Stacklets 2 die collection from the pumpkins and bats background pattern. For the frames, I paired dies from both the Tags Stacklets 2 and Pierced Tag Stacklets 2 die collections and cut them out from Oreo cardstock. The rest of the shaker tags are put together similar to how I created the cards and then to finish off the tags, I punched a hole at the top and added black and white twine.
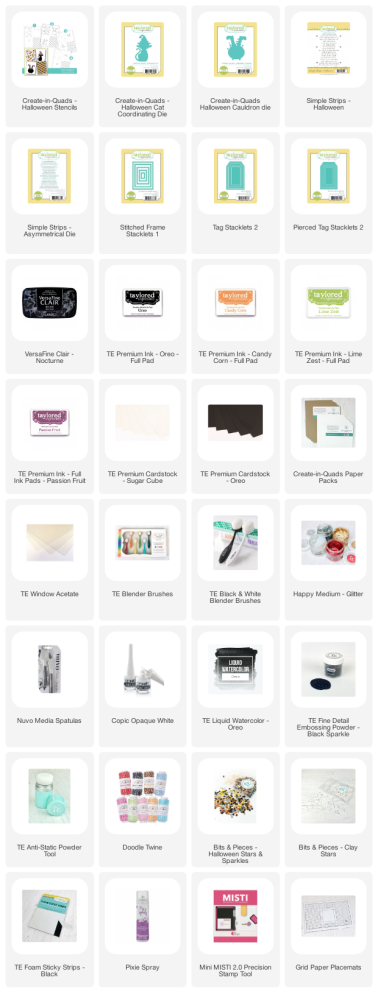
Check out the list below for the supplies that I used on my projects:

Here’s another round up of spooky projects from the TE Creative Team created with products from the Halloween release:
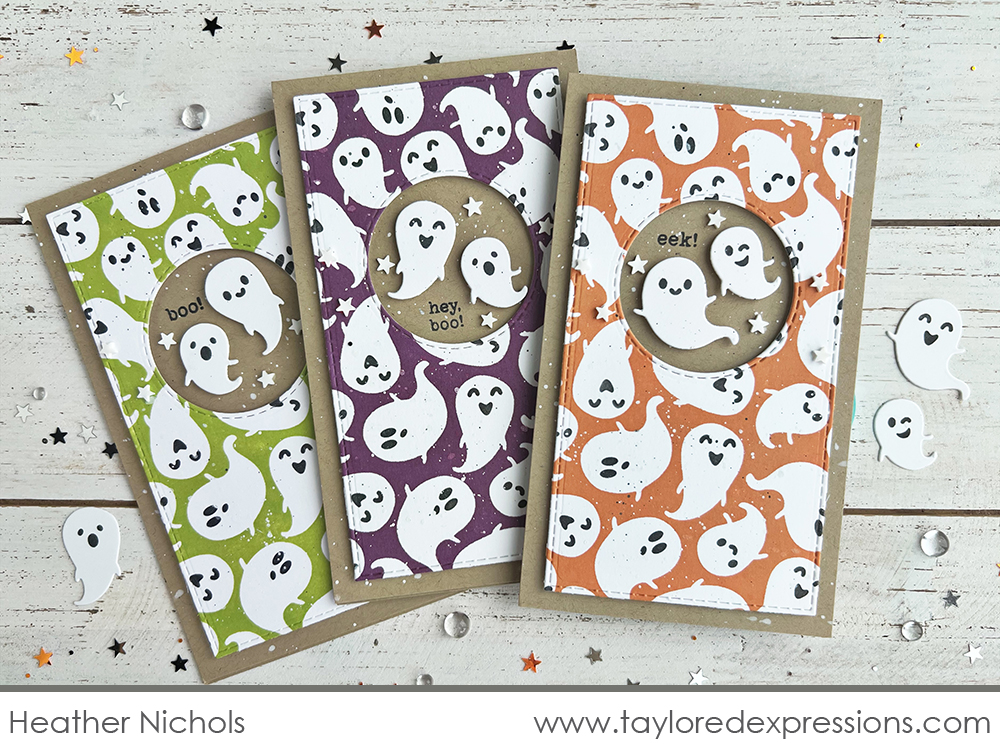
Here’s a trio of Mini Slim cards that I created (Heather Nichols) with the G-G-G-Ghost Stamp & Stencil Combo and Ghost Gang Die & Clear Combo sets. I stamped the background in three different colors (Lime Zest, Passion Fruit, and Candy Corn) and added the faces with the stencil using Oreo Ink. For each card, I cut the backgrounds out with a Stitched Mini Slim Stacklets die and added a window opening with a die from the Mini Slim Trifold Template + Dies – Circle set. The panels are added to Toffee Top Fold Mini Slim card bases and I added a few ghosts and a sentiment into the window opening. The finishing touch is a few Bits & Pieces – Clay Stars on each card.
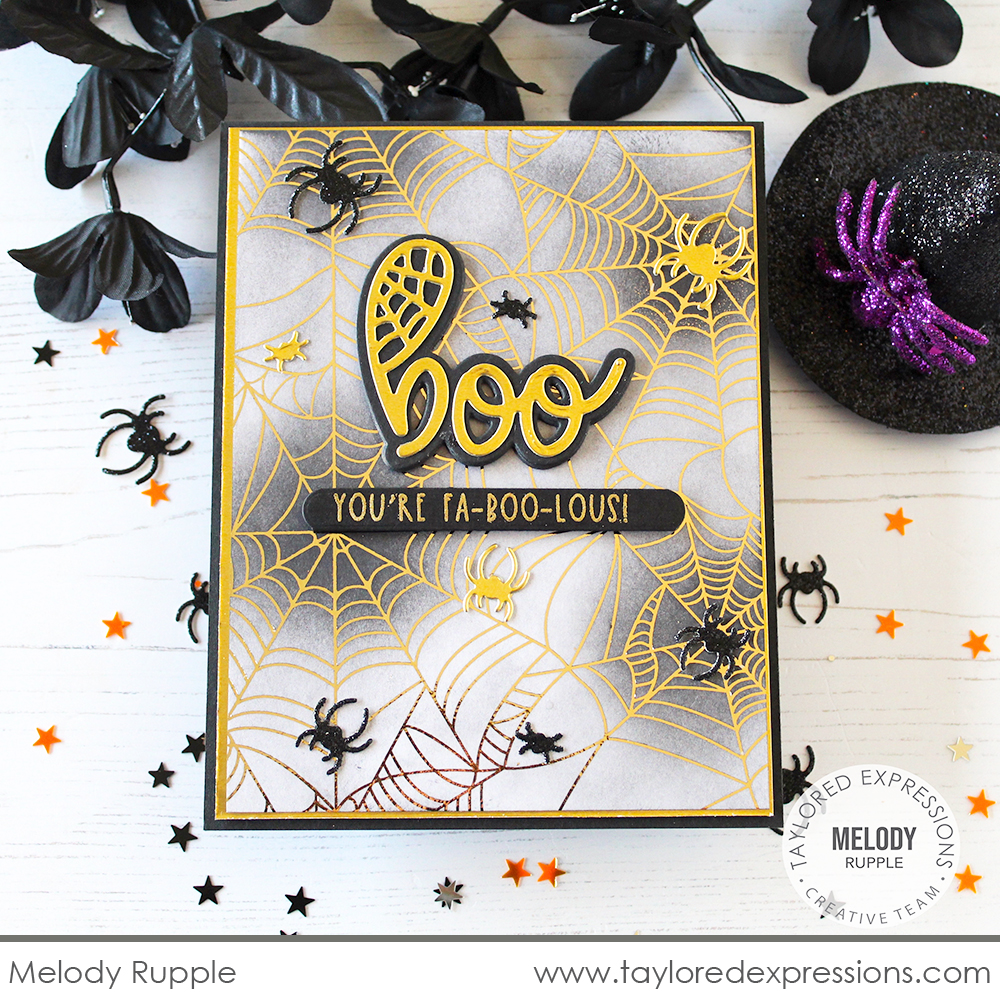
Melody Rupple created this ‘fa-boo-lous’ card with several new Halloween products! The background is foiled with Gold Deco Foil on a Foil It – Spiderweb panel and then Melody added shading to the webs using a Blender Brush with Oreo Ink. The sentiment is put together with the Boo Script + Backer die and a sentiment from the Simple Strips – Halloween stamp. Gold foil cardstock and embossing coordinate perfectly with the gold foiled background! Little Bits – Spiders scattered through the background are cut out from gold foil and black glitter cardstock.
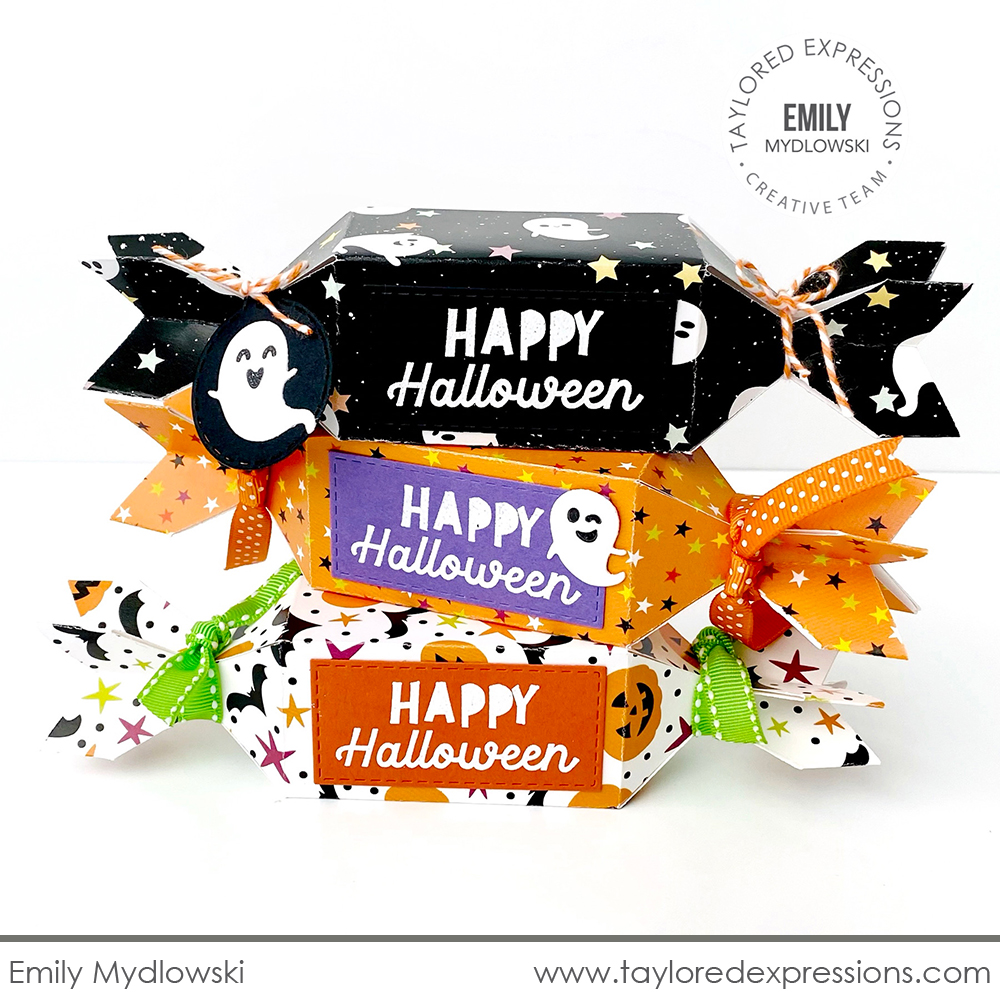
This adorable stack of Halloween treats was created by Emily Mydlowski with the Halloween Candy Capsules. Emily assembled the capsules and then added the ‘Happy Halloween’ sentiment from the Stack-O-Jacks Stamp & Stencil Combo set to each of them embossed in white on a different cardstock color and cut out with a Stitched Rectangle Stacklets die. A few of the capsules feature a ghost cut out and stamped with the Ghost Gang set and the ends of the capsules are tied with colorful ribbon or twine to secure them closed.
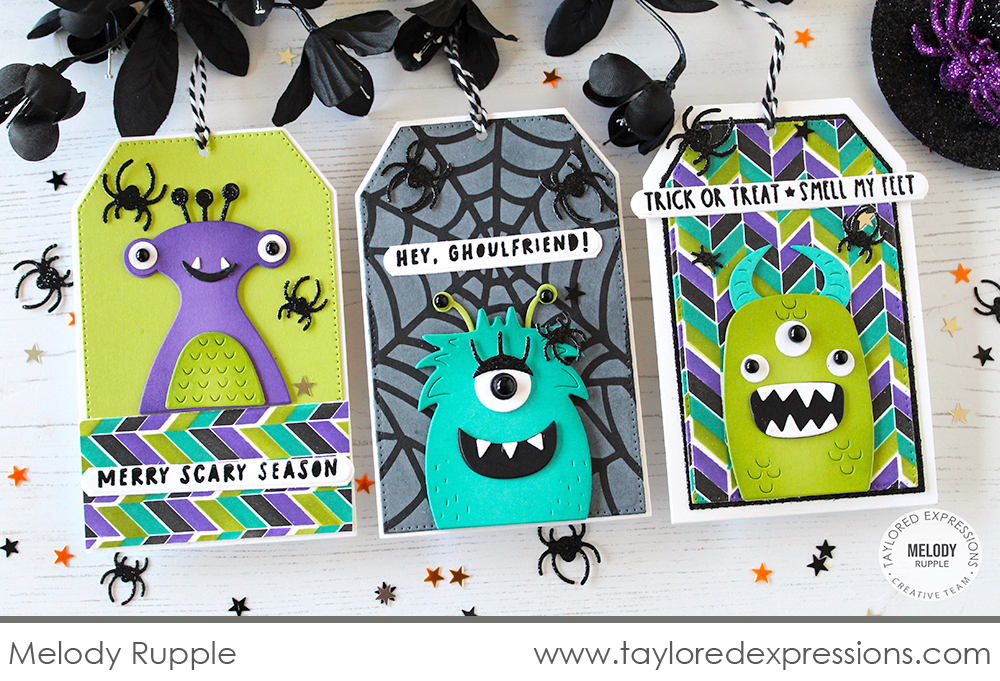
This set of Halloween tags with the Monster Squad die collection by Melody Rupple is the cutest! She assembled the monsters using the die cuts and I love that she used Bits & Pieces – Black Drip Drops on the eyes and antennae! The tag bases are cut out with the Tag Stacklets 2 and Pierced Tag Stacklets 2 die collections and Melody added pattern to the tags with one of the panels from the Create-in-Quads Halloween Layering Stencil set and Mini Slim Spiderweb stencil. The sentiments on the tags are from the Simple Strips – Halloween stamp and the spiders are cut out with the Little Bits – Spiders die from black glitter cardstock.
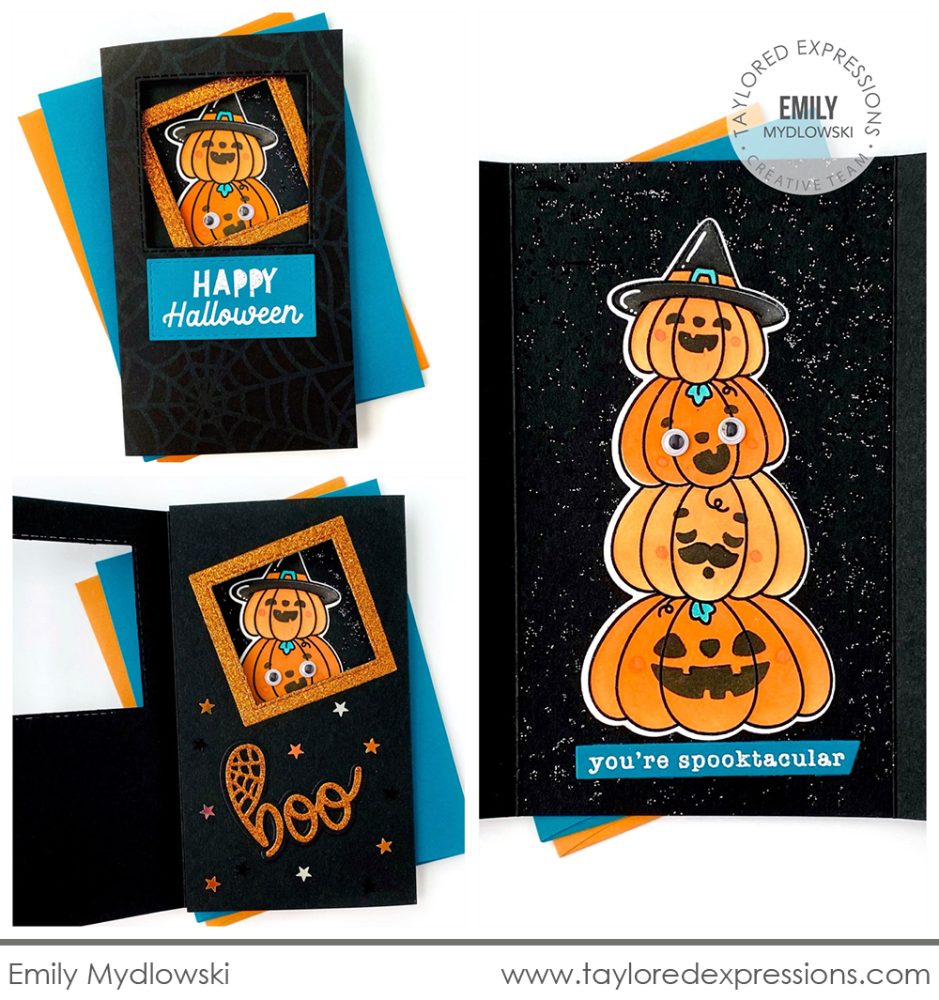
Emily Mydlowski created this fun Halloween Mini Slim trifold card featuring the Stack-O-Jacks Stamp & Stencil Combo set. She cut out the windows on the card with the Mini Slim Trifold Template + Dies – Square set and I love how she did one of the windows at an angle – so clever! Each layer has fun details like stenciling with the Mini Slim – Spiderweb stencil, the orange glitter ‘boo’ cut out with the Boo Script + Backer die, Bits & Pieces – Halloween Stars & Sparkles, the Twinkle Twinkle Background stamp embossed with Black Sparkle embossing powder, and more!
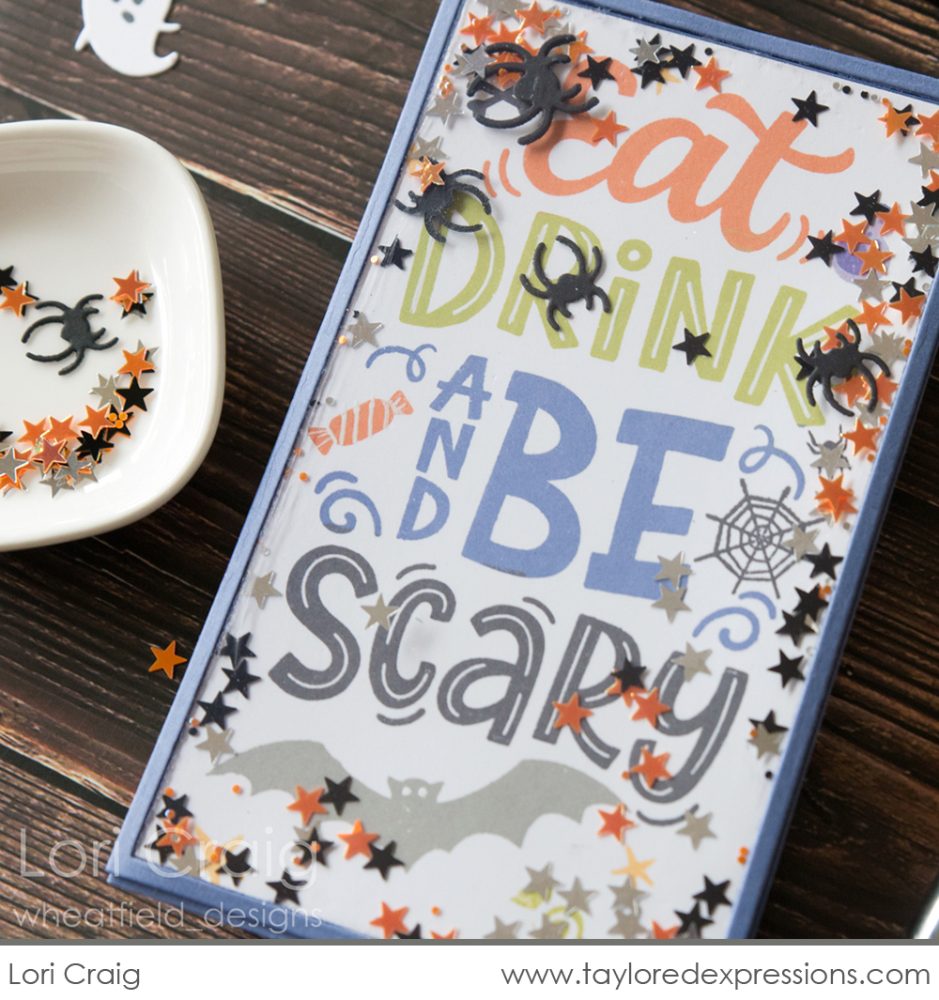
This festive Mini Slim Halloween infinity shaker card was created by Lori Craig with the Eat, Drink, & Be Scary Cling & Clear Combo set. Lori inked up each of the words in the sentiment with a different ink color (mini ink cubes work great for this!) and stamped it onto Sugar Cube Cardstock. She added several of the little Halloween images from the clear stamp set around the sentiment and then enclosed the panel with a Mini Slim Infinity Shaker Panel. The shaker is filled with Bits & Pieces – Halloween Stars & Sparkles and spiders cut out with the Little Bits – Spiders die.

Today, join Susan Block live for “T Time” at 10AM Central on the Taylored Expressions Facebook Page. She’ll be sharing a crafty project with you – come join in the fun! (Don’t worry, if you miss any of our live broadcasts, you can always watch the saved broadcast afterwards!)
That wraps up the inspiration for the Halloween release! Share your card creations and more using the products from the Halloween release with us on the Fans of Taylored Expressions Facebook Page – if you aren’t a member of the group, come join us to see all of the crafty TE inspiration that is shared by your fellow TE fans. Next week is our moving sale! We have been getting ready for our big move to our new building and would love to have you help us lighten the load! Tune in next week for the sale details.
Did you know that you can subscribe to our blog and get our posts right in your inbox? Just sign up right HERE – that’s all there is to it to make sure you don’t miss any of our crafty inspiration!


