Apr 21, 2016
Blog Design Team: May Days
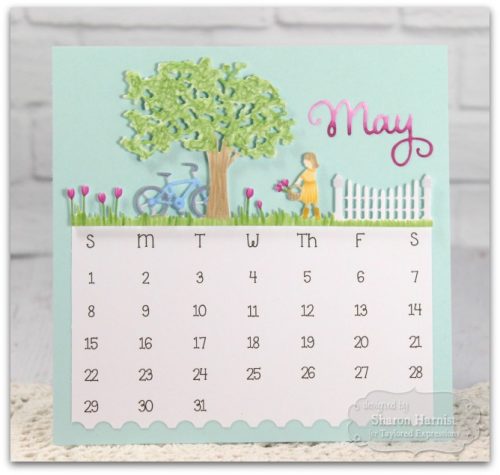
Happy Thursday, crafty friends! If you’ve been following the Blog, you’ll know that Blog Design Team member Sharon Harnist has been inspiring us with her sweet 6×6 Calendar series. Today, she’s keeping us up-to-date for May! A couple months ago, her teammate Cindy Lawrence, featured a tutorial on how to color up our In the Garden die to use on a card. Sharon is showing off the versatility of this die by using it on her calendar! Check it out…

And now here is Sharon to tell you all about her project…
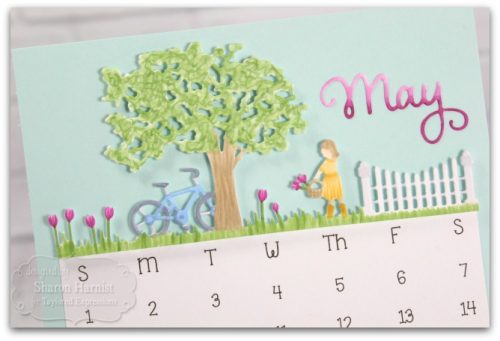
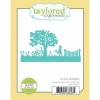
One of my favorite things to do is color die cuts and I thought Taylored Expressions beautiful In The Garden would make a wonderful topper for my May calendar. This calendar couldn’t be any more simple – Die-cut the border from Sugar Cube cardstock and start coloring away with Copic markers! Here are the colors I used: G40, G43, G24 (tree, grass); E50 (skin); E42, E43 (tree, hair); RV63, RV66 (flowers, May); Y21, Y23, Y26 (dress, wellies); C0, C1, C4, B21 (bike, fence).
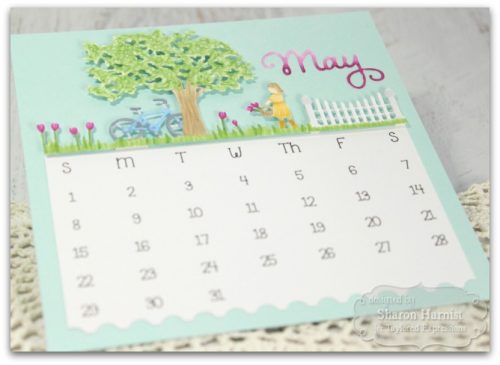
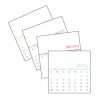
After printing the 2016 6×6 Downloadable Calendar onto white cardstock, I trimmed off the top part and used the Postage Stamp Edger die to die-cut the bottom. Next, I adhered the calendar grid to a 6” x 6” piece of Salt Water Taffy cardstock and adhered the colored In The Garden topper with foam tape.
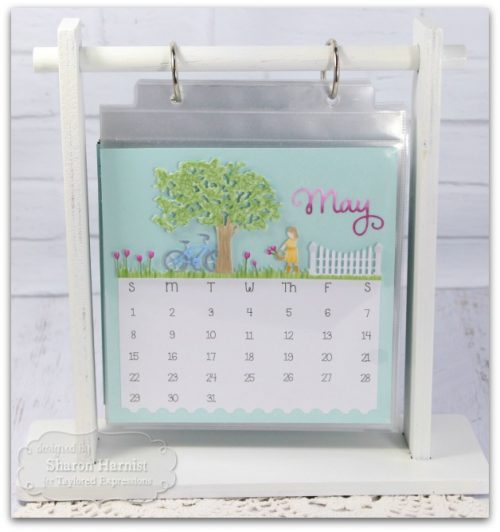
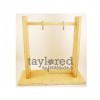
To complete the calendar, I die cut the “May” word from Sugar Cube cardstock using Pockets & Pages – May Script die set and ombre colored it using Copic RV63 and RV66. Here’s the 6-inch calendar page displayed in my white painted Frame Your Imagination Stand: in a 6×6 Page Protector.
I love the versatility of this border die — it’s great for cards, scrapbook pages, or calendars! And with the way the scene is designed, you can easily snip off and use different portions, for multiple uses!
Thank you, Sharon, for sharing your beautiful calendar with us! You can find more of her work on her blog, PaperFections. Have a joyful day!


