Jul 21, 2020
Do You Wanna Build a Snowman? NEW Frosty Kit!
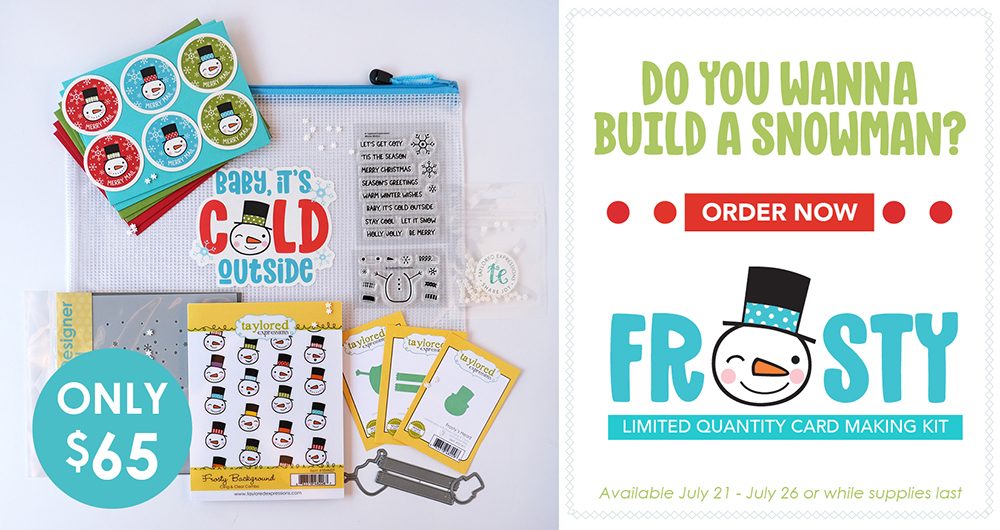
Hey, crafty friends! It’s Taylor here today! I’m off enjoying the sunshine on vacation this week, while this are cooling off back at TE headquarters with the launch of our Frosty Kit! There is SO MUCH cuteness in this kit – I can hardly stand it!
So what’s unique about our kits? First, there’s no subscription necessary. Also, in keeping with our mission to Share Joy, we encourage you to send the cards you create by including six envelopes in a variety of colors along with six custom envelope seals to match the theme of the kit. Each kit comes packaged in a zippered pouch with a coordinating vinyl sticker making it easy to keep the supplies together.
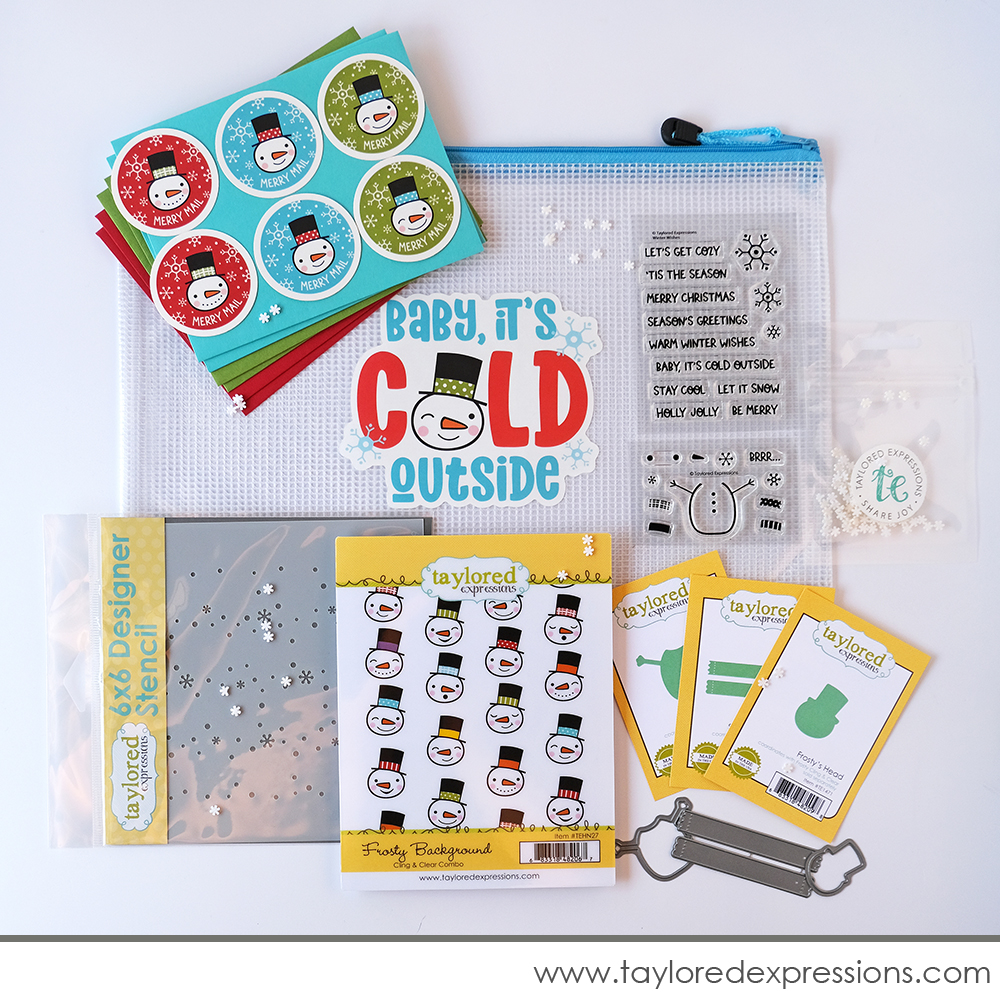
Here is everything included in the Frosty Kit – which retails for $65:
- Frosty Background Cling & Clear Combo stamp set
- Frosty’s Head die
- Frosty’s Body die
- Frosty stencil
- Winter Wishes Clearly Crafty stamp set
- Sentiment Strip Duo die collection
- Bits & Pieces – Snowflakes
- 6 Custom Envelope Seals
- 6 Colored Envelopes
- Packaged in a zippered pouch with a custom kit label
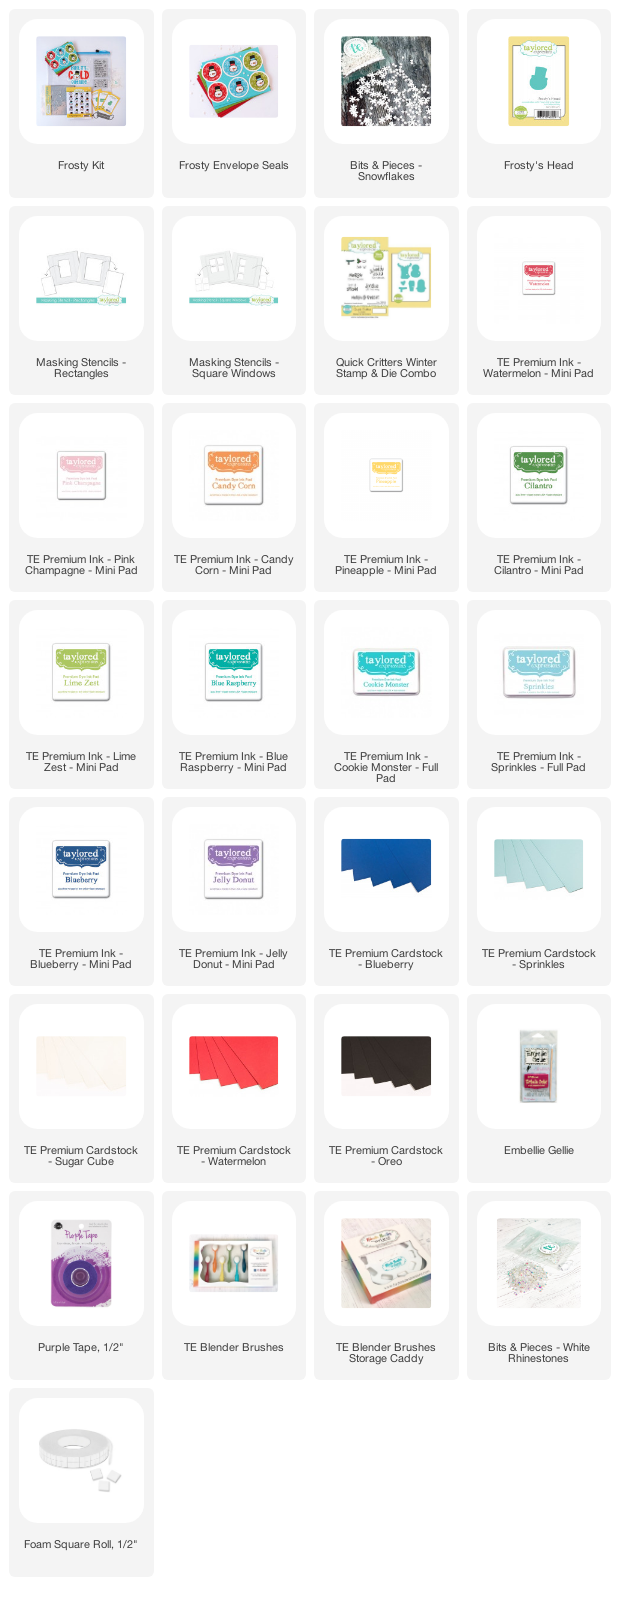
A few items will be available to purchase separately from the kit: Frosty’s Head die, Bits & Pieces – Snowflakes, and extra envelope seals.
Click below to grab your Frosty Kit and then keep scrolling for all of the inspiration!
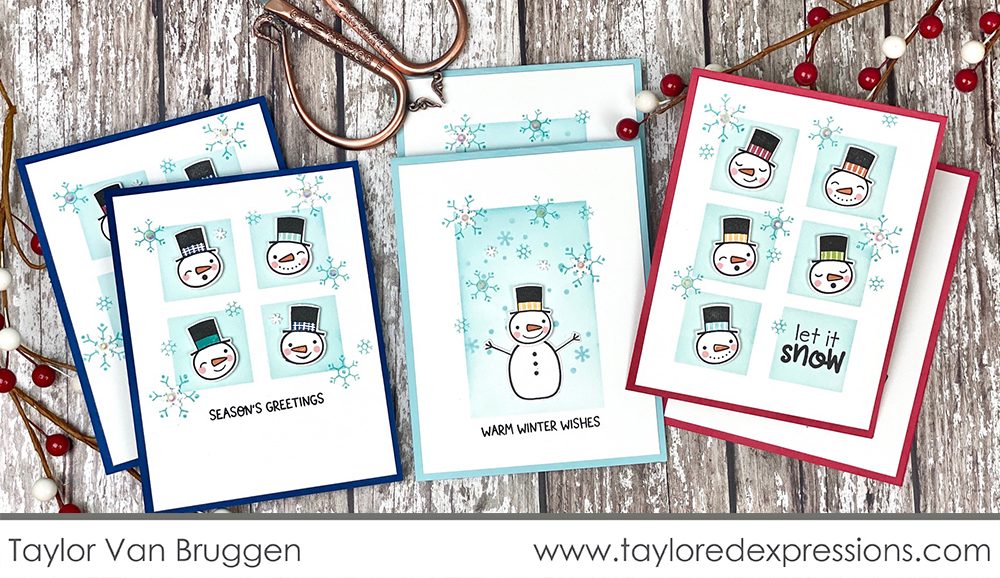
For my simple projects, I stamped several backgrounds, die-cut the individual heads from the background, and created several cards using the masking stencil windows. Check out the video below for my tips & tricks:
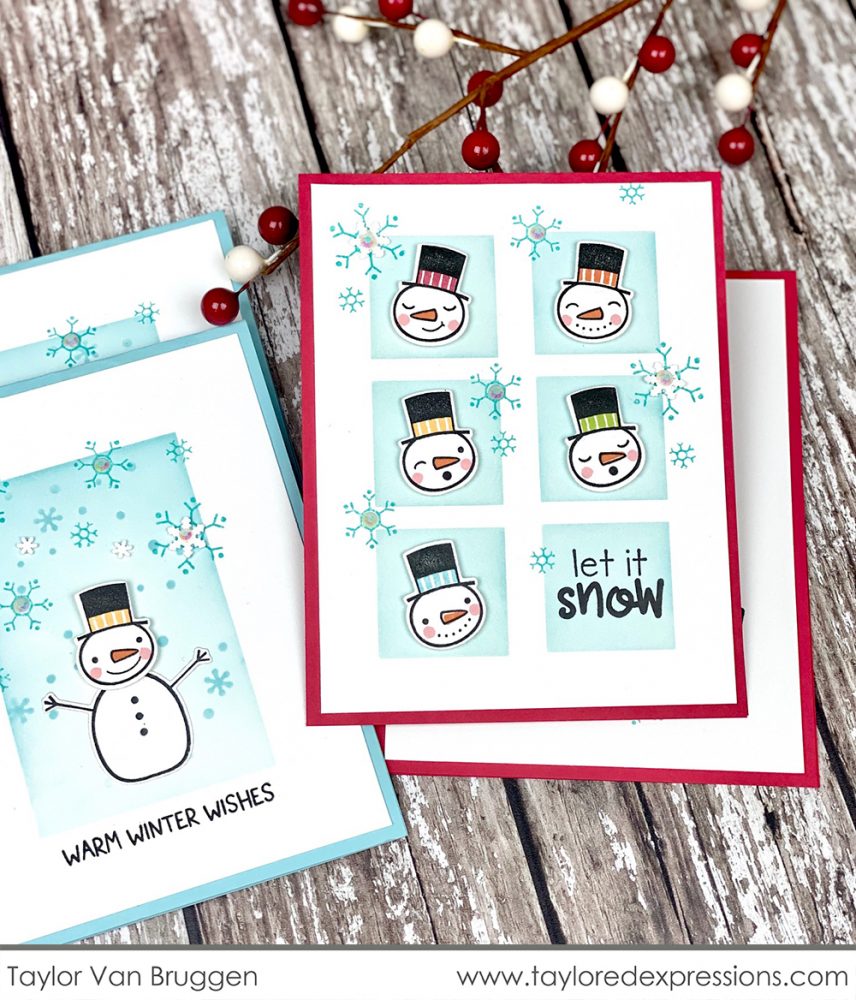
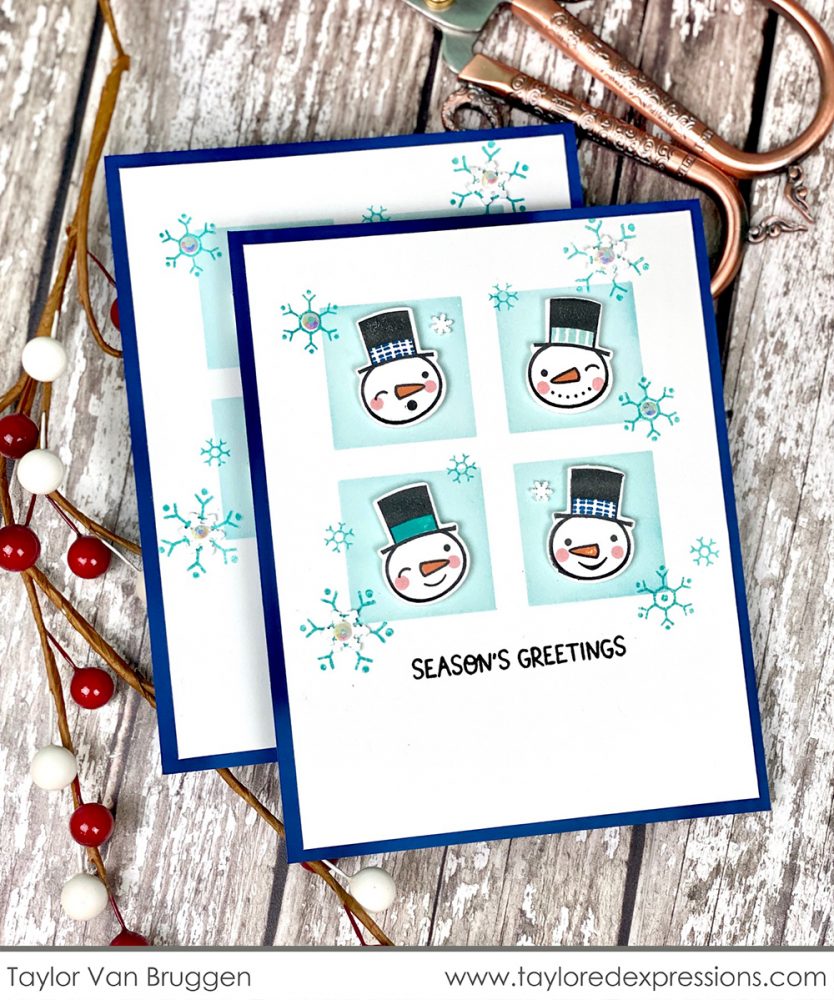

Now, let’s take a closer look at the different elements of the kit as well as more inspiration from our Creative Team. Note: Most of these products are only available as a part of the Frosty Kit.
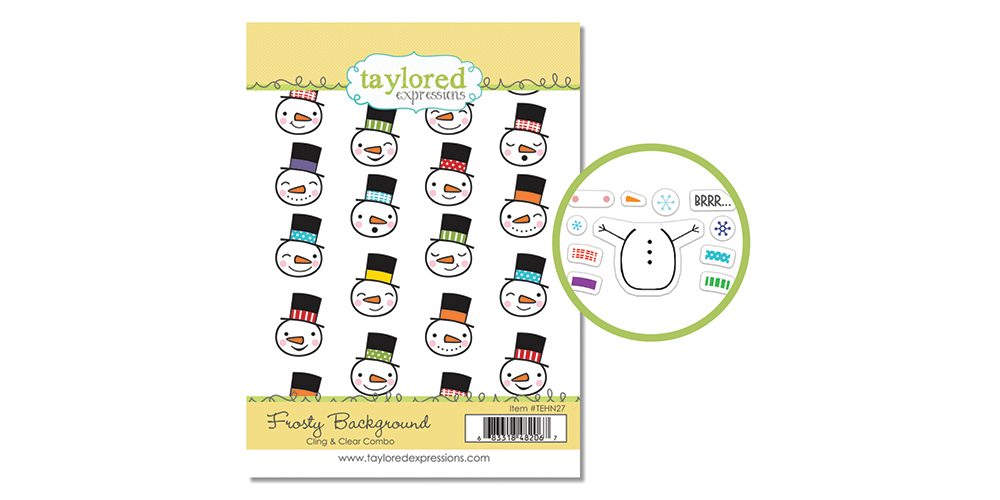
Make the cutest Christmas and winter themed cards ever with Frosty Background Cling & Clear Combo stamp set. Along with a red rubber stamp featuring a pattern of adorable snowman, the set includes eleven clear, photopolymer stamps to fill the hat bands with patterns, add color to the carrot noses, add rosy cheeks, add a body to the snowman heads, and more!
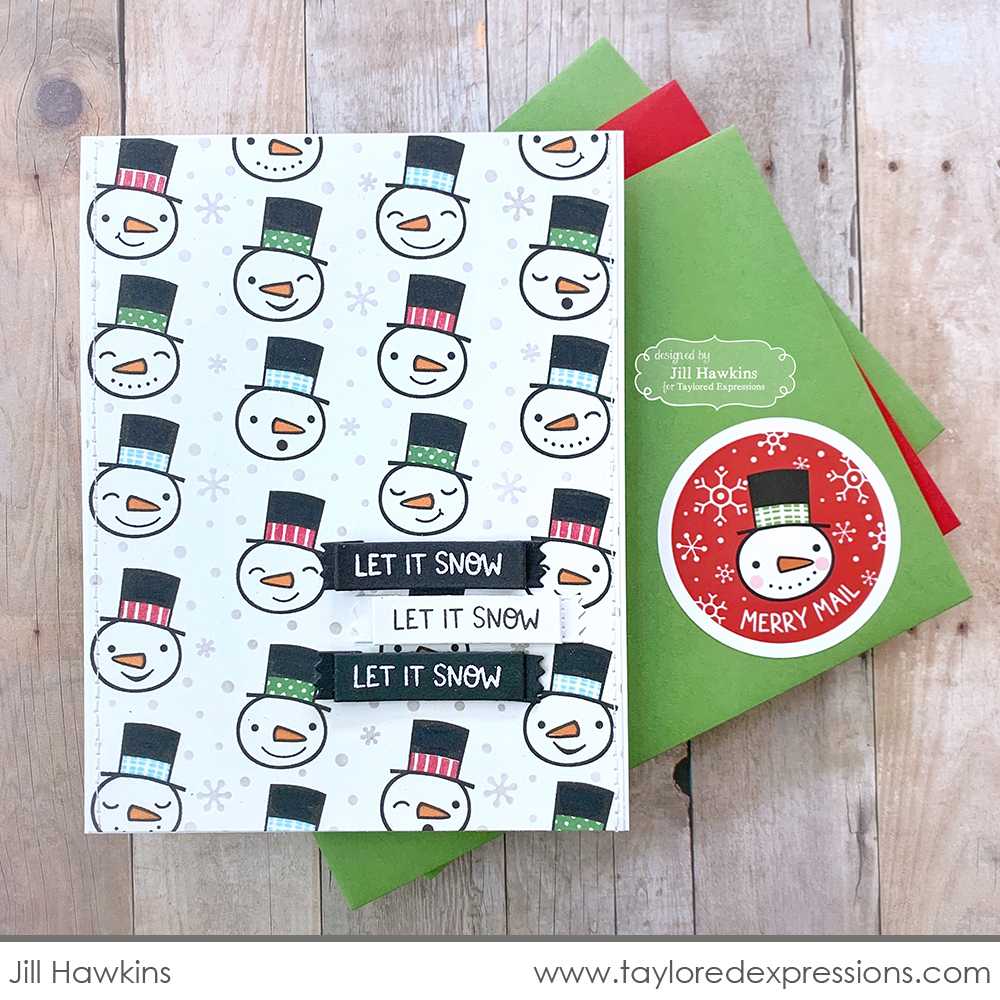
Jill Hawkins let the Frosty Background stamp take center stage on her card. She stamped the main image in Oreo ink and added the noses in Candy Corn and the different hat bands in a variety of ink colors. A few strips with the ‘let it snow’ sentiment repeated a few times was all it took to complete this frosty card!

Wanda Guess used the Frosty Background stamp as a neutral background on her card design by stamping it with Sugar Cube ink onto Toffee cardstock. She added a few perfectly colored snowmen as the focal point on her card that she added the body portion to using the clear stamps that are included with the Frosty Background stamp.
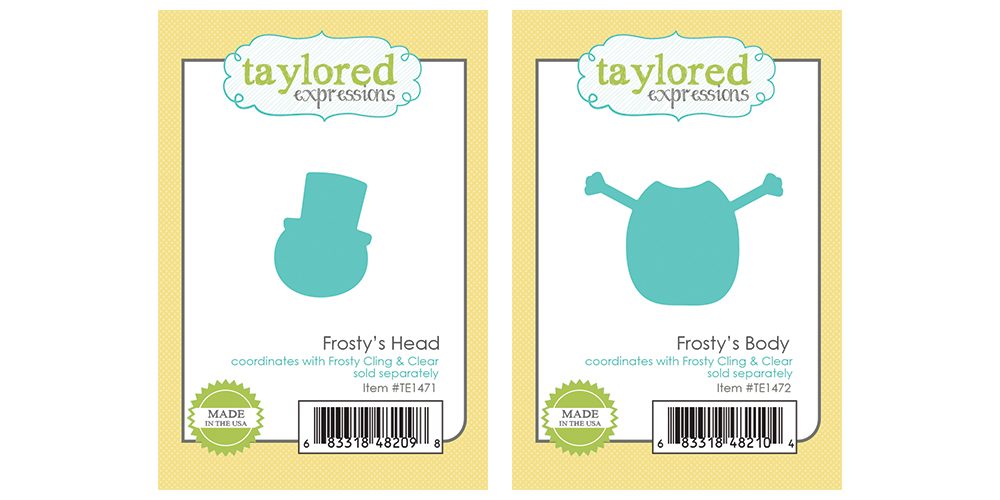
The Frosty’s Head will cut out the snowman head images and the Frosty’s Body will cut out the coordinating snowman body image from the Frosty Background Cling & Clear Combo stamp set. Note that the Frosty’s Head die will also be available to purchase separately from the kit.
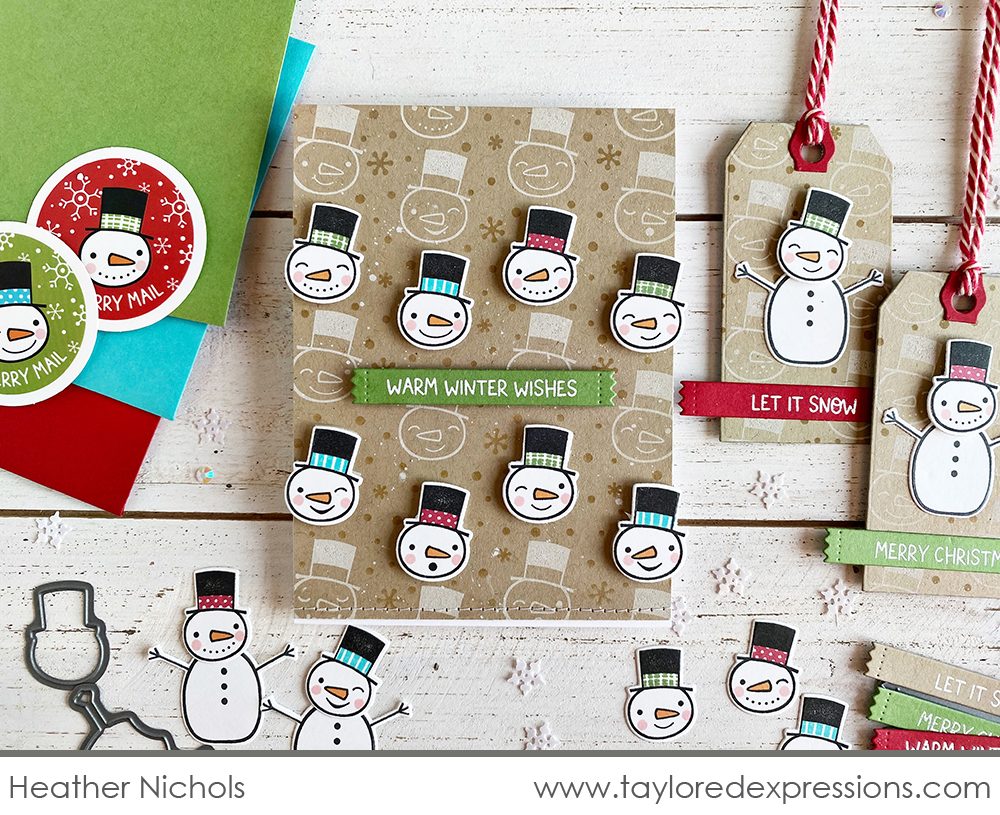
Heather Nichols cut out the snowman heads with the Frosty’s Head die from the Frosty Background stamp and added several of them to a background that she stamped using the same stamp with Sugar Cube ink on Toffee cardstock for this fun wintery card. She used the same background and whipped up a few tags using the Frosty’s Body die cuts with the snowman heads to build a complete snowman.
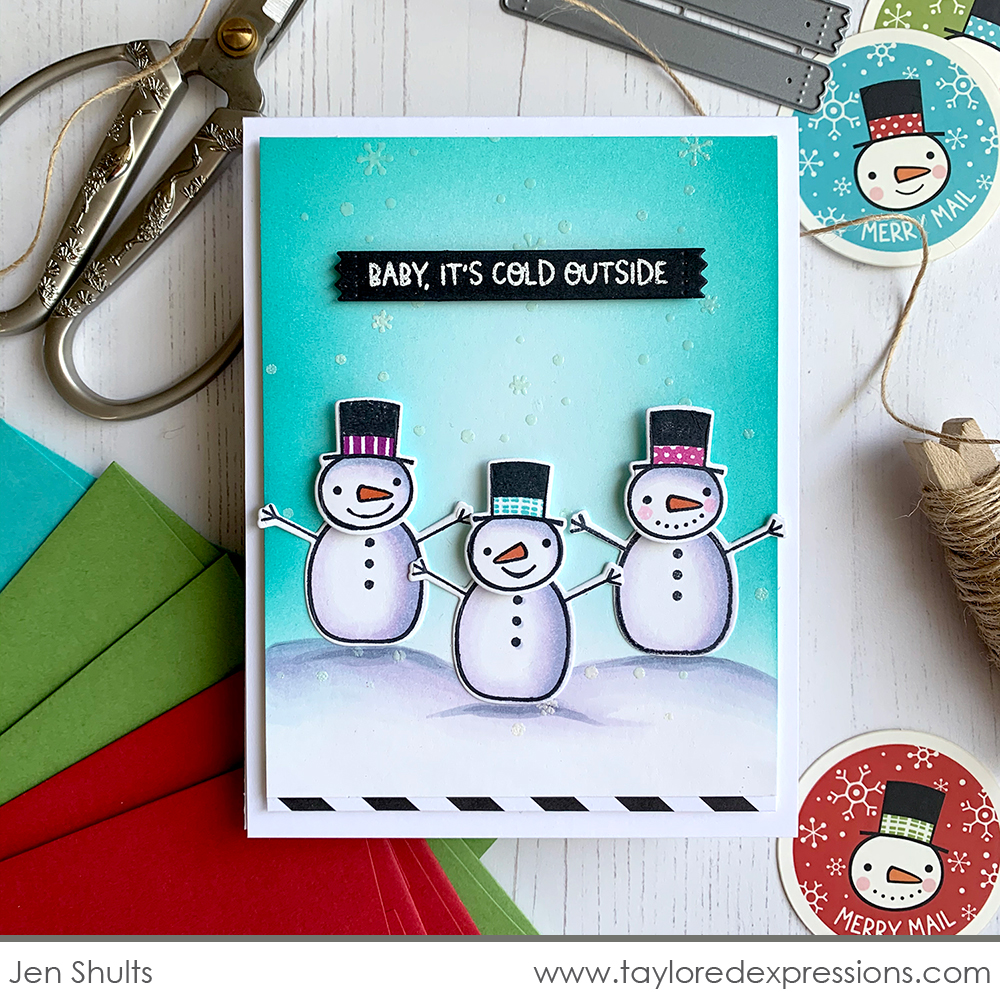
Jen Shults gathered together a whole party of snowmen using the Frosty’s Head die and Frosty’s Body dies and cutting out the snowman images and body image in the Frosty Background set. I love her whole scene complete with snow, sky, and snowflakes coming down in the background.
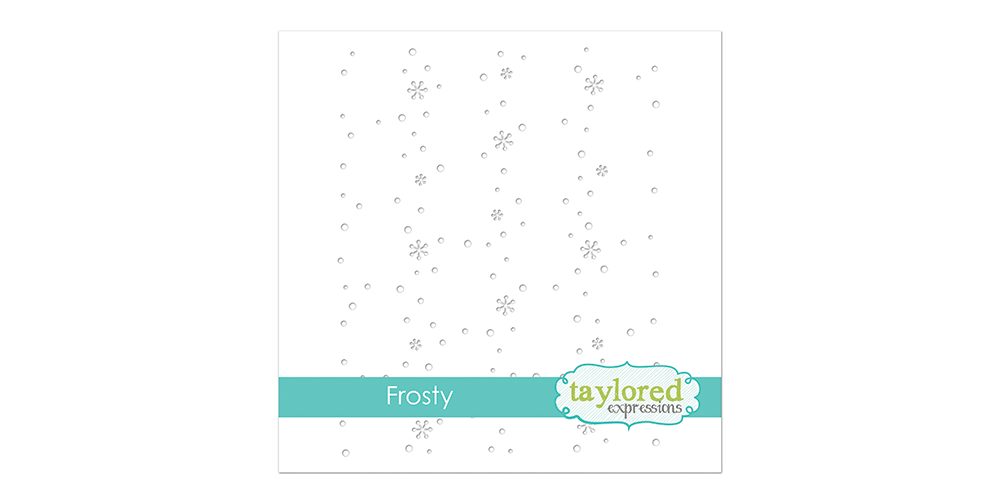
Once you stamp your background image with the Frosty Background stamp, you can use the Frosty stencil to add a snow filled background around the snowman images. Add color and/or experiment with embossing paste to create different snowy effects!
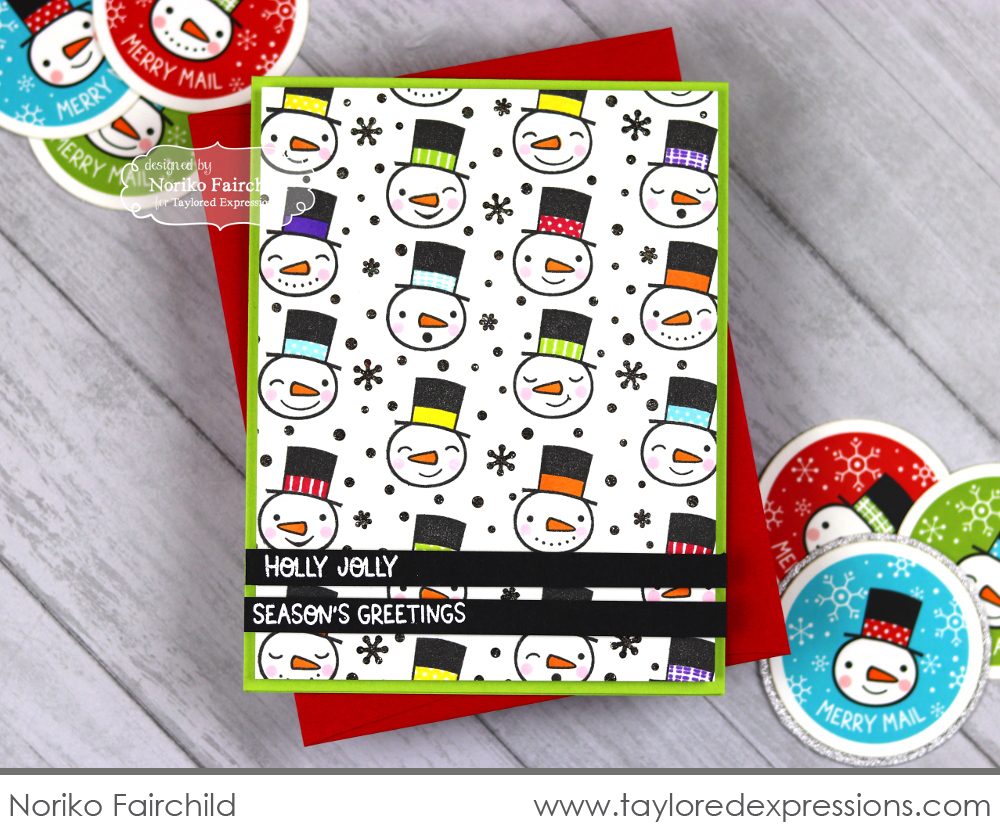
Noriko Fairchild went bold and stenciled the snowflakes from the Frosty stencil in Oreo ink over the Frosty Background stamped background. She even added some shimmer and shine with Stickles Moondust Glitter Gel. I also love the bright and bold colors that Noriko used on her hat bands!
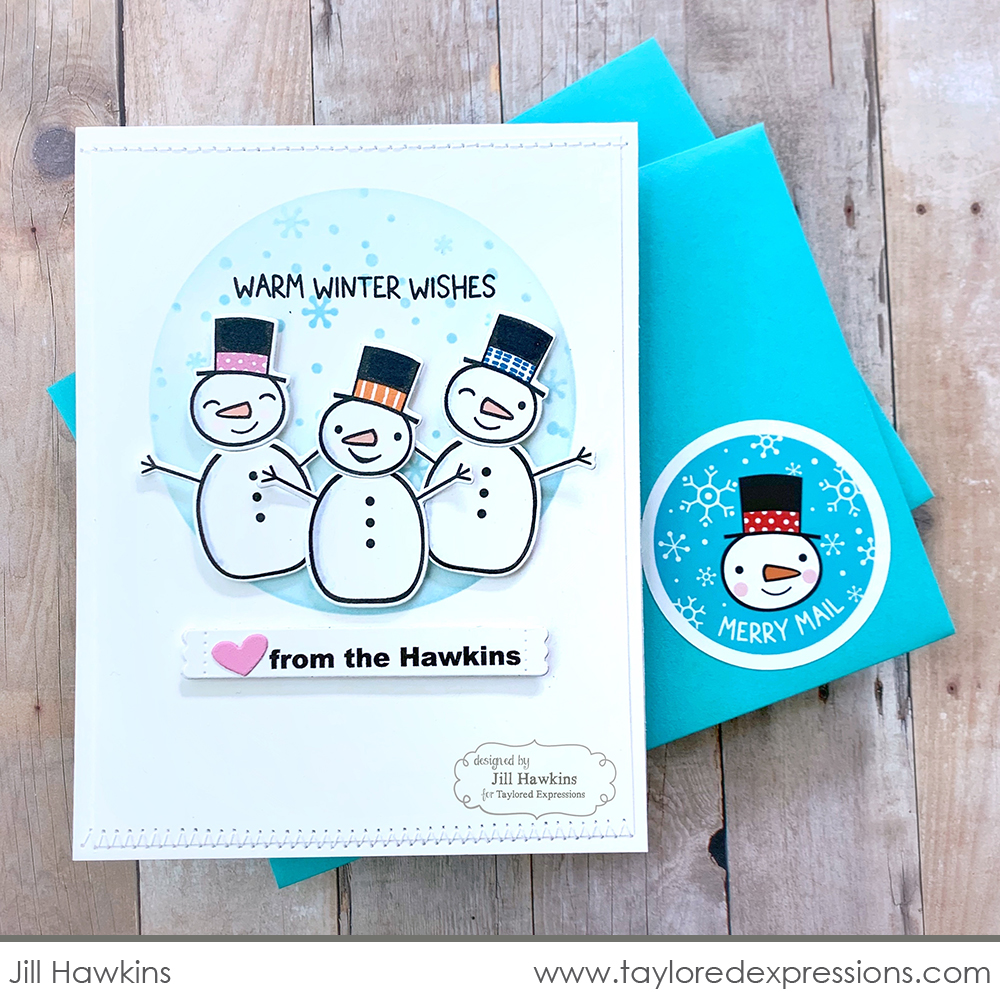
Even though the Frosty stencil is designed to fit around the Frosty Background stamped image, you can use it on its own too! Scroll through the TE Creative Team inspiration and I bet you will be able to spot the stencil used in several different backgrounds! Jill Hawkins added the snowflakes onto stenciled circle that she created with the Masking Stencils – Circles set. Jill customized her card by doing a snowman for each family member and then printed out her custom sentiment on her computer with her family’s name.
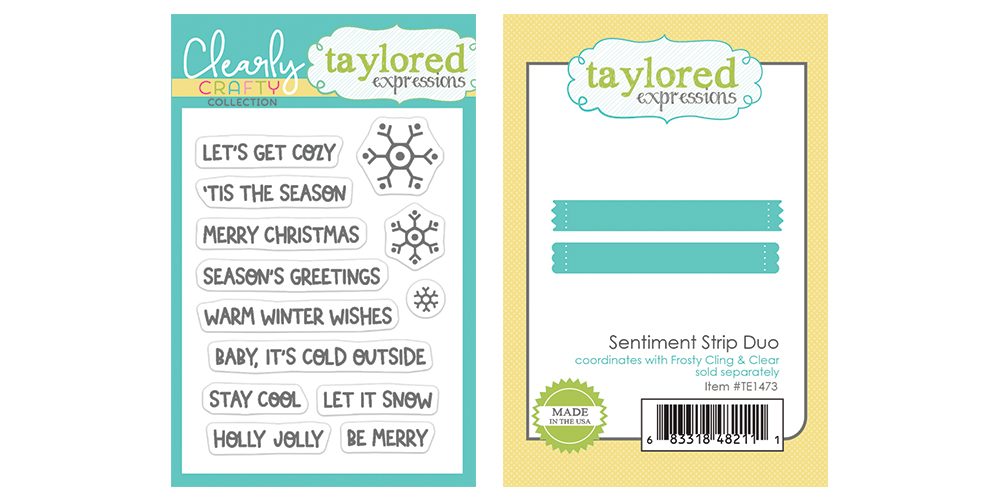
The Winter Wishes Clearly Crafty stamp set includes ten wintery sentiments and three snowflakes to add to your projects. All of the sentiments from the Winter Wishes stamp set are sized to fit onto the coordinating Sentiment Strip Duo dies.
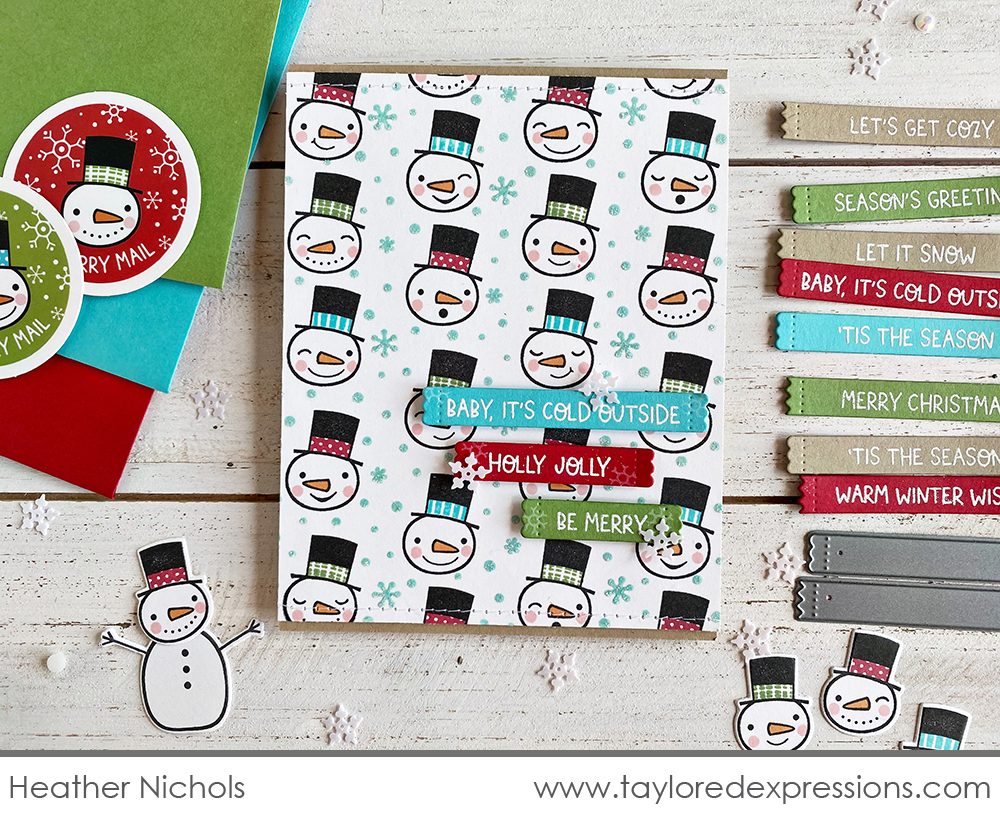
Heather Nichols stacked up several sentiments on her card from the Winter Wishes stamp set that are die cut with one of the Sentiment Strip Duo dies. Heather shortened a few of the die cuts to match her sentiment lengths by sliding an original die cut onto the die down to the desired length and then running just the end into the die cut machine to trim it off.
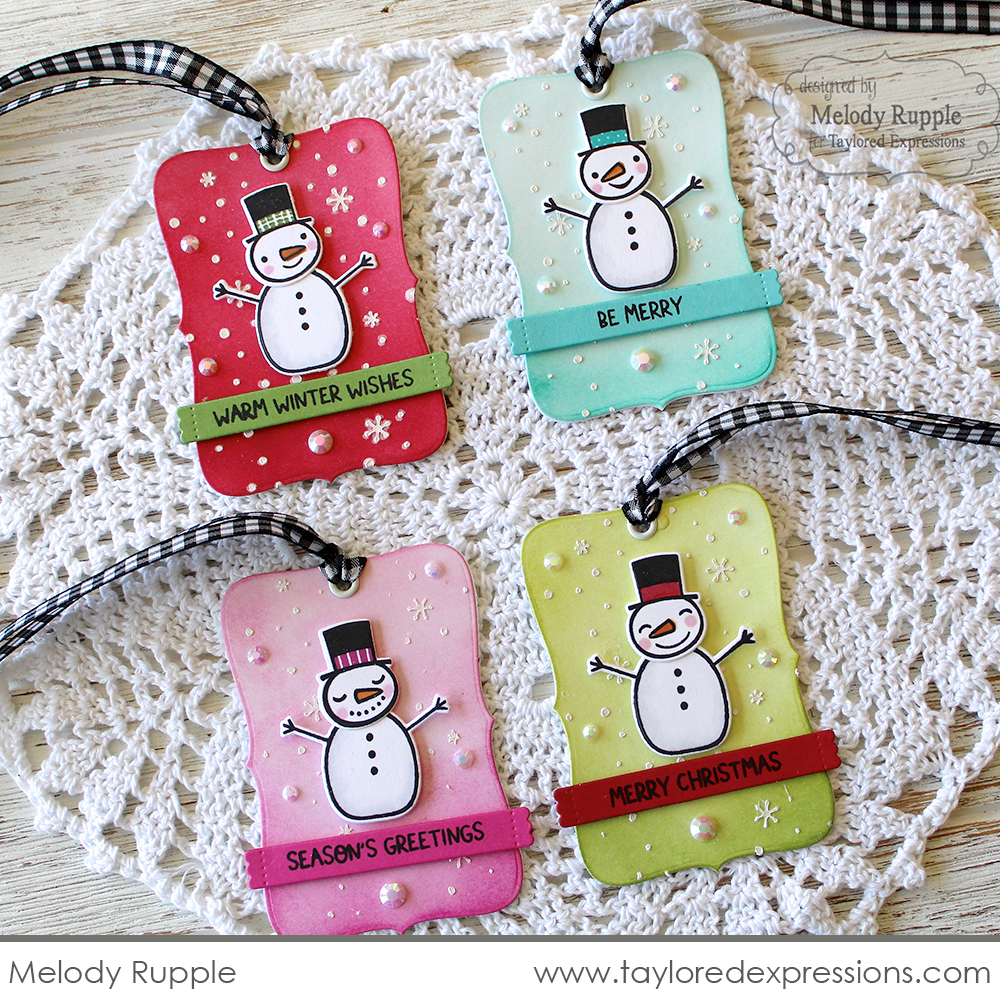
How cute is this colorful set of tags created by Melody Rupple? Each tag features a cute snowman and one of the sentiments from the Winter Wishes stamp set that are cut out with the Sentiment Strip Duo dies. I love how Melody blended the color on each tag base and added a snowy background using the Frosty stencil.
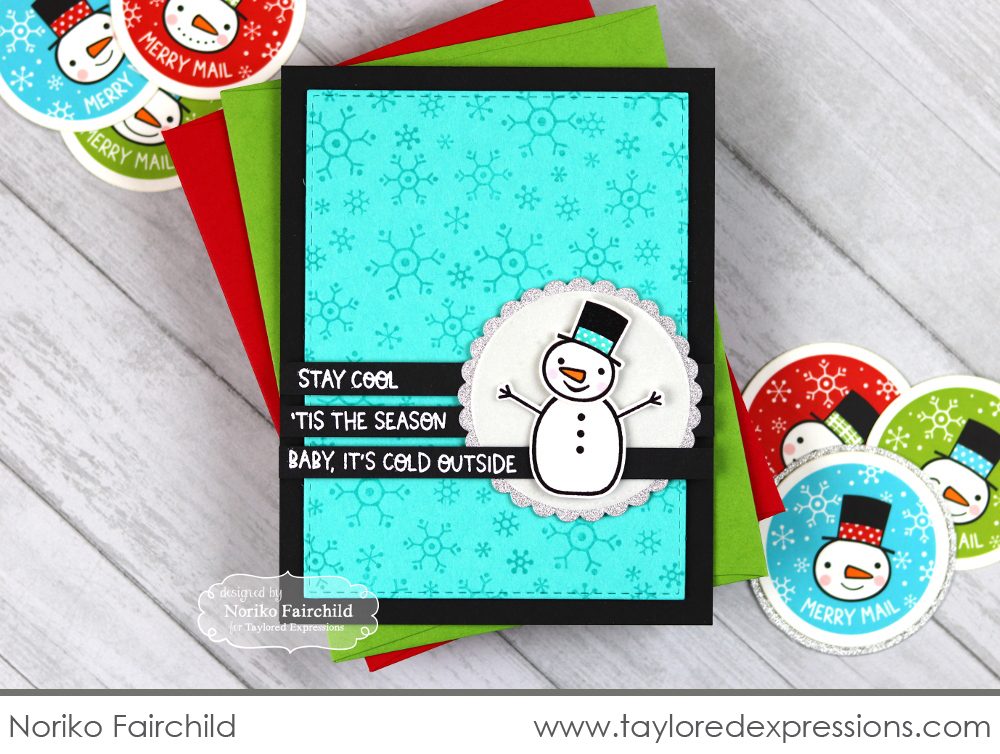
Noriko Fairchild added the sentiments for her card embossed in white onto Oreo cardstock strips. I love how they pop layered over the Cookie Monster background that Noriko stamped using the snowflakes from the Winter Wishes stamp set.
The Frosty Kit includes a new TE embellishment called Bits & Pieces – Snowflakes. These tiny clay snowflakes are perfect for shaker cards or adding scattered throughout your winter themed projects. Bits & Pieces – Snowflakes are also available to purchase separately in the TE webstore.
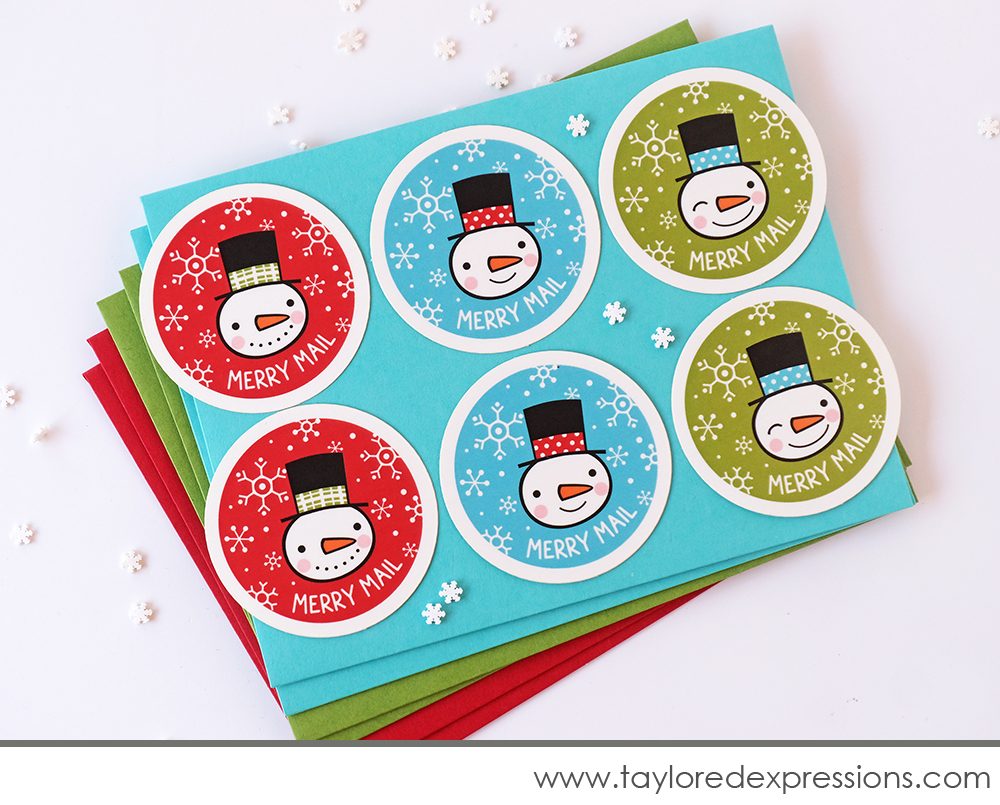
And finally, the Frosty Kit includes 6 envelopes and 6 custom envelope seals that coordinate with the theme of the kit. The six A2 envelopes match the following cardstock colors: Cherry Pop, Cookie Monster, and Peapod. The cute envelope seals are made from durable, weatherproof material and are sure to bring a smile to the recipients of your cards. Don’t forget that you can purchase additional envelope seals in the TE webstore right now!

Today I’ll be unboxing the new Frosty Kit during “T Time” at 9AM Central Time on the Taylored Expressions Facebook Page and would love to have you join me! If you miss the live broadcast, it will be available to view afterward. I hope to see you there!
Make sure to click on the TE Creative Team links below to hop to each of their blogs and see what they created with the new kit. Stop back to the TE blog this Thursday for more Frosty Kit inspiration!


