
Aug 19, 2014
TE Blog Team: Glitter Me Silly!
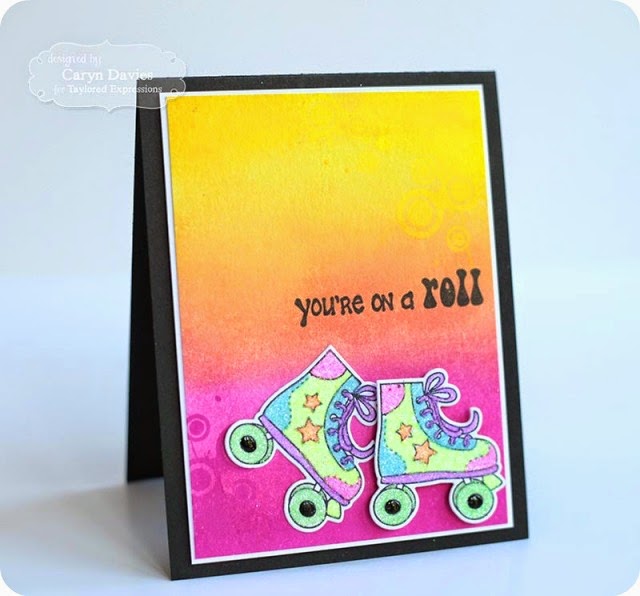
Hey there, crafty friends! Blog Design Team member, Caryn Davies is getting happy with glitter today and has created a card that will have you reaching for your sunglasses!
Plus, to help you get your glitter on, we’re giving away the stamp set Caryn used today on her project! Keep reading for details…

Caryn’s Notes: Hi there – Caryn here today with a fun project using one of my all-time
favorite materials – GLITTER! I had a ball using the groovy On a Roll stamp set with coordinating dies.
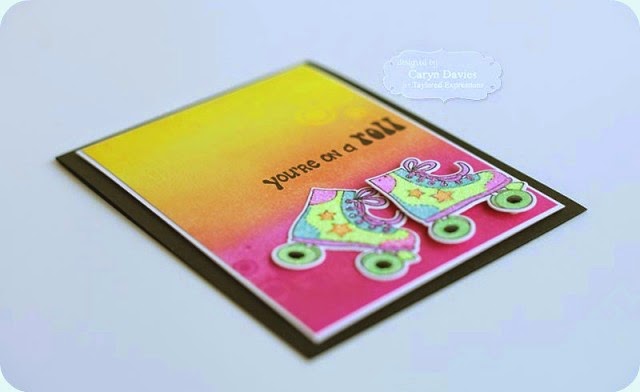
Firstly the background: I created a panel using
white watercolor cardstock as this is a great surface for blending the
distress inks I was planning to use (a mix of Tim Holtz Squeezed Lemonade at the
top and Picked Raspberry at the bottom). Where the two colors meet and
blend in the middle you get a gorgeous and zingy orange color.
Caryn’s Notes: To add
a little more interest I took the splatter image from You’re My Hero
and stamped it in the top right corner in a Neon Yellow ink and in the
bottom left hand corner in Neon Pink.
Caryn’s Notes: I then stamped the “You’re On a
Roll” sentiment in black across the middle of the panel and mounted it on
to white card, trimming it to leave a very narrow border before
adhering it to a black A2 card base with foam squares.
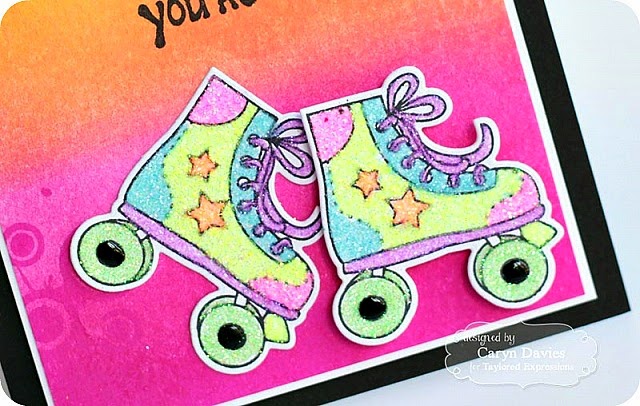
Caryn’s Notes: Next the really
fun bit!! I stamped the roller skate from the set twice in black ink –
you can either die cut it at this point or after you’ve added the
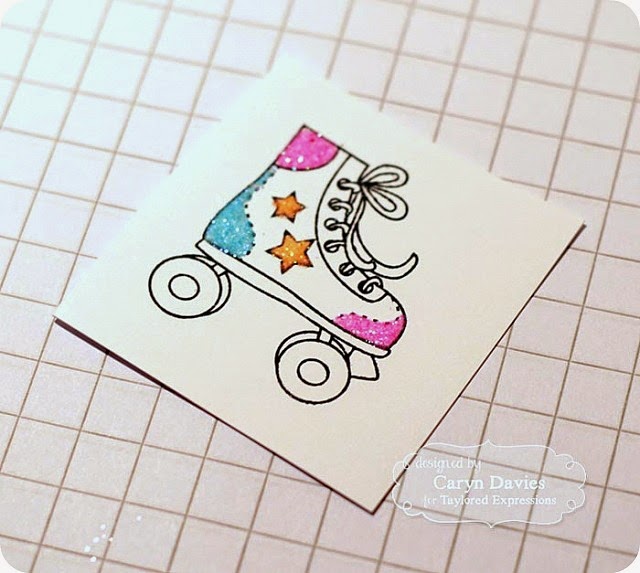
glitter. I used a small bottle of white adhesive
and a fine nib nozzle (this will help with control for this technique.) Select your chosen glitter colors
(I’ve gone for neon shades with my card but the choice is endless!).
Start with your small areas first (such as the stars on the boot) and
fill carefully with glue staying within your outline. Apply the glitter
to that part and then move to a non-adjacent area and repeat the
process with a second color. You can allow the areas to dry in between
colors if you wish but you can continue – if you’re careful! Carry on
until you have completely colored your image in glitter colors of
your choice and then set aside to dry.
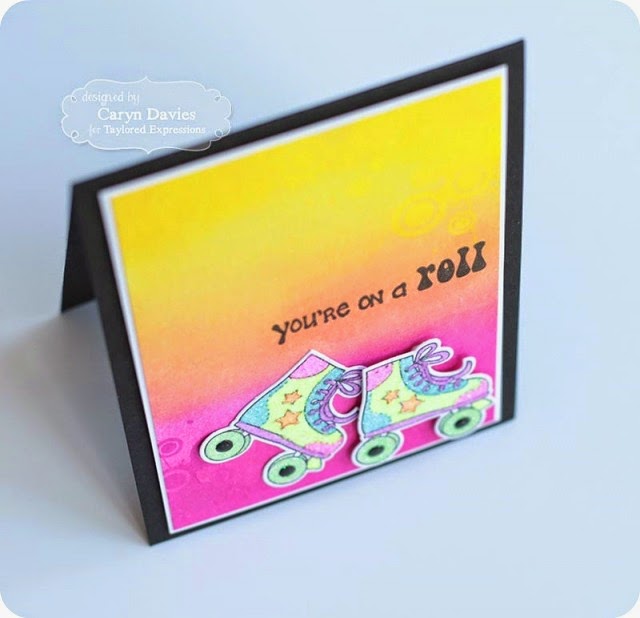
Once completely dry, I die-cut my
skates and added them to the card front – popping one up on foam
adhesive for some added dimension. To bring in the black from the rest
of the card and tie the whole thing together I added a small dot of
black enamel accents to the center of each wheel.


Thank you, Caryn, for sharing this sparkly card with us today!

