Sep 10, 2014
Introducing: Up, Up, & Away, You’ve Been Framed, & Test Tube Caddy
Good morning & Happy Wednesday! It’s been a big week here at Taylored Expressions as we’re celebrating our 6th birthday with the introduction of TE’s own patterned paper, 100 lb. premium cardstock, and embossing folders! I’m thrilled you’re joining us and I’m excited to share some more sneak peeks with you today! All of the new products will be available in the TE web store on Thursday, September 11th at 7am PST!


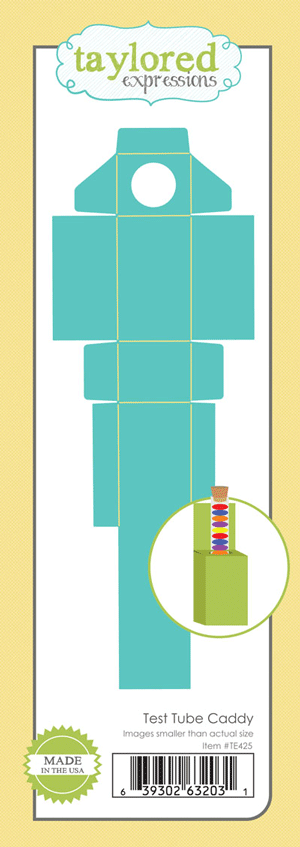
I recorded a quick video to share a little bit more about our cool new Test Tube Caddy! The die itself measures 11″ long while the typical Big Shot and Cuttlebug platforms are only 9″ long. In this video I share how you can make this die work with a shorter cutting platform or if you plan to make many of these (which I know I do!) you may want to consider purchasing the extended cutting platform and extended clear cutting pads.
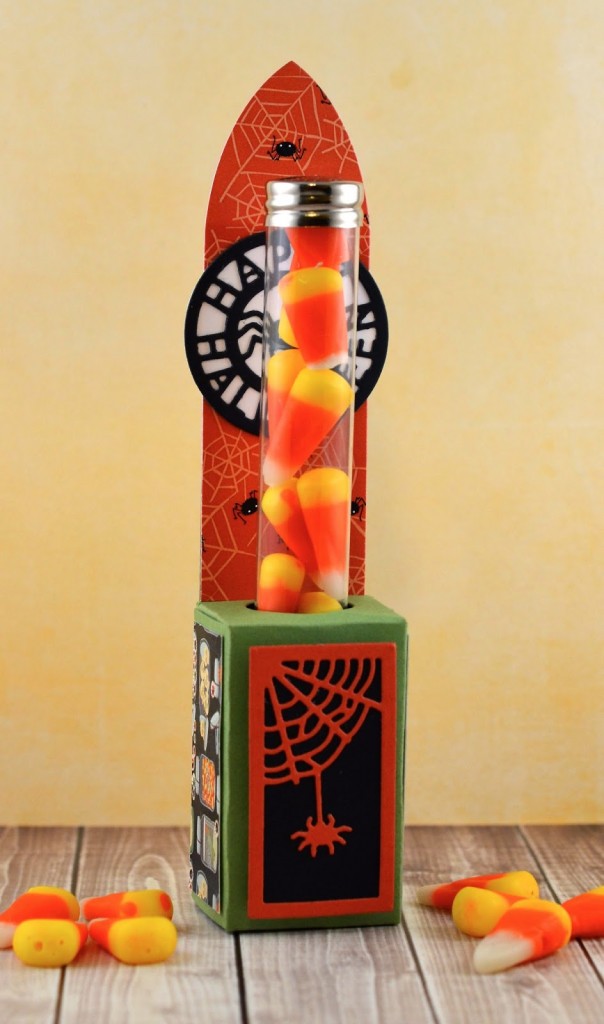

I started by cutting the Test Tube Caddy from Peapod cardstock and adhering it together with Best Glue Ever. Then I used the new You’ve Been Framed – Halloween die which is sized to fit the front of the caddy. I cut it from Pumpkin cardstock and put Oreo cardstock behind the die cut to make it pop. I added patterned paper from the Hocus Pocus collection to the sides of the caddy and then decided to try something a little different for the top. I discovered the smallest size of the Label Stacklets 5 fits exactly over the back of the caddy and I thought it provided the perfect shape for the top so I cut it out of the spiderweb paper from Hocus Pocus and adhered it to the Peapod caddy.
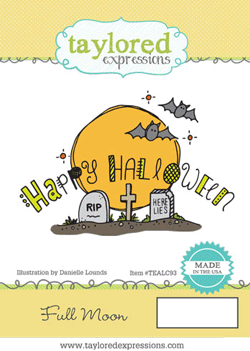
The Happy Halloween circle is from Halloween Treat Toppers. And the test tubes sized to fit the caddy are available in the Taylored Expressions Store.


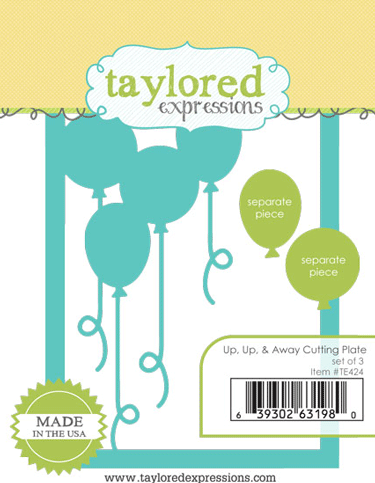
The cutting plate includes a grouping of balloons and strings attached to the outer frame (shown in white) along with two separate balloon dies sized to fit exactly over the balloons that are attached to the outer frame making is easy to paper piece the balloons.
I’ve seen some really sweet and simple cards from our other designers, but I just haaaaaaad to go and complicate things! I started by airbrushing the cloudy background behind the balloons. Then I cut the plate separately out of black cardstock and pieced the strings onto the balloons.