Sep 24, 2014
Blog Design Team: One of a Kind
Happy, happy Wednesday, crafty friends! Today we have the immensely wonderful Caryn Davies with us today to share a spectacularly awesome technique that will have you creating the coolest projects ever!

Caryn’s Notes: Today I have a card that was SO much fun to make and looks incredibly
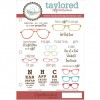
effective in real life. I absolutely love TE’s Spectacular! stamp set
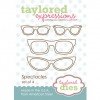
and Spectacles dies and wanted to create some
realistic-looking glasses by giving them lenses!
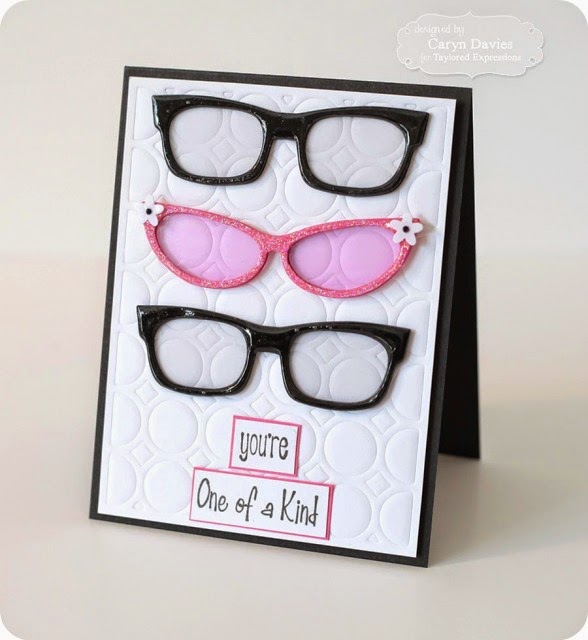
Caryn’s Notes: I will explain how I created one complete set of spectacles (simply repeat for each pair!) First, I die-cut the spectacles from cardstock 3 times. Next, I glued one of the die cuts on
to an acetate sheet and then carefully cut around the shape making sure
none of the plastic could be seen poking out from under the die cut and set this aside to dry. On
another of the die cuts, I put on a good thick
coating of Glossy Accents. This too was set aside for as long as possible to
make sure it was totally dry.
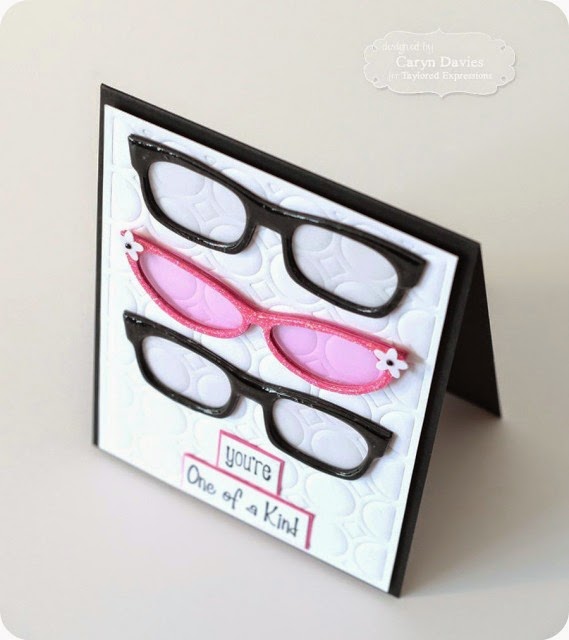
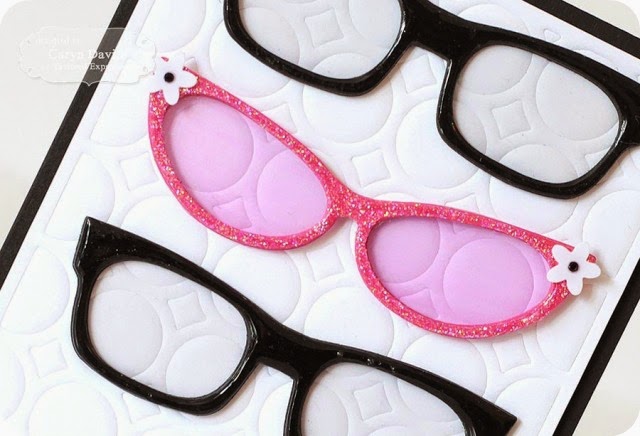
Caryn’s Notes: To get the pink tinted lenses, I took a
piece of acetate and quickly scribbled across it in long strokes with a
Copic marker. Results vary with this as it can end up a bit streaky but
if you persevere, you will end up with an area smooth enough to use for
the lenses. The third of the die cuts was then glued to the back of the
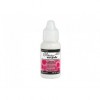
piece with the acetate lenses. Finally, the die cut coated in Glossy Accents
was adhered on top. The finished result is an embellishment that looks
just like a real pair of glasses!

glasses were first coated in a layer of fine glitter using a quickie
glue pen before being smothered in Glossy Accents. To finish, I added a
couple of little flower sequins to the corners. (Love the retro look!)
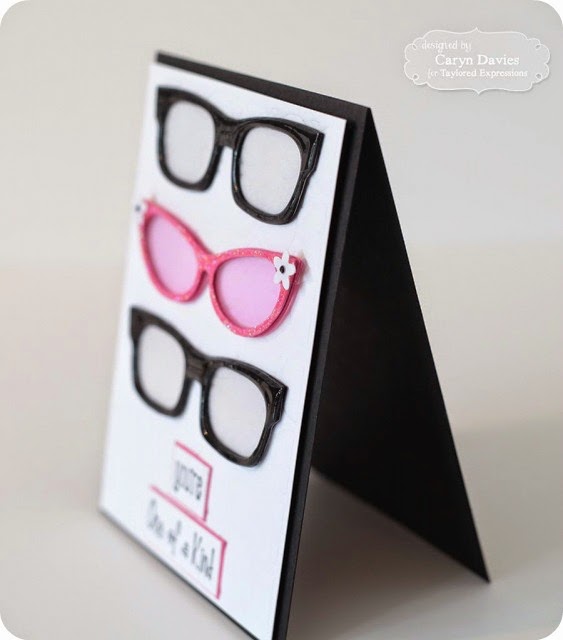
Caryn’s Notes: To assemble the
rest of the card, I created an A2 sized card base from black
cardstock and trimmed a piece of white cardstock measuring 4″ x 5.25″. I
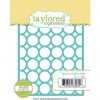
ran this through my Big Shot with the Spotted Cutting Plate using an
embossing mat so that I had an embossed panel. I popped the embossed panel on the
front of the card base with foam adhesive. The sentiment from
Spectacular was stamped and matted onto pink cardstock to finish it all off.
Thanks so much, Caryn, for sharing this super fab technique with us today! To catch more of Caryn’s amazing work, visit her blog, Glitter Me Silly.