Dec 24, 2014
Blog Design Team: A Winter Scene
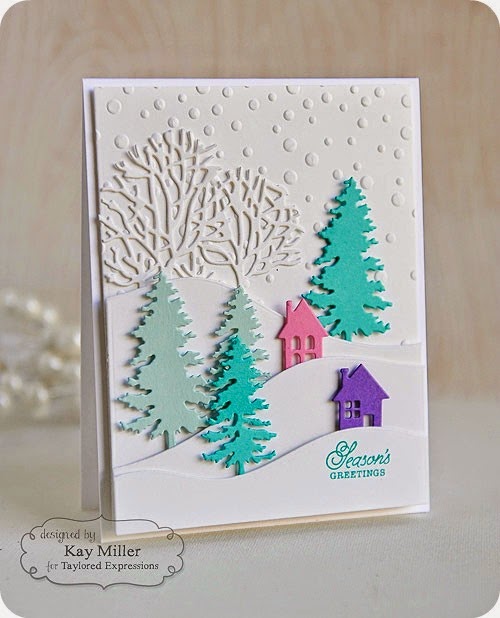
Merry Christmas Eve, crafty friends! We know many of you have been hit by winter storms and we hope that you are staying safe and cozy. We thought creating a cad like today’s die-cut project from Blog Team designer, Kay Miller, would be the perfect way to spend a cozy Christmas Eve. Check out her beautiful card below…

Kay’s Notes: Well, winter has definitely found it’s way to my neck of the woods
with temps in the 20’s and 30’s so far! What better way to stave off the
chill than to create a lovely winter scene. Personally, I’m not a fan of
the heat, so I’m in my element when it’s cold outside and cozy inside.
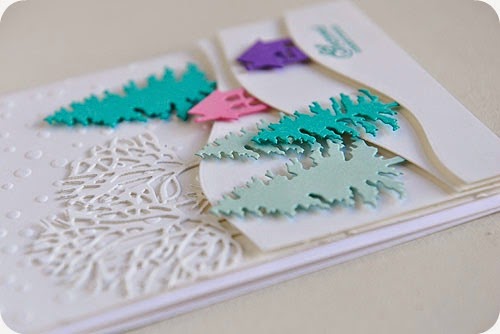
Kay’s Notes: I started my winter scene by embossing the lovely
snowflakes from the Snowfall Embossing Folder. I then cut out three snow
hills from Build a Scene Rolling Hills dies. Next, I cut out the white
trees in the background from the Seasonal Trees die. (Kay’s Tip: I just used a small
section of the trees by cutting them out of the frame.)
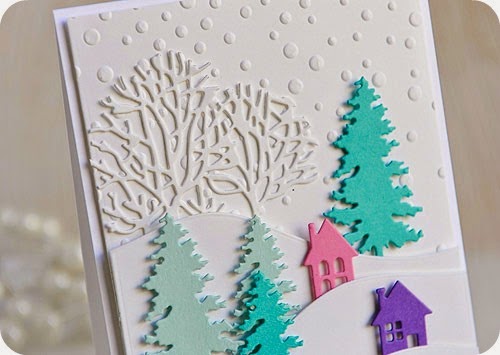
Kay’s Notes: To assemble, I adhered my tallest snowy hill down with some foam tape, so I could
use it as a guide for where to place everything else. Next, I glued the
white trees down to the background placing them slightly underneath my
snowy hill, then I went ahead and adhered the other two snowy hills with
foam tape. (Be sure to I stamp the sentiment before gluing it down!)
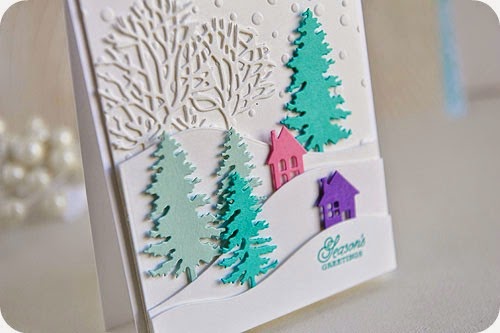
Kay’s Notes: Next,
I added foam tape to the backs of all the trees and the houses and
tucked them in behind the snowy hills. Last of all, I added foam tape to the
back of the panel and adhered that to an A5 size card.
Kay’s Notes: Thanks so much for stopping by! Stay warm and cozy!
Are you feeling as cozy as we are? You can always see the snow falling outside Kay’s window! You can view more of Kay’s lovely design work on her blog, My Joyful Moments. Have a wonderful night and hope Santa leaves you lots of good cheer!