
Dec 31, 2014
Blog Design Team: Shake in the New Year!
Happy New Year’s Eve! Today, the very talented Lea Lawson is sharing a project that is the perfect way to ring in the new year. She also shares an awesome tip on how to create your own adhesive foam sheets! Check it out…
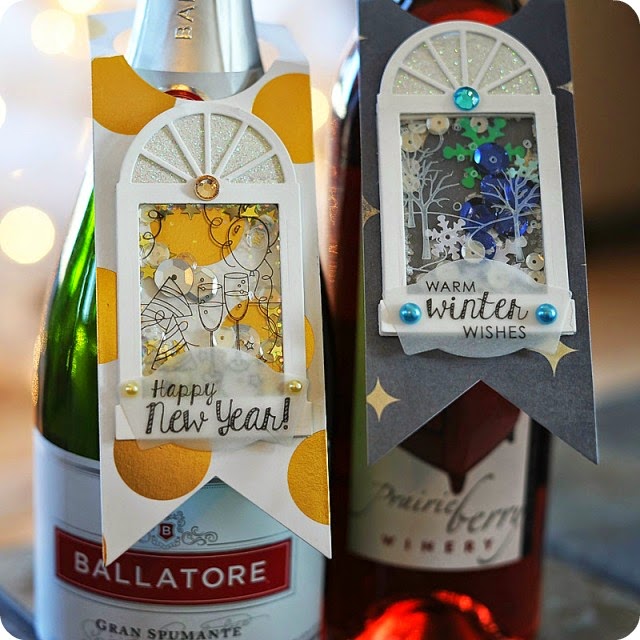

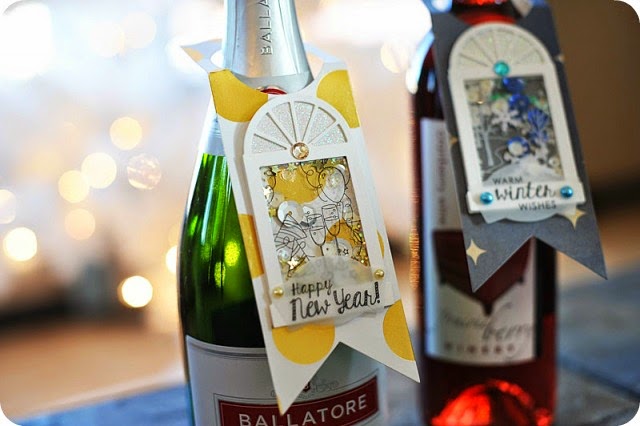
Lea’s Notes: With holiday parties and New Year’s Eve soirees to attend, I’ve
created a couple of wine bottle hangers that have super fun shakers on
them that you can add to a bottle of champagne for New Years or to a
lovely bottle of wine that can be mulled with spices for a warm wintry
drink.
Before I get to the actual projects, I wanted to share
how I create full sheets of adhesive foam using double-sided adhesive and inexpensive foam core! You might be asking why I wanted a block
of it, rather than tape form or tab form. I think it is easier to create a
shaker card if you can cut a seamless layer of foam adhesive that
matches your die-cut perfectly. And that is what I did for my shakers
today!

Lea’s Notes: I am a bit
frugal, and my search for full sheets of foam adhesive that could be run
through a die-cut machine left a lot to be desired. I didn’t find much,
and what I did find seemed really expensive for what it is. Then I had an ‘a-ha moment’! I’m a photographer, and I often mount photos
to foam core and matboard to keep them from getting bent. And I have
an entire box of 8.5×11 sheets of double-sided mounting adhesive. I ran
to the craft store and purchased some inexpensive white craft foam,
trimmed it down to 5.5×8.5 and then layered the adhesive paper on each
side. It looks just like the foam adhesive you purchase at the store,
just in one big block!
I cut the Picture Window die from white cardstock first, and
then through the foam adhesive. (Lea’s Tip: Make sure you use the metal shim when
cutting the foam, and run it through 3-4 times.) It might not completely
cut through the backing, but there will be a perfect impression. I
just run a hobby knife through the spots that I need to pop out…and
it works perfectly! I trimmed the window tops off of my die-cuts because they weren’t necessary to keep the sequins and glitter in the
shaker. I set these cuts aside so I could get the hangers ready.
Lea’s Notes: To
create the hangers, I die-cut the Bottled Up die from two patterned papers,
and the coordinating label twice from vellum. I stamped two of the
images from the A Winter View stamp set to transparent acrylic sheets. The party
scene was stamped using Palette ink, which works best with images that
have very thin and fine lines. I stamped the winter scene with opaque
white StazOn ink, which works better with the thicker spots of the
image, like the trees.

Lea’s Notes: While the ink dried, I added the foam
adhesive windows to the bottle hangers, and added the sequins and
glitter inside of the window. I covered the top of the cardstock
windows with white glitter paper. By then the ink was dry enough to
adhere it to the back of the cardstock window, and then layer it to the
top of the matching foam adhesive on the hanger! Make sure all of the
edges are secure, then shake the sequins and glitter loose.

Lea’s Notes: To
finish I stamped the sentiments to the vellum labels, adhered them to
the front of each hanger and then accented with pearls and jewels to
finish! When you are done, you have a super fun way to decorate a
bottle of wine you give to a host of a party, or to decorate them for
your own party!
I hope you enjoyed my projects today, and I will see you in 2015! Happy New Year!
And a very Happy New Year to you, too, Lea! You can catch more of Lea’s design work on her blog, Lea Lawson Creates. To all of our crafty friends out there, have a safe and very happy 2015!


