Apr 23, 2015
Blog Design Team: Blooming Hello
This week is simply flying by, crafty friends! Blog Design Team member Amy Kolling is sharing a pretty die-cut card with us today that just screams ‘spring’!
Plus, if you’re feeling crafty and would love to create your own springtime die-cut beauty, we’re giving away a Bloom Where You’re Planted die set to one lucky winner! Keep reading for details…


Now, let’s hear from Amy about her project…
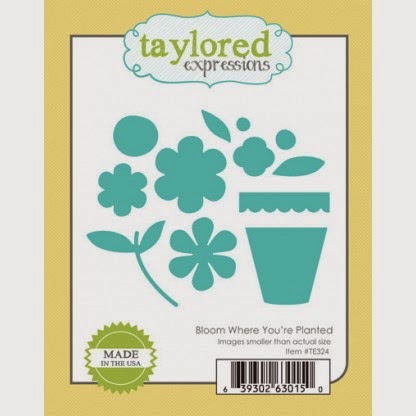
I love a good floral die set, especially one
that is versatile enough that you can die-cut
patterned paper or solid colors. I worked
with Bloom Where You’re Planted
since it had large blooms and a flower pot die to coordinate.I wanted to layer my blooms over the Lattice Cutting Plate but wanted to temper the white on white style. Don’t
get me wrong, I love a white on white card, but
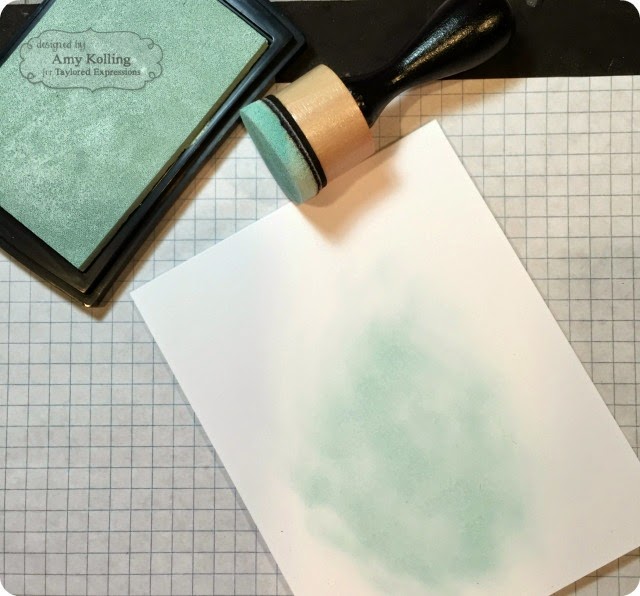
I decided to lay some color down on my white card “behind” the
lattice. I sponged some coordinating ink
randomly onto my white cardstock panel. As you
can see, I didn’t try too hard to make it pretty or blend it because it won’t matter once you layer the Lattice
Cutting Plate over the top! I love the
look of the blue showing through the lattice!My blooms were die-cut and layered with foam adhesive atop the die-cut
flower pot cut out of Salt Water Taffy
Cardstock. Did you notice the flicks
of darker color on the blooms and leaves? I used coordinating Copic markers to “flick” color to just give the
flowers a bit of dimension. A tiny bit
of twine was tied around the rim of the flower pot. To ground my image on the white lattice, I
adhered a thin strip of black cardstock. I think this little detail is a must.My sentiment was die-cut from Cherry
Pop cardstock from Hi, Hey, Hello die set and adhered.


Thanks so much, Amy, for sharing this fun die-cut project! You can catch more of Amy’s design work on her blog, Stamp-n-Paradise.
Ready to create your own blooming card? You’re in luck because we’re giving away a Bloom Where You’re Planted die set to one lucky winner!

How to Enter: Leave a comment below telling us about the last time you received or gave someone flowers by Sunday, April 26, 2015 at 11:59 pm PST.
We’ll choose one lucky winner at random to win a Bloom Where You’re Planted die set! We’ll announce the winner here on the TE Blog next week. Good
luck!