Dec 17, 2015
Today I Learned: How to Create a Stenciled Ombre Background
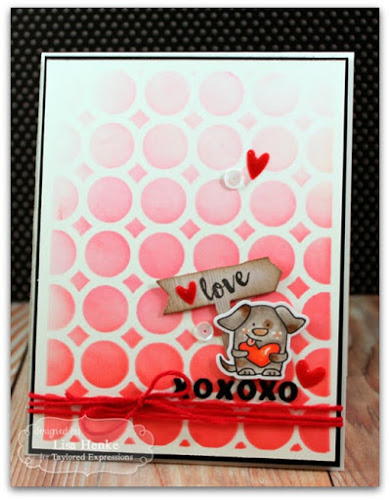
Hey there, crafty friends! It’s time for our last installment of “Today I Learned…” for 2015 and we’re leaving off this year with a wonderful tutorial from Blog Team designer Lisa Henke, who shares a step-by-step tutorial on how to create beautiful ombre backgrounds using our Cutting Plates!
A note from Lisa…
I am so excited to show you all how easy
and quick a stenciled ombre background is to create. The best part is, I
created my own stencil with a few supplies you probably already have
on hand! I love the soft look of inking when working with stencils.
It’s also like magic every time you remove the stencil and see the
pattern you created. You don’t need to go out and buy a bunch of
stencils — just use your cutting plates. This works best if you find
one that has some thicker, more substantial border lines to work with. I
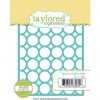
chose the Spotted Cutting Plate for my background today.
Would you like to know how Lisa inked up this amazing background? Well, you are in luck because her tutorial is in this week’s TE Newsletter! Check it out here:
Tune in for more Today I Learned tutorials in the new year! Be sure to subscribe to the Taylored Expressions e-Newsletter for new product information, inspiration, and more!
Get the latest TE news delivered to your Inbox by clicking the button below:


