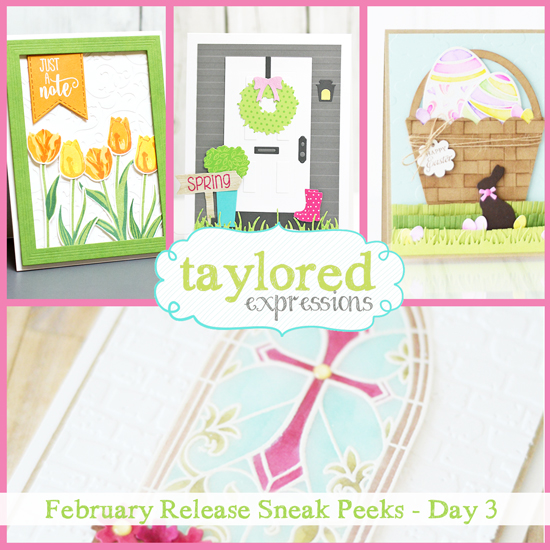
Good morning, crafty friends! Today is the last day of sneak peeks before our big February release! Are you feeling the warmth of spring with all of the springtime creations this week? I hope you’ve seen something that inspires you to get creative. All of the new products will be available at the TE webstore on Thursday, February 4th at 7am PST.
Before we “hop” (Get it? This is our Easter release!) into the projects for today, I have one more chance for you to win one of our release week prizes! I love to hear from all of you so each day this week I’ve posted my Question of the Day. All you have to do is leave a comment with your answer and you’ll be entered to win one of our new products or a Grand Prize gift certificate to the TE Store!
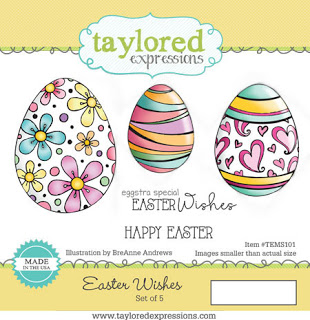
Today I’m giving away the Easter Wishes stamp set
to one lucky winner!
Get your colors ready for these beautifully patterned eggs!
The fine print: Leave your comment before Wednesday, February 3rd at 11:59pm PST. One entry per person. Each comment will also be entered into our Grand Prize drawing for a $50 Gift Certificate to the TE Store! Winners will be chosen at random and announced on Thursday, February 4th, 2016.
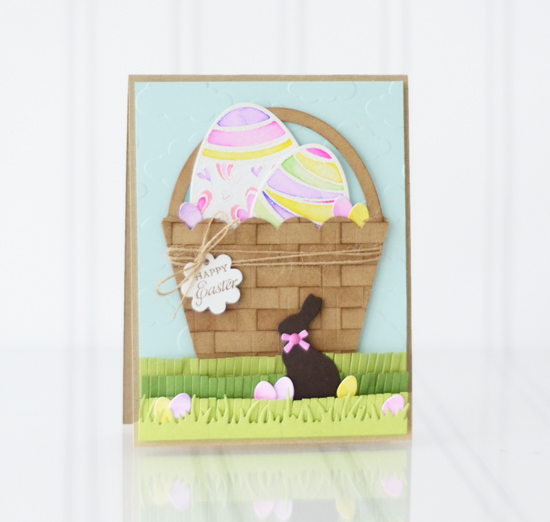
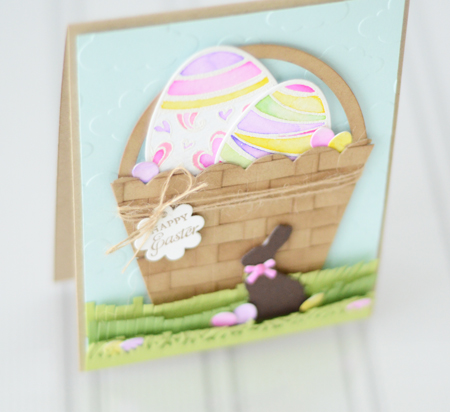
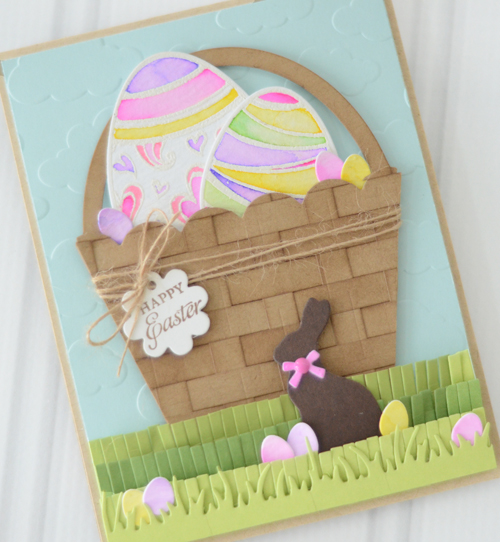
You know that feeling you get when you have an idea that you think is pretty cool, but you’re not entirely sure if it will work? And then that even better feeling you get when the idea comes out in reality just like you pictured it in your head!? Well, that’s how I’ve been feeling about the little wicker basket that I created to hold the Easter eggs on this card:
Once I made the connection between the Basketweave Cutting Plate and the Wicker Pocket die (both previously released products) I knew I had to figure out a way to make them work together. I thought I’d offer up a little mini tutorial so you can make them work together too!
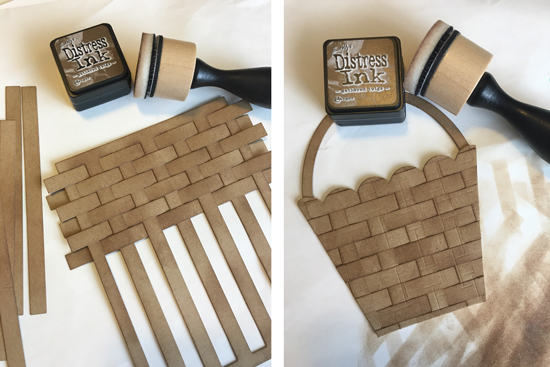
I started by cutting the Basketweave Cutting Plate from Toffee cardstock and distressing all of the pieces with Gathered Twigs ink. Then I took the individual strips that fall out of the cutting plate design and began weaving them back into the cutting plate to create the basketweave look.
After all of the pieces were woven into the design, I applied Stick It to the back, placed the Wicker Pocket die over the top, and ran it through the die cut machine. I cut off the side and bottom tab from the Wicker Pocket die cut and I also cut the handle off and replaced it with a handle cut simply from Toffee cardstock.
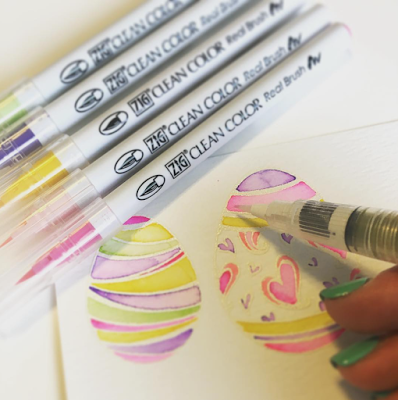
After conquering the wicker basket idea, I embossed the eggs onto watercolor paper and began watercoloring:
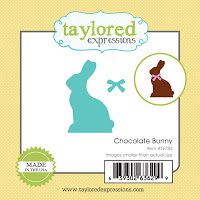
These eggs coordinate with the previously released Egg Stacklets dies so I used them to die cut my painted Easter eggs. After everything was cut and colored I began assembling the scene using several cuts of the new Fringe border, mini eggs from the Easter Confetti die set, and a cute chocolate bunny nestled in the grass.
Here’s a closer look at the new products I used on this project:
And here’s the complete list of supplies:
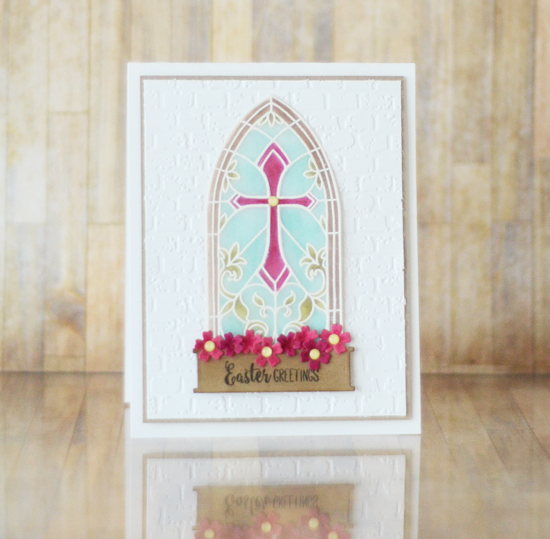
I’m so excited to share my next project with you as the true meaning of Easter is captured in this gorgeous stained glass image:
I decided to use the vellum coloring technique on this image as it’s also known as the ‘stained glass technique’. Just stamp and emboss your image onto vellum and use markers to color the image on the reverse side. Coloring on the reverse side gives the image that beautiful, muted look!
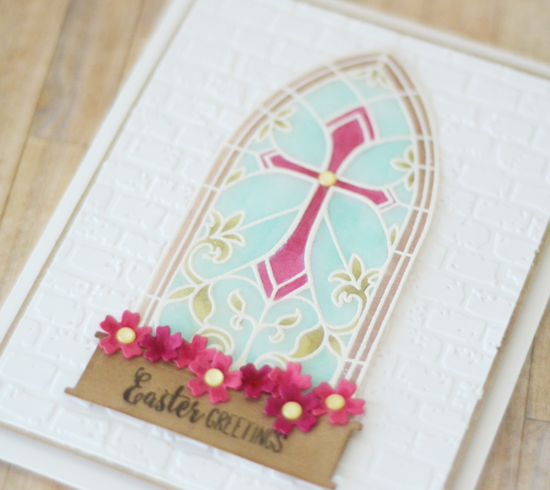
After coloring the image I cut it out with the coordinating Label Stacklets 5 die and mounted it over the top of a Brick embossed piece using Kool Tac foam squares specifically for vellum.
I didn’t think the project was quite done so I decided to add the flower box and flowers at the bottom of the window. I used my Sizzix flower tool kit to bend the petals of the flowers and give them more dimension. I stamped the sentiment onto the flower box using my Stamp a majig to line it up perfectly. The flower centers are from the Doodlebug Glitter Sprinkles in Bumblebee.
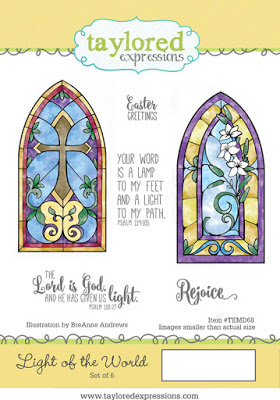
Here’s a closer look at the beautiful Light of the World stamp set that I used on this card along with the rest of the supplies that I paired with it:
The inspiring gals on our Creative Team have more projects to share with you today using several of the products I’ve used above and those that you see below. Make sure you check back here tomorrow to see if you’re the lucky winner of one of our release week prizes and to find out what’s in store for you with release orders placed at Taylored Expressions!


