Feb 02, 2016
Sneak Peeks! Sweet Honey Sisters & a new Bouquet!
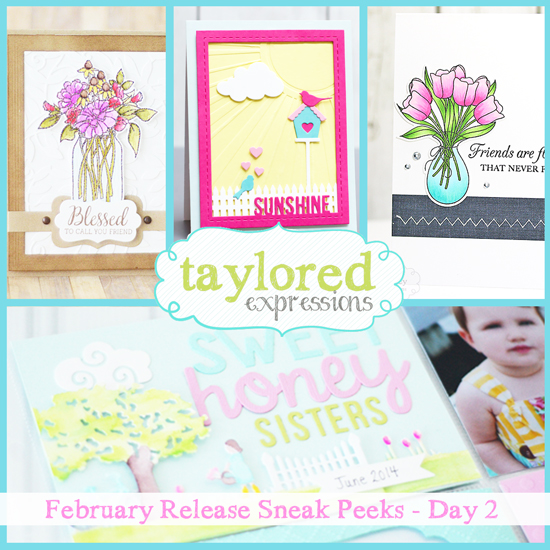
Good morning, crafty friends! Our February sneak peeks are continuing today with more of the beauty of spring in our paper crafted projects! I felt inspired to do a little scrapbooking along with some watercoloring using one of my new favorite products! I hope you’ll scroll down to see what I’ve been up to over the last couple weeks!
Our talented creative team has lots to share, and I’d love to have you join in the fun this week too! Just stop by the blog each day and leave a comment with your answer to my Question of the Day for a chance to win one of our new products or a Grand Prize gift certificate to the TE Store! I love to hear from all of you! So it’s time for roll call…. who’s out there!?
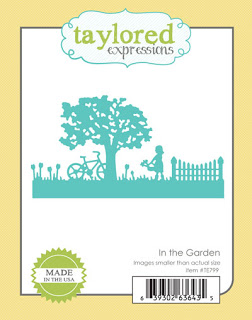
Today I’m giving away the In the Garden Die
to one lucky winner!
to one lucky winner!
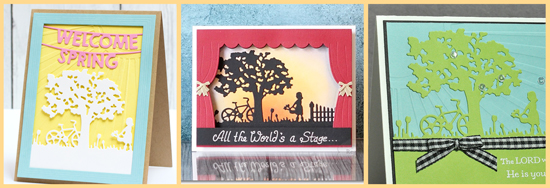
There are so many possibilities with this beautiful silhouette!
The fine print: Leave your comment before Wednesday, February 3rd at 11:59pm PST. One entry per person. Each comment will also be entered into our Grand Prize drawing for a $50 Gift Certificate to the TE Store! Winners will be chosen at random and announced on Thursday, February 4th, 2016.
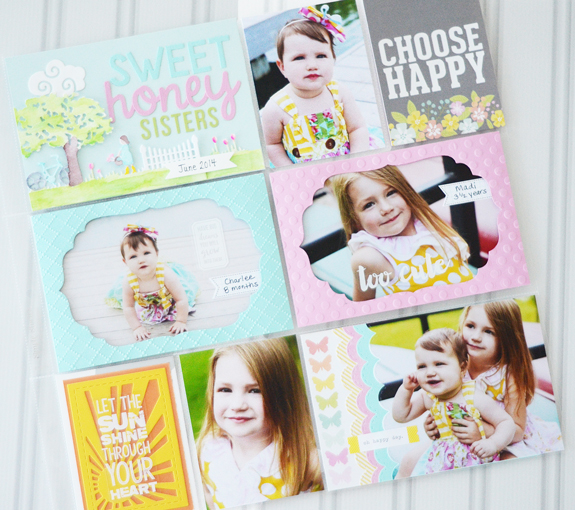
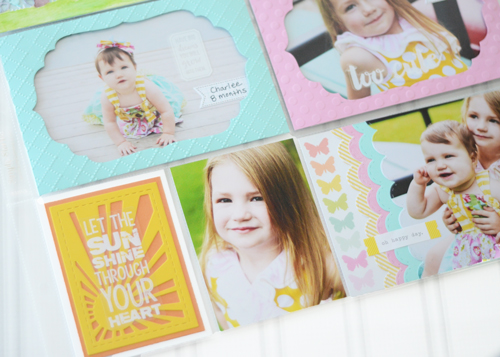
And now for the projects I created for our second day of sneaks! Every couple months I get the urge to put together another pocket layout for my girls’ (severely lacking somewhat full) scrapbook. I typically scrapbook big occasions like birthday parties and annual photo sessions, but our recent products had me inspired to finally scrap the memories of their Sweet Honey sister shoot from over a year ago!
If you have a little girl then you must know about Sweet Honey! It’s a boutique clothing company that sells the most beautiful dresses created by a momtrepreneur turned fashion designer. The fabric combinations are beautiful and I love supporting a company with such a unique and inspiring story! It was so much fun dressing the girls up in their coordinating Sweet Honey dresses for this early summer photo shoot.
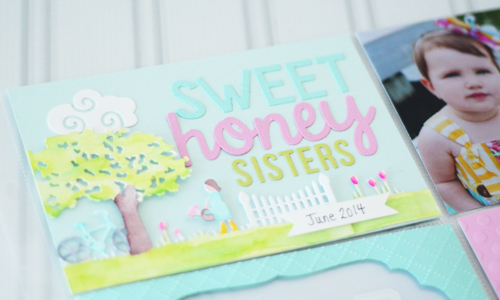
I started by creating the 4×6 title card using three different alphabet die sets to spell out Sweet Honey Sisters. Then I cut the In the Garden die from watercolor cardstock and used my Zig Clean Color Brush pens to add color to the die cut. Now don’t feel like you have to color the die cut in order for it to look fabulous! Here are a few snippets of projects from the design team showing the same die cut from three different colors of cardstock. Don’t you just love all the possibilities for this beautiful silhouette?

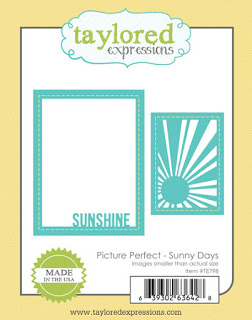
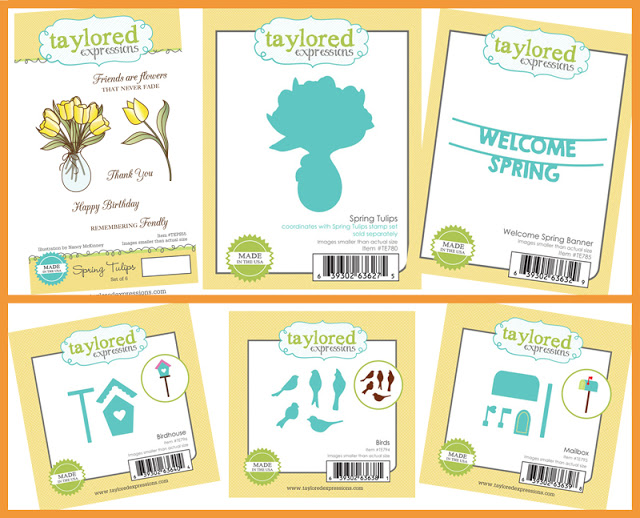
I also used one of our new Picture Perfect – Sunny Days dies in the bottom corner of my layout. It layers up perfectly inside a 3×4 pocket and I loved the Simple Stories sticker I found to go over the top. It says, “Let the sun shine through your heart.”
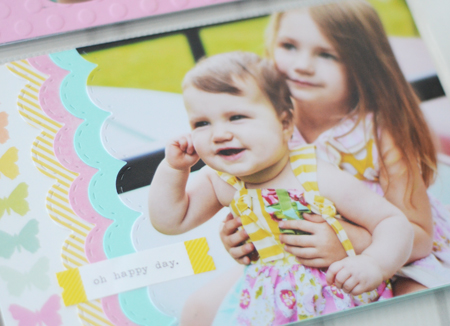
I finished the bottom of the layout by layering several coordinating colors die cut using the Stitched Scallop Edger.
You know, in some ways this feels like yesterday, and yet I find myself having trouble remembering Charlee at this sweet infant stage. We’re currently in the 2-year old rambunctious “I do it myself” stage. Love these girls and I hope they’ll look back on these moments captured in time with fondness. After all, that’s why I scrapbook!
Here’s a closer look at the two new products that I used on this project:


And here’s the complete supply list for my layout:


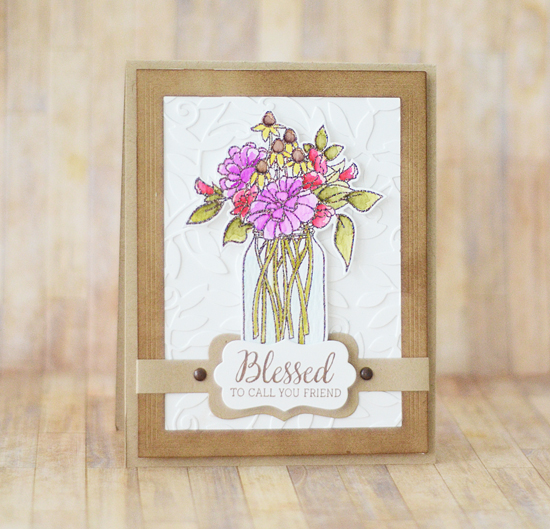
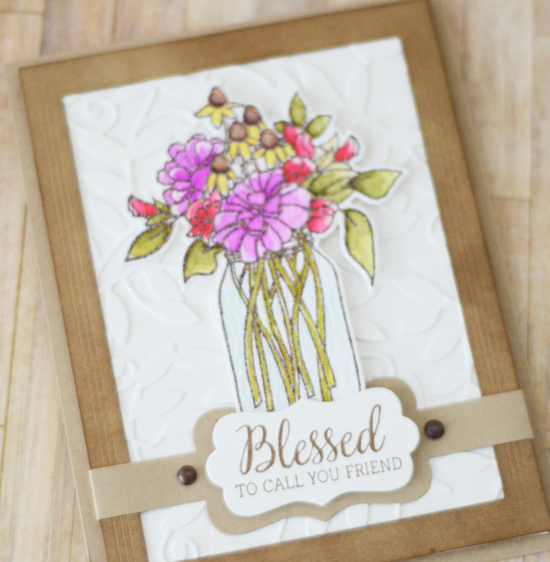
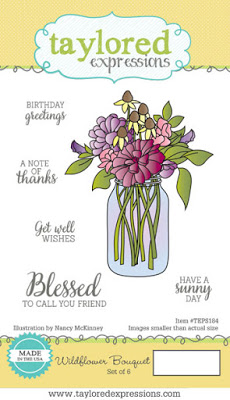
For my next project, I kept my of my favorite new products out to watercolor this gorgeous bouquet! I’m having so much fun playing with the Zig Clean Color Real Brush markers. Coloring in general is therapeutic for me, but I find watercoloring even more therapeutic because there’s not the pressure for perfection. Watercolor is meant to be imperfect!
I started by embossing the image with a tapestry brown embossing powder. I’m not even sure where this stuff came from. It’s one of those supplies that just showed up in my stash and I finally found a use for it! Then I watercolored the image by scribbling the markers onto an acrylic block and picking up the color with a water brush. This is my favorite method for watercoloring with these markers, but by far not the only method! I love their versatility! Did you know that we sell the individual markers at the TE Store now? You can find them all HERE.
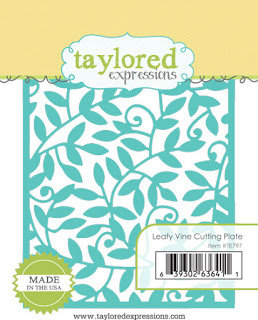
After watercoloring the image, I die cut the Leafy Vine Cutting Plate with Stick It backing and adhered the die cut white on white. I cut the largest Frame in Frame from Kraft cardstock and distressed it with Gathered Twigs ink. The sentiment is stamped onto the Band It die with a couple brads for a little something extra.
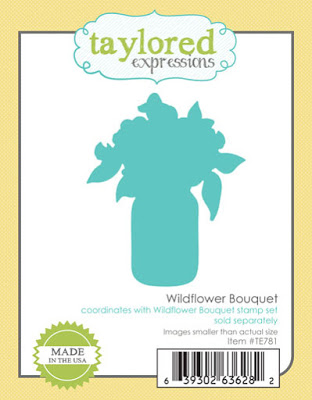
Here are the two new products I used on my project along with the rest of the supply list following:


Our fabulous creative team has more inspiring projects to share with you today so make sure you click on their beautiful faces below and visit their blog. Don’t forget to leave ’em some love while you’re there! Below you’ll find several of the products that they’ll be using on their projects in addition to those that I used on my projects today: