Mar 22, 2016
Blog Design Team: Wildflowers in Bloom & a Giveaway!
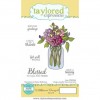
Hey there, crafty friends! We hope you are having a wonderful week now that Spring is officially here. Today we have a fun springtime pair of projects featuring our recently-released Wildflower Bouquet from two of our talented Blog Design Team members, Amy Kolling and Lisa Henke. Plus, we’re giving away this stamp and coordinating die to one lucky winner, so read on for details!
We’ve got two takes on one lovely stamp set, so let’s get started with Amy’s pretty card…

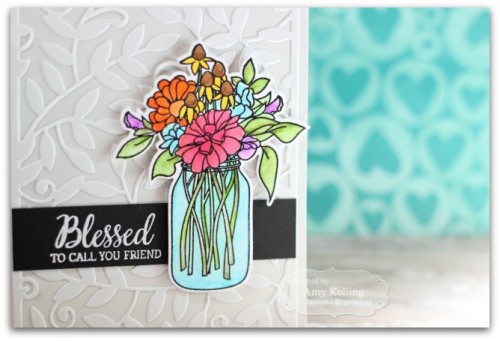
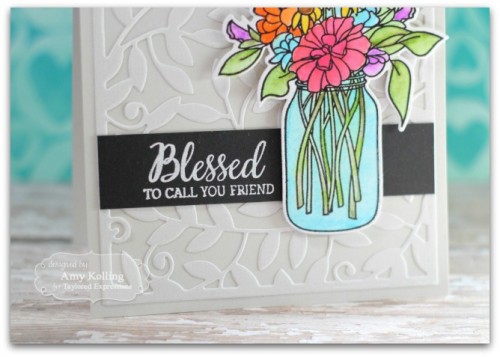
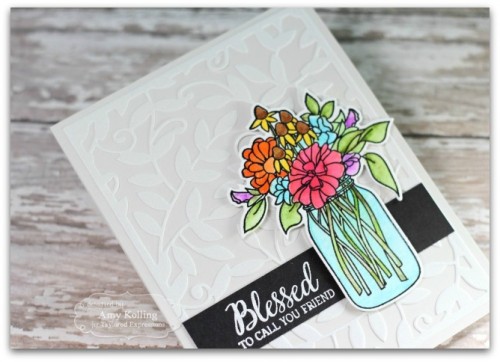
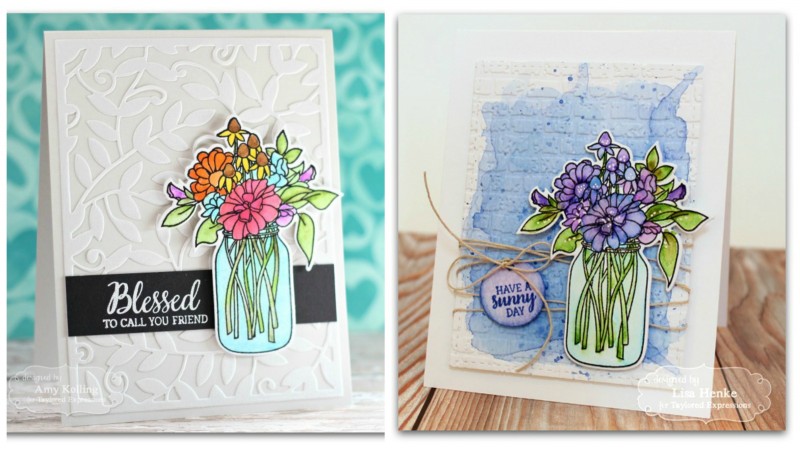
Hello! Nothing says spring like flowers. I have been in a watercoloring mood lately as it’s so forgiving as a coloring medium. I used Versafine Onyx Black ink to stamp the Wildflower Bouquet and added clear embossing powder, and then heat set. I get a very crisp black image by using Versafine to emboss. Embossing is a great way to watercolor as the embossing keeps your ink “in the lines”.
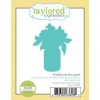
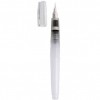
I watercolored using my Zig Clean Color Real Brush Markers and a waterbrush to blend out the intense color. After coloring and letting it dry, I die-cut my Wildflower Bouquet image with the coordinating die.
I wanted my sentiment to bold to stand out from the background I created, so I white heat embossed the “Blessed to call you friend” onto a black cardstock strip.
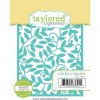
For my background, I die-cut the Leafy Vine Cutting Plate in thick vellum. To make this easier, I added Stick It adhesive to the back first. By using this adhesive, it makes adhering the vellum simple and you see no glue! This vellum gives almost an opaque look. By using this vellum when added to a light grey notecard, it looks like faux embossing! I need to remember this technique more often!
And now, Lisa is up with a gorgeous and embossed card using the same stamp set and die! Check it out…
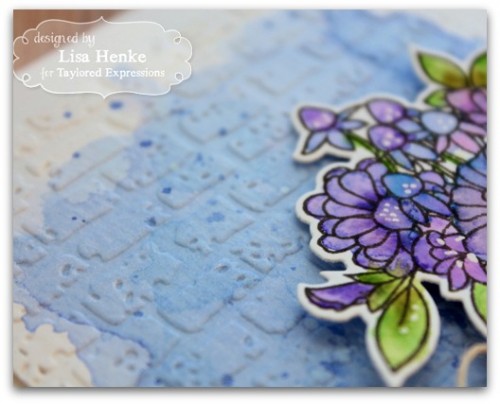
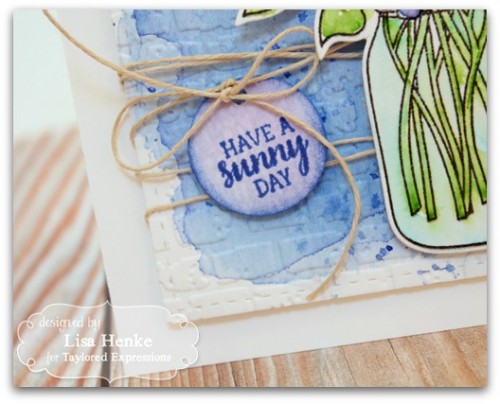
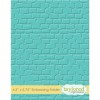
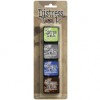
I just love the texture of the Brick Embossing Folder and how much it adds to just about any card. I was curious how it would work with some Watercolor Paper and I was delighted to see just the same amount of detail come through despite the extra thickness. So, before I embossed the panel, I used the smooshing technique and some Blueprint Sketch Distress Ink. Once this was dry, I added some extra color detail with some flicking of the ink color and some plain water. Splatter always looks good! Then I ran the panel through my die-cut machine with the Brick Embossing Folder. One final detail to this panel was to cut it out with one of the Stitched Rectangle Stacklet dies.
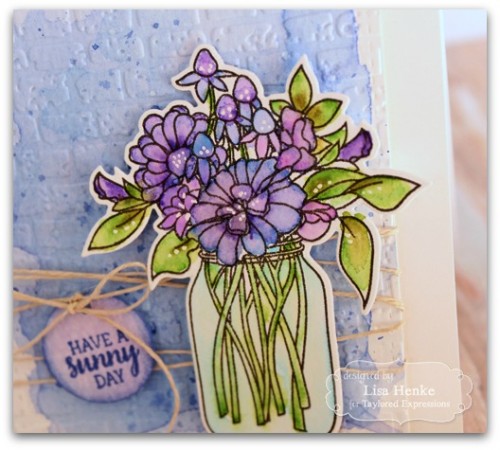
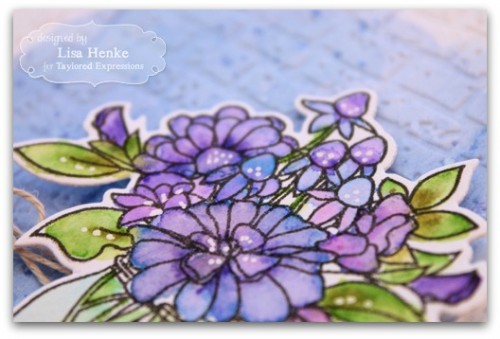
I set that aside and got busy with these gorgeous flowers. I stamped the Wildflower Bouquet onto water color paper and used the Zig Clean Color Real Brush Markers to color them. I was going for a monochromatic looking card, so I made sure to pull out the blues and purples that would coordinate with the Blueprint Sketch ink in the background. Once the flowers were dry, I used the Wildflower Bouquet die to give a perfect cut to the image. The white border around the jar of flowers really helps it pop against the background.
I added some white dotted detail after the flowers were dried with a white gel pen.
I tied on some natural colored twine and added a circle sentiment tag. You can use a small die to cut out the circle, but I used a circle punch today. I stamped a sentiment from Wildflower Bouquet onto a scrap piece of watercolored paper with the Blueprints Sketch ink and sponged more of the color around the edges. I punched a small hole and tied it onto the twine with a pretty bow. The finished panel was mounted onto a top folding A2 Sugar Cube card base.

Amy’s Blessed Card
Lisa’s Sunny Day Card
Thanks so much, Amy and Lisa, for sharing your wonderful projects with us today! Be sure to visit Amy at Stamp-N-Paradise and Lisa at My Little Creative Escape for more of their fantastic work. And now, if you are feeling inspired, enter to win your very own Wildflower Bouquet and Wildflower Bouquet Die below! Have a joyful day!


