Apr 05, 2016
Sneak Peeks! Flowers for Mom
Good morning, crafty friends and welcome to Day 2 of sneak peeks for our April Release! All of the new products we’re sharing this week will be available for purchase right here at the Taylored Expressions webstore on Thursday, April 6th starting at 7am PST! Today the Baker’s Dozen and I will be sharing our latest floral creations, so come join me on a walk through our paper garden!
But first, I have a question for you! I ask this question because I need to know who to come to for gardening advice since my answer to the question is a definite ‘no’ (unless we’re talking about paper flowers!). By leaving a comment with your answer you’ll be entered to win one of our new release products or a Grand Prize gift certificate to the TE Store!
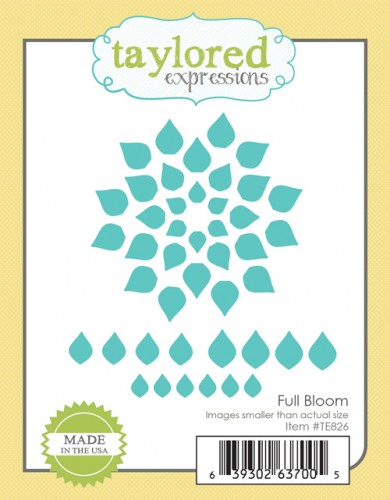
Today I’m giving away the Full Bloom die set!
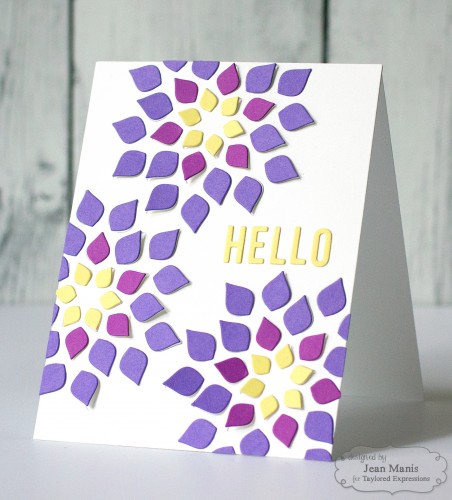
Check out the quick video above to see what the Full Bloom die is all about, and then leave your comment before Wednesday, April 6th at 11:59pm PST. One entry per person. Each comment will also be entered into our Grand Prize drawing for a $50 Gift Certificate to the TE Store! Winners will be chosen at random and announced on Thursday, April 7th, 2016.
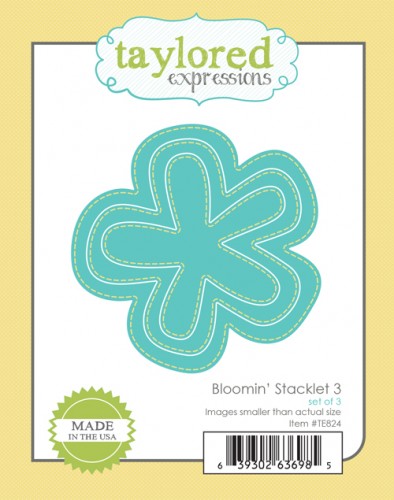
And now for today’s projects! While shopping the aisles of Michael’s recently, I came across this cool mini pallet in a distressed brown shade. The warm brown color was begging for a felted embellishment and I thought the new Bloomin’ Stacklets set would be the perfect adornment!
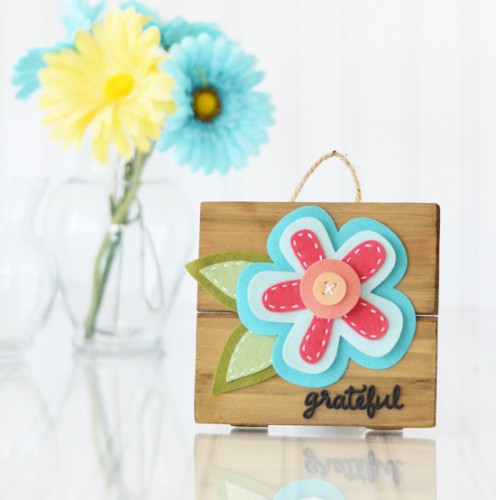
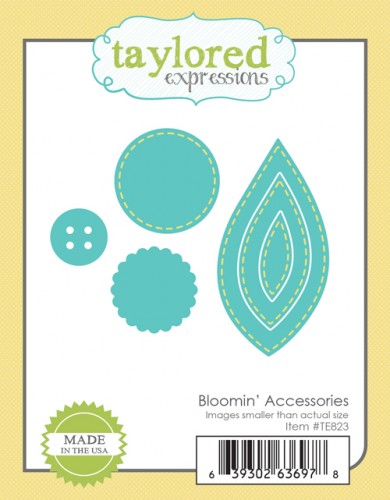
Have you tried our 100% Wool Felt yet? It’s truly scrumptious and comes in 50 gorgeous colors including a few of my personal favorites that I incorporated into this project (Robin’s Egg, Papaya, Peach, Avocado, Split Pea). If you’re looking for other recommendations, I also love Aqua Mist and Marshmallow is a must-have neutral. There are so many things you can do with felt!
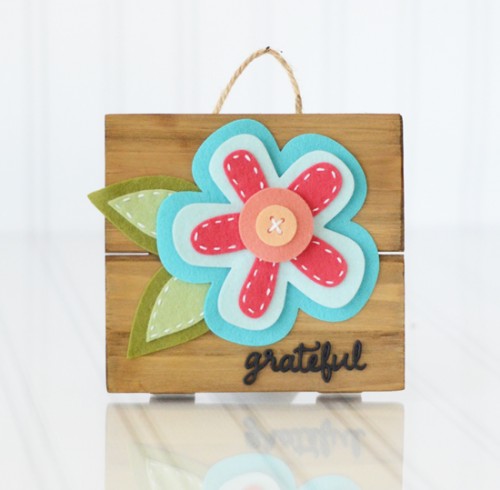
I started by die cutting each piece from my desired colors. Because the word ‘grateful’ is so intricate, I adhered Stick It to the back of the Oreo cardstock before die cutting. I die cut 8 layers and adhered them one on top of the other to make the piece more sturdy.
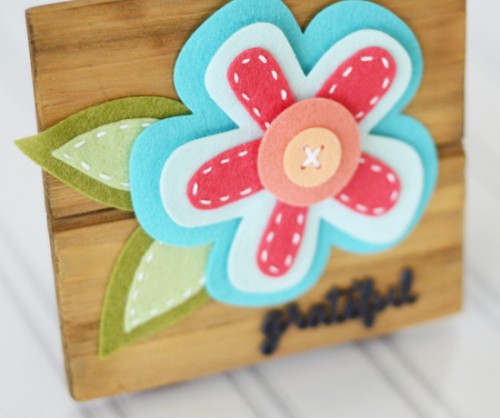
I stitched the layers together with white thread and then adhered the flower together with both foam tape and liquid adhesive (not too much though because you don’t want it to seep through and have a goopy flower!)
Here’s a look at the new products I used on this projects:
And here’s a look at the complete supply list:
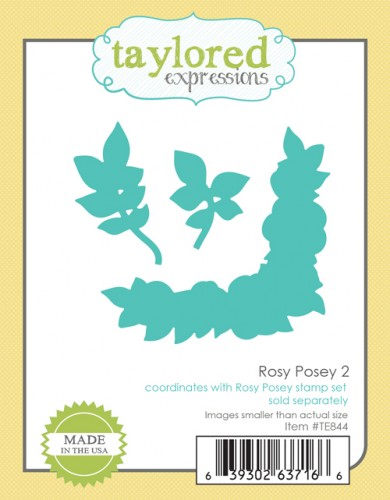
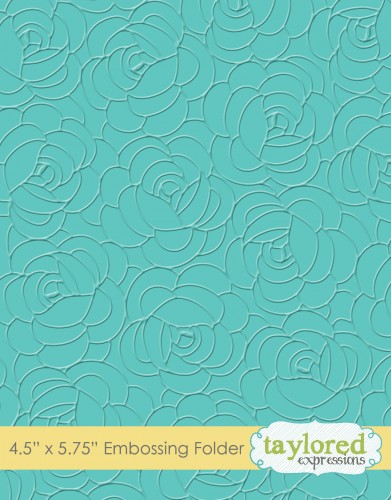
For my next project, I’ve been dying to try out the new Rosy Posey embossing folder with my Zig Clean Color Real Brush markers! Did you know the new Rosy Posey embossing folder coordinates with our previously released Rosy Posey stamp set and coordinating dies? Here’s how my paper looked when I finished adding the watercolor:
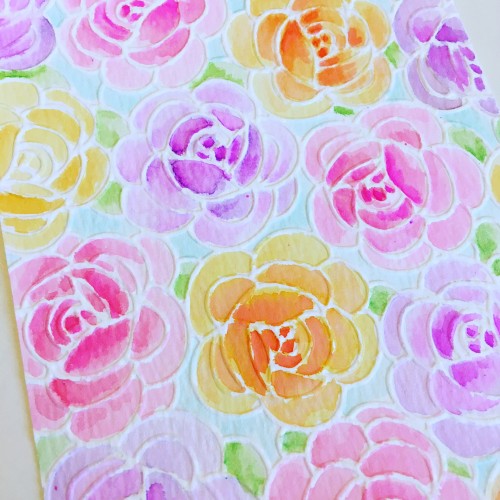
I embossed the design onto watercolor paper and then added color to the individual roses with a detail water brush and Zig Clean Color Real Brush markers. I absolutely adore how it turned out! And I was equally afraid of messing up my beautiful work of art with a fussy card layout so I kept it really simple:
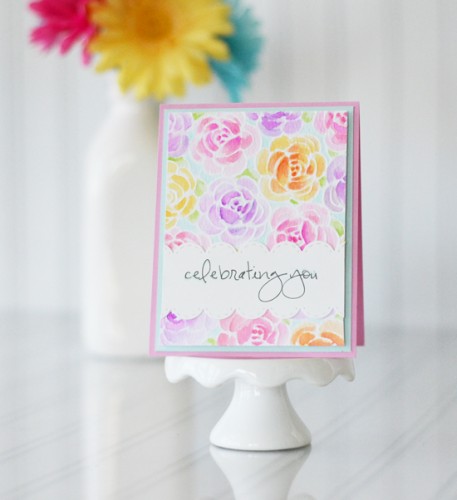
I cut out the ‘celebrating you’ sentiment with the Stitched Scallop Edger and popped the entire panel up onto Salt Water Taffy cardstock. I’m already looking forward to trying this again in another color combination!
Here’s a look at the Rosy Posey embossing folder:
And here’s a look at the complete supply list for this project:
Our fabulous creative team has more inspiring floral projects to share with you today so make sure you click below and visit their blogs. Did you see that we’re finishing off the coordinating dies for the rest of our petite bouquet stamp sets! There will be lots of new samples along the hop using products you might already own (bonus!)!
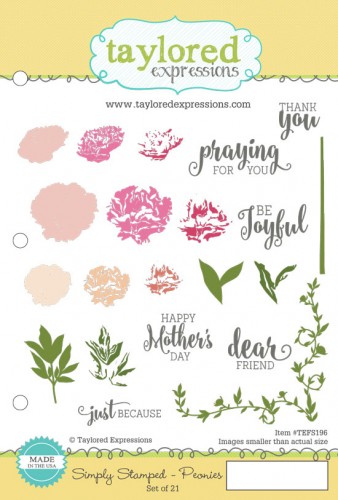
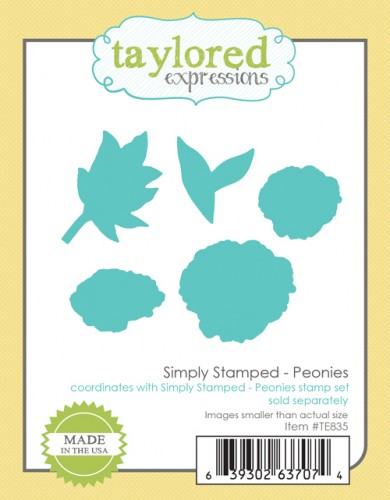
In addition to the products that I used on my projects, the design team will be showcasing these new products on their projects:
