
Apr 06, 2016
Sneak Peek! In Honor of the Graduate
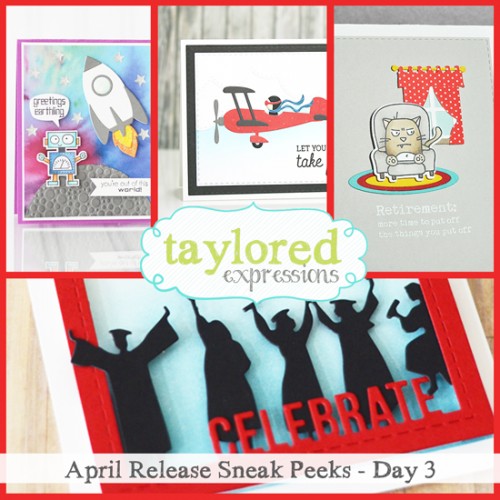
Good morning, crafty friends and welcome to the final day of sneak peeks before all of our new products are available for purchase! All of the new goodies we’ve been sharing this week will be released tomorrow morning at 7am PST at the TE webstore! So far we’ve shown off inspiring projects including beautiful bookmarks, fabulous felt flowers, and much more. We’re tying up this month’s release today with new products to honor the graduate. So whether graduating from high school, college, or higher education OR “graduating” from the working world into retirement, we’ve got something for all occasions!
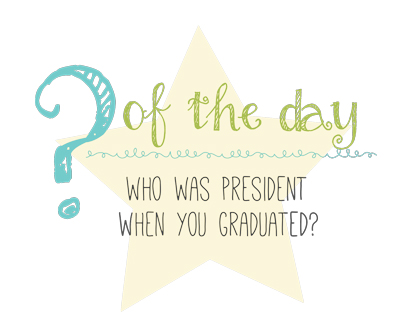
But first, I need you to tackle one more question of the day! By leaving a comment with your answer you’ll be entered to win one of our new release products or a Grand Prize gift certificate to the TE Store! With all of the hubbub of a presidential election I started thinking back to who was president when I graduated. So that’s my question for you today, who was president when you graduated from high school? Don’t worry… you don’t have to tell me EXACTLY how old you are! *wink* And I’ll answer too….Bill Clinton was president when I graduated.
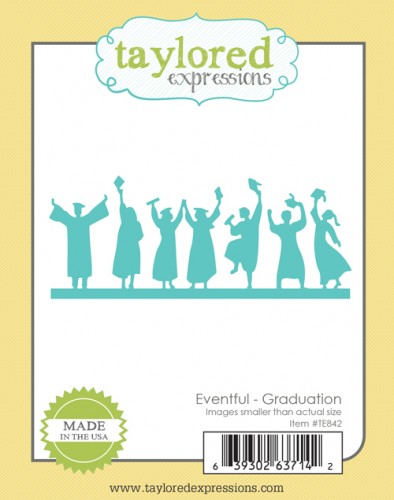
For answering today’s question, you’ll be entered to win the Eventful Graduation Border!
The fine print: Leave your comment before Wednesday, April 6th at 11:59pm PST. One entry per person. Each comment will also be entered into our Grand Prize drawing for a $50 Gift Certificate to the TE Store! Winners will be chosen at random and announced on Thursday, April 7th, 2016.
And now for today’s projects! Since we’ve been talking about graduation, I’ll start with a card fit for any graduate! You could leave off the sponging part and these would be really quick and easy to mass-produce (to sell!) or for those years when everyone you know is graduating!

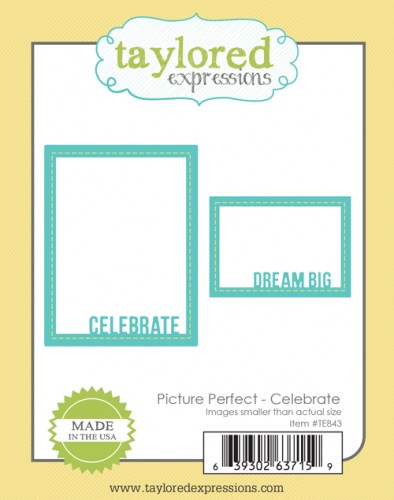
I started by die cutting the Picture Perfect – Celebrate frame from Cherry Pop cardstock. With a slight crop of your photo, this frame layers right onto 4×6 pictures for a quick photo invitation or to adorn your scrapbook layouts. The smaller frame in the Picture Perfect die sets fit perfectly around the Instax camera film too!

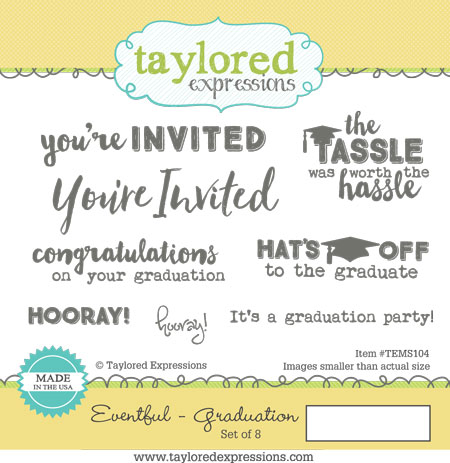
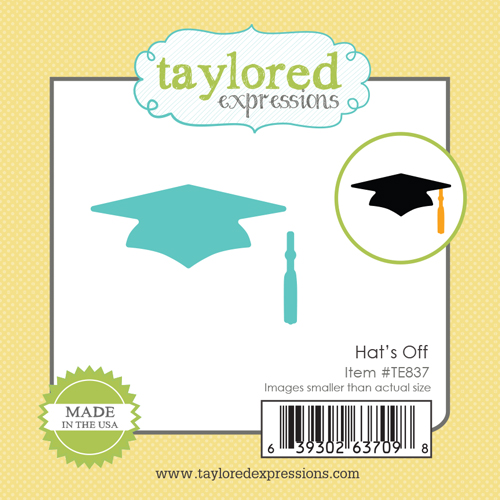
I sponged the background with Broken China ink, die cut the Eventful Graduation Border from Oreo cardstock and layered it all together. The sentiments were embossed with black embossing powder. I also added the small grad cap as if it were sitting on top of the ‘c’ using the new Little Bits – Hats Off die. We also have a previously released Grad Cap die, but these two products are quite a bit different in size so I thought I’d give you a size comparison below for reference:
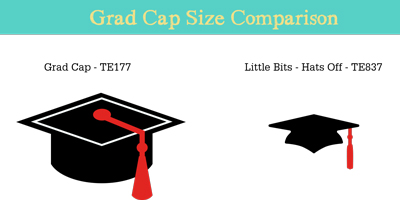
The sizing of the Little Bits version works great in small spaces and to top off almost any of our little animal critters (like the dog in the If Dogs Could Talk set!). The larger version works more as a focal point on a card and is sized to work well with our new Little Bits – Diploma.
Here’s a look at the new products I used on this card:
And here’s a look at the complete supply list:


And now for my last project! As any good stamper would, I must give credit where credit is due and the credit for my next card goes to one of our amazing designers Jen Shults. Each month she creates three beautiful cards that are mass-produced and sent out to retail stores who participate in our sample program. She made such an adorable card and when I sat down to make my release projects I just couldn’t get hers out of my head. And so here’s Jen’s original (left) and mine (right):
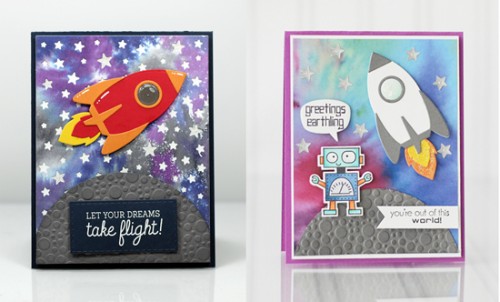
I believe Jen used Distress Ink and the smooshing technique on her background. Guess what I used on mine? Patterned paper! I love the look of blended ink (like those cool Colorburst powders), but I have to admit I don’t love the mess. You have to catch me in the right mood to make that kind of mess and I just wasn’t in that mood when I made this project. So instead I grabbed the Colorburst 6×6 Paper Pack and used one of the premade patterns for my background.
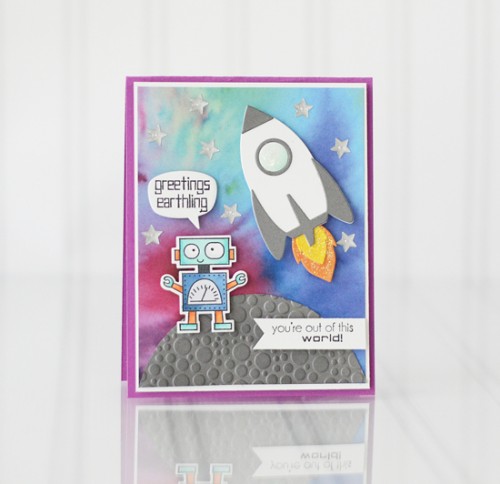
I started by tracing a circle large enough to go across the bottom of my card. I had to use a large bowl because the largest circle die I have wasn’t quite large enough. Then I embossed this piece with the Bubbles Embossing Folder and sponged it with Hickory Smoke ink. I wanted a little martian on the planet so I stamped the image from the Far Out set, colored with Copics, and die cut with the coordinating die.
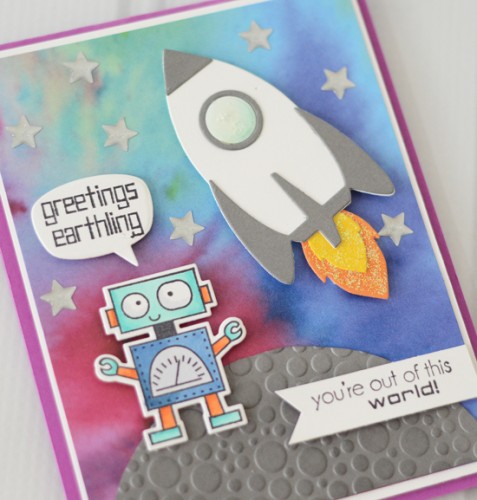
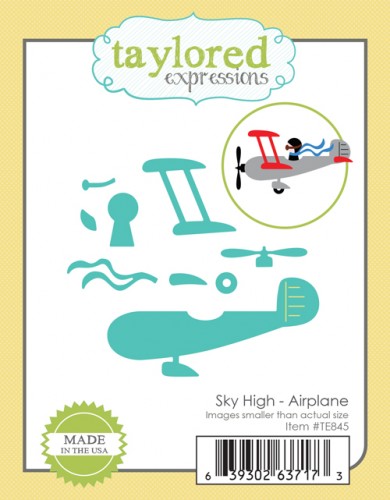
The rocket is the new Sky High Rocket embellished with Glossy Accents and Crystal Stickles. Then to finish it off I used the Little Bits – Talk Bubble for my sentiment and added some Doodlebug Star Sprinkles in the sky. Can’t wait to give this card to one of my many nephews!
Here’s a look at the new product I used on this project:

And here’s a look at the complete supply list:


Well, that’s it for me today, but the rest of our crafty team has much, much more to share with you so make sure you check out their blogs. They’ll be showing the new products I used above as well as those shown below that I didn’t get a chance to use in my projects:


Thanks for stopping by today! See you tomorrow for one more dose of inspiration along with the big release!

