May 23, 2016
Sharing Joy with Therm O Web: Day 1

Hey there, crafty friends! All this week, we are teaming up with our friends at Therm O Web ! For over 40 years, Therm O Web has been bringing high-quality adhesives and interfacings to the crafting world and, like us, they are a family-owned company dedicated to expanding your creativity. We recently discovered their amazing Deco Foil line of products and our Creative Team got to play. They’ve had a blast pairing our fan-favorite TE products with this fabulous foil and our friends at Therm O Web are doing the same! Today, Taylor and Creative Team member Shelly Mercado are sharing projects you won’t want to miss. PLUS — we’ve got two amazing prizes up for grabs…read on for all the details!
First up, let’s hear from Taylor on how she created her projects…

I wanted to focus my projects on how to use foil without a laminator or Minc machine. With the help of the new Deco Foil adhesive pen and some of my favorite adhesives, I was able to accomplish beautifully foiled cards without the need for heat.
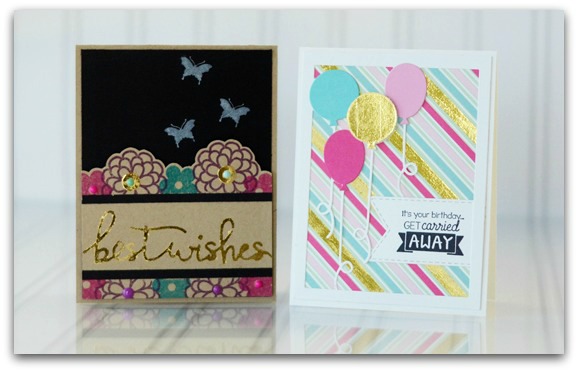
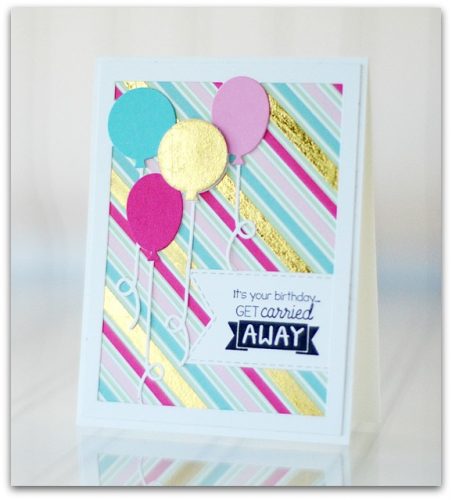
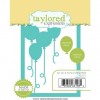
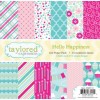
For my first project, I pulled out one of our most popular paper collections, Hello Happiness. The stripes on the paper provided the perfect pattern for quickly adding a foil detail. I simply used stripes of Scor-Tape to coordinating stripes of the pattern. I applied the foil over the top and used a bone folder to burnish the foil onto the adhesive. When you peel back the foil sheet you’ll have a fully foiled strip wherever you laid out the tape! I did something similar by die-cutting one of the balloons from an adhesive sheet and foiling it in the same way in order to tie the foil in the background into the cutting plate design.
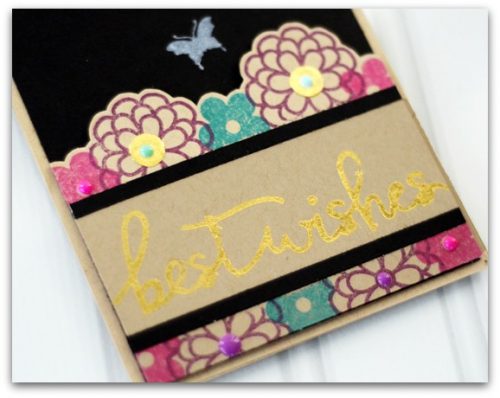
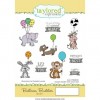
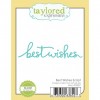
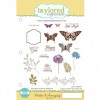
For my next project, I wanted to test out the adhesive pen which also requires no heat! You simply use the adhesive pen to write or stencil, apply the foil, and send it through your die-cut machine. The rollers on your die-cut machine give it the pressure that it needs to adhere to the adhesive. I started by cutting a stencil using our Best Wishes die. Then I traced inside the letters of the stencil with the adhesive pen. After removing the stencil, I applied the foil and ran it through my die-cut machine. I was really pleased with the results and can’t wait to try this stenciling method with more of my word dies! (This is a great technique if you don’t like your handwriting. But it also works great to just hand write words with the adhesive pen and foil them up!)After completing the ‘best wishes’ portion, I masked the strip and stamped flowers from the Happily Ever After set above and below. In another fun twist, you can also use glue dots to apply foil which is what I used on the large flower centers above the ‘Best Wishes’.
Gorgeous, Taylor, and thanks for the tips! Next up is designer Shelly Mercado!

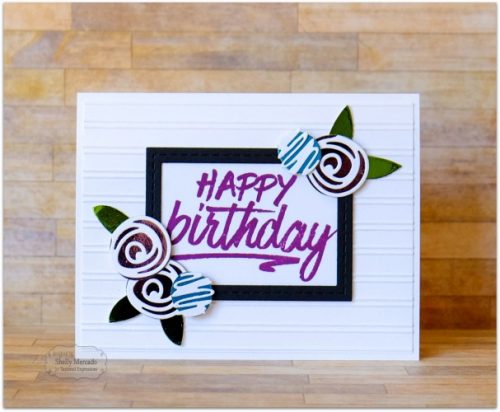
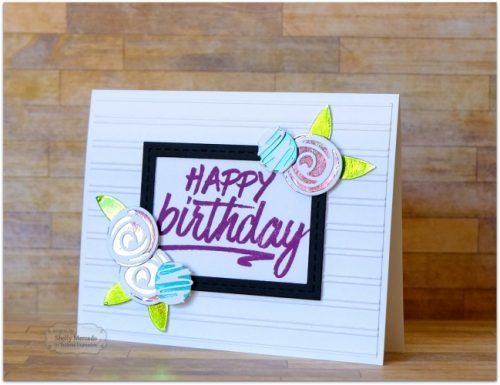
Shelly created a fabulously foiled birthday card that really shows off how to combine our dies with Deco Foil. Here are some step-by-step instructions for how she created her wonderful card:
Step 1: Cut A2 card base from Sugar Cube cardstock and fold in half
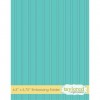
Step 2: Cut a layering piece from Sugar Cube cardstock to 4”x5.25” and emboss with Bead Board Embossing Folder
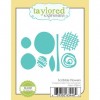
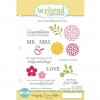
Step 3: Die-cut the following pieces from Peel & Stick Toner Sheets: Scribble Flowers – 3 larger round circles, 5 leaves, 2 smaller round circles
Step 4: Die-cut the following pieces with Sugar Cube cardstock: 3 layering pieces for larger flower, 2 layering pieces from smaller flower
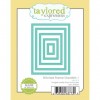
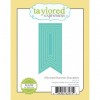
Step 5: Die-cut the frame from Stitched Frame Stacklet with Oreo cardstock
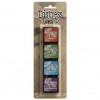
Step 6: Cut a rectangle the same size as the frame with Sugar Cube cardstock and stamp sentiment in the center with Distress Ink in Seedless Preserves
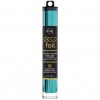
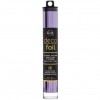
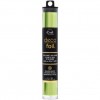
Step 7: Using Therm O Web Foil, run your toner die-cuts through your Minc or laminator with Deco Foil – Foil Transfer Sheets in Spring Green, Lilac Lila and Aqua
Step 8: Assemble the card as shown, using foam tape for the smaller aqua flowers.

Thanks so much, Shelly, for sharing such a pretty and easy-to-make card with us today! You can find more of Shelly’s gorgeous work on her blog, Popsicle Toes.
We hope you enjoyed our Taylored Expressions – Therm O Web projects today! Please do go and visit them on the Therm O Web Blog and check out the projects created by their awesome designers! Also, we encourage you to continue to follow them on Therm O Web’s Facebook page, through Twitter, on Pinterest, and on Instagram!
Be sure to come back every day this week for more inspiration and more chances to be entered into our prize drawing! We’ve got TWO prizes up for grabs this week. Our buddies at Therm O Web have got a $50 Gift Certificate to the TE Store to give away, so be sure to visit the Therm O Web Blog each day this week. Our generous friends have given us an amazing Deco Foil Prize Pack: 7 New Deco Foil Transfer Sheet Colors in: Lilac, Spring Green, Aqua, Champagne, Copper, Pewter and Deep Blue along with our Deco Foil Hello Designer Stencil and one pack of Deco Foil Foam Sheets

How to Enter: Leave a comment below telling us whether you’ve tried using foil on your projects by Sunday, May 29, 2016 at 11:59 pm PST. We’ll choose one lucky winner at random to win a Deco Foil Prize Pack valued at $50 from all the comments left on the TE Blog between Monday, May 23 to May 29, so the more you visit us, the more chances you have to win! We’ll announce the winner next week here on the TE Blog.

Taylor’s Balloon card:


Taylor’s Best Wishes card:

Shelly’s Happy Birthday card: