May 31, 2016
Get Inky with NEW coordinating ink from Taylored Expressions!
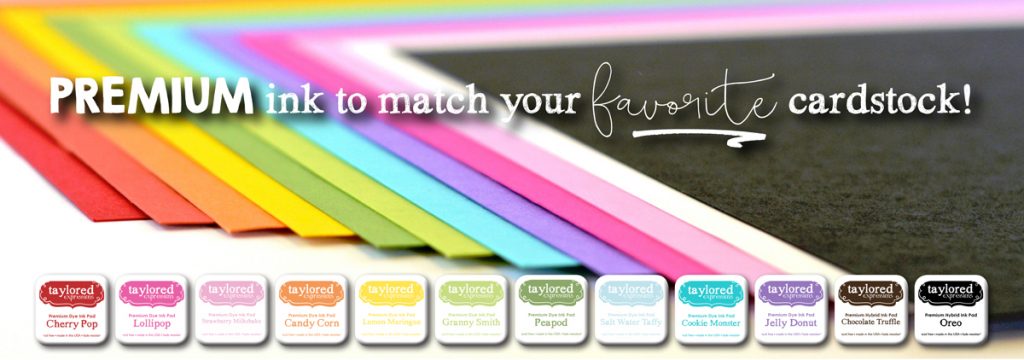
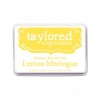
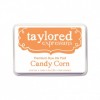
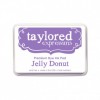
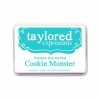
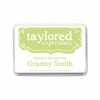
Good morning, crafty friends! I’m going to jump right in with some amazing news so hold on to your cuppa! Today we’re launching a new product at Taylored Expressions. Ta-da! It’s fabulous ink to coordinate with our equally fabulous 100 lb. premium cardstock! It’s been a long process to come up with the best possible formulation in the best colors and I’m so excited to finally be able to share it with you (and to start using it on all of my own projects!). I’d encourage you to keep reading, but for those of you who just can’t wait, you can find them all HERE!
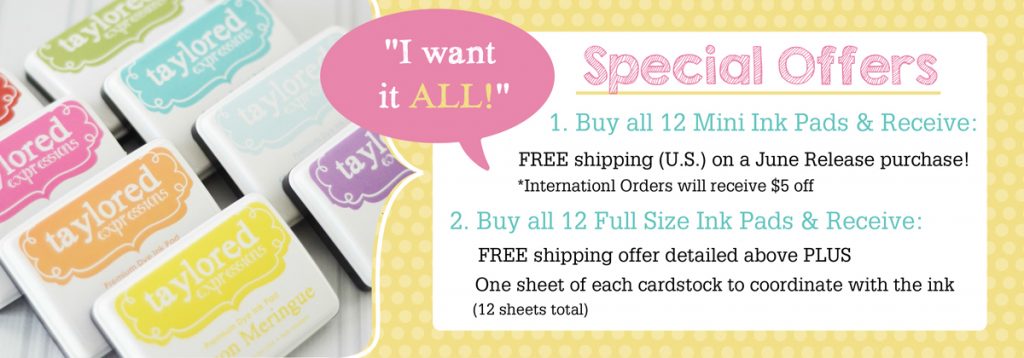
Before I introduce you to our new ink, I want to make sure you know about the ink launch specials and prize we’re offering this week. Our special offers are only for orders placed May 31st – June 5th, and only while supplies last! Click here (or on the graphic below) for the details.
Our talented Creative Team will be taking over the TE Blog for the rest of the week with their fabulous projects showcasing the new ink. And we’ll have a few surprise guests stopping by each day as well. Just leave a comment on any (or all) of the blog posts this week for your chance to win 6 full size ink pads PLUS refills in the colors of your choice!
And now on to the introduction! If you’re the video type, then check out the video below for an introduction to our new inks. But if you prefer to read the details, then read on my friends! Or if you’re not into reading or watching videos then at least scroll down to see pictures of my cards! *wink*
We’ll be offering the ink in three different ways:
- Full Size Ink Pad – The pad is a high quality felt pad and is raised inside the case so that you can easily ink stamps of any size and even quickly add ink over large surfaces – like inside an embossing folder (you’ll definitely want to check out this technique in my card below!). The full size pad measures 2.5″ x 3.5″.
- Mini Ink Pad – All 12 colors are also available in mini cubes measuring 1” x 1”. Again, the pad is raised. And as a bonus, the mini cubes fit perfectly inside the Tim Holtz Distress ink tin for storage. You’ll want to pick up a tin to store all 12 of the new colors!
- Refill – You’re going to love this ink so much that you’ll definitely need a refill! All 12 colors are will be there for you whenever you need them.
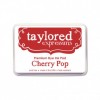
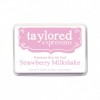
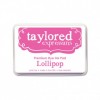
So now let me tell you about the exciting part… the INK! Our launch includes 12 colors to coordinate with our 100 lb. premium cardstock and we will continue to release additional colors on a monthly basis until we have ink to match all of our cardstock.
When deciding on an ink formulation, there are so many important considerations and I worked long and hard to bring you the absolute best. A few of the factors that were most important to me in formulating this ink were superior coverage, bright, vibrant hues, and of course how well it matches our cardstock.
And because there are good parts about several formulations, we ended up with two different formulations.
- Premium dye ink is available in 10 colors. It’s fast-drying, fade resistant, archival safe, and offers superior coverage.
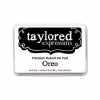
- Premium hybrid ink is available in Oreo and Chocolate Truffle (black and brown). Because I also enjoy coloring with alcohol based makers and watercolors, I settled on the hybrid formula as you’ll typically choose to stamp your outline images in one of these two colors. In addition to being fast-drying, fade-resistant and archival safe, the hybrid ink is also waterproof and compatible with alcohol based markers.
So instead of just telling you about all of the wonderful features of our ink, let me show you a few of the projects I made:
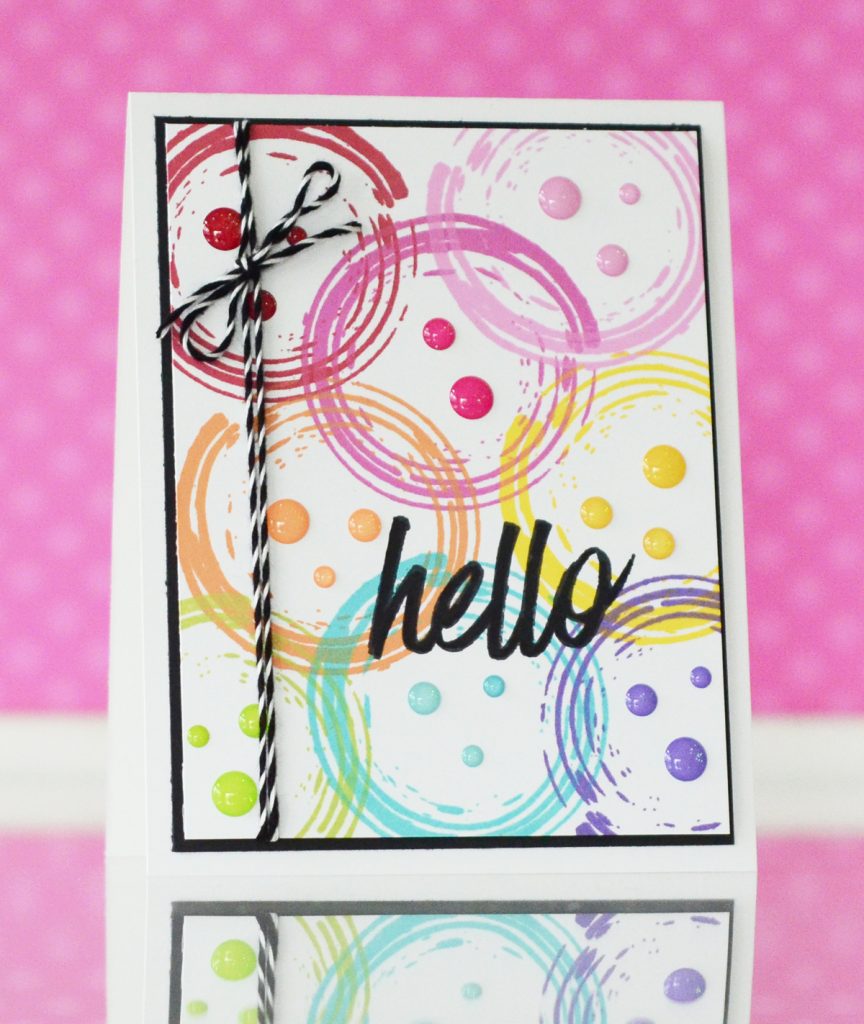
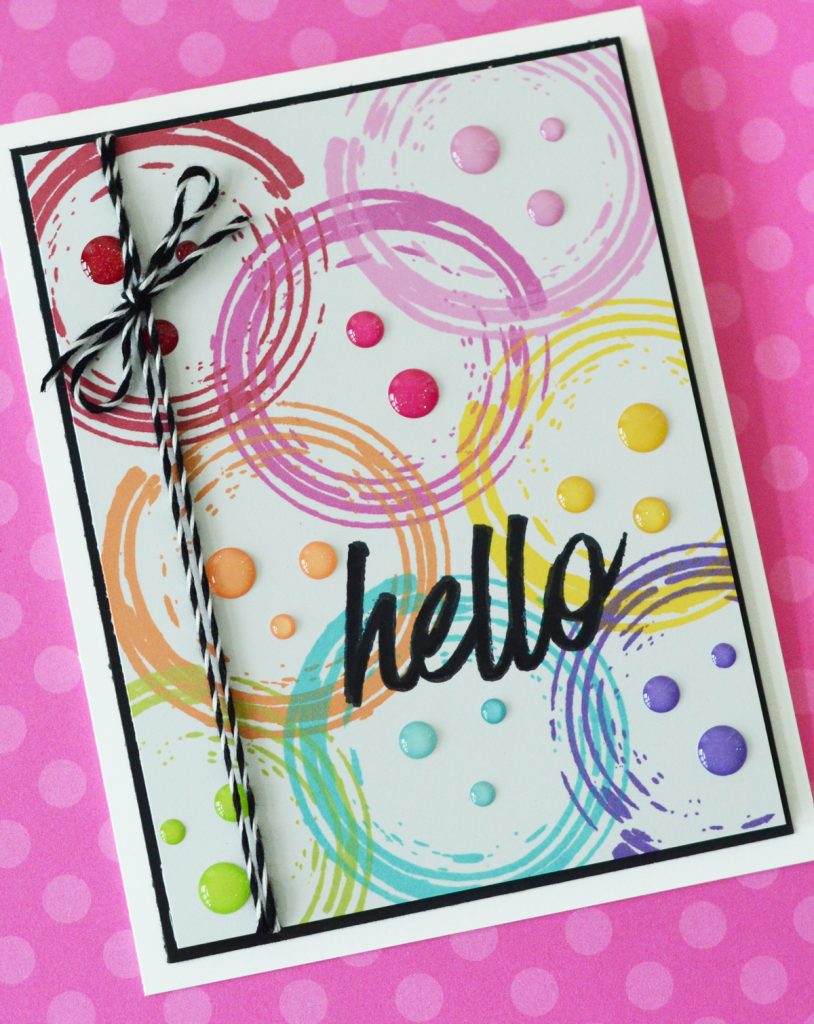
The stamps in the Stroke of Genius 2 stamp set helped me show off 9 of the 12 ink colors on this card. I started with Cherry Pop at the top left and continued to stamp the circle in each color of the rainbow. The sentiment from Bold Brushstrokes was stamped in Oreo ink. I wanted just a little more pizzazz so I added Doodlebug Sprinkles in coordinating colors inside each circle along with a bit of black and white Baker’s Twine.
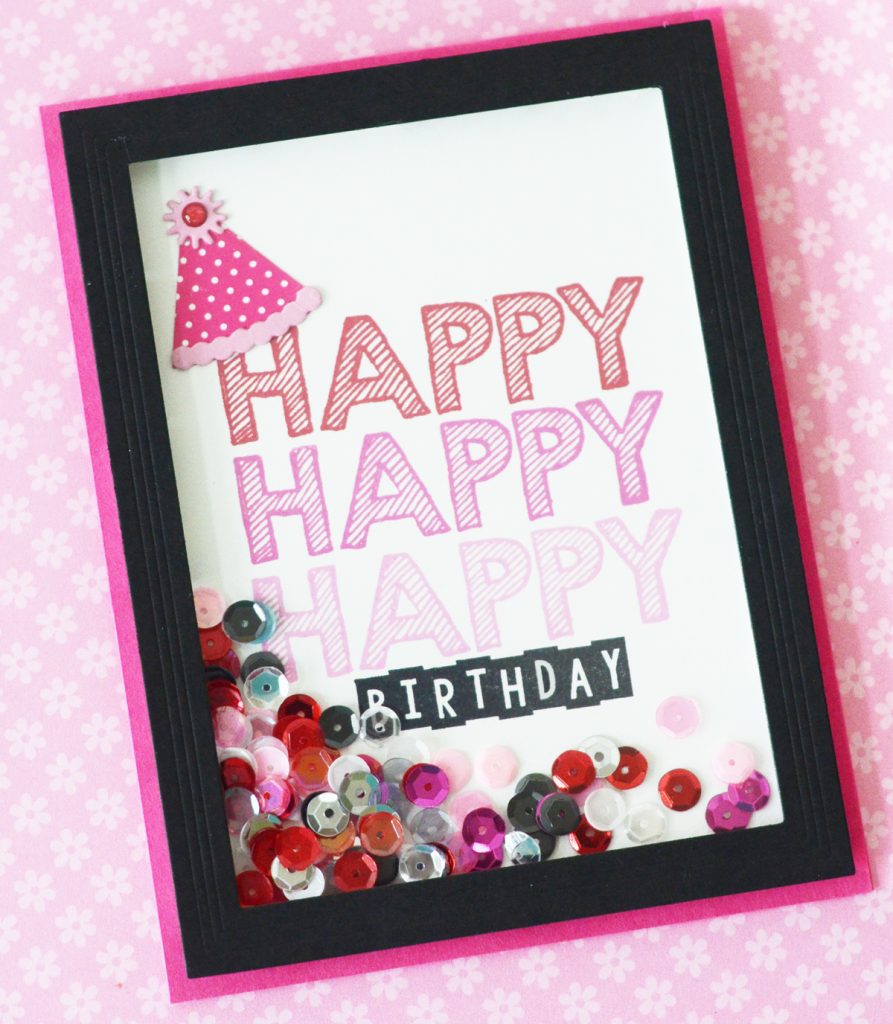
I had fun looking at my stamps in a new light as I sought to show off our new ink with these creations. Typically I would stamp the word ‘HAPPY’ from our C’mon Get Happy stamp set in black ink, but I saw it with new eyes this time and decided to stamp it three times in coordinating shades of ink.
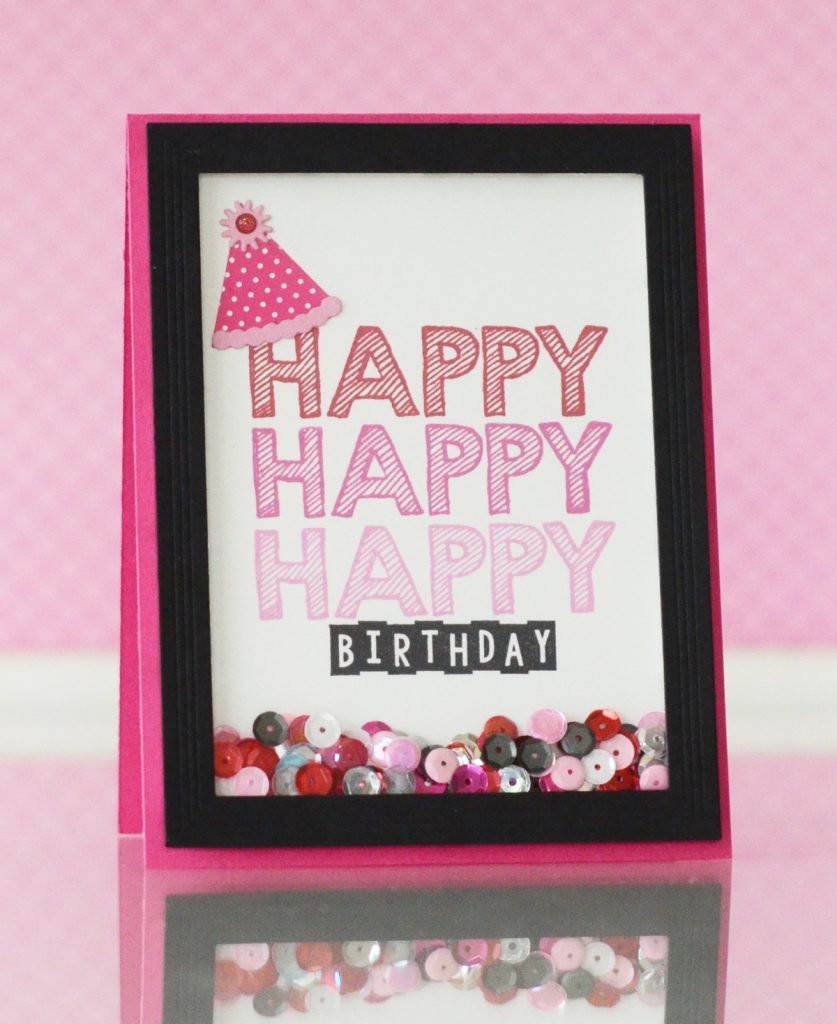
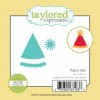
The ‘birthday’ came from Little Bits of Birthday. Then I embellished the sentiment with the Little Bits – Party Hat. I knew I wanted to frame the sentiment and decided a shaker frame was a fun idea. I die cut the outer frame from Oreo cardstock, added a transparency backer, and popped it up over my sentiment piece. The I poured in the sequins before sealing the top of the frame.
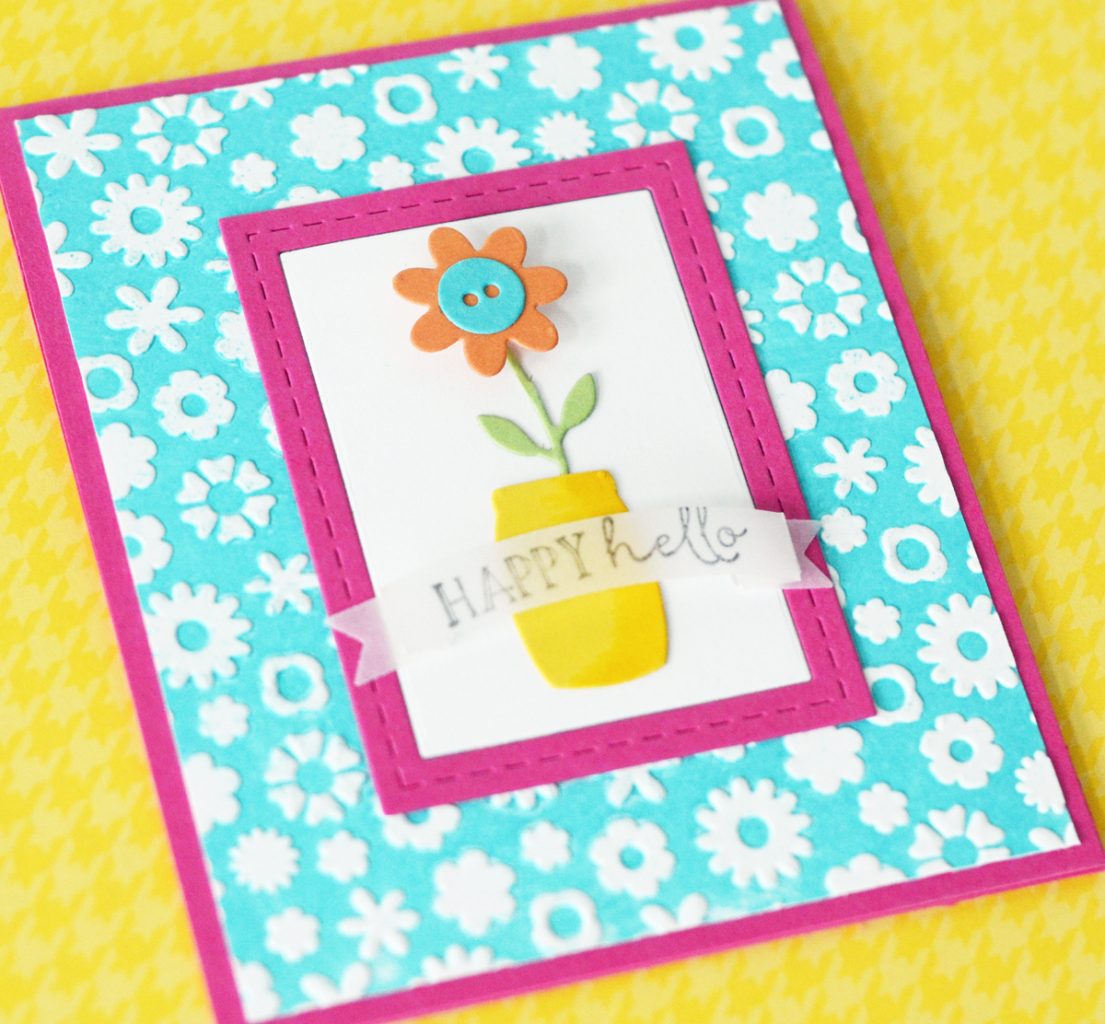
There is one more technique I wanted to try on my third and final project. I love adding ink to the inside of an embossing folder and I was hoping that the superior coverage of our ink when using stamps would translate to superior coverage with the inked embossing folder technique. I’m here to report that it definitely does! Here’s what I came up with using the Flower Power embossing folder and Cookie Monster ink:
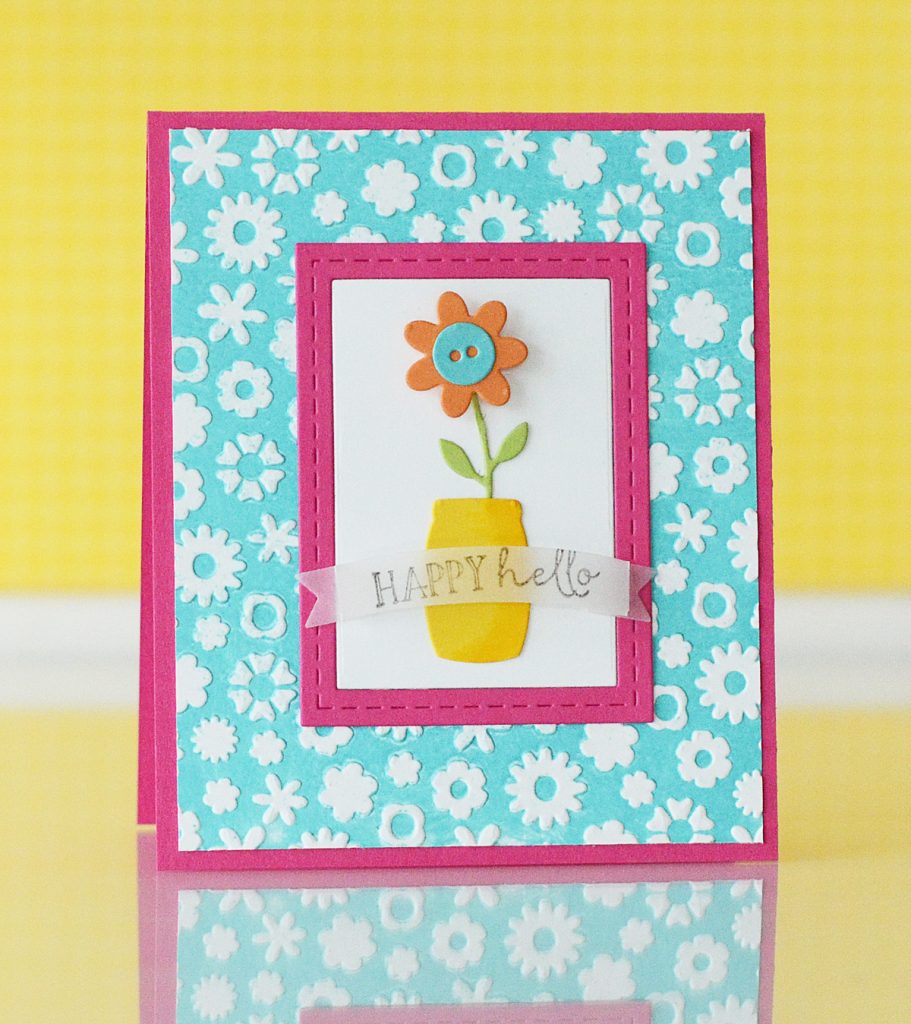
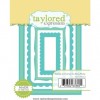
I didn’t want to cover up too much of the pretty embossed design so I simply added a little flower and vase inside the new Stitched Frame Stacklets 1. I stamped the sentiment onto a vellum banner die cut with Oreo ink and popped it up over the vase with Kool Tak squares (foam tape designed specifically for vellum).
I have just a couple more things to tell you about before I send you off for the day.
- You can find all of the new inks colors HERE at the TE webstore!
 Leave a comment on this post for your chance to win full size ink pads and refills in 6 colors of your choice! I’d love to hear which color is your favorite! Stop back to the blog each day this week and leave a comment for extra chances to win. Winner will be announced on Monday, June 6th.
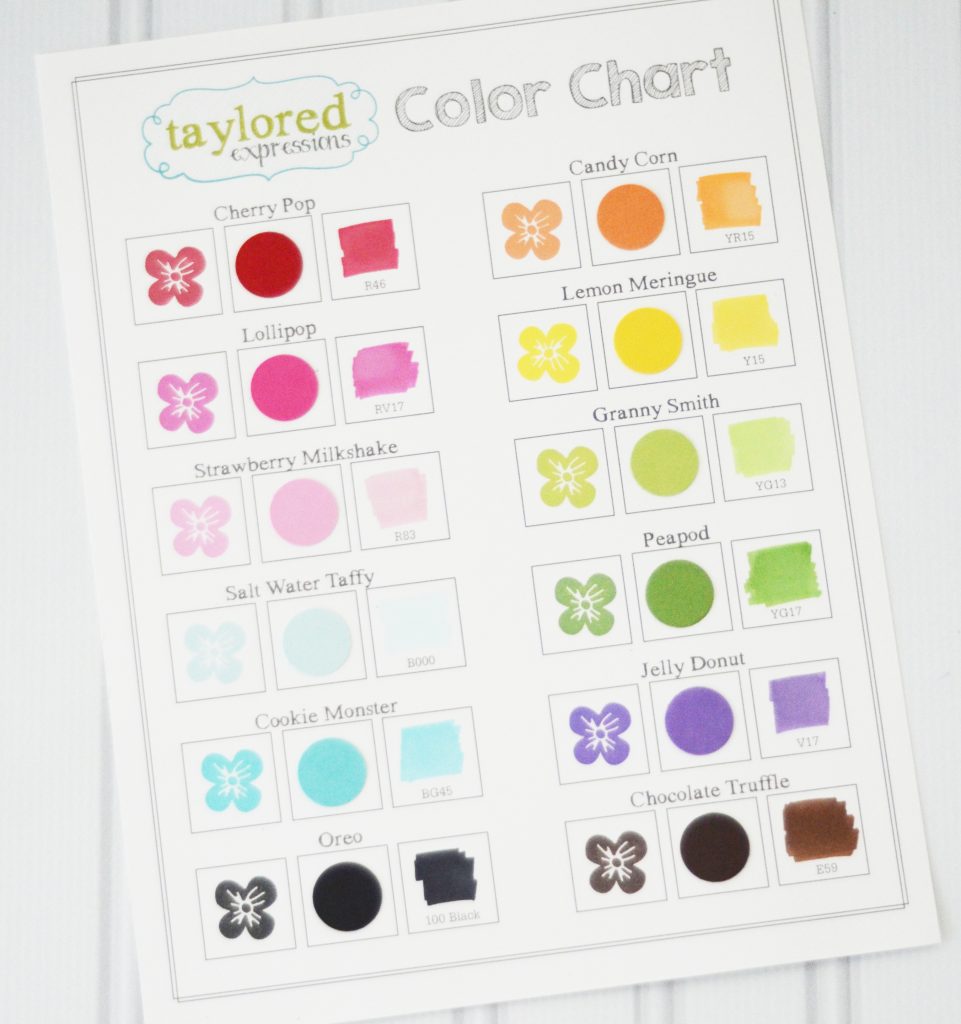
- You’ll also want to add our free Color Chart download to your cart when you check out in the TE Store. It has boxes to stamp all 12 of our ink colors, include a swatch of the coordinating cardstock, and scribble a bit of the coordinating Copic marker. Here’s a look at mine all filled out. The organizer in me cannot wait to laminate this baby!
Thanks so much for stopping by today! I hope you’ve seen something that inspires you to get creative and share the joy of a handmade card!


