Aug 01, 2016
August Sneak Peeks: Enter If You Dare!
Hey there, crafty friends! It’s Taylor here kicking off sneak peek week (oooh… three words in a row that rhyme!). Things are going to get spooky around here as we show off our latest new products for Halloween. It’s hard to believe, but Halloween candy is out on the store shelves and yes, I’ve already purchased some! The Creative Team has been busy whipping up some spooks and sweets and we’re so excited to share with you this week. All of the new products (including 4 new colors of our popular ink!) will be available for purchase at the TE web store beginning on Thursday at 7am PST! So add “check out the TE Blog” to your list of to-dos and join me each day this week to see what’s new and find out how you can win it before you can buy it!
Did you catch our retirement sale in July? Every July we take a little time off from our monthly release schedule in order to bid farewell to some of our past favorites. If you missed the sale, there’s still lots of great stamps at even better prices! You can check ’em out here! After taking the month of July off, I’m excited to get back to my Question of the Day with this release. Here’s a little recap of how things work: Each day of sneak peeks, I will post a Question of the Day and you can leave a comment with your answer for a chance to win one of our new release products or Grand Prize! I love reading your comments and learning more about you so don’t be shy!
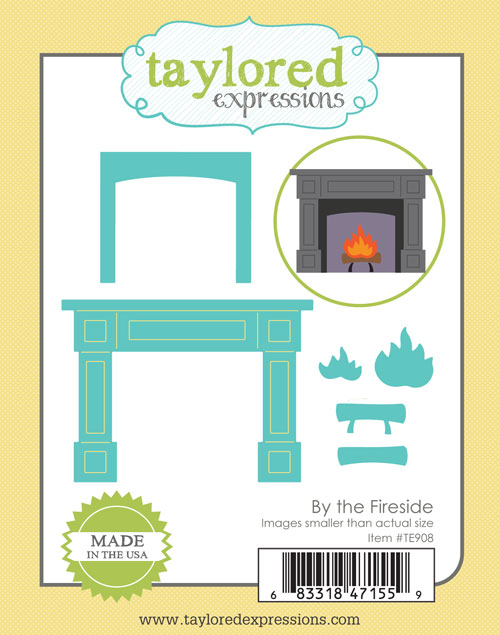
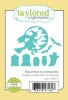
Today I’m giving away the By the Fireside die set!

Leave your comment before Wednesday, August 3rd at 11:59pm PST. One entry per person. Each comment will also be entered into our Grand Prize drawing for a $50 gift certificate to the TE webstore! Winners will be chosen at random and announced on Thursday, August 4th, 2016.
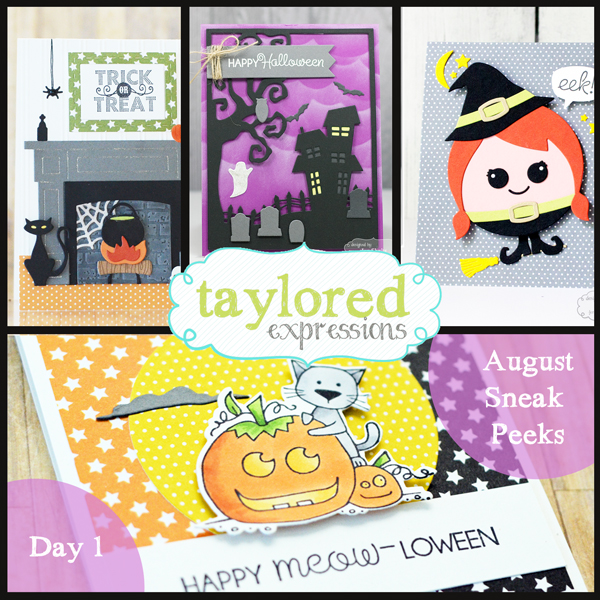
And now for today’s projects! My first project uses the die set that we’re giving away. I love the look of a decorated mantel and often find myself wishing I had a mantel to decorate! We have more of a ledge on our built-in TV nook and there’s little to no space for decor. So since I don’t have a mantel in my house to decorate, I thought I’d create a mantel die set to create the decor of my dreams with paper!
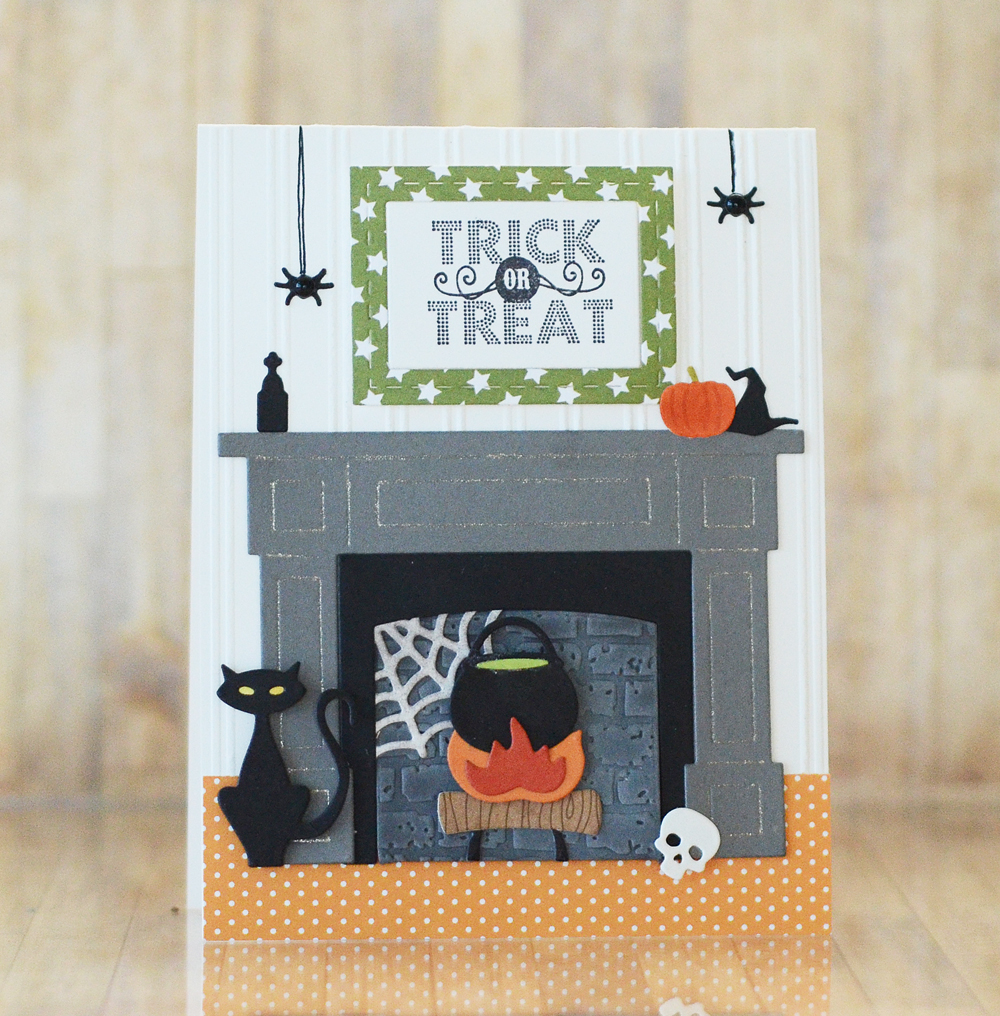
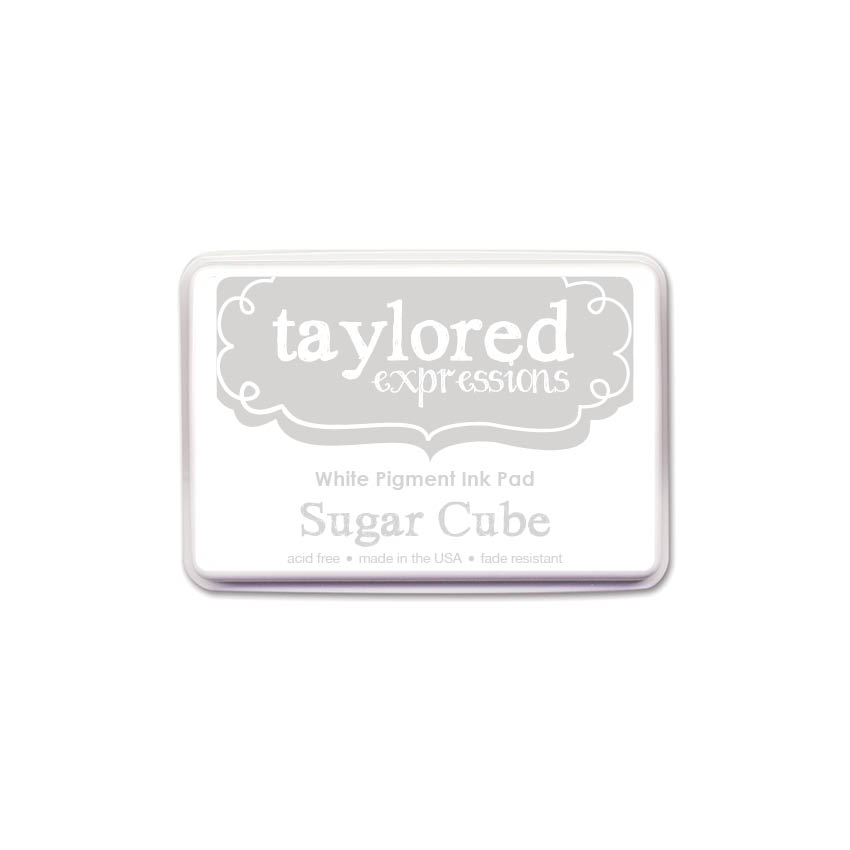
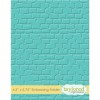
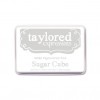
I started by die cutting the mantel from Earl Grey cardstock. I die cut the interior pieces from the Oreo cardstock and Poppy Seed cardstock. The Poppy Seed layer is embossed with the Brick embossing folder and sponged with Sugar Cube ink to create the dusty effect. Yes, I said Sugar Cube ink!! This is one of our four new ink colors debuting this month and it’s the most fabulous white pigment ink you’ll ever use!
The mantel die has built in impress lines to create the mantel design. I used a stardust gelly roll pen to trace the impress lines and highlight the design a bit more.
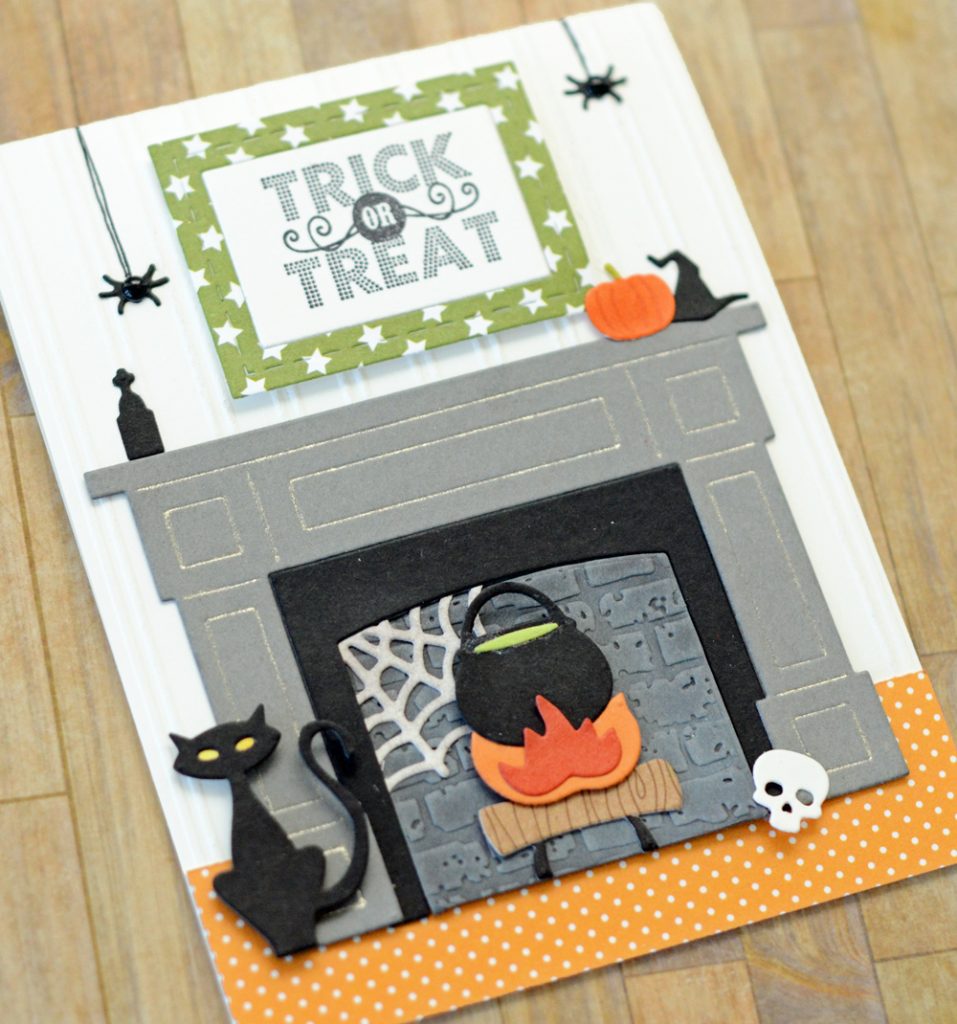
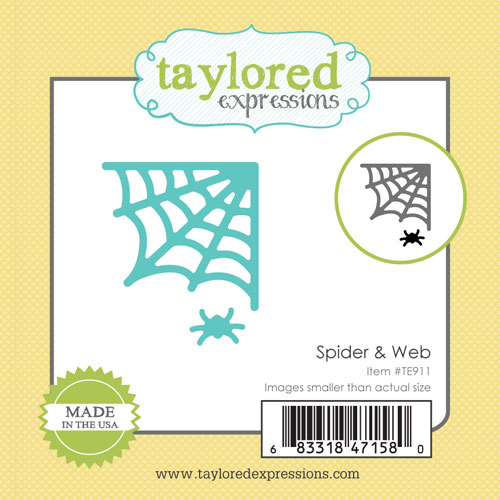
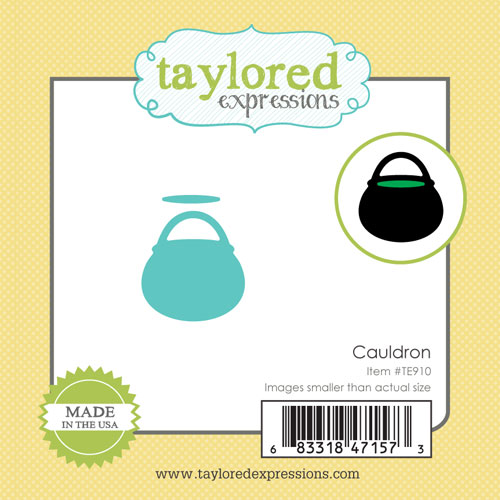
After piecing the mantel together I began cutting the accessories to decorate with. The new Little Bits – Spider & Web and Cauldron work perfectly with the mantel and the previously released Little Bits – Black Cat and Halloween Scene can also be used! You might also want to try the Little Bits – Broom, Witch Boot, and Witch Hat with the mantel too!
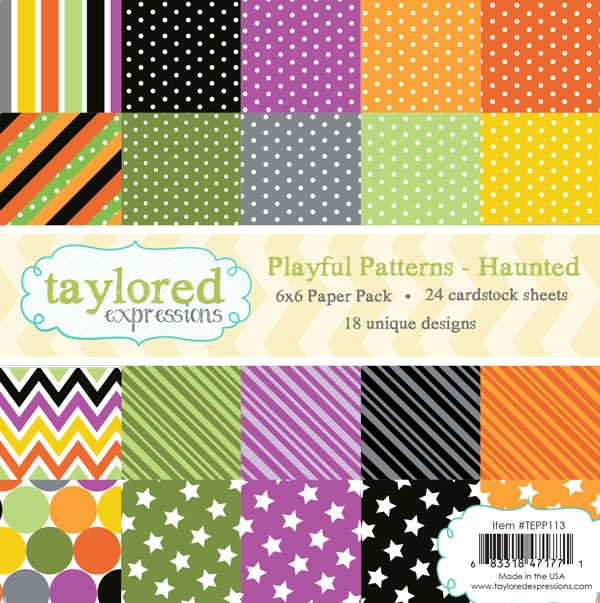
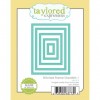
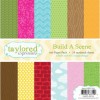
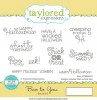
I embossed the Sugar Cube card base with the Bead Board embossing folder to give it a more interior look. The patterned paper on the card is from the new Playful Patterns – Haunted 6×6 paper pack. I cut the frame over the mantel from the Stiched Frame Stacklets 1 set and added a sentiment from the Fa-boo-lous stamp set inside:
Here’s a look at the new products I used on this project:


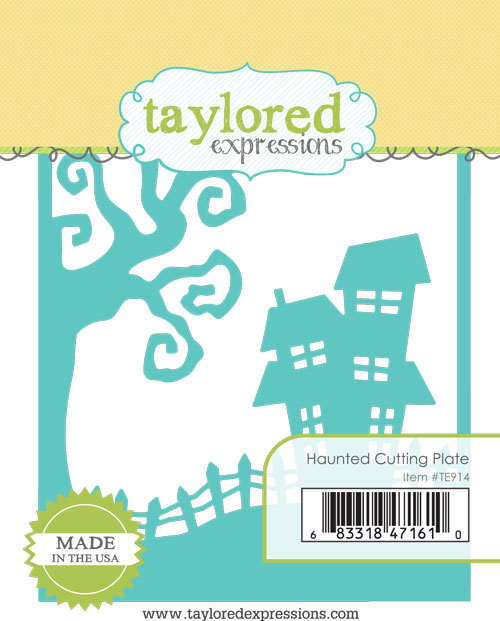
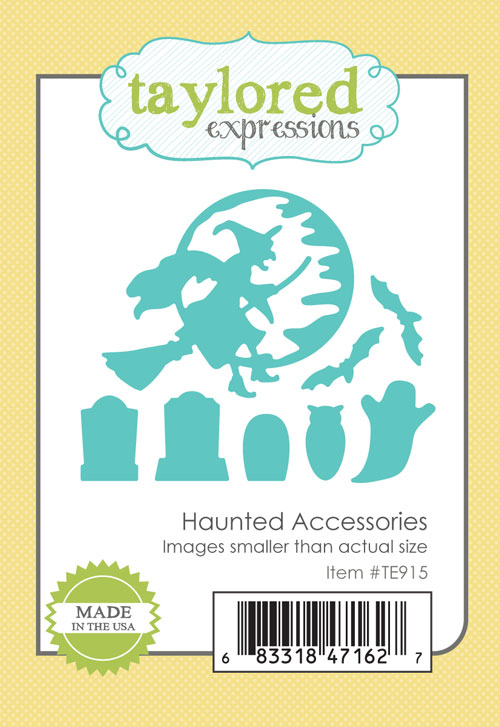
My next card features one of my favorite products from this release; the Haunted Cutting Plate! This cutting plate features a spooky Halloween scene that’s achieved in one simple cut. And with the addition of the Haunted Accessories and a spooky sponged background you can dress it up in lots of different ways! Here’s what I came up with:
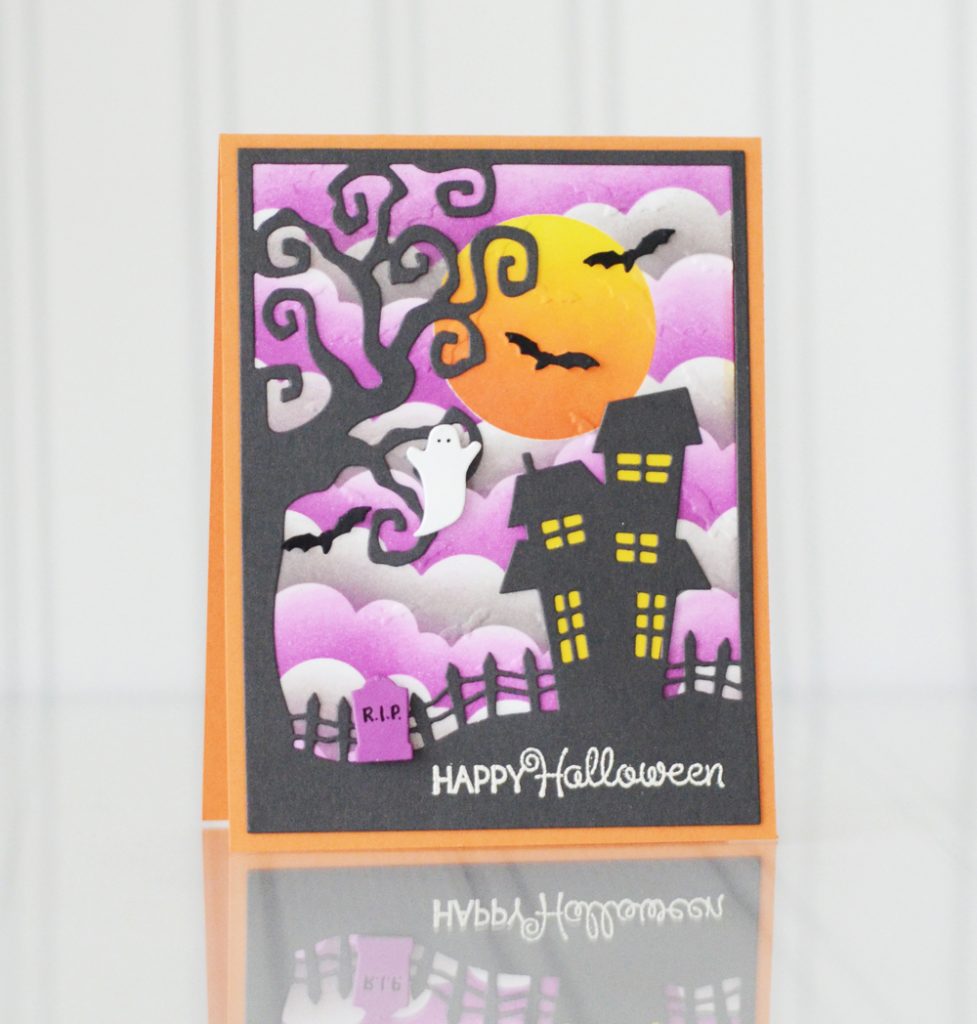
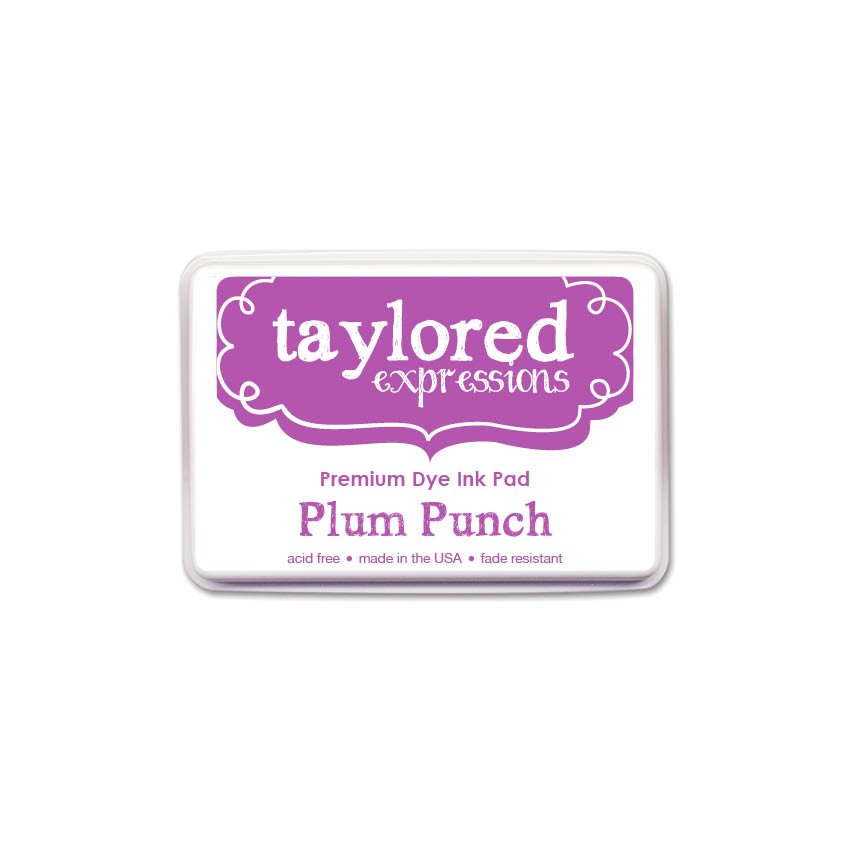
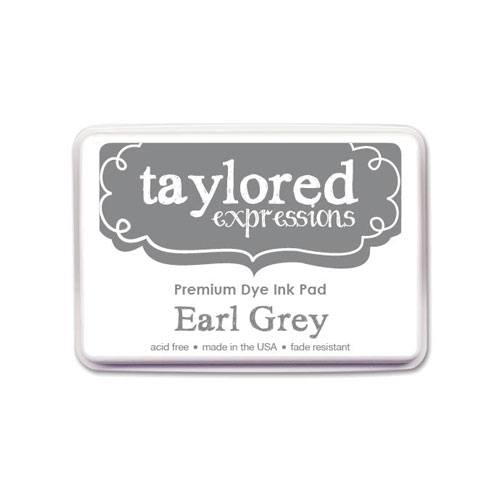
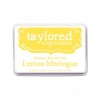
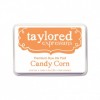
I started by cutting the Haunted Cutting Plate from Poppy Seed cardstock. I punched a circle from masking paper and arranged the opening onto a piece of sugar cube cardstock in order to reverse mask the moon. I sponged the moon with Lemon Meringue, Candy Corn, and Pumpkin inks. Then I masked the moon with the punch out and used the Cloud Border along with the new Plum Punch and Earl Grey inks to create the spooky clouds in the background.
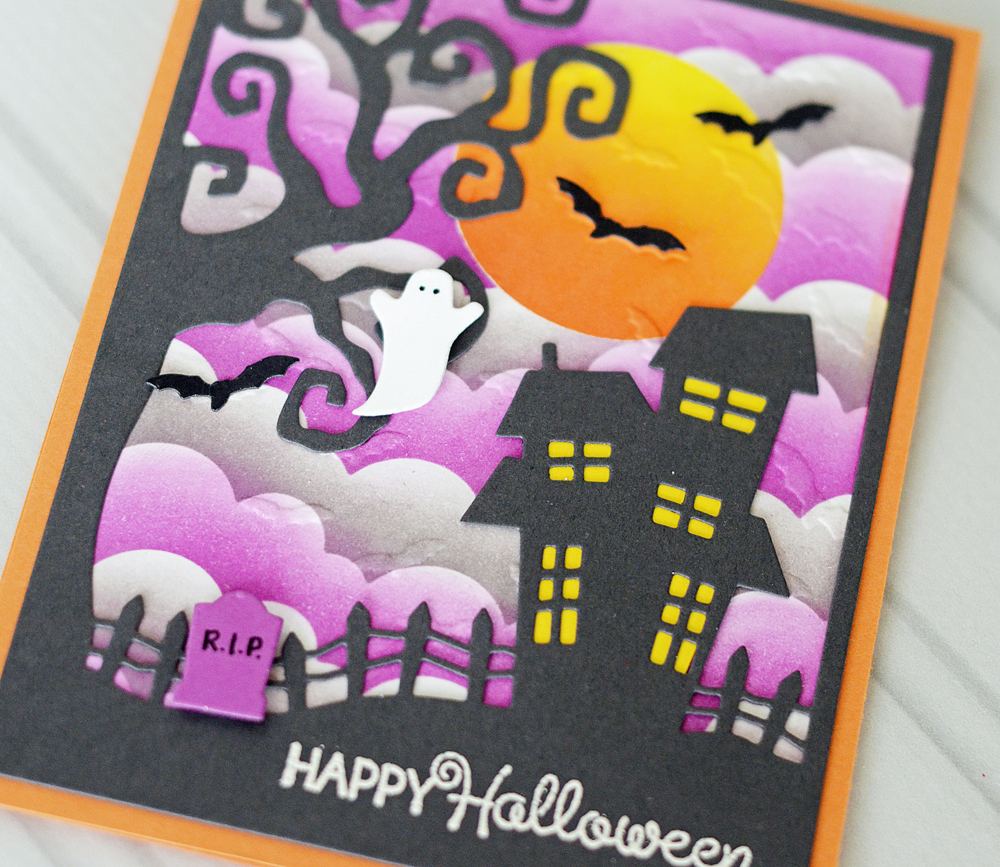
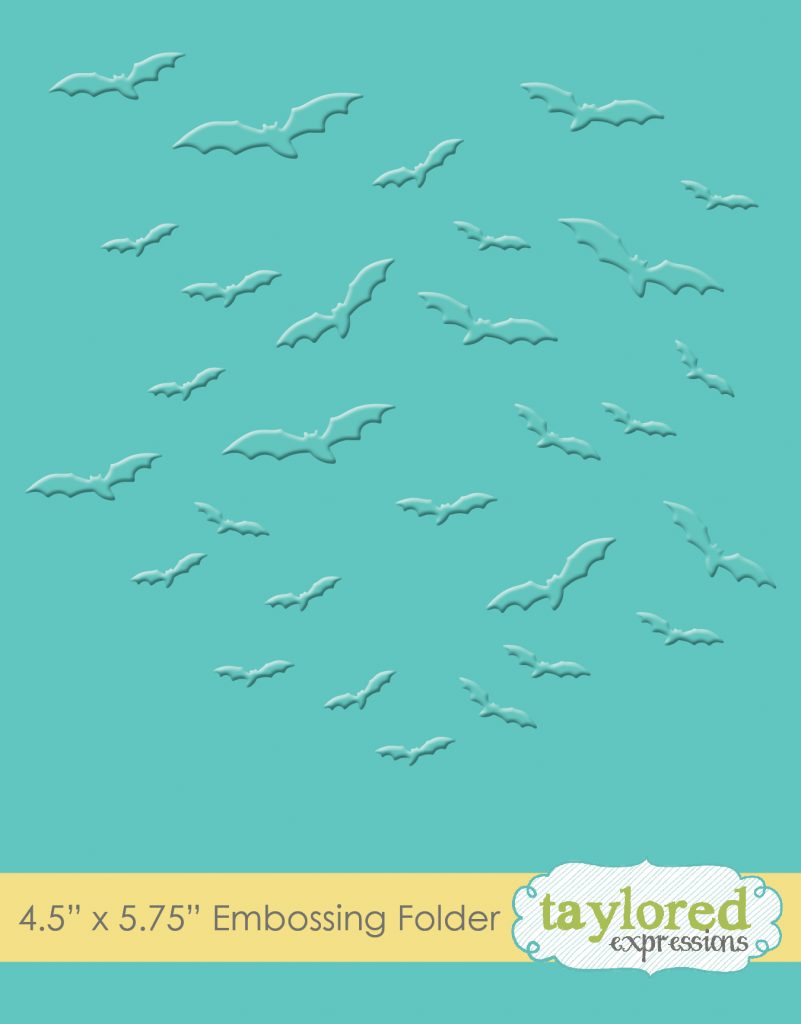
I added Lemon Meringue cardstock behind the window openings on the haunted house. I also embossed the Happy Halloween sentiment from the Boo to You stamp set in the bottom right corner. I embellished the scene with bats, a ghost, and a headstone from the Accessories set and if you look closely you’ll see the background embossed with the new Fright Night Flight embossing folder.
Here’s a look at the new products I used on this project:


Our fabulous creative team has more inspiring projects to share with you today so make sure you click below and visit their blogs! In addition to the products that I used on my projects, the design team will be showcasing these new products on their projects: