Aug 03, 2016
Sneak Peeks! A Break from Halloween
Good morning, crafty friends and welcome to our last day of sneak peeks before all of our new products are available at the TE webstore on Thursday at 7am PST! As much as I love Halloween, we’re taking a break from our Halloween creations today to show you how several of our new products can be great for other occasions too!
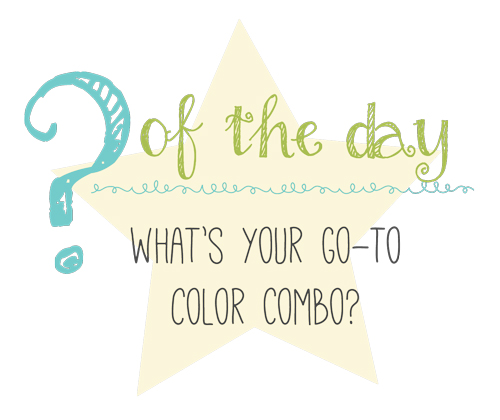
Are you ready to take on one more question of the day? By leaving a comment with your answer you’ll be entered to win one of our new release products or a Grand Prize $50 gift certificate to the TE webstore to spend on whatever your heart desires! Today’s question of the day is something I like to ask all of my crafty friends because I always come out excited to try new things. Can you all guess my answer to the question!?
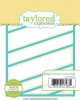
For answering today’s question, you’ll be entered to win the Diagonal Stripe Cutting Plate!
Leave your comment before Wednesday, August 3rd at 11:59pm PST. One entry per person. Each comment will also be entered into our Grand Prize drawing for a $50 gift certificate to the TE webstore! Winners will be chosen at random and announced on Thursday, August 4th, 2016.
After seeing my first project, I bet you’ll guess my go-to color combo! It’s RAINBOW, of course!
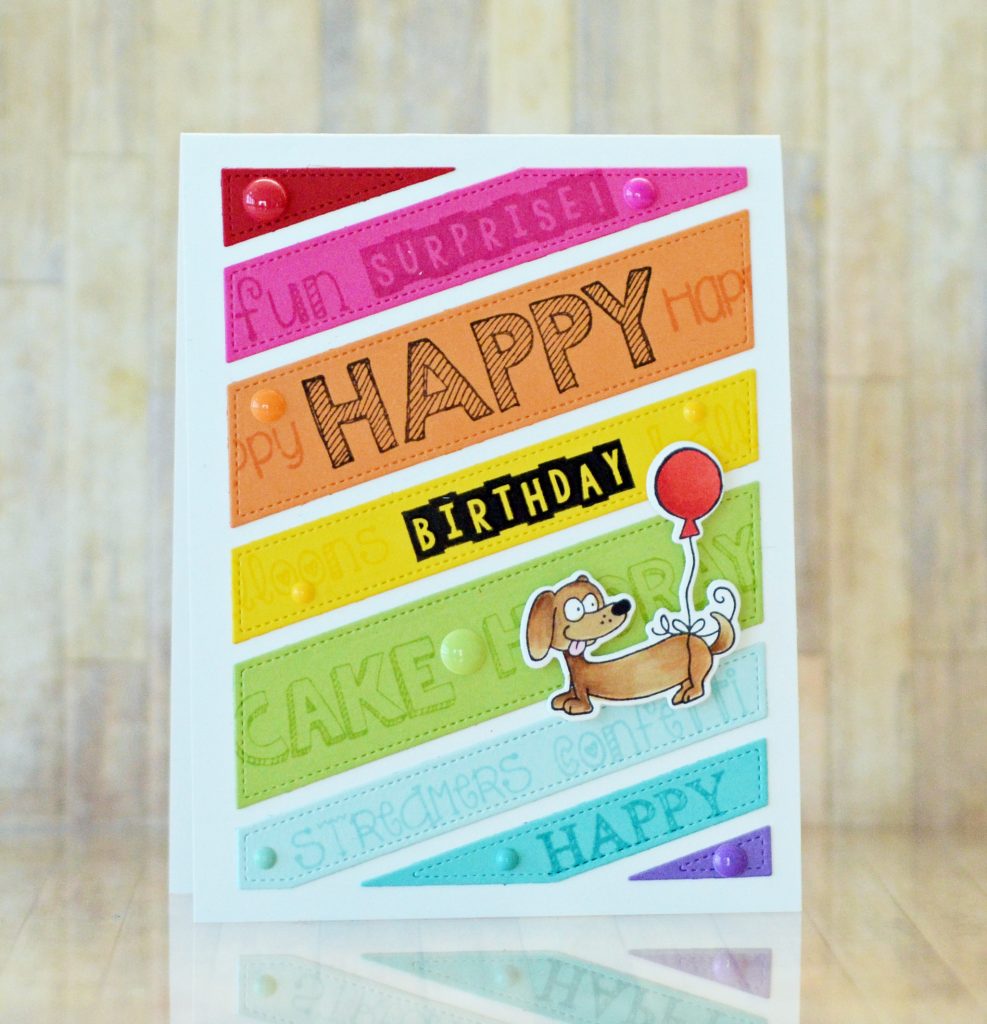
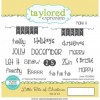
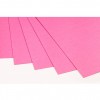
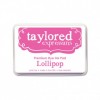
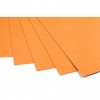
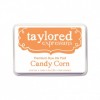
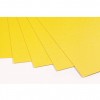
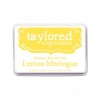
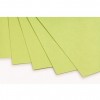
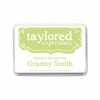
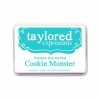
I die cut the Diagonal Stripe Cutting Plate from 8 different colors (Cherry Pop, Lollipop, Candy Corn, Lemon Meringue, Granny Smith, Salt Water Taffy, Cookie Monster, and Jelly Donut) and then stamped birthday themed words (from Little Bits of Birthday) starting with Happy Birthday in Oreo ink and the rest of the words in the coordinating color of ink to match the cardstock.
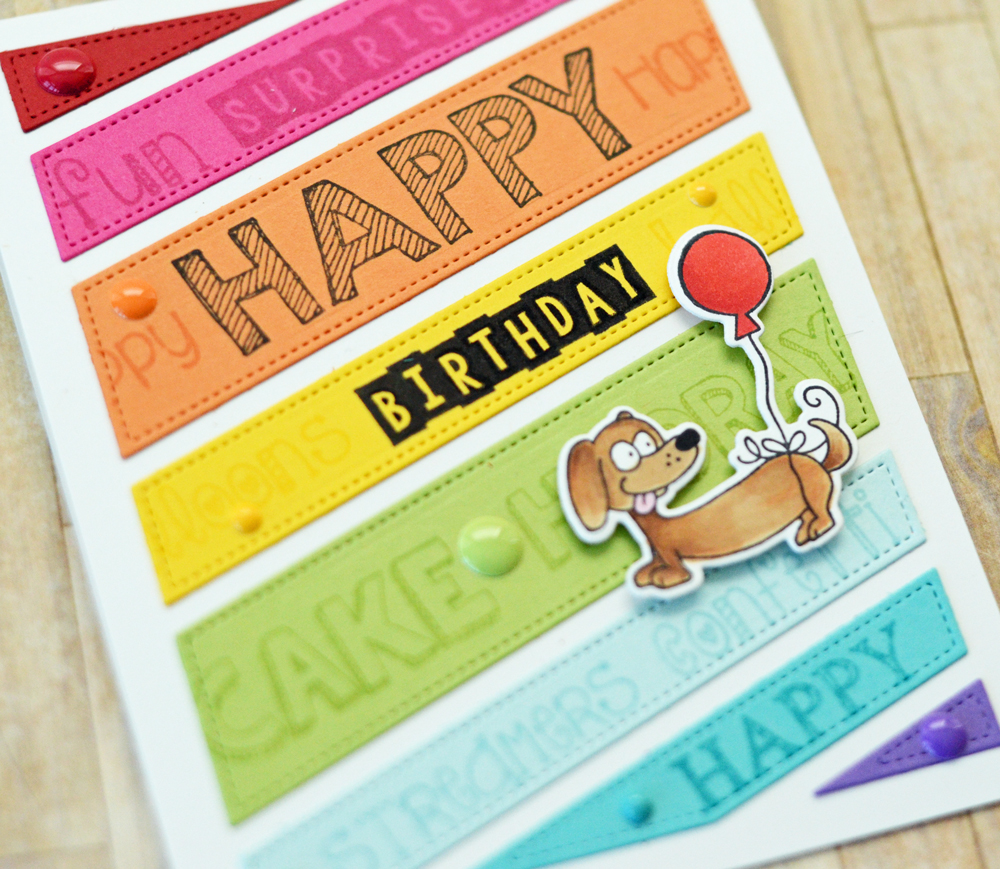
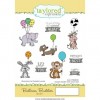
Instead of adhering the pieces inside the outer portion of the cutting plate, I adhered the outer portion of the die cut to the card front using removable adhesive. Then I adhered each strip inside the design to make sure it was perfectly aligned before removing the outer layer. To finish it off I added enamel dots in coordinating colors and the cutest dog ever from the Balloon Buddies stamp set.


After my bright rainbow card, I decided to tone it down a bit with a sweet new baby card. I love removing water from my sponged background, and I’ll be the first to tell you that this technique doesn’t work well with TE ink. Our ink has amazing coverage and matched our cardstock perfectly, but it’s not formulated to move well with water. So for this particular card, I grabbed a few of my favorite Tim Holtz Distress Inks (Chipped Sapphire, Faded Jeans, Broken China, Seedless Preserves) and sponged up a background on Sugar Cube cardstock.
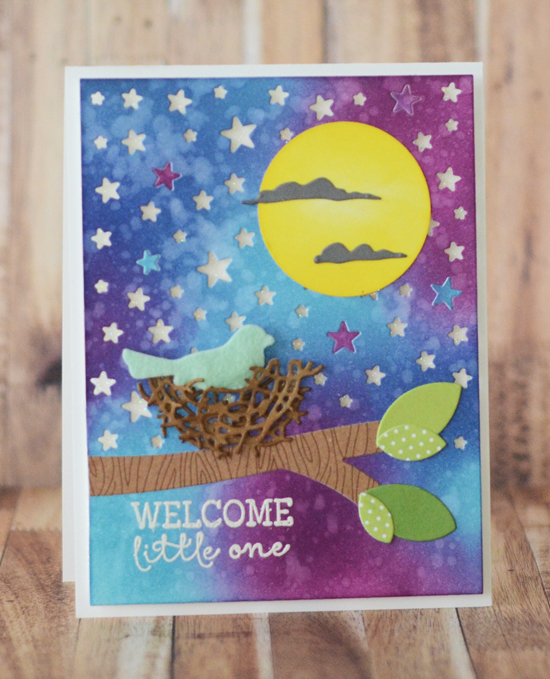
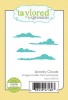
After sponging the background I spritzed the background by flicking drops of water onto the cardstock with my fingers. I used a paper towel to dab off the excess water which also pulls some of the color away and creates the cool watercolored look in the background. Once dry, I die cut this piece with the Starry Night Cutting Plate.
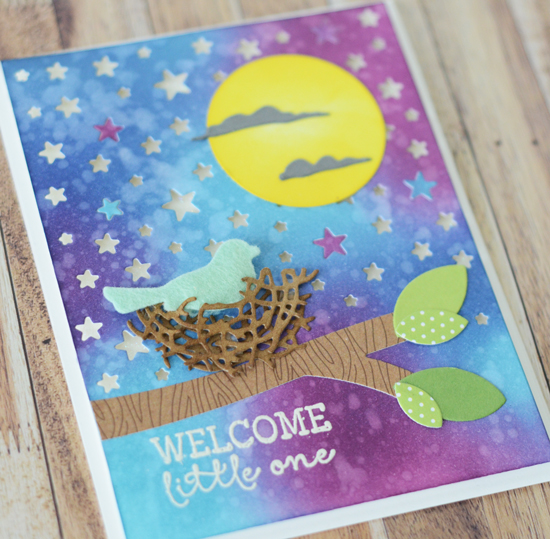
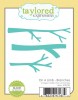
I began building the scene starting with the On a Limb branch cut from the woodgrain patterned paper in our Build a Scene 6×6 Paper Pack. I added leaves to the tree and created a nest by cutting the full nest from Bless Your Nest in half and sponging with Gathered Twigs ink for added dimension. The bird was cut out using Honeydew 100% Wool Felt and popped up on foam tape.
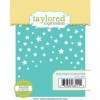
I sponged the punched circle with Lemon Meringue ink, embossed a sentiment at the bottom, and popped up the entire image panel over the top of a white glitter backdrop so my stars would sparkle!


The design team is back at it again today and everyone is sharing a non-Halloween project so make sure you click on the beautiful faces below to check out their amazing creations!