Aug 09, 2016
Do It Diagonally!
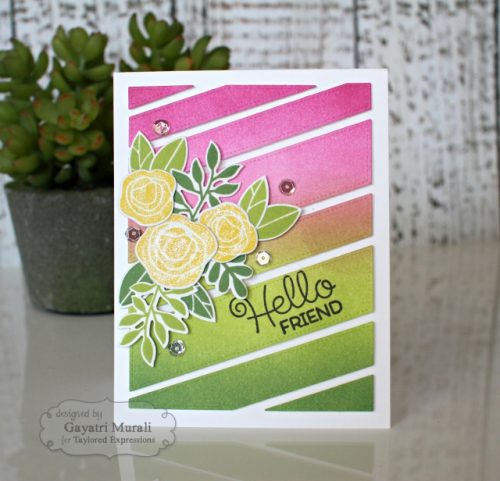
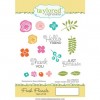
Happy Tuesday, crafty friends! Today we have a fabulous tutorial to share with you from Creative Team member Gayatri Murali that will help you create a trio of gorgeous, coordinated cards! Gayatri used our recently-released Diagonal Striped Cutting Plate alongside new TE Premium Matched Ink and one of our fan favorite stamp sets, Fresh Florals. You MUST check it out…
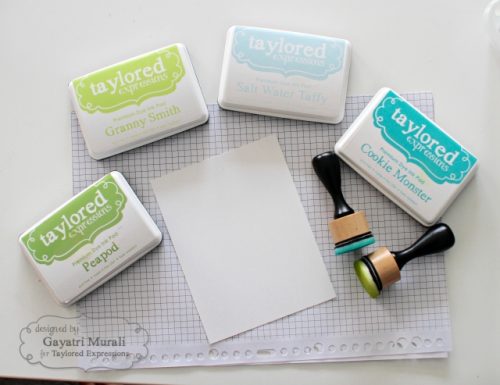
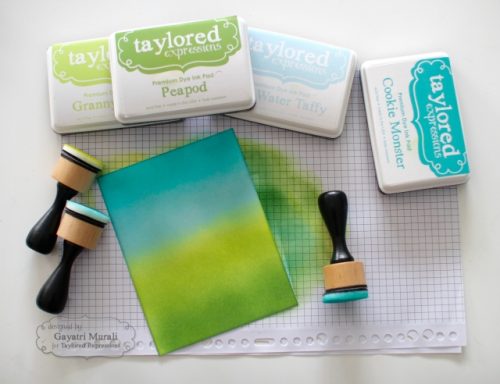
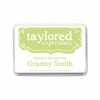
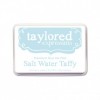
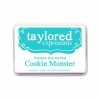
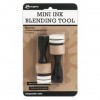
Step #1: Trim Sugar Cube card stock to card front size and sponge TE inks Peapod, Granny Smith, Salt Water Taffy and Cookie Monster using mini round blending tool. (Tip: TE inks blend easily and even out after they dry.)
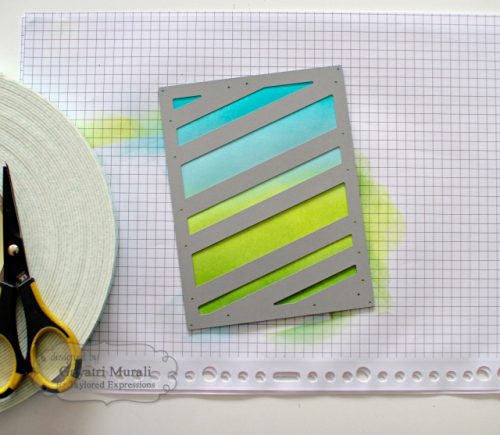
Step#2: Die-cut the sponged panel using the Diagonal Striped Cutting Plate.
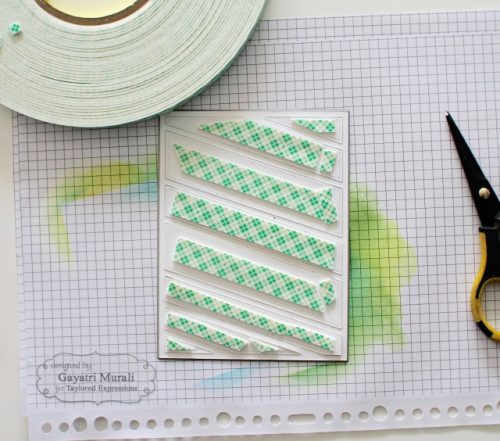
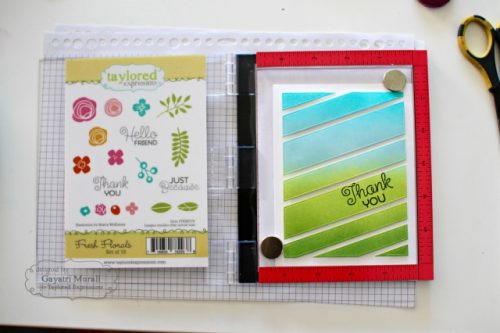
Step#3: Leave the die cuts in place on the cutting plate (use washi or removable tape to keep pieces in place), flip the cutting plate over, and add foam tapes to the stripes.
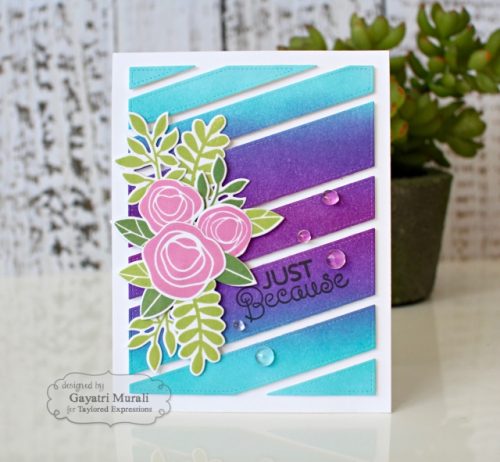
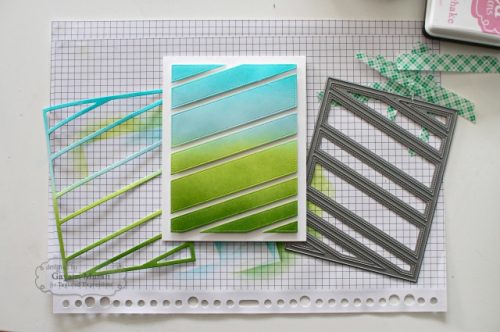
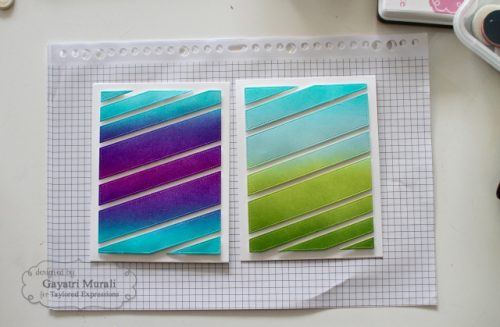
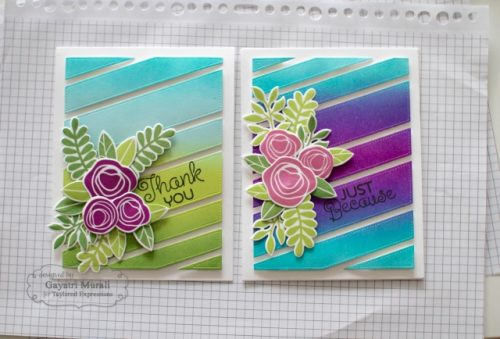
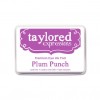
Step#4: Flip the cutting plate after removing the foam tape adhesive covering onto a Sugar Cube card base and press the die-cuts firmly to the card front. (DO NOT remove the cutting plate until after the die-cuts are firmly adhered!) Remove the cutting plate and the border die-cut as shown. I have shown another example here. The second panel has Cookie Monster, Plush Plum and Jelly Donut inks sponged.
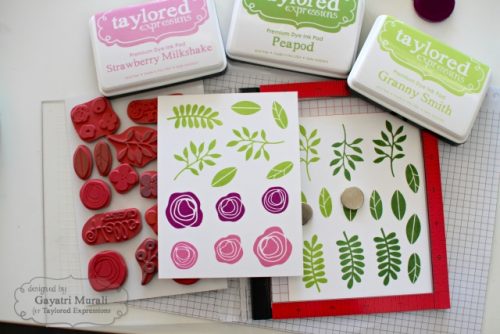
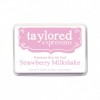
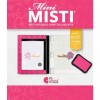
Step#5: Stamp the images of leaves and flowers from Fresh Florals on Sugar Cube card panel using Peapod, Granny Smith, Plush Plum and Strawberry Milkshake Matched Ink and a MISTI mini tool. (This will give you perfect, solid coverage for all your stamped images!)
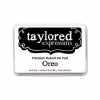
Step#6: Stamp the sentiment from same stamp set on the sponged die-cuts using Oreo TE Matched Ink and a Mini MISTI tool.
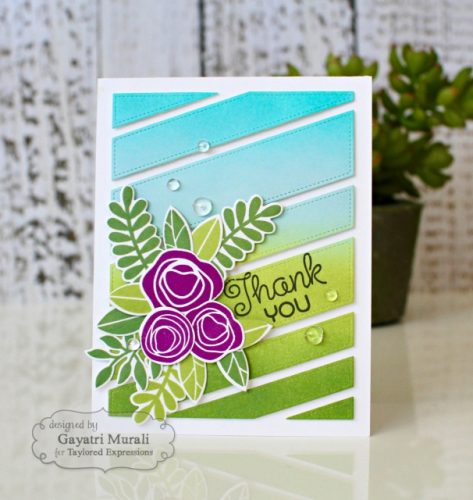
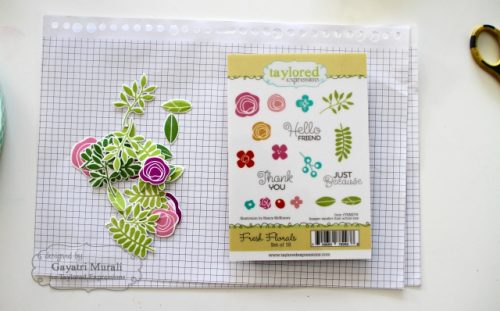
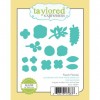
Step#7: Die-cut the Fresh Floral stamped images with coordinating Fresh Floral Dies and cluster. Adhere them on the card front next to the stamped sentiment. Here I have shown the flower clusters on both the cards.
Step#8: Embellish with clear droplets and the card is finished! Below is a third card using the same techniques and step!
Tips:
1. You can use any of your favorite colour combination of TE Matched Premium Ink for the background.
2. By keeping the die-cuts in place inside the cutting plate with the help of washi tape, it makes it easy to flip the cutting plate over to add foam tape as well as on the card front to get accurate placing of the die cuts.
3. A MISTI tool makes it easy to line up and stamp the sentiment on the striped panel after they are adhered to the card front because it allows for dimension when stamping on raised surfaces.
Thank you so much, Gayatri, for sharing this fab tutorial with us today! Have a joyful day!


