Nov 30, 2016
Holiday Gift Giving Week: Santa & His Little Helper
Happy, happy, Wednesday, crafty friends! We are halfway through our week of gift giving ideas to help you make your holiday packages pretty! Today we have got two darling projects from Creative Team members, Charmaine Ikach and Jean Manis. Today, they are both showing what you can do with a little outside-the-box thinking to get the most out of your dies. It’s all about the ho-ho-ho today, so let’s jump right in!

If you are looking for a cute way to dress up a boring gift card or a way to package up some yummy treats, our Sack It to You might be just what you need. And if you add our Sack It Leprechaun die to the mix, you will be well on your way to the perfect holiday package! Check out Charmaine’s step-by-step instructions using these easy-to-create-with dies.
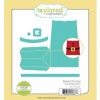
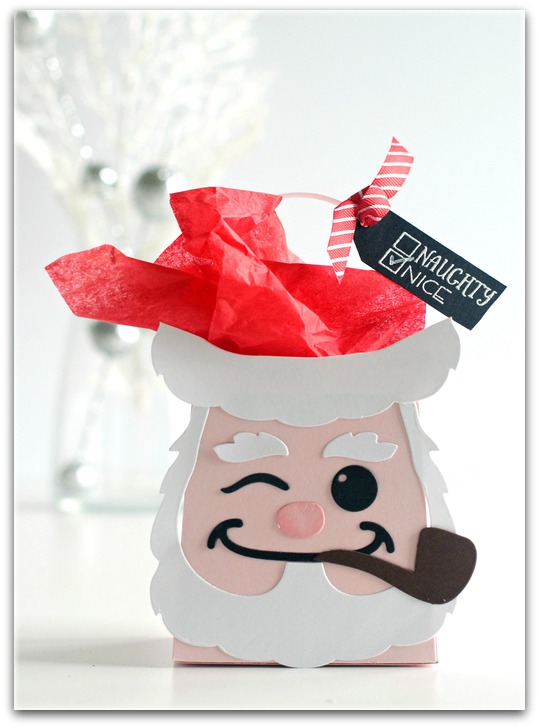 Step 1: Create box out of Cupcake cardstock using the Sack It To You die set.
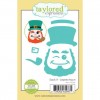
Step 2: Decorate the box to create “Santa” using the Sack It – Leprechaun die set and Sugar Cube, Oreo and Chocolate Truffle cardstocks. (Hint: To make the nose a little darker, sponge Cupcake Ink onto the nose that was die cut out of Cupcake cardstock.)
Step 3: For the brim of the hat, die-cut the beard again and hand trim the bottom of it to create the brim.
Step 4: Stamp the sentiment from Spoiler Alert in Sugar Cube ink onto Oreo cardstock and emboss with white embossing powder. Attach to handle with ribbon.
Step 5: Fill the box with gift and red tissue paper in the shape of “Santa’s hat”.

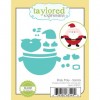
Don’t forget that cards also make a great way to give someone a gift card! Today, Jean is sharing an adorable elf she created using our Roly Poly Witch! How’s that for clever? Check out how she created it below:
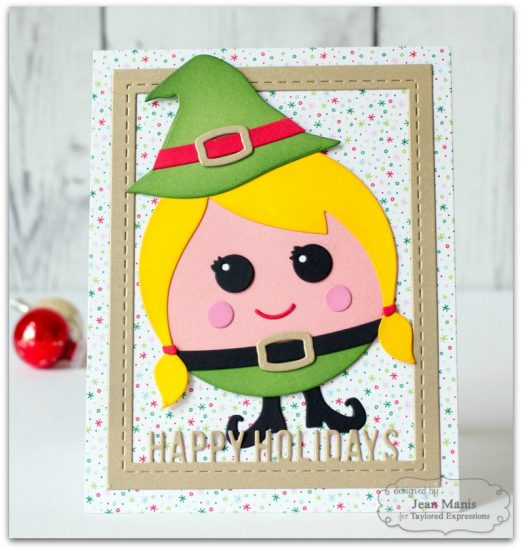
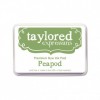
Step 1: Die-cut pieces from Roly Poly Witch in Watermelon, Pink Champagne, Oreo, Stsrawberry Milkshake, and Peapod.
(Cheeks are from Roly Poly Santa).
Step 2: Sponge edges of each piece with corresponding TE Premium Ink colors.
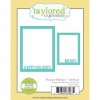
Step 3: Die-cut a Picture Perfect Vertical frame from gold cardstock.
Step 4: Assemble and adhere to patterned paper cardbase.
Thank you so much, Charmaine and Jean, for sharing your projects with us, today! Be sure to visit them on their blogs, Oodabug Alley and Right As Rain, respectively, for more eye candy!

Charmaine’s Santa Sack


